Snap It Like A Pro:
An Entertaining Journey Into Succulent Photography
Say Cheese, Camera!
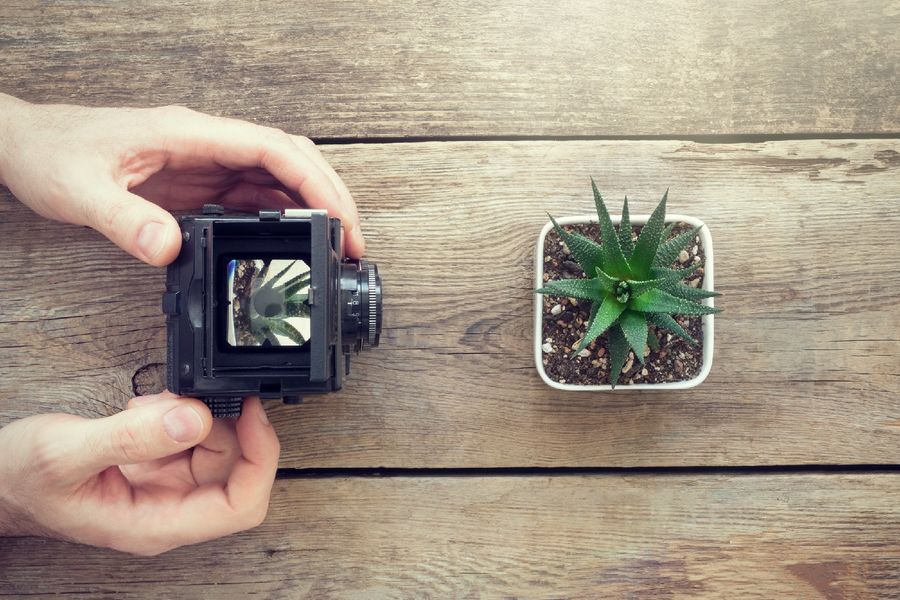
Getting Friendly with Your Camera
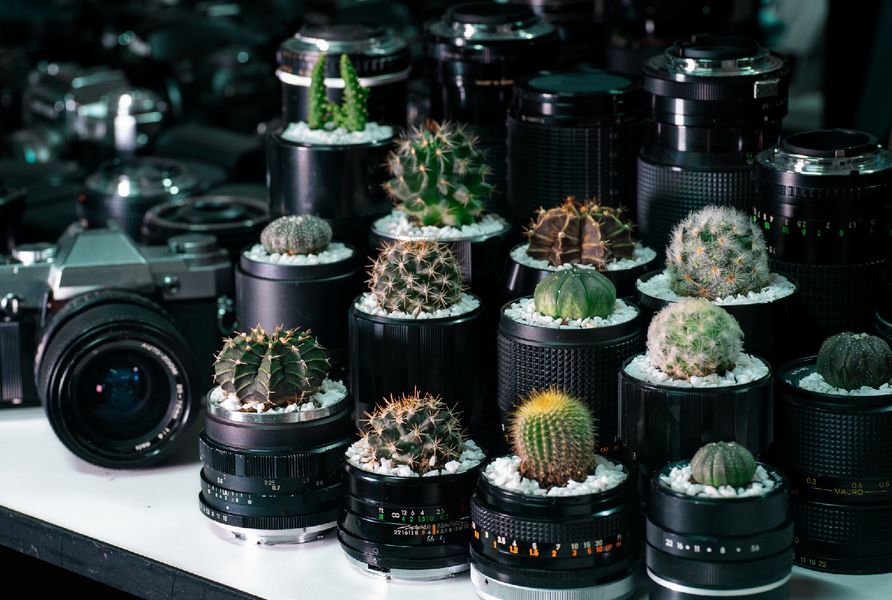
Ah, the camera – the wizard’s wand of the 21st century, turning ordinary moments into extraordinary memories. Or, you know, making your succulents look like they’re ready for their Hollywood debut. Before we get there, let’s learn some spells (or in muggle terms, settings).
First, let’s chat about “ISO“. Nope, it’s not a new type of trendy succulent. ISO controls your camera’s sensitivity to light. Higher ISO = more light (but also more grain). Lower ISO = less light (and less grain). It’s like deciding whether you want a bit more noise at your party (higher ISO) or a quiet, intimate gathering (lower ISO).

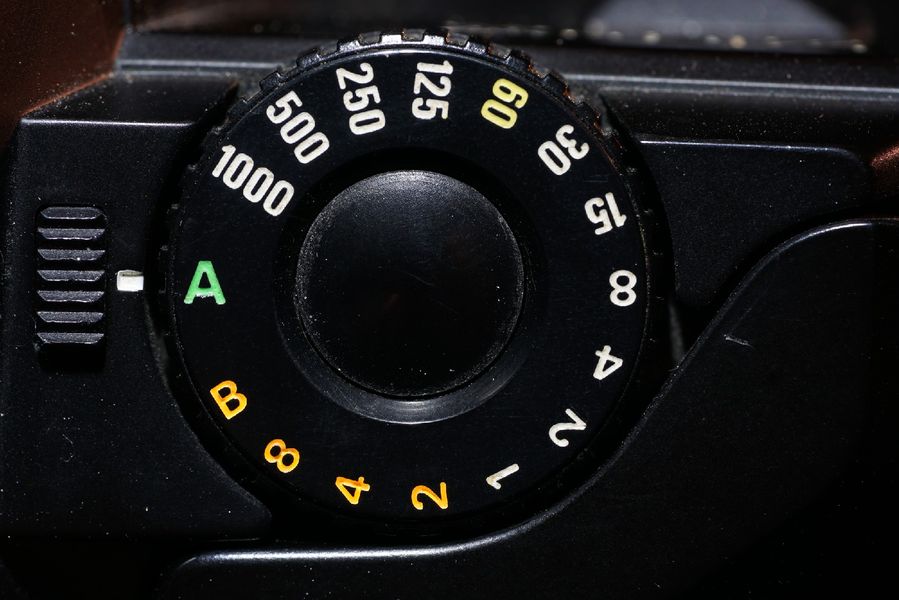
Next on the roll is “Shutter Speed“, which is how fast your camera blinks. Yes, you read that right. A faster shutter speed can freeze your enthusiastic puppy in mid-jump, while a slower one can capture the grace of moving water. For succulents, unless they start dancing when we’re not watching, a slower shutter speed should work just fine.
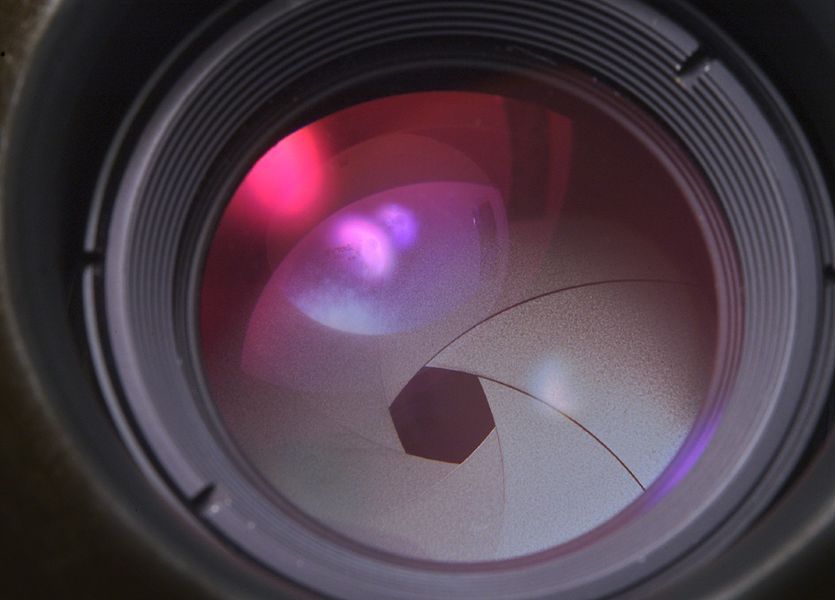
And finally, we have the “Aperture“, or f-stop, which determines the size of your camera’s eye opening. Aperture controls light entry and influences depth of field (DoF). A smaller f-number (e.g., f/1.8) equals a larger aperture and shallower DoF, great for making succulents stand out with a blurred background. A larger f-number (e.g., f/16) gives a smaller aperture and deeper DoF, keeping more of the scene sharp. Thus, control your aperture to put your succulent in the spotlight or let it share the stage.
Whew! Who knew cameras could be as complex as that rare succulent you’ve been trying to propagate for months? But stick with us, folks. We’re just getting warmed up!
Talking the Talk
Photography Lingo Unscrambled
Now that we’ve leveled up in our camera wizardry, it’s time to get a grip on some fancy photography jargon. We’ll have you talking like a pro in no time. Fear not, this won’t be as confusing as trying to pronounce some of those Latin succulent names (looking at you, Echeveria Elegans).
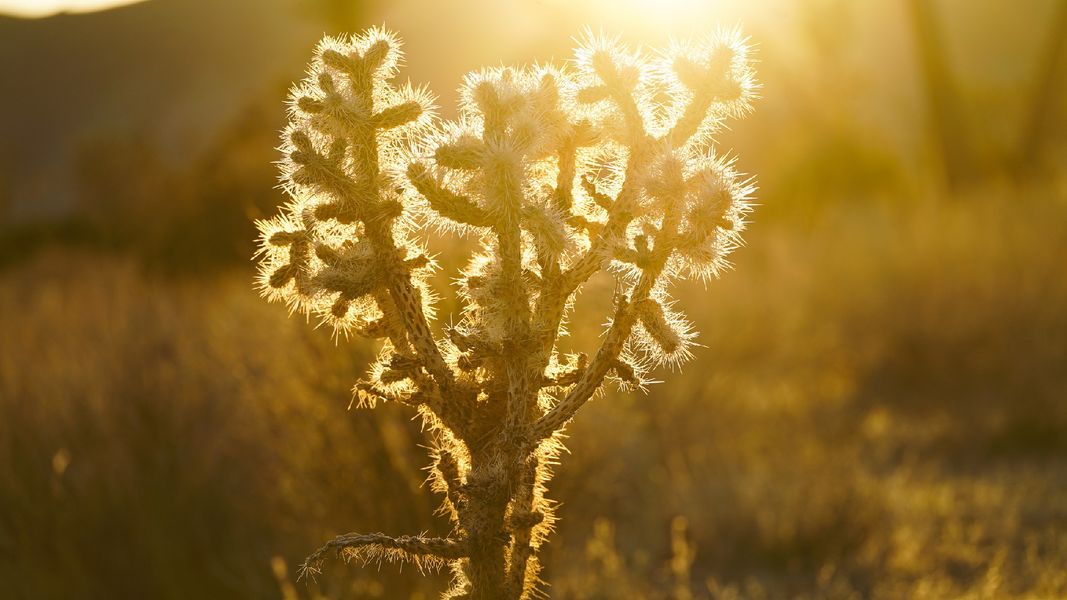
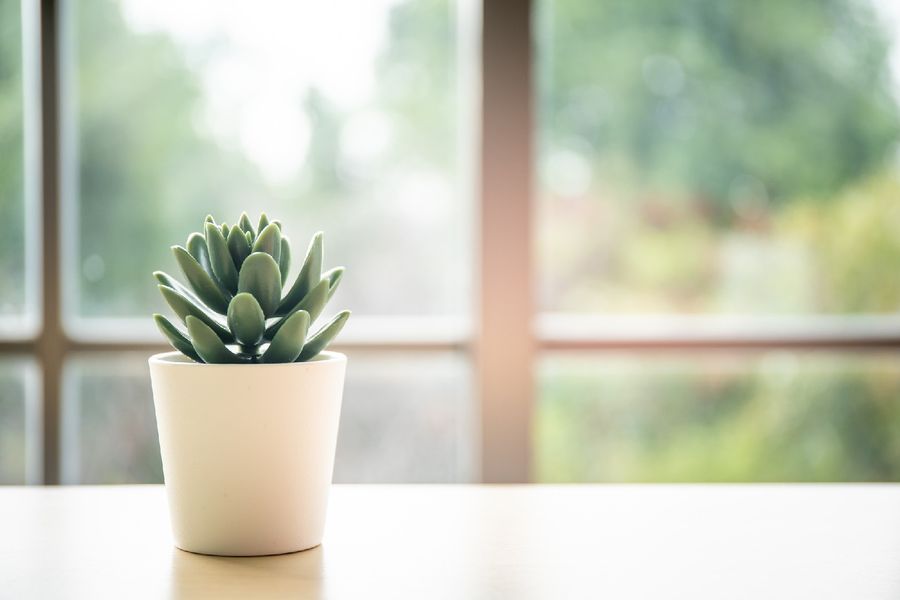
1. Backlit: No, this doesn’t mean your succulent is suddenly going to start illuminating like a funky table lamp. A backlit subject is primarily lit from behind. It can give your succulent a holy halo or make it look like it’s about to drop the hottest mixtape of 2023.
2. Side-lit: You guessed it. Side-lit means your succulent is primarily lit from the side. This kind of lighting makes your succulent look like it’s got something to hide, giving it a mysterious and dramatic appearance. Cue the detective music!
3. Diffusion Panel: This one sounds fancy, doesn’t it? A diffusion panel is basically a large, usually white, sheet that softens harsh light. Imagine it like sunglasses for your succulent – it cools down the sun’s harsh vibe. Just like how your shades give you that cool look, a diffusion panel makes your photos look instantly more professional.
4. Rule of Thirds: This rule suggests that an image can be divided into nine equal parts by two equally-spaced horizontal lines and two equally-spaced vertical lines. The theory is that if you place your succulent along these lines, or at the intersections, your photo becomes more balanced and will enable a more natural interaction with the viewer. It’s kind of like feng shui, but for your photos.
Phew! Bet you didn’t think you’d be learning a new language today, did you? But, just like watering schedules and indirect sunlight, photography terms are key to keeping your succulent game strong. Onwards, we go!
Glam up Your Greens
Top Tips for Snapping Stellar Succulent Shots
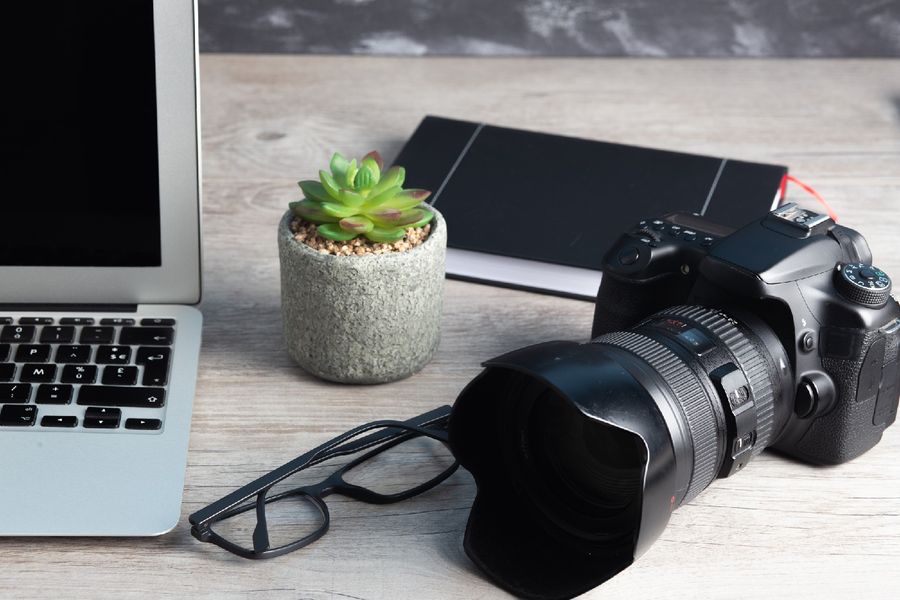
Now that we’re armed with the lingo and an understanding of our camera, let’s jump into the real fun: tips for turning your succulents into the plant equivalent of supermodels.
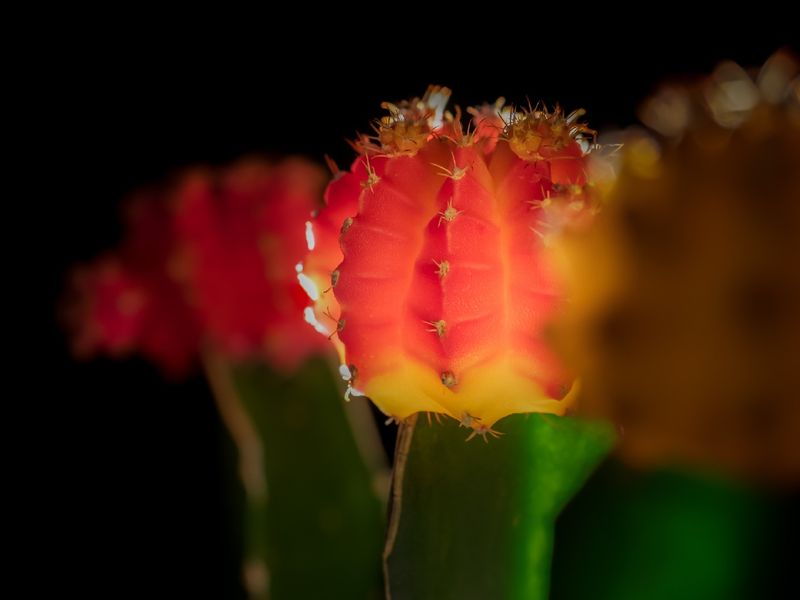
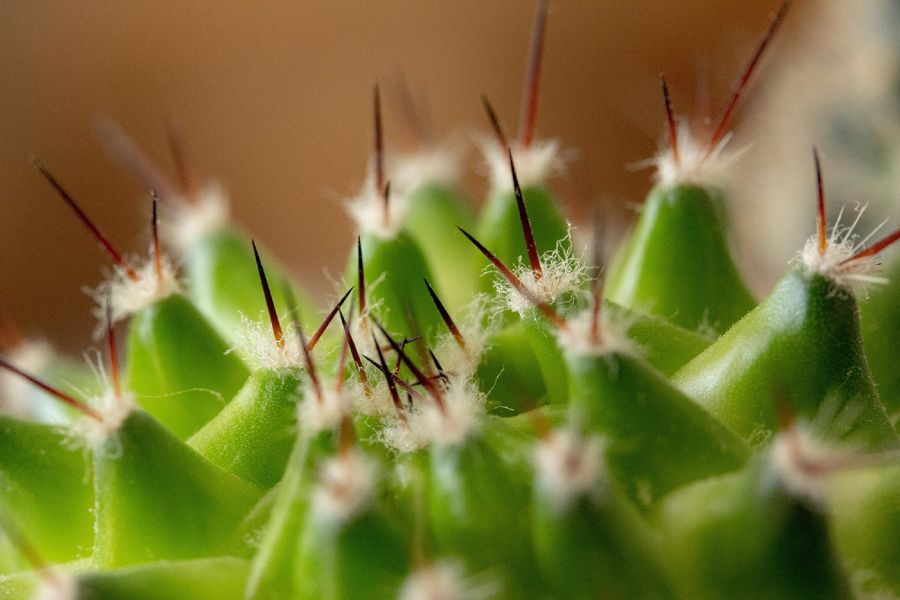
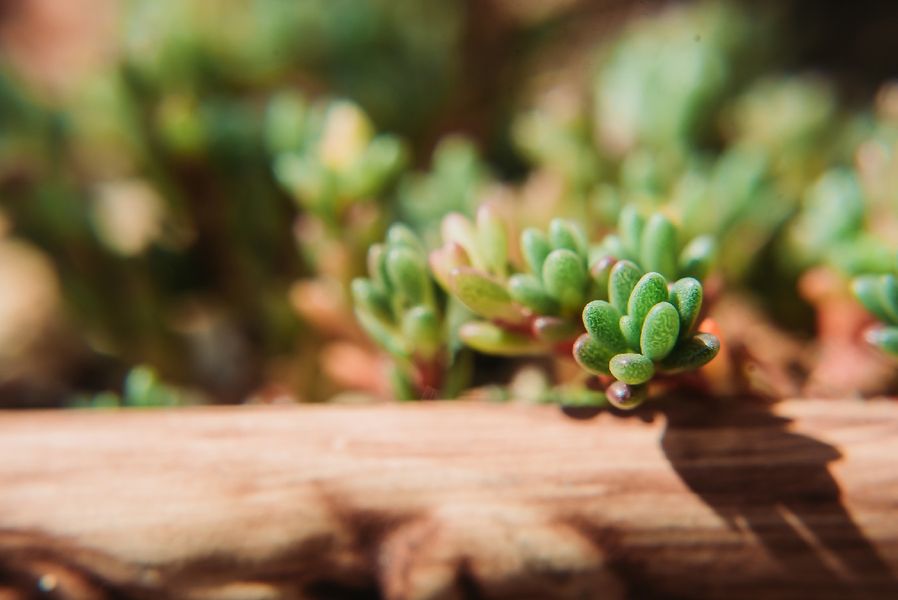
1. Go Macro: You know what they say about small things and packages. Succulents are perfect for macro photography because of their intricate details. Get up close and personal. We mean really personal. Don’t be surprised if your succulent files a restraining order against you.
2. Light ’em Up: Lighting is to photography what water is to succulents – essential! But remember, just like succulents, you don’t want too much of it. Diffused light is your friend, but don’t shy away from using direct light creatively. Have your succulent look majestically into the sunrise, or play with the shadows for a dramatic look.
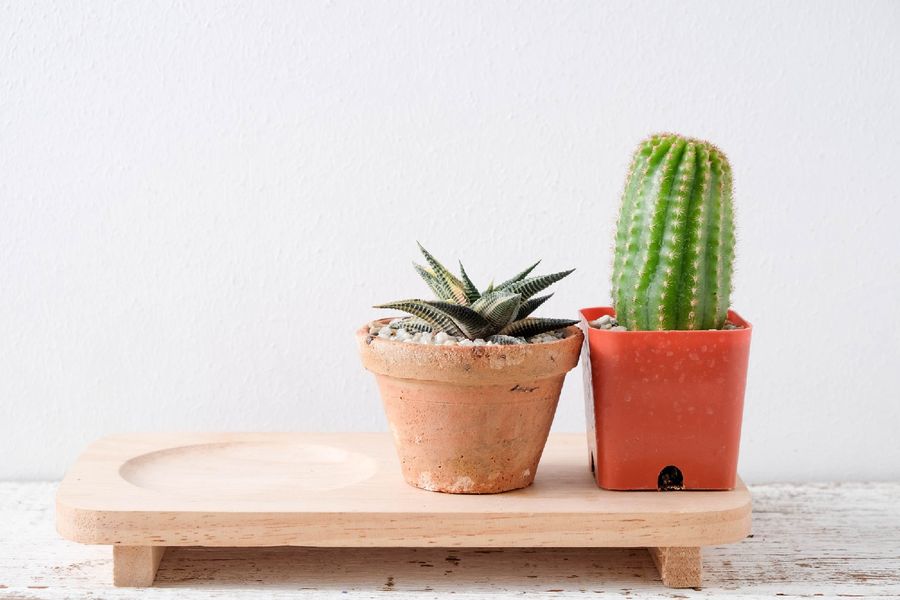
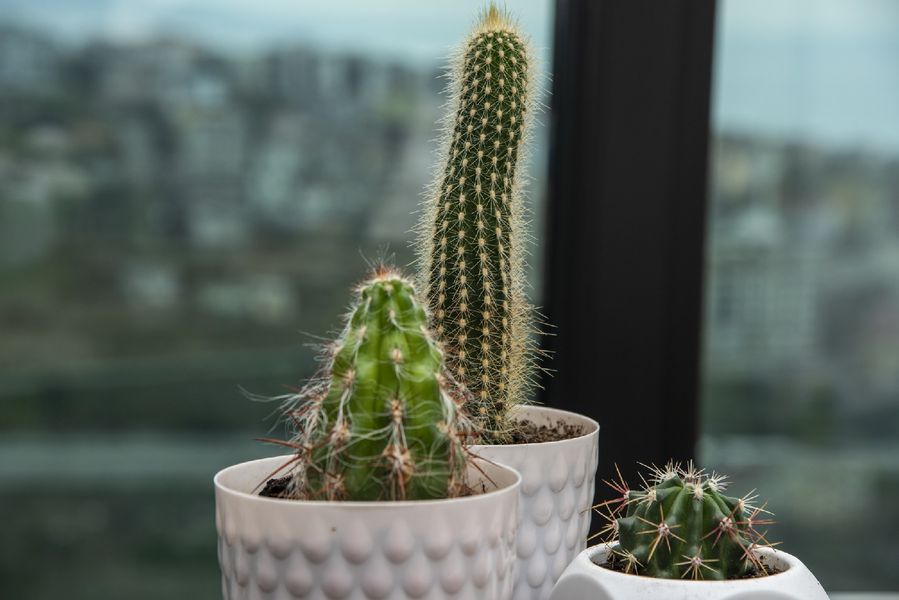
3. Angles Matter: Every succulent has its ‘good side’, so experiment with different angles. Top-down, sideways, diagonal, upside-down (okay maybe not that one). This is your chance to make your succulent look like it just climbed Mount Everest, or like it’s posing for the cover of ‘Vogue: Plant Edition’.
4. Explore Depth of Field: Use a shallow depth of field to make your succulent stand out. Make the rest of the world fade into a blur as your plant takes center stage, just as it should.
Remember, patience is key, just like when you’re waiting for a new leaf to sprout. Experiment with your camera settings, try out different lighting conditions, and don’t forget to have fun. Your succulent is already a star, you’re just the paparazzo capturing its glory!
After The Click
Jazzing Up Your Succulent Shots with Post-Processing
Now that you’ve snapped some jaw-dropping photos of your succulent that would make even a cactus green with envy, it’s time to take them to the next level with some post-processing magic! Welcome to the wonderous world of filters, adjustments, and (when used right) tasteful airbrushing.

– Brightness and Contrast: Your photo is like a salad, and brightness and contrast are your salt and pepper. Just a touch can make your photo pop, but too much might make your succulent look like it’s about to audition for a neon music video.
– Saturation and Vibrance: Bring out the vibrancy of your succulent’s colors by slightly increasing the saturation. Remember, you want to enhance the natural beauty, not make it look like a disco ball. Overdoing it could result in your succulent losing a beauty contest to a garden gnome!
– Sharpening: A bit of sharpening can make the details of your succulent stand out, making them crisper than a bag of potato chips. But go easy, you don’t want your photo to look as though it’s been etched with a razor blade.
– Crop to Perfection: Remember that rule of thirds we talked about? Now’s the time to use it. A well-considered crop can turn a ‘meh’ photo into a ‘wow’ photo faster than your succulent sucks up water in the summer heat.
– Filters Are Your Friends: A good filter can add a mood to your photo. Want your succulent to look like it’s basking in the summer sun? There’s a filter for that. Want it to look moody and mysterious? There’s a filter for that too. Just don’t go overboard – your photo should still look natural, not like a scene from a sci-fi movie.
Remember, post-processing is like makeup for your photos – a little can enhance the natural beauty, but too much and your succulent might end up looking like a clown. So go ahead, sprinkle some post-processing sparkle on your photos and watch them shine!
The Final Frame
Wrapping Up Our Succulent Photo Fiesta
Ladies and Gentlemen, we’ve reached the end of our delightful journey through the land of succulent photography. We’ve laughed, we’ve cried (mostly at the bad puns), and we’ve learned that the key to turning your succulent into a green diva is to get close, use light creatively, play with angles, and dab on a little post-processing magic.
Photographing succulents is an art, a dance if you will, between the plant, the light, and your camera. With patience, practice, and the tips from this guide, you’ll soon be snapping pictures of your succulents that’ll make Ansel Adams wish he’d dabbled in plant photography.
So, strap on that camera, sneak up on your succulent, and capture its best side! And remember, whether you’re using a top-of-the-line DSLR or your trusty smartphone, the best camera is the one you have with you.
Now go forth, brave photographers, and may the light be ever in your favor as you capture the spiky, spirally, blooming glory of your succulents. Remember: in the world of succulent photography, you’re not just taking photos, you’re telling stories. So, what story will your succulent tell?