Vertical Gardening 101
Explore the fundamentals of vertical gardening, a space-saving solution that brings dimension and beauty to small and large gardens alike. Learn about the benefits, essential techniques, and creative ideas to start your own vertical garden.
Vertical gardening is a transformative approach that reimagines the use of space in both urban and suburban gardens. As traditional gardening plots become scarcer in densely populated areas, vertical gardens emerge as a creative solution to cultivate greenery in limited spaces.
This innovative gardening style not only maximizes the use of vertical surfaces but also adds a unique aesthetic appeal to any environment. From lush living walls to compact balcony planters, vertical gardening offers endless possibilities to grow a variety of plants, including vegetables, herbs, and ornamentals. By exploring vertical gardening, gardeners can overcome spatial constraints, enhancing their environment with vibrant life and beauty.
Benefits of Vertical Gardening
Vertical gardening offers a plethora of advantages that cater to both the practical needs of urban dwellers and the aesthetic desires of all garden enthusiasts. Here are some key benefits:
- Space Efficiency: Vertical gardens are a boon for those with limited ground space, allowing for gardening in apartments, balconies, and small yards. This method efficiently utilizes vertical space, enabling you to grow more in less area.
- Increased Plant Health: Elevating plants off the ground improves air circulation around the foliage, reducing the risk of soil-borne diseases and pests. This can lead to healthier plants and higher yields.
- Accessibility: Vertical gardens bring plants to a more accessible height, making it easier for gardeners to tend to their plants without the need to bend or kneel, which is particularly beneficial for those with mobility issues.

- Environmental Impact: These gardens contribute positively to the environment by purifying the air, reducing the urban heat island effect, and providing habitats for pollinators. They can also contribute to better thermal insulation for buildings.
- Aesthetic Appeal: Vertical gardens transform plain walls and fences into vibrant living art pieces. They can be used to create visually striking features in gardens, patios, and indoor spaces.
- Enhanced Privacy and Sound Insulation: Strategically placed vertical gardens can act as natural screens, offering privacy in urban settings. Additionally, they can help dampen urban noise, creating a more tranquil outdoor living area.
By incorporating vertical gardening into their green spaces, gardeners can enjoy these multifaceted benefits, making the most of their available space while contributing to a healthier environment and enhancing the beauty of their surroundings.
Getting Started
Initiating a vertical garden begins with thoughtful preparation and selection. Here’s a guide to set the foundation for a flourishing vertical garden:
- Choosing a Location: Select a spot that aligns with the sunlight requirements of your chosen plants. Ensure it’s accessible for watering and maintenance, and check that the area can support the weight of your vertical garden setup.

- Selecting Suitable Plants: Opt for plants that naturally thrive in vertical environments. Five excellent choices include:
- Sedum (Sedum spp.): A hardy succulent that requires minimal water and thrives in full sun.
- English Ivy (Hedera helix): A versatile climber that prefers partial to full shade, ideal for cooler, shaded areas.
- Pothos (Epipremnum aureum): An easy-to-care-for vine that grows well in indirect light, perfect for indoor vertical gardens.
- Strawberries (Fragaria x ananassa): Delightful for edible gardens, they need full sun and regular watering.
- Ferns (Various Species): Ideal for shaded vertical gardens, ferns add lush greenery and texture.
- Structural Options: Choose from a variety of structures such as trellises, hanging pocket planters, or modular living wall systems. DIY enthusiasts might enjoy creating their own setups using items like repurposed pallets or hanging baskets.
- Soil and Watering System: Invest in a quality potting mix suitable for container gardening and consider a drip irrigation system for efficient watering. This ensures your plants receive the right amount of moisture without overwatering.
- Installation: Securely install your chosen structure, keeping in mind the mature weight of the plants and the soil. Whether attaching to a wall or setting up a freestanding display, stability is key.
With these steps, you’re well on your way to creating a vibrant and thriving vertical garden. By selecting suitable plants, you can cater to a range of lighting conditions and aesthetic preferences, making your vertical garden both beautiful and bountiful.
Essential Techniques
To ensure your vertical garden not only survives but thrives, adopting specific gardening techniques is crucial. Here are essential strategies to help you achieve success:
- Soil Selection: Opt for a high-quality potting mix that’s designed for container gardening. This type of soil ensures proper drainage and aeration, critical factors in preventing root rot in vertical setups. It should also be nutrient-rich to support plant growth in the limited soil volume.

- Watering Wisely: Vertical gardens may dry out more quickly than traditional gardens, especially those exposed to wind or sun. Implement a consistent watering schedule, adjusting based on the weather and the specific water needs of your plants. Installing a drip irrigation system can be a game-changer, delivering water directly to the roots with minimal waste.
- Nutrition Management: Regular feeding is key to keeping your vertical garden lush and productive. Use a balanced, slow-release fertilizer to provide a steady supply of nutrients. Additionally, supplementing with a liquid fertilizer can address any specific nutrient deficiencies and support vigorous growth.
- Pruning and Deadheading: Regularly prune your plants to encourage bushier growth and remove any dead or diseased foliage. Deadheading spent flowers can also stimulate new blooms, keeping your garden looking fresh and vibrant.
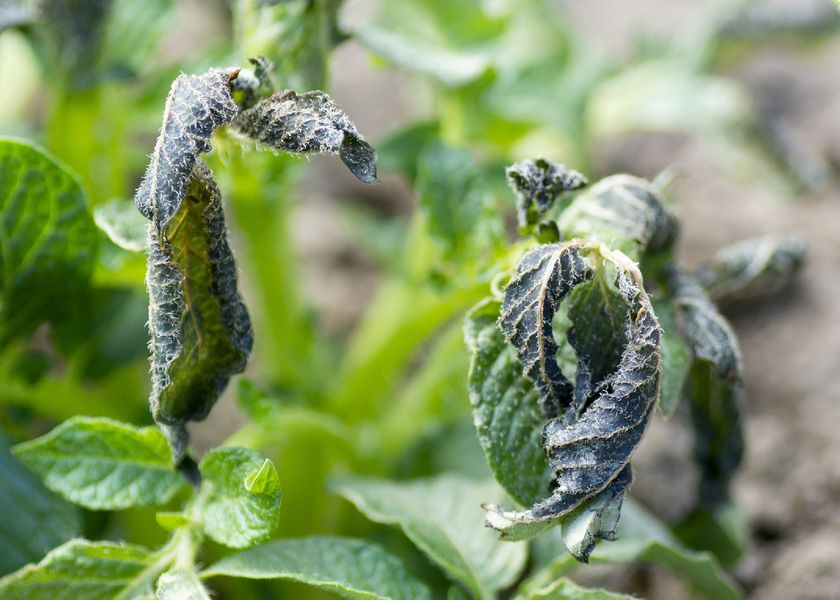
- Pest and Disease Monitoring: Keep an eye out for signs of pests and diseases. The elevated nature of vertical gardens usually offers some protection, but prompt identification and treatment of any issues will keep your plants healthy. Natural and organic pest control methods are preferred to maintain a safe environment for pollinators and beneficial insects.
- Rotation and Refreshing: To maintain visual interest and plant health, periodically rotate plants to ensure all sides receive adequate light. Additionally, refreshing the soil and replacing annuals or underperforming plants each season will keep your garden vibrant and productive.
By incorporating these techniques into your vertical gardening practice, you can create a stunning and sustainable living wall or garden display. Successful vertical gardening is a blend of attentive care, creative planning, and a passion for green spaces, regardless of their size or location.
The Challenges You Will Face
Embarking on vertical gardening brings a unique set of challenges distinct from traditional gardening. Awareness and preparation for these specific issues can greatly enhance your success:
- Microclimate Management: Vertical gardens can create their own microclimates. Depending on their orientation and location, some areas within the garden may experience microclimate effects, such as higher humidity or varying temperature swings, which can affect plant health.

- Soil Erosion: In some vertical gardening setups, especially those without adequate containment or in areas with heavy rainfall, soil erosion can be a significant problem. Ensuring that your system effectively retains soil while allowing proper drainage is key.
- Pollination Challenges: For edible gardens, ensuring adequate pollination can be more challenging in a vertical setup. Pollinators may find it harder to navigate dense vertical plantings, which can affect fruit and vegetable yields.
- Aesthetic Balance: Achieving and maintaining an aesthetic balance in a vertical garden requires careful planning and ongoing adjustment. Plants grow at different rates, and without regular maintenance, your vertical garden could look uneven or overgrown.
- Technical Complexity: Installing and maintaining more complex vertical gardening systems, especially those with integrated irrigation or automated systems, requires a level of technical know-how and ongoing commitment to troubleshooting and maintenance.
By addressing these challenges head-on with informed strategies and solutions, you can navigate the complexities of vertical gardening. This proactive approach ensures that your vertical garden remains not only a visually appealing feature but also a thriving and productive space.
Embracing vertical gardening comes with its unique set of challenges, from managing microclimates to ensuring pollination. However, these obstacles offer opportunities to innovate and learn, making your gardening journey more fulfilling.
PictureThis App can be a valuable ally, helping you identify plants suited for vertical spaces, diagnose and solve potential issues like pest infestations or disease, and offer care tips tailored to your garden’s needs. By leveraging technology and a proactive approach to problem-solving, you can transform any vertical garden into a thriving, vibrant space. Let PictureThis guide you through the complexities of vertical gardening, turning challenges into triumphs and your garden into a lush, vertical oasis.