Year-Round Harvest Planning
Guide to plant seasonal crops for a year-round supply of fresh produce.
Embracing year-round planting in your edible garden not only ensures a constant supply of fresh vegetables and fruits but also enriches your gardening experience. This approach allows you to harvest home-grown produce across all seasons, offering nutritional benefits and the joy of gardening throughout the year.
By carefully planning your garden, you can enjoy the diversity of crops that each season brings, from crisp lettuce in spring to hearty root vegetables in winter. This guide aims to equip you with the knowledge and strategies needed to plan your planting schedule effectively, ensuring a bountiful, year-round harvest. Whether you’re a novice or an experienced gardener, these tips will help you extend your growing season, reduce grocery bills, and bring the freshest ingredients from your garden to your table.
Seasonal Planting Guide
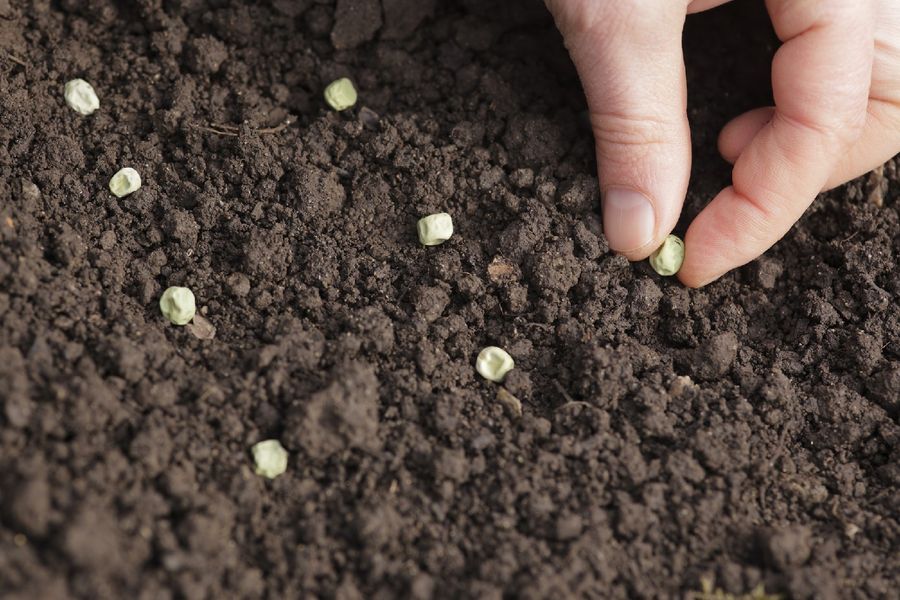
Spring:
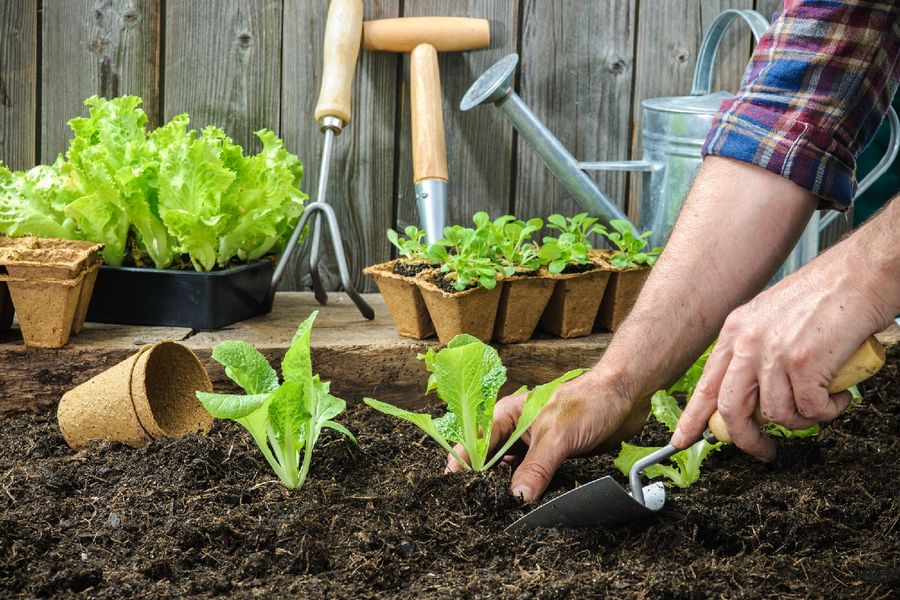
As the frost recedes, spring offers a chance to start your garden afresh. Begin with cool-weather crops that can tolerate the chill of early spring. Lettuce, peas, spinach, and radishes are perfect starters, ready to grow in partially cool temperatures. Starting seeds indoors can give a head start to warmer season plants like tomatoes and peppers. Key is to prepare the soil early, enriching it with compost to support this new growth.

Summer:
Summer’s warmth welcomes a variety of fruits and vegetables. This is the time for tomatoes, cucumbers, peppers, and zucchinis to thrive. Planting early in the season allows these sun-loving plants to mature and produce before the hottest days. For continuous harvest, consider succession planting every two weeks with crops like beans and squash. Also, keep an eye on watering, as consistent moisture is crucial during the hotter months.
Fall:
As the heat of summer wanes, fall presents an opportunity for a second wave of planting. Crops like kale, carrots, broccoli, and beets can be sown in late summer for a fall harvest. It’s also an ideal time to start your winter greens, such as Swiss chard and collards, which can tolerate cooler temperatures and even improve in flavor after a frost. Utilize mulch to keep the soil moist and extend the growing season as temperatures drop.

Winter:
Depending on your climate, winter gardening might require protective structures like cold frames or greenhouses. However, in milder regions, it’s possible to grow hardy vegetables that can withstand frost, such as garlic, onions, and some leafy greens. Planning for winter involves selecting the right varieties and often planting in late summer or early fall to establish plants before the cold sets in. Cover crops can also be planted to enrich the soil for the next growing season.
Tips for Year-Round Harvest:
- Succession Planting: Keep your garden productive by planting new crops as others are harvested.
- Microclimates: Utilize your garden’s microclimates to extend growing seasons. Sheltered spots can host plants longer into the cold months.
- Soil Health: Maintain soil health with compost and cover crops to support year-round planting.
By following this seasonal guide, you can plan your garden to enjoy a continuous supply of fresh produce. Experiment with different crops and varieties to discover what works best in your garden, keeping your table stocked with vibrant, home-grown fruits and vegetables throughout the year.
Succession Planting Guide
Succession planting can take several forms, including staggering plantings of the same crop at intervals, planting new crops as others are harvested, and using the space vacated by early crops for late-season produce. Here’s how to incorporate it into your garden:
Staggered Planting:
To ensure a steady supply of your favorite vegetables, plant seeds at intervals of 2-3 weeks instead of all at once. This method works exceptionally well for fast-growing crops like lettuce, radishes, and spinach. By the time the first planting begins to wane, the next planting will be coming into production.
Sequential Crops:
After harvesting a crop, immediately replant the area with a new crop that will mature in the remaining part of the season. For example, once early spring peas are done, the same space can be used for a summer crop of beans or a fall crop of kale.

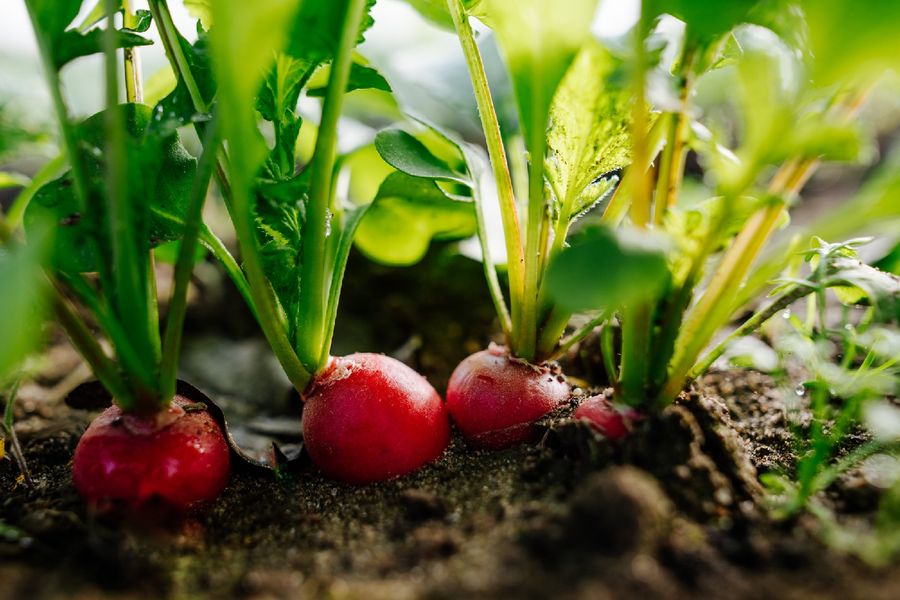
Interplanting:
Combine fast-maturing crops with slower-growing ones in the same area. The quick crops will be harvested before the slower ones need space, providing two harvests from the same plot. For instance, radishes (fast) can be planted alongside carrots (slow); the radishes will be ready to harvest long before the carrots need room to expand.
Variety Selection:
Use varieties with different maturity times. Plant early, mid-season, and late-ripening varieties of the same vegetable to extend the harvest period. This is particularly effective with tomatoes, corn, and peppers.

Key Tips for Success:
- Plan Ahead: Before the season starts, have a clear plan for what you will plant in each phase of succession planting.
- Soil Care: Replenish the soil with compost or a balanced fertilizer between plantings to maintain soil health and fertility.
- Water Management: Ensure consistent watering, especially when starting new seeds or plants in the hot parts of the summer.
- Pest and Disease Control: Rotate crops to prevent the build-up of pests and diseases. Avoid planting the same family of crops in the same spot each year.
Implementing succession planting in your garden requires a bit of planning and observation but can significantly increase your garden’s productivity. It’s a rewarding practice that not only extends your harvest but also contributes to a more sustainable gardening system. By adopting these strategies, you’ll enjoy a continuous bounty of fresh produce throughout the growing season.
Embarking on a year-round gardening journey enriches our connection to nature and provides a sustainable source of fresh produce.
To enhance your experience and success, consider leveraging the GrowIt app. This tool offers invaluable insights, planting reminders, and a community of fellow gardeners to share tips and inspiration. Let’s embrace the full potential of our gardens together, using technology to guide us towards a bountiful harvest all year long. May this guide and GrowIt app inspire you to cultivate a thriving garden that brings joy and abundance through every season.