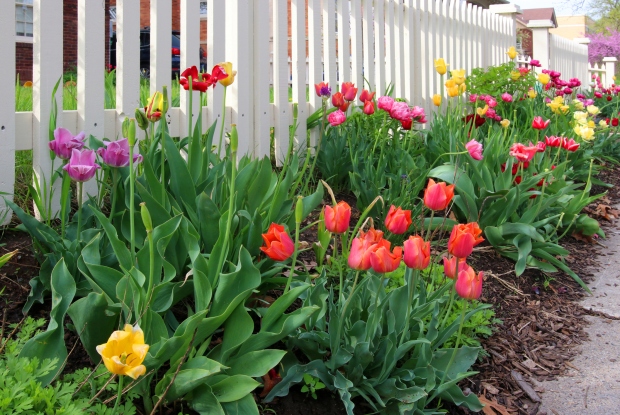
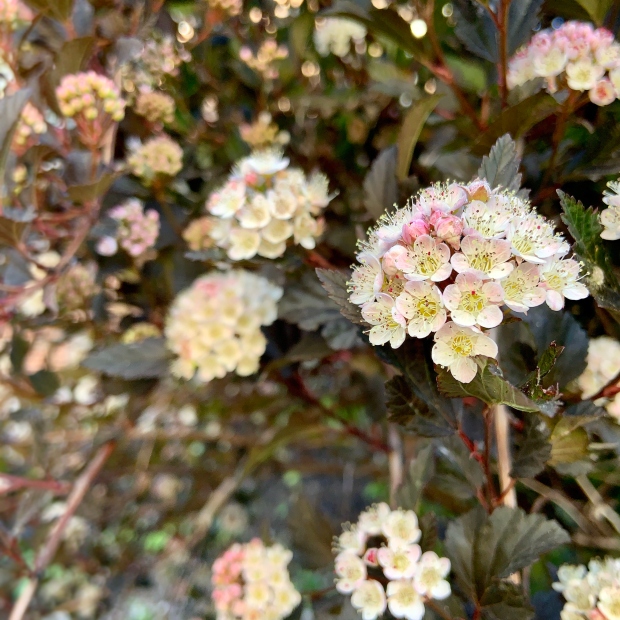
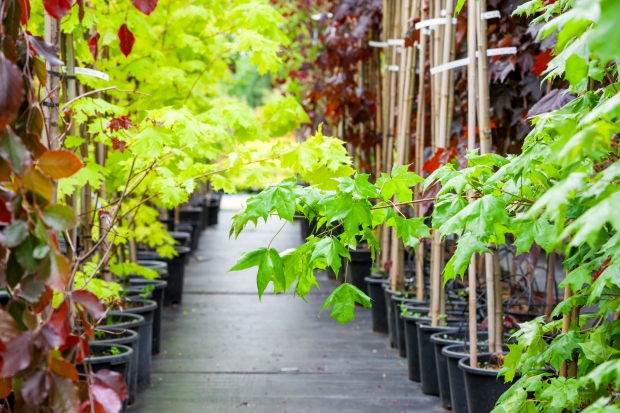
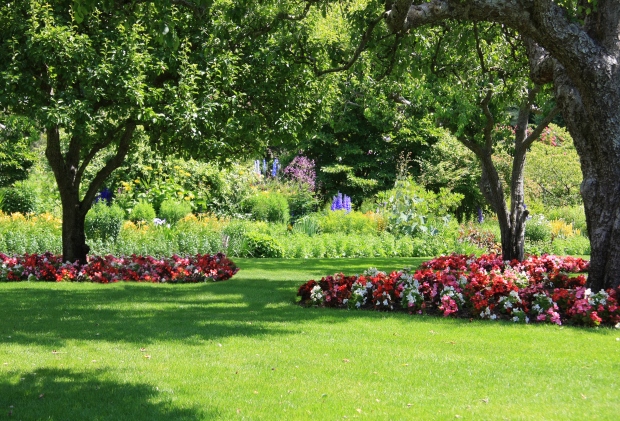
Selecting the Right Plants for Your Flower Bed
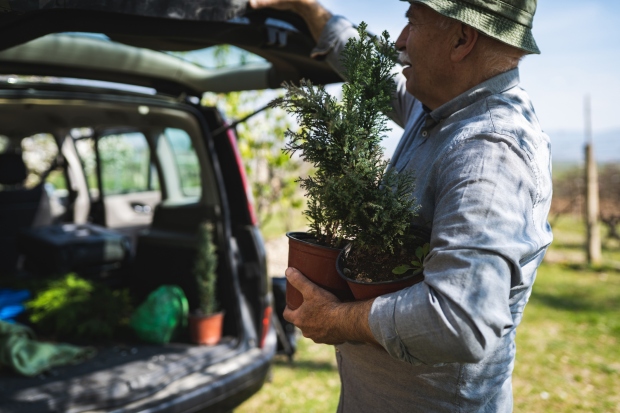
Choosing what flowers to plant in your flower bed or garden takes a little more thought than going to the store and grabbing whichever ones catch your eye or you think look pretty. Well, you can select plants that way, but there’s a high chance they won’t do well. You must consider a few things when buying plants.
Do I Want Perennials, Annuals, or Biennials?
First, take a minute and decide if you want perennials, annuals, or biennials. Many gardeners believe the secret to long-term success is planting all three varieties in your flower beds.
- Annuals live for one year or a single growing season.
- Biennials live for two years or two growing seasons.
- Perennials live for more than two years, ranging from three growing seasons to hundreds.
How Hardy Do My Plants Need to Be?
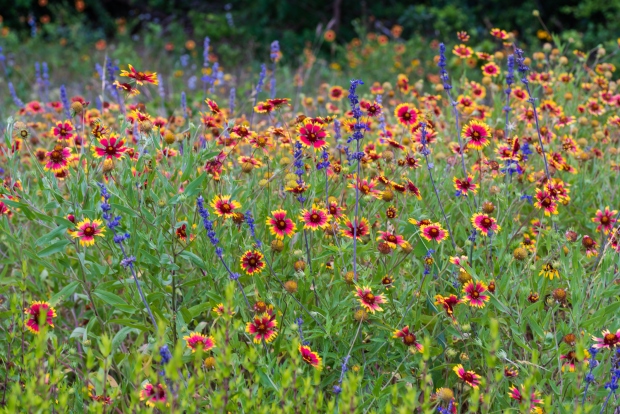
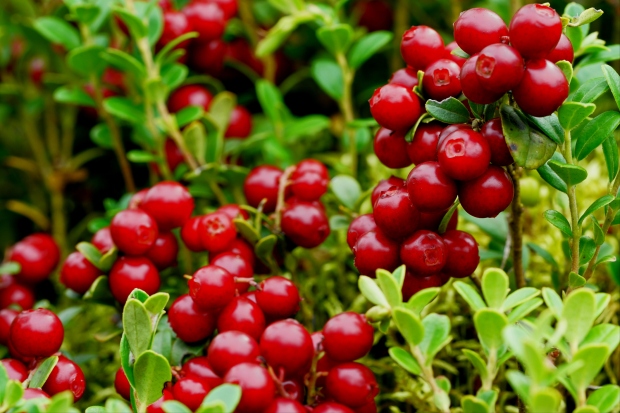
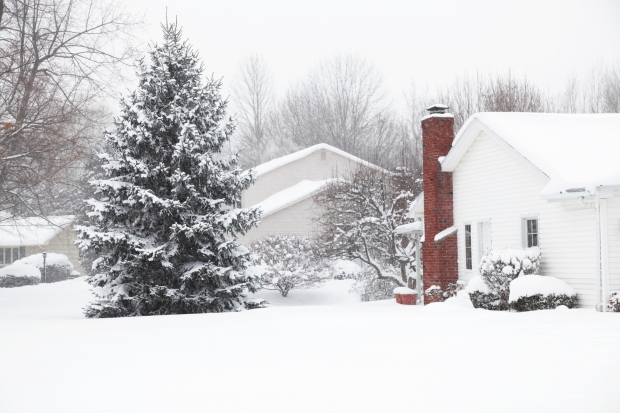
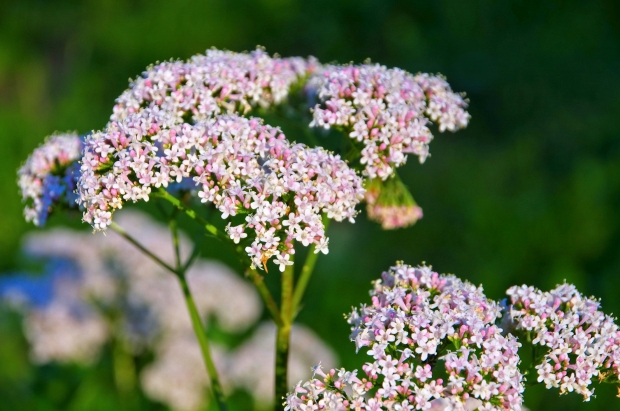
Along with how long flowers will live, you need to choose plants suited for your local growing conditions, especially when growing perennials. Match flowers to your USDA growing zone so they will survive the heat of the summer and live through your winter conditions. If you live in hot, dry climates, look for more drought-tolerant flowers like coneflower, lantana, Valerian, and blanket flowers.
How Much Sunlight Does the Flower Bed Get?
The amount of sun the flower beds get during the day also needs to be considered. Most flowering ornamental plants need plenty of light (e.g., they are classified as full sun), or their blooms may be lackluster. There are some plants, though, that are shade-tolerant.
- Full-sun plants need six or more hours of direct sun each day. The exposure doesn’t have to be a continuous stretch but can be broken up throughout the day as long as the total is adequate.
- Partial-sun and partial-shade plants need between four and six hours of sun throughout the day. Partial-sun plants prefer amounts as close to six hours as possible; partial-shade flowers prefer less light while still hitting the minimum four hours.
- Full-shade flowering plants want fewer than four hours of sunlight every day. They prefer filtered sunlight, dappled shade, or early-morning direct sun.
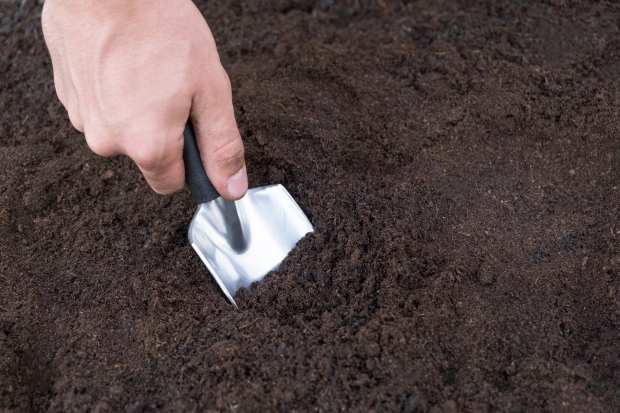
What Kind of Soil Do I Have?
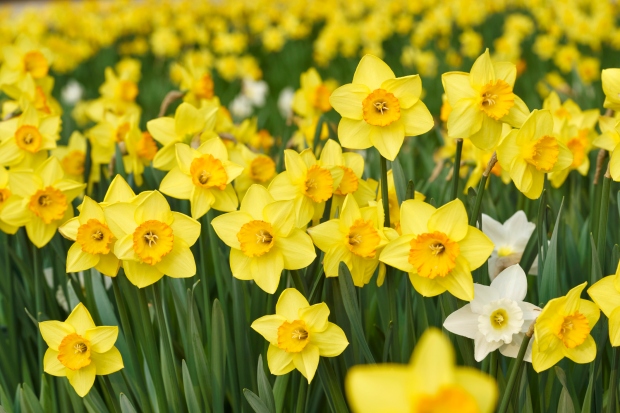
Also, consider how heavy your soil is, meaning if it has a lot of clay or sand. Clay soils hold water and don’t drain well, so you need flowers like canna lilies or lily of the valley. If you have slightly acidic soils, daffodils and camellias are good choices.
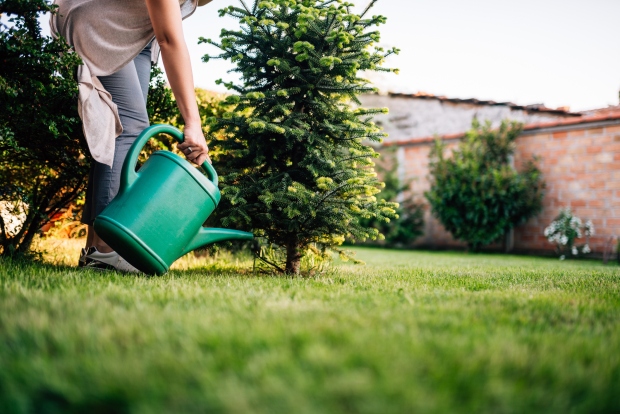
How Much Maintenance Do I Want to Do?
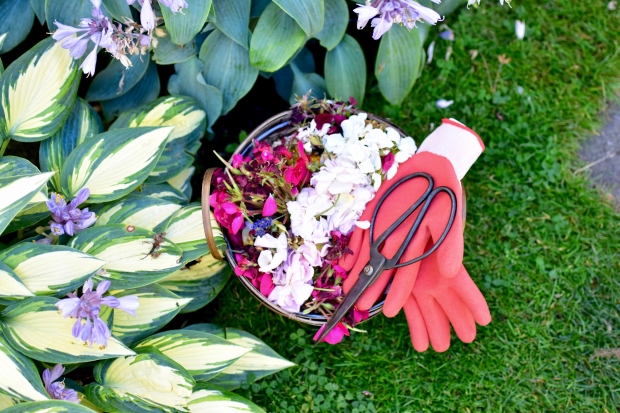
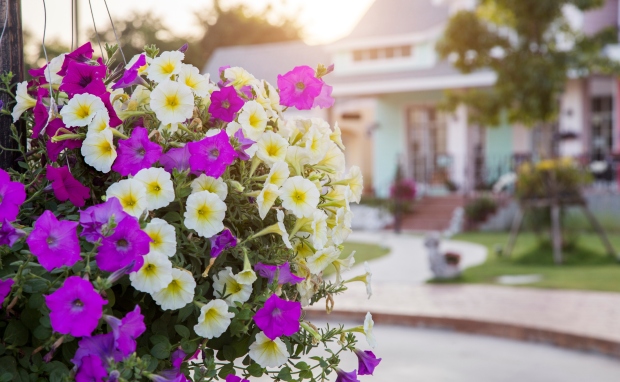
Lastly, think about how much time and effort you’re willing to put into upkeep. Flowers like petunias need constant deadheading to remove spent blossoms, while coneflowers and Black-eyed Susans need little care throughout the season.