How Do Seasons Affect Trees?
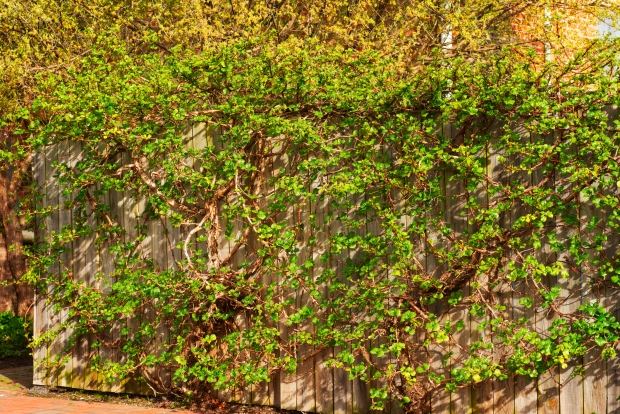
Like all outdoor plants, trees that live in climates with changing seasons have evolved to adapt to seasonal changes in order to survive. Different types of trees may have different adaptations (deciduous vs. evergreen trees, for example), but all varieties make some subtle adjustments.
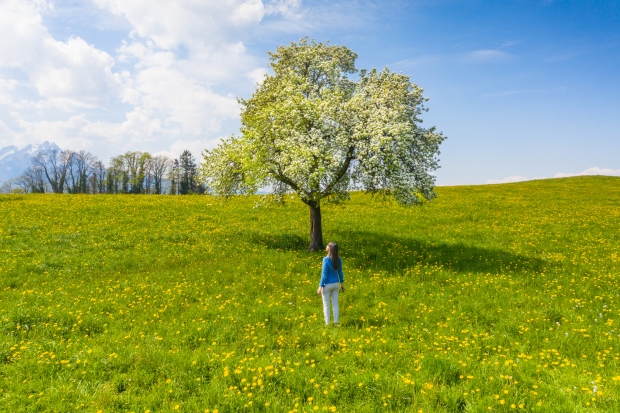
Spring
Warmer temperatures and longer days trigger trees to become active again after the long period of winter dormancy. As snow thaws and rainfall increases, tree roots are able to access more water and nutrients from the soil. More moisture in the tree stimulates the production of sap that delivers necessary nutrients for leaves and flowers to be produced.

Summer
During summer, leaves are at their maximum size and quantity, allowing the tree to make the most of the long daylight hours for photosynthesis to create energy. This makes summer the season with the maximum growth, when a healthy tree will expand in both height and width.
Be aware that unusually high temperatures, intense sunlight, and lack of precipitation can damage trees or cause them to pause photosynthesis in order to preserve energy until conditions become more favorable. Be sure to keep trees watered during hot and dry summer days.
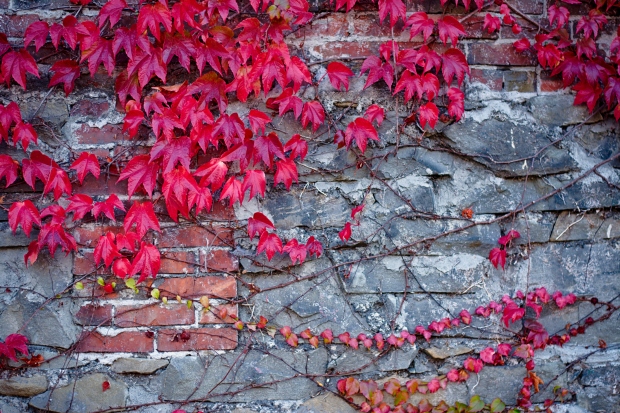
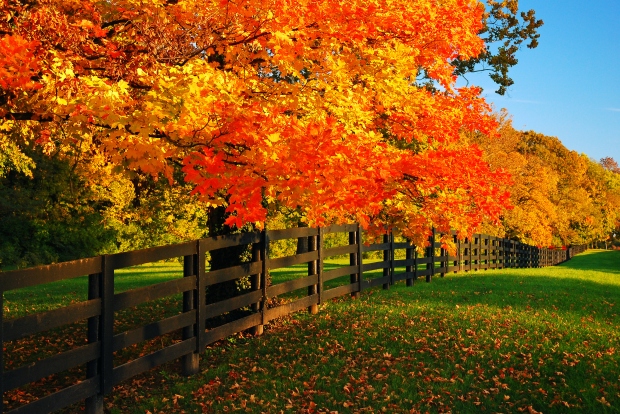
Autumn
During autumn, the amount of sunlight decreases, and this signals to the tree that it is time to prepare to enter a dormant stage for the winter. For many varieties of trees, this means leaves change color and drop off. As they lose their chlorophyll, other colors such as red or yellow become visible. Meanwhile, conifers have a different evolutionary strategy. Because their needles lose very little water to the dry winter air, these trees can actually conserve energy by not dropping many of them during the winter.
Winter
With preparations completed during the autumn, trees enter their dormant period over the winter. During this time, they slow or stop the processes of photosynthesis, growth, and reproduction. Trees depend on energy stored inside their cells at this time, since they are not generating any during dormancy.
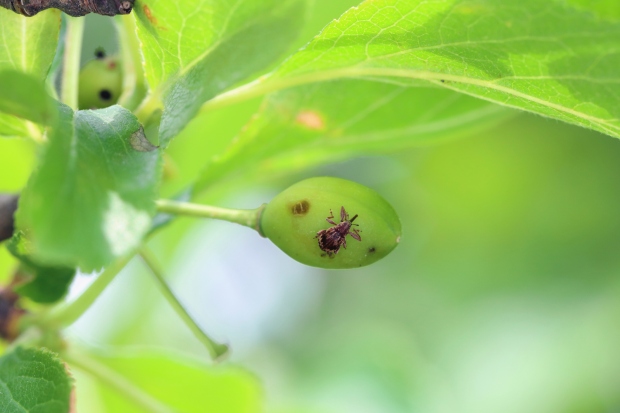
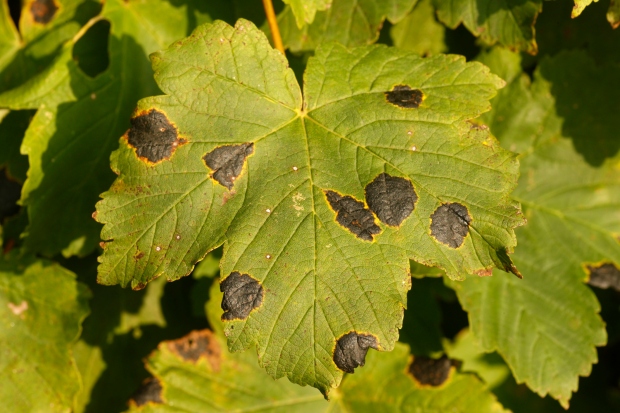
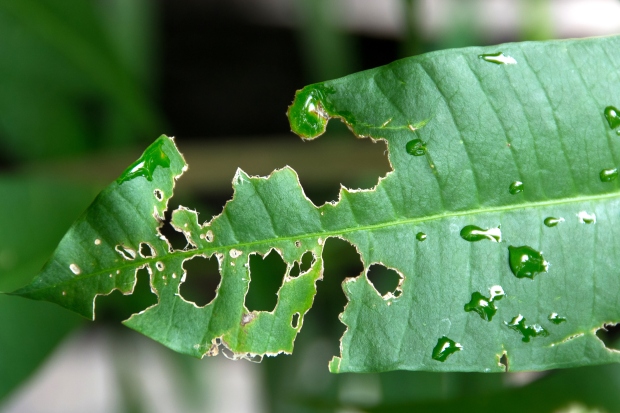
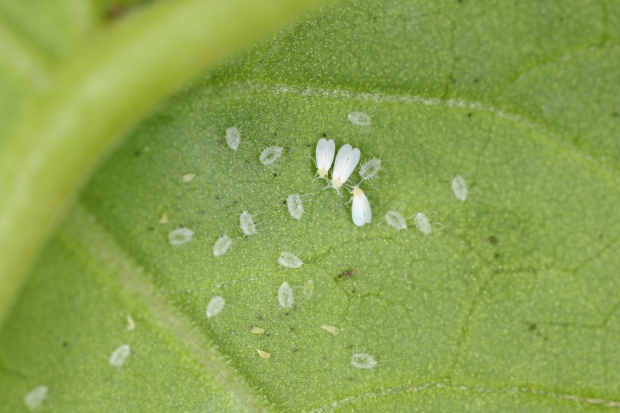
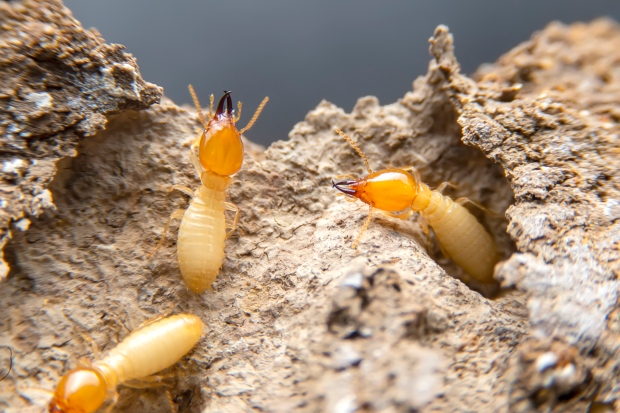
Trees also have to deal with a lack of water over the winter, so they produce special proteins that work within cells to prevent them from freezing. Snow, ice, and storms can damage trees during the winter, leaving behind wounds that may be vulnerable to fungal or bacterial infection spread by insects.
Preparing Trees for Winter
To get your trees ready for winter and keep them as healthy as possible until the weather gets warm again, there are a few steps you should take:
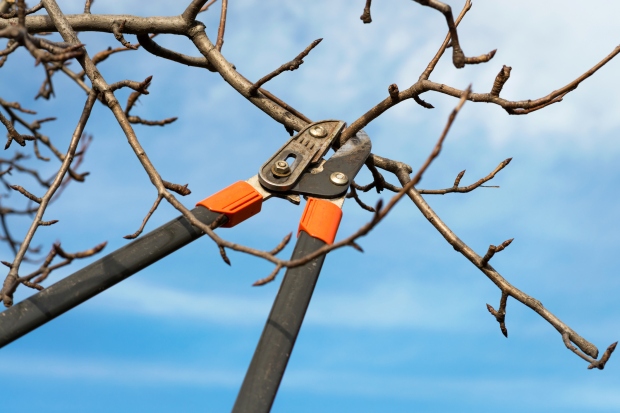
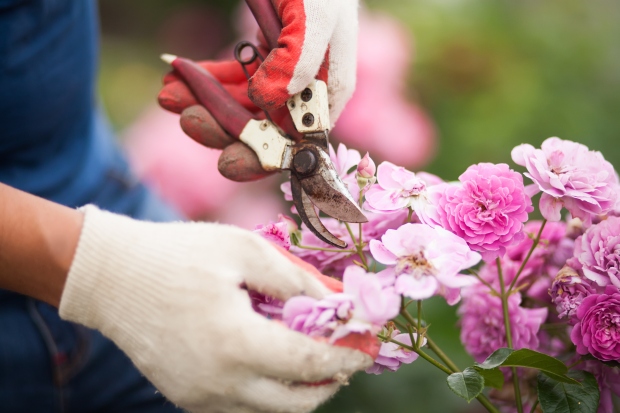
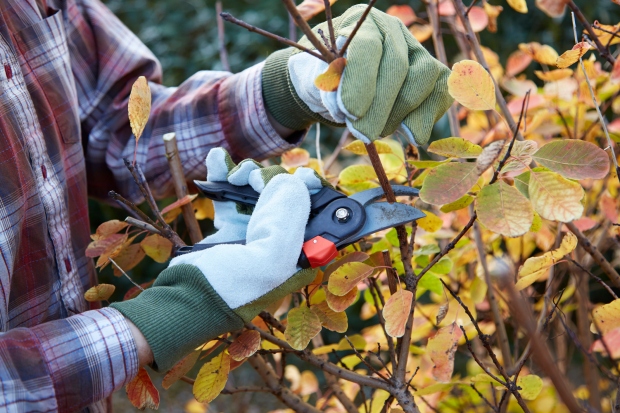
- Prune: Remove any dead or unhealthy branches from your tree. This allows your tree to redirect its energy to new growth and minimizes the chances of branches breaking off over the winter.
- Add mulch: A layer of mulch around the base of your tree helps the roots retain a more consistent temperature, and retains moisture in the soil.
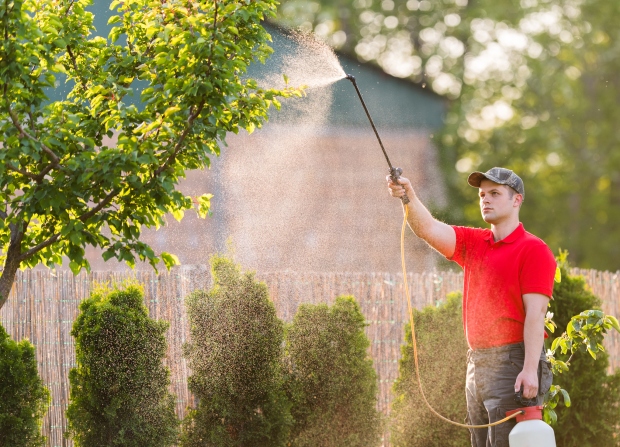
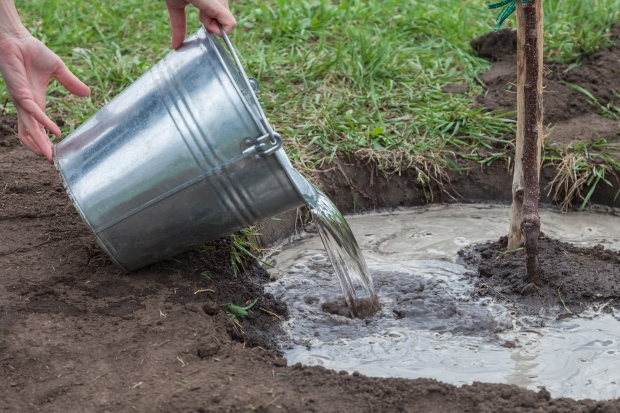
- Water: Watering your trees after you mulch provides them with much-needed moisture to sustain them through dry winter months.
- Wrap the trunk: Wrapping vulnerable trees with a tree-wrap material protects them from temperature fluctuations and storm damage. Wrapping the trunk from top to bottom prevents water from collecting in the folds.