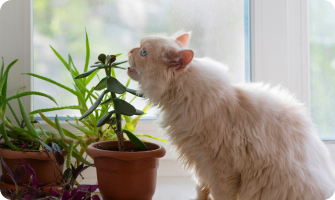
Who Is Most at Risk of Plant Poisoning?
Do not let your lovely pets eat any parts, nor contact with the sap of toxic or unknown plants;
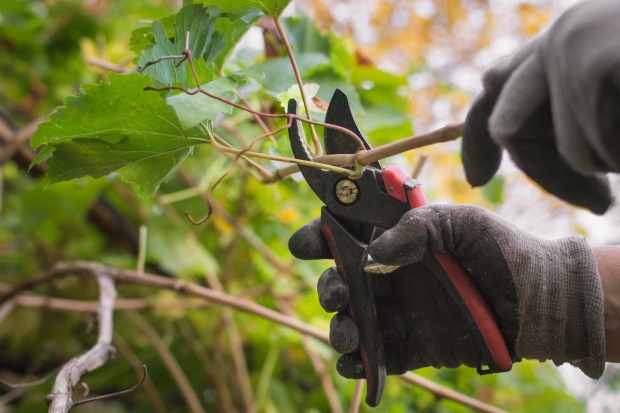
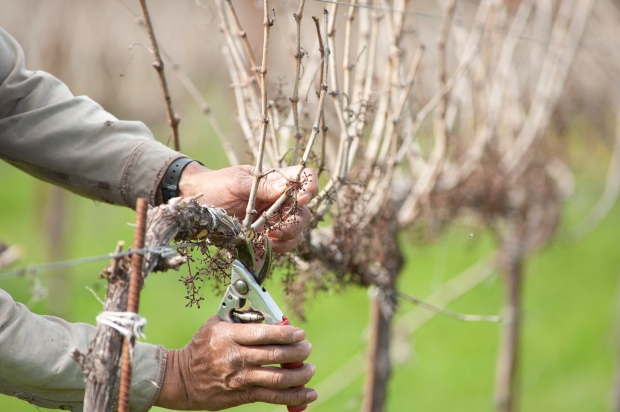
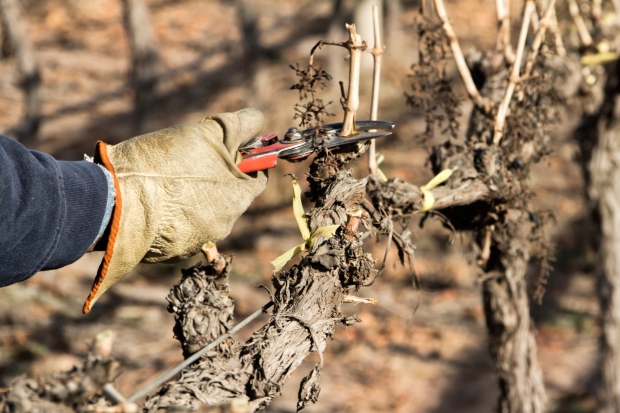
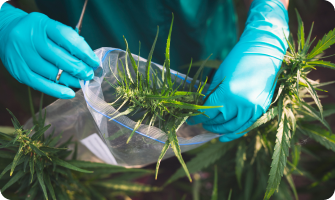
It’s better to kill those growing around your house. Wear long-sleeved shirts, pants and gloves with sharp tools to dig it out completely;
Clean the tools with rubbing alcohol or soap and water but do not do that with bare hands;
Clean your hands and skin once exposed to plants with soap and water;
Consider using barrier creams that contain bentoquatam to prevent poison oak, ivy and sumac rashes;
Dump it in special trash cans in sealed garbage packages, and do not let your pets reach it;
If you take your pets to hike with you in the wild, please don’t let them eat any plants that you don’t know;
Once your pets eat, touch or inhale anything from toxic plants and act abnormally, please call the doctors for help ASAP!
Pets
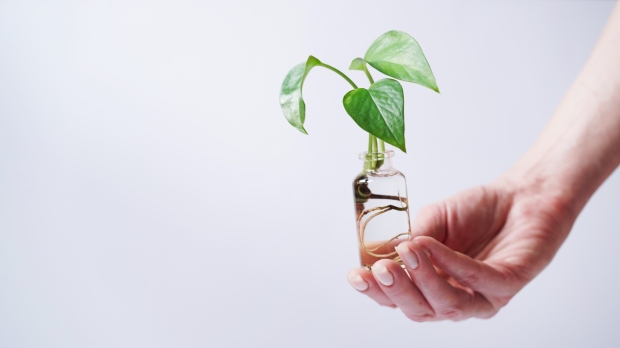
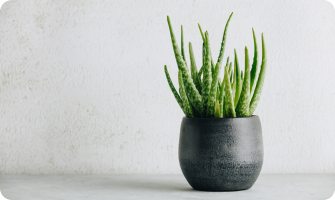
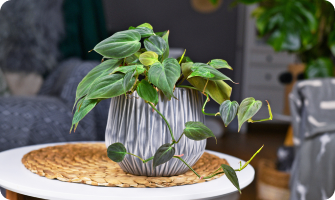
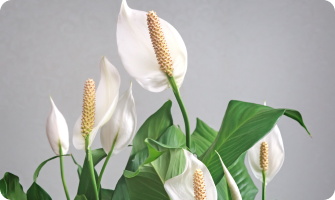
Common Toxic Houseplants
Aloe:
Philodendron:
Peace Lily:
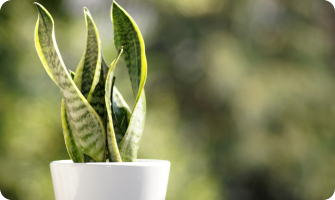
Snake Plant:
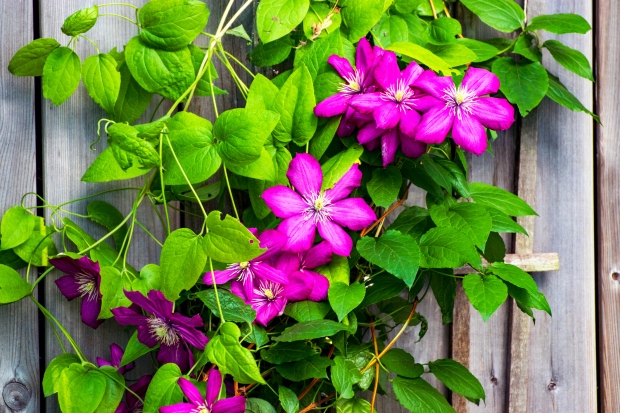
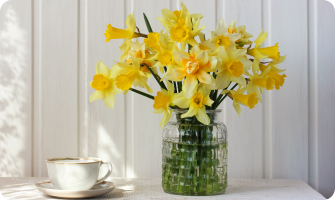
Common Toxic Garden Plants
Daffodil:

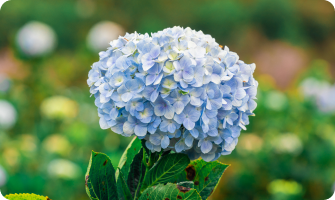
Hydrangea:
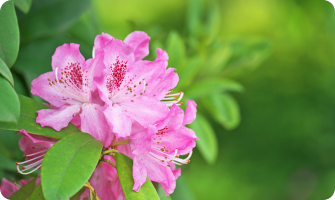
Rhododendrons
Rhubarb

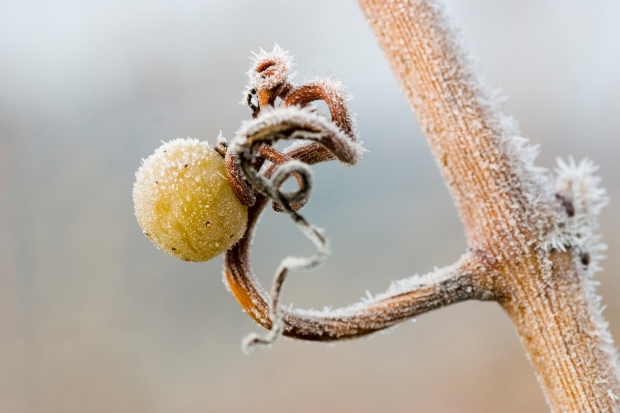
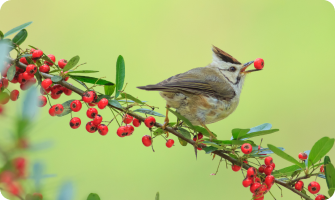
Common Toxic Weeds in the Yard
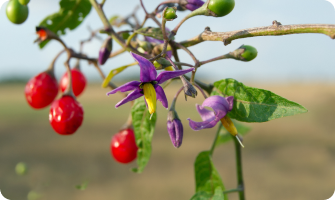
Bittersweet Nightshade
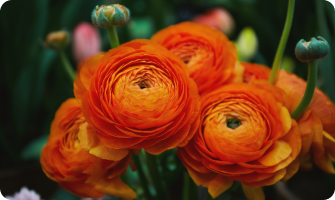
Buttercups
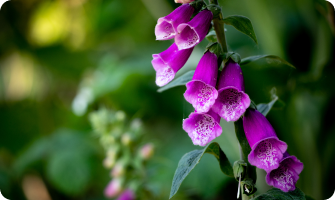
Foxgloves
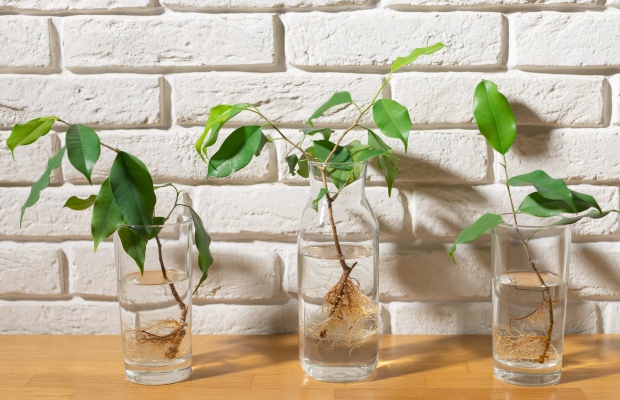
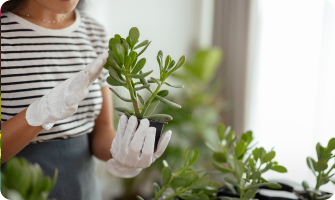
How to Tend to or Get Rid of Toxic Plants
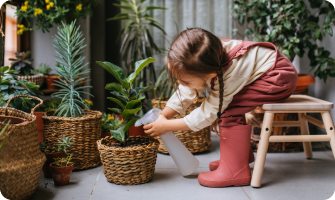
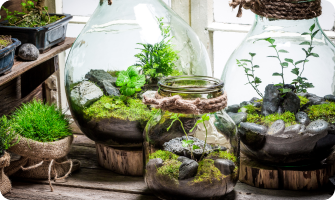
How to Tend to Poisonous Plants
How to Get Rid of Poisonous Plants