A Brief History of Floral Arranging
Decorating with flowers has been an important part of many countries for thousands of years. These traditions have been passed down for generations to become the foundations of flower design today. Every culture has its accepted styles and techniques, and learning to pull from them will help you make your arrangements all your own.
A full history of flower design deserves a book all its own. Here’s a highlight reel of some of the most notable moments.
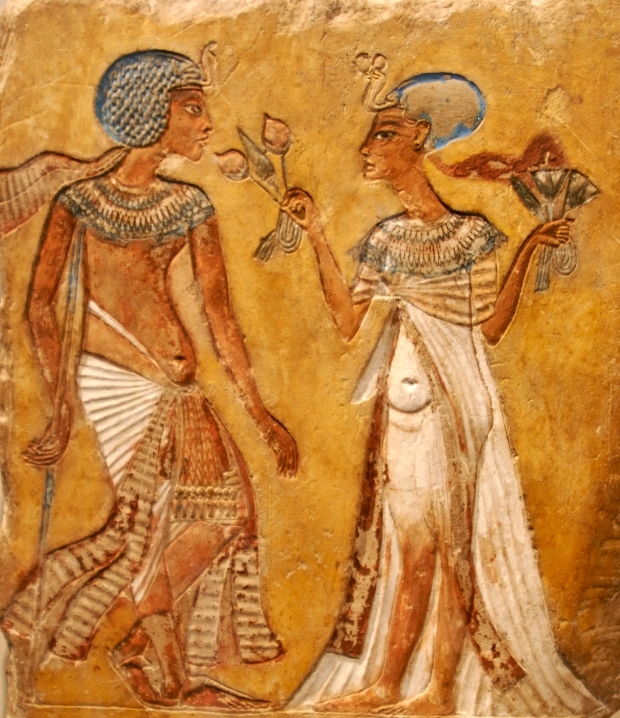
Ancient Egypt
While humanity has valued flowers since the start, our first record of their use comes from ancient Egypt. There, floral décor involved braiding fresh flowers into garlands and wreaths or flinging petals at special events.
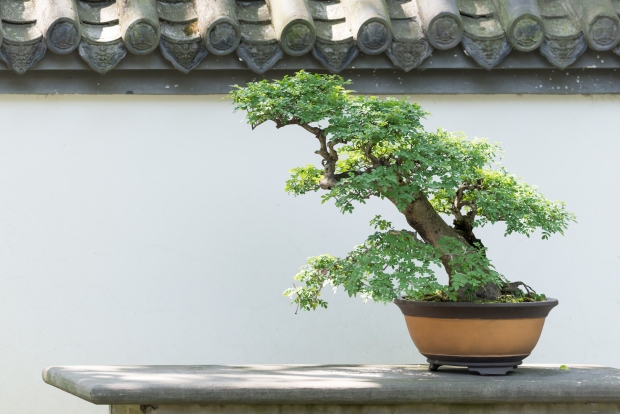
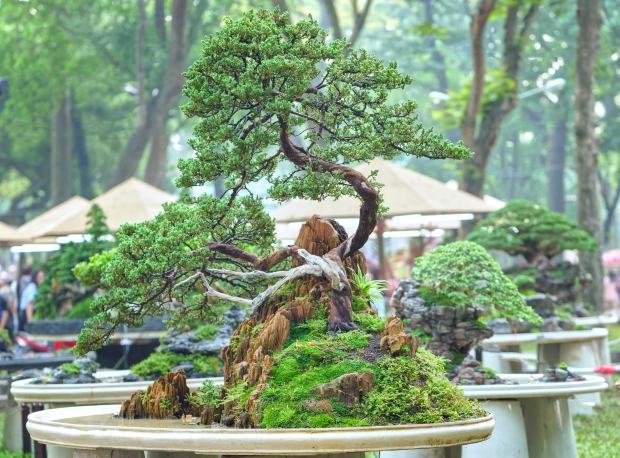
China and Japan
It’s believed that the Chinese were the first to put flowers in containers of water to prolong their lifespan and provide more opportunities for artful arrangement.
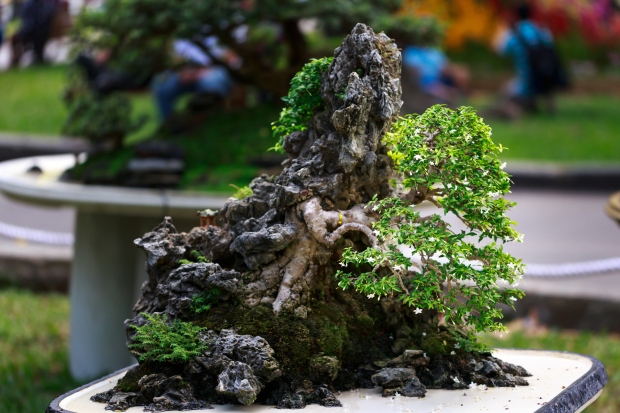
The Japanese took cut flowers further with various techniques and even schools of thought on the best practices. Flower arrangement became an aspirational art form and meditative practice that inspired relaxation.
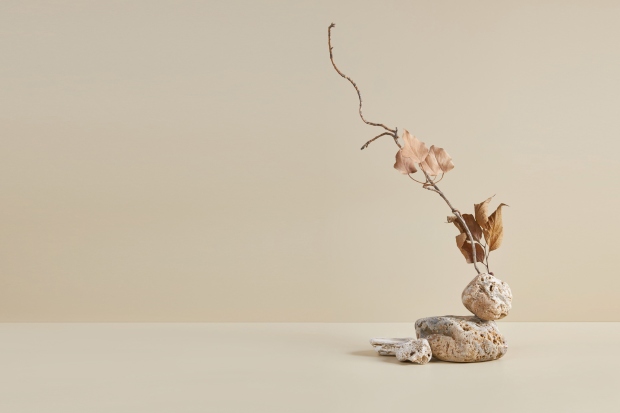
One popular Japanese technique is Ikebana, also called Kado. It’s a traditional practice where flowers and foliage are chosen to convey specific feelings or emotions to the viewer. Each piece is selected for its benefit for the final composition, and the design process is meant to be deliberate and reflective.
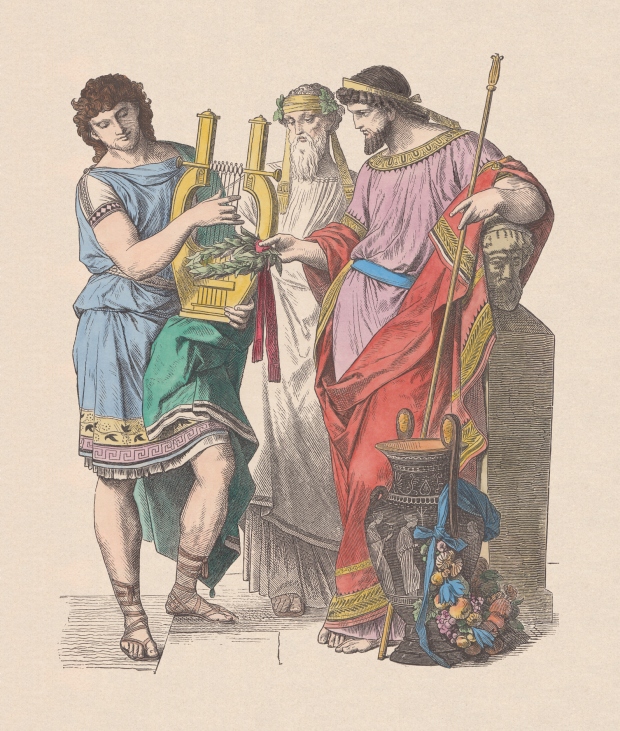
Ancient Greece and Rome
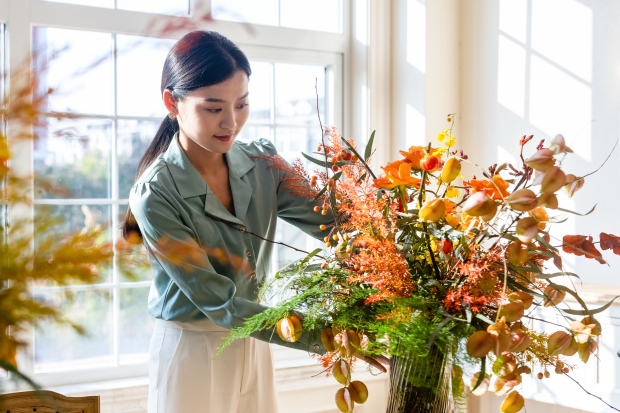
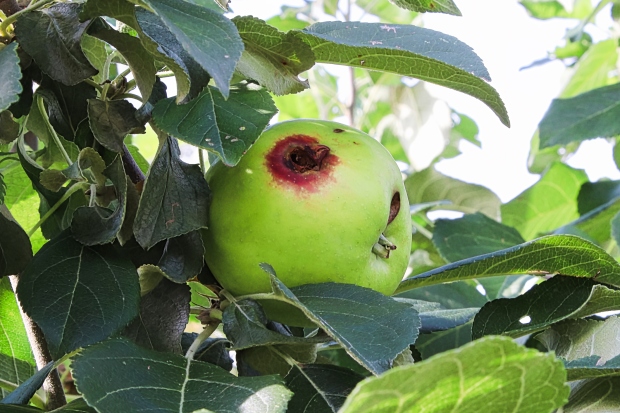
Think of the olive branch crowns of the Grecian Olympics, and you’ll know that flowers had symbolic and ceremonial importance. There was heavy influence on the meanings behind the types of flowers chosen, and this era of flower arrangement is known for utilizing fruit within the designs.
The Renaissance
Across Europe, the Renaissance was a time of evolution for many forms of art, and floral arrangements were no exception. In fact, as painting became more commonplace, artistic flower arrangements came into greater focus. This period is defined by designs that are more adventurous with their arrangement, with asymmetry becoming a favored design practice.
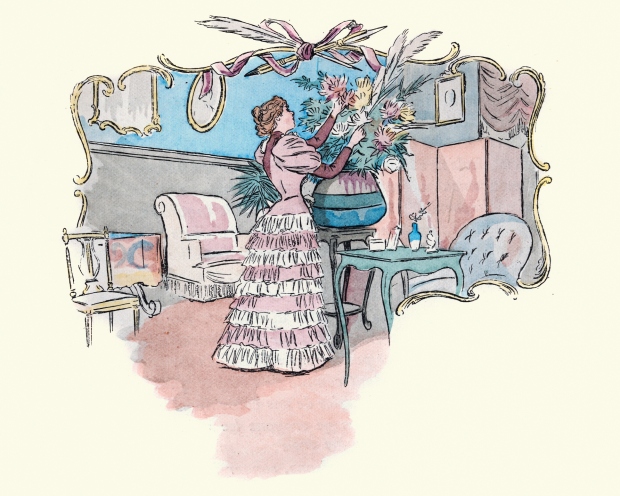
The Victorian Era
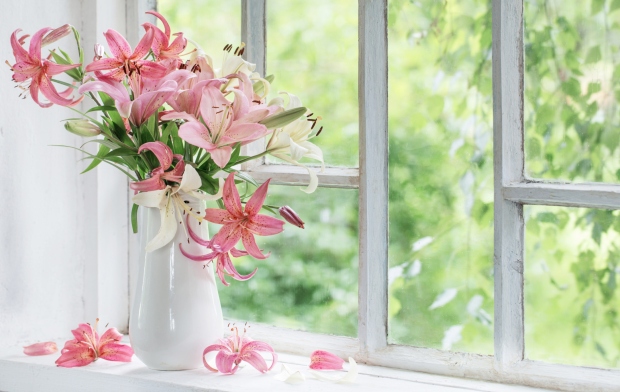
The Victorian era saw a return of flower arranging back to a way for individuals to express their status. Personal flower gardens peaked in popularity, and many elites took to making bouquets with their own backyard blooms for display in their homes and to give to friends who visit.
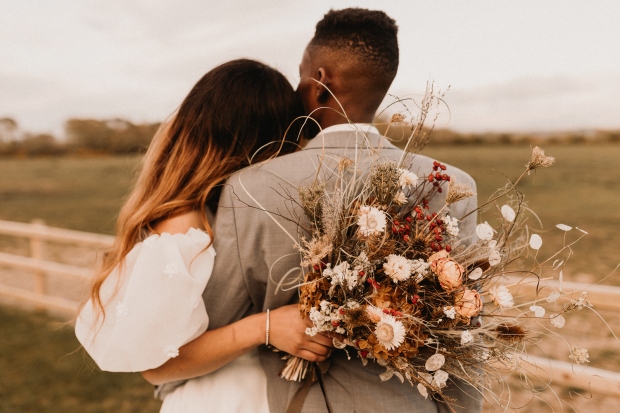
Today (and Beyond)
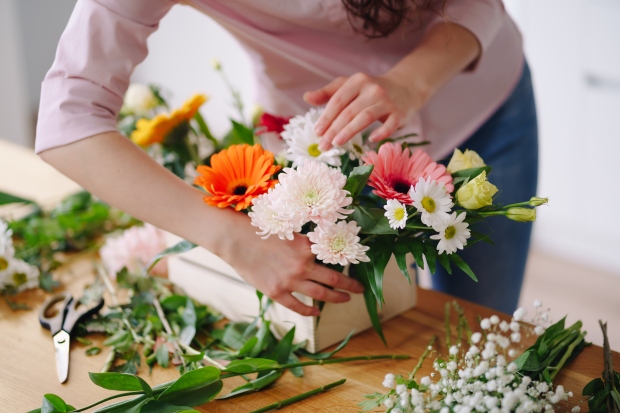
In the 21(st) century, greenhouse technology and refrigeration mean that an almost limitless variety of flowers are available to us today, and they remain an essential part of special events like weddings, funerals, and even high school dances. This means there’s more potential for incredible flower arrangements than ever before. You can combine varieties from different regions of the world in one bouquet or grow your own for a farm-to-table aesthetic.
Floral design remains an evolving field. There’s no knowing what tomorrow’s trends will be, so join the hobby and leave your mark!