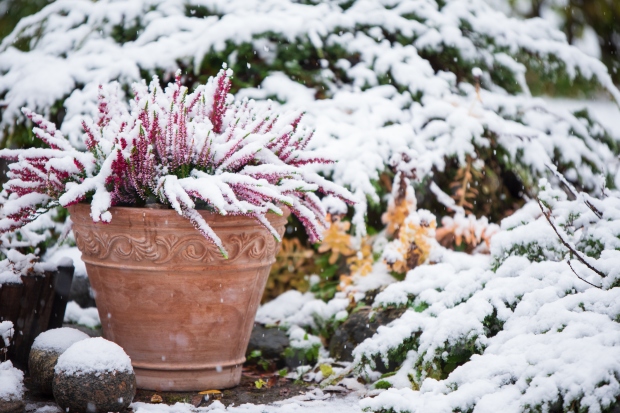
The Best Ways to Protect Your Garden From Frost This Winter
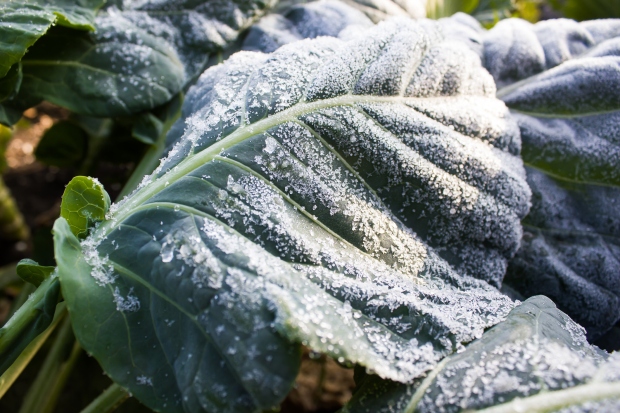
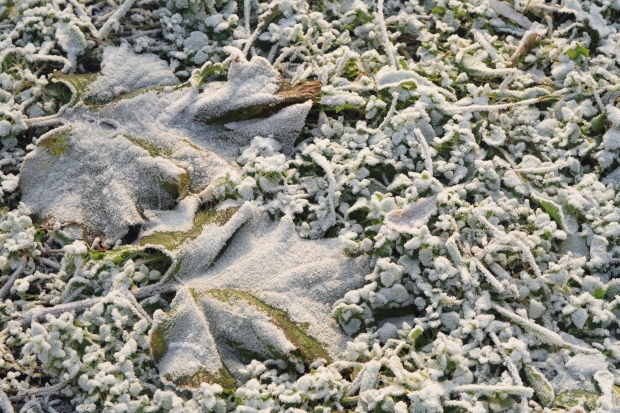
Whether you’re planting a Winter garden from seed or letting some of your hardier plants overwinter through the season, there are a few steps you can take to ensure your plants survive the coldest part of the year. When planning your garden for Winter, It’s important to remember that even the most resilient winter vegetables can get too chilly sometimes. So, depending on where you live, your hardiness zone, and unexpected changes in the weather, you may need to take additional measures to prevent your Winter garden or overwintering plants from freezing. The good news is there are some tried-and-true methods that will help protect your garden, so you can enjoy fresh, crisp Winter vegetables year-round.
Mulch
Mulch is any material that you can spread around the base of your plants and trees that keeps the soil around the plant moist and insulated. Store-bought mulch is made of various materials such as straw, bark, pine needles, leaves, or rubber. However, the type of mulch that is most commonly found in stores is usually made of hardwood chips like cedar and pine.
Mulch is an easy and cost-effective way to keep your plants cool in the Summer and warm in the Winter. In fact, it can even help keep your plant’s roots from getting too cold, which is a major culprit when it comes to plants dying over the Winter. Since mulch is so commonly used, there are many types to choose from. Different types of mulch offer different levels of insulative protection, so be sure to choose your mulch method wisely to keep your plants safe from frost this Winter.
Cold Frames
Cold frames are an inexpensive and easy method for helping your plants survive through unpredictable cold weather spells. Cold frames are structured enclosures that are placed over garden beds to create a greenhouse effect. They’re often made of wood or plastic and usually feature a window that can be opened to adjust the temperature and humidity of the soil in your garden. Cold frames work much like a miniature greenhouse, but they’re considerably smaller and less expensive. In fact, many people choose to make their own DIY cold frames.
When you use a cold frame instead of a greenhouse, you won’t need to disturb your plants by relocating them to your garden. Cold frames are a fantastic way to protect your Winter garden from frost and keep a thriving garden throughout the cold season.
Greenhouse
Greenhouses are a great option for starting a Winter garden or keeping your plants cozy through the colder months. Greenhouses are enclosed structures that most resemble elongated tents. They vary in size and can range from very small to quite large. Greenhouses are usually made of some lightweight or transparent material like plastic or glass and are used to trap heat and energy throughout the day. Keeping your plants inside of a greenhouse protects your overwintering plants from cold temperatures and allows you to keep a lush garden during the coldest months. Greenhouses are so useful that most people use them year-round for storing supplies, starting seeds, or starting plants earlier or later in the season.

Conclusion
There are a variety of options to protect your overwintering vegetables or winter garden safe from the cold. Using any of the methods on this list will help your plants thrive through the cold months so you can enjoy fresh garden veggies and a beautiful garden all year long.