Como posso replantar as frutas da minha cozinha?
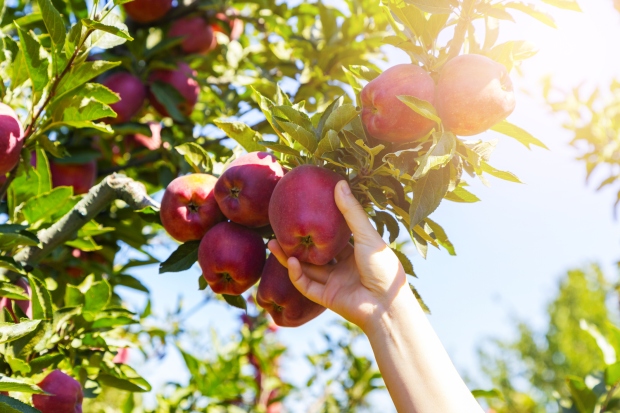
Frutas do supermercado podem ser uma ótima fonte de sementes ou restos de frutas gratuitas que podem crescer em uma planta ou uma árvore. Embora geralmente leve muito tempo para realmente cultivar uma fruta que você possa colher e comer, cultivar uma planta a partir de uma fruta do supermercado é um projeto divertido e satisfatório. Se você sempre quis fazer algo com sementes ou caules de frutas que geralmente apenas jogaria fora, por que não tentar plantá-los?
Uma nota sobre viabilidade de sementes e híbridos: A produção de frutas em larga escala depende muito do uso de híbridos, o que significa que cada peça individual de fruta tem uma composição genética de mais de uma variedade para maximizar a estabilidade de prateleira, maturação e outros fatores que os tornam adequados para transporte e venda. Embora ainda contenham sementes, essas sementes não se destinam a ser usadas para cultivar novas plantas. Algumas delas ainda serão capazes de brotar e crescer em uma nova planta, mas não produzirão a mesma fruta que a que você comprou. Vai refletir mais de perto uma das variedades que compõem o híbrido. Isso não significa que sua fruta será incomestível, mas será mais imprevisível do que comprar uma semente de fruta que foi feita para crescer.
Replantando frutas a partir de sementes
Frutas cítricas:
Limão, Lima, Laranja, Toranja, Tangerina, etc.
- Remova as sementes da fruta, retire toda a polpa e deixe-as de molho na água durante a noite.
- Plante as sementes preparadas 1,27 cm de profundidade em mistura de envasamento úmida.
- Cubra o recipiente com plástico transparente e deixe-o em um local quente e ensolarado.
- Quando as sementes brotarem em algumas semanas, remova o plástico mas continue mantendo o solo úmido.
- Transplante para um vaso maior ou ao ar livre em áreas temperadas.
- Normalmente, precisa de 7 a 9 anos para dar frutos.

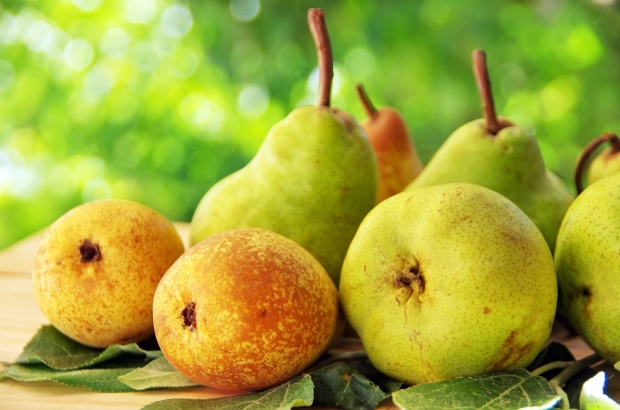
Frutas Pomáceas e Frutas de Caroço:
Maçã, Pera, Marmelo, Cereja, Damasco, Pêssego, Ameixa, etc.
- Remova as sementes da fruta e limpe toda a polpa
- Plante as sementes em pequenos recipientes de mistura de solo úmido para iniciar sementes, depois cubra com plástico
- Coloque o pote em uma área fresca, como um porão não aquecido, garagem ou geladeira por pelo menos seis semanas para imitar as condições do inverno. Certifique-se de que as sementes não se sequem durante esse tempo
- Mova as sementes para um local quente e brilhante e mantenha o solo úmido. As mudas devem emergir dentro de um mês
- Plante em pleno sol e mantenha-os bem regados e fertilizados. Certifique-se de plantar pelo menos duas plantas para que possam se polinizar
- Precisa de até 10 anos para dar frutos
Frutas silvestres:
Mirtilo, Framboesa, Amora, Groselha, Goji berry
- Remova as sementes da fruta e limpe toda a polpa. As sementes de frutas silvestres podem ser muito pequenas, então uma peneira de malha pode ajudar a separar as sementes da fruta
- Escorra as sementes em uma toalha de papel
- Prepare uma bandeja de viveiro rasa ou pequenos vasos com uma camada de mistura úmida para iniciar sementes, depois pressione as sementes na superfície do solo espaçadas cerca de 2,54 cm de distância
- Cubra com plástico transparente e coloque em uma área fresca, como um porão não aquecido, garagem ou geladeira por pelo menos 6 semanas para imitar as condições do inverno. Certifique-se de que as sementes não se sequem durante esse tempo
- Na primavera, coloque as sementes ao ar livre em um local sombreado e regue conforme necessário. As sementes devem germinar em 4 a 6 semanas
- Quando as mudas atingirem cerca de 15 cm de altura, elas podem ser movidas para o canteiro de jardim preparado
- A maioria dos tipos de frutas silvestres produz frutas em 2 a 3 anos
Melões:
Cantalupo, Casaba, Melão, Melancia, Muskmelon
- Remova as sementes da fruta e limpe toda a polpa
- Espalhe as sementes sobre papel manteiga em uma superfície plana em local fresco e seco e deixe-as secar por pelo menos uma semana (de preferência de 2 a 3 semanas)
- As sementes de melão podem ser plantadas diretamente no jardim se a estação estiver certa, ou você pode começar a cultivá-las dentro de casa na primavera
- Para começar as sementes de melão dentro de casa, coloque uma semente por vaso em uma mistura para iniciar sementes e use um tapete térmico para fornecer calor na parte inferior para as mudas
- Aclimatar as mudas e transplantá-las para o jardim quando tiverem de 2 a 3 folhas verdadeiras
- Os melões podem crescer no mesmo ano em que são plantados
Frutas tropicais:
Fruta do dragão, Mamão, Kiwi
- Remova as sementes da fruta e limpe toda a polpa
- Espalhe as sementes sobre papel manteiga em uma superfície plana em local fresco e seco e deixe-as secar por pelo menos uma semana (de preferência de 2 a 3 semanas)
- Pressione suavemente as sementes em uma mistura para iniciar sementes, cubra com plástico e use um tapete térmico para fornecer calor na parte inferior para as mudas
- Aclimatar as mudas e transplantá-las para o jardim ou um recipiente para o cultivo interno quando tiverem de 2 a 3 folhas verdadeiras
- O tempo para dar frutos varia, a maioria está entre 3 a 7 anos

Replantando Abacaxi
- Corte a coroa espinhosa do seu abacaxi cerca de 1,27 cm abaixo das folhas mais baixas, e aparar as folhas inferiores
- Apare em volta da parte inferior da coroa para remover qualquer fruta, até que você veja os botões de raiz marrom Deixe a coroa secar por vários dias (isso ajuda a prevenir o apodrecimento), depois enraíze o seu abacaxi colocando-o na água ou plantando-o diretamente em um solo bem drenado
- As raízes devem se desenvolver em 6 a 8 semanas
- Cultive o abacaxi como uma planta de folhagem única dentro de casa em luz brilhante
- É improvável que você consiga outro abacaxi a partir deste processo, especialmente se estiver cultivando-o dentro de casa