Understanding Your Needs: Indoor vs. Outdoor, Beginner vs. Expert
Indoor Succulent Gardening vs. Outdoor Succulent Gardening
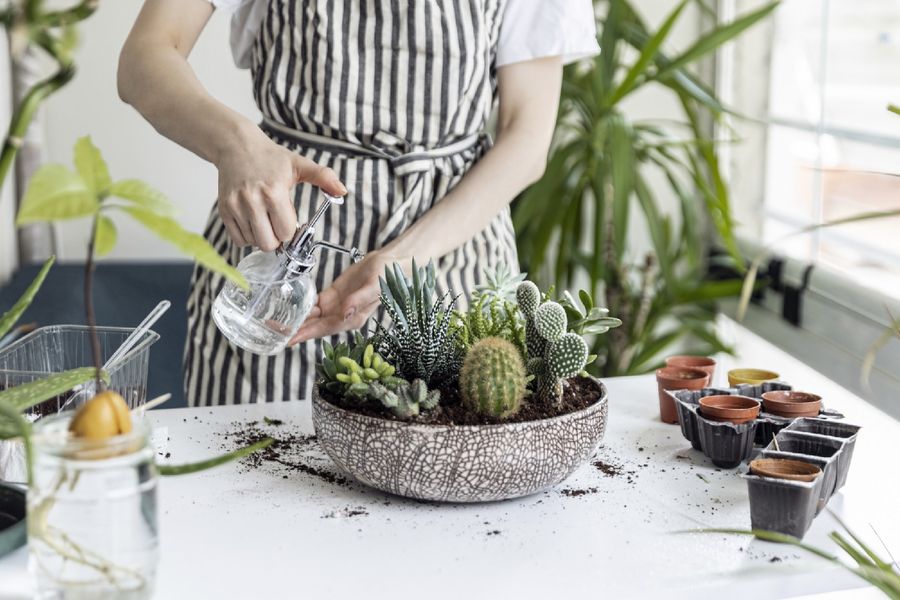
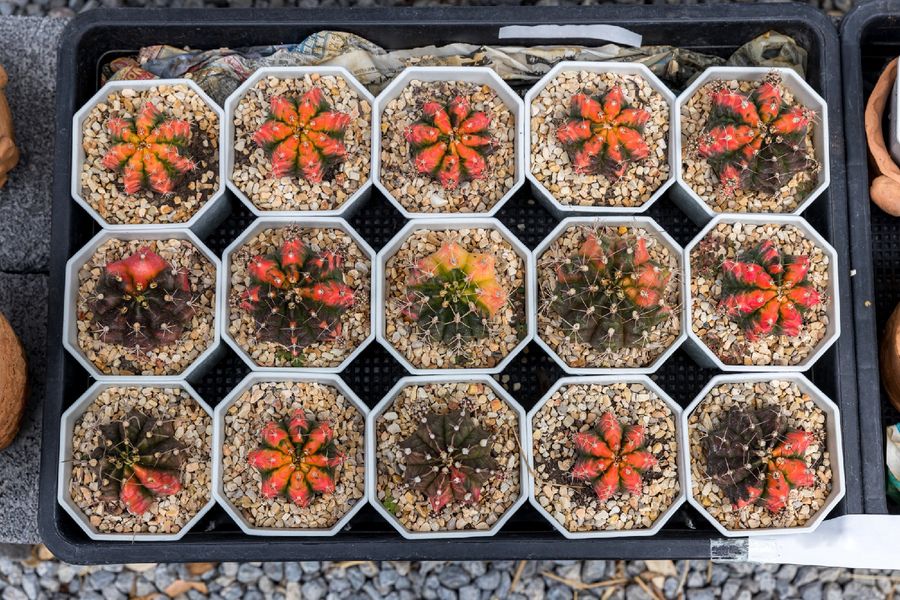
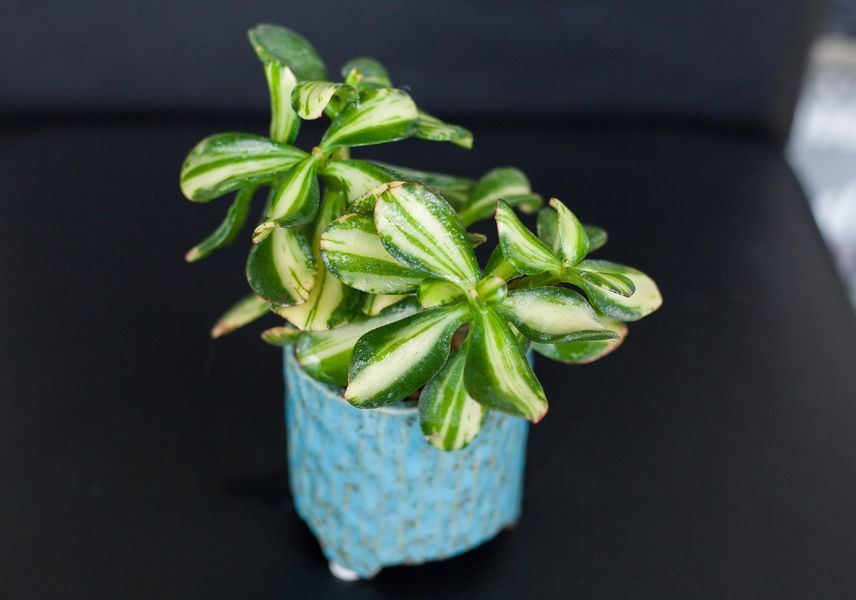
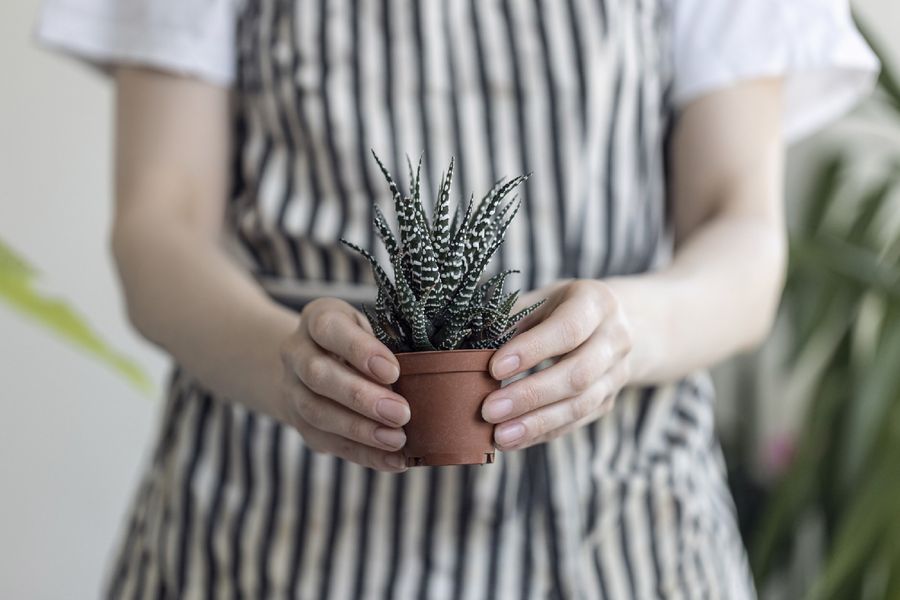
Indoor succulent gardening usually involves smaller pots and containers, and the plants are generally protected from harsh weather conditions. The most common tools needed here include small shovels, pruners, watering cans, and misting bottles.


Beginner vs. Expert
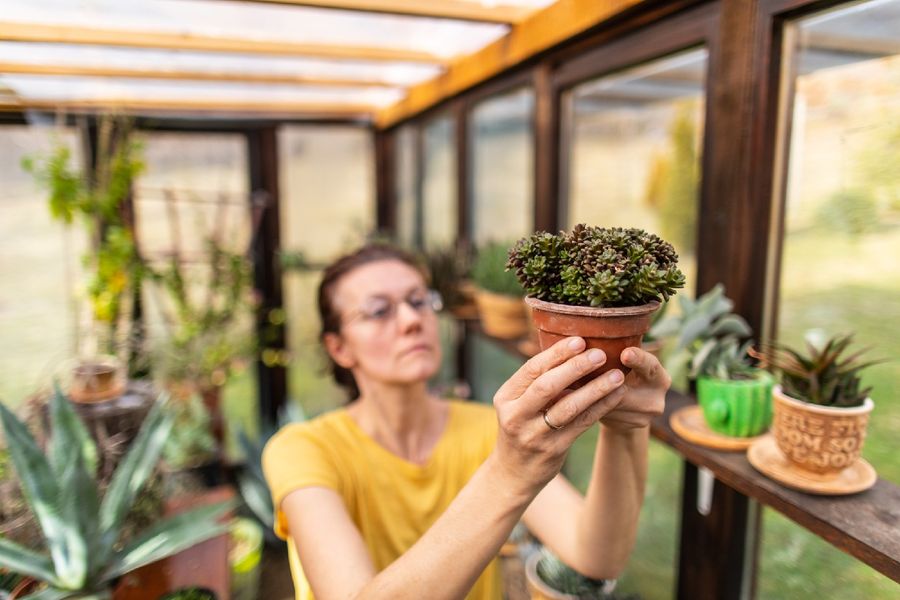
As a beginner, you might want to start with just the basics – a small shovel or trowel for planting, a pruner for trimming, and a watering can. But as you become more experienced and your succulent collection grows, you might need more specialized tools such as a soil pH meter, precision pruners, or a moisture meter.
It’s important to note that while some tools are necessary across the board, some might only be needed depending on specific situations.
Essential Tools and Equipment for Succulent Gardening
What Should Be in My Succulent Planting Kit?
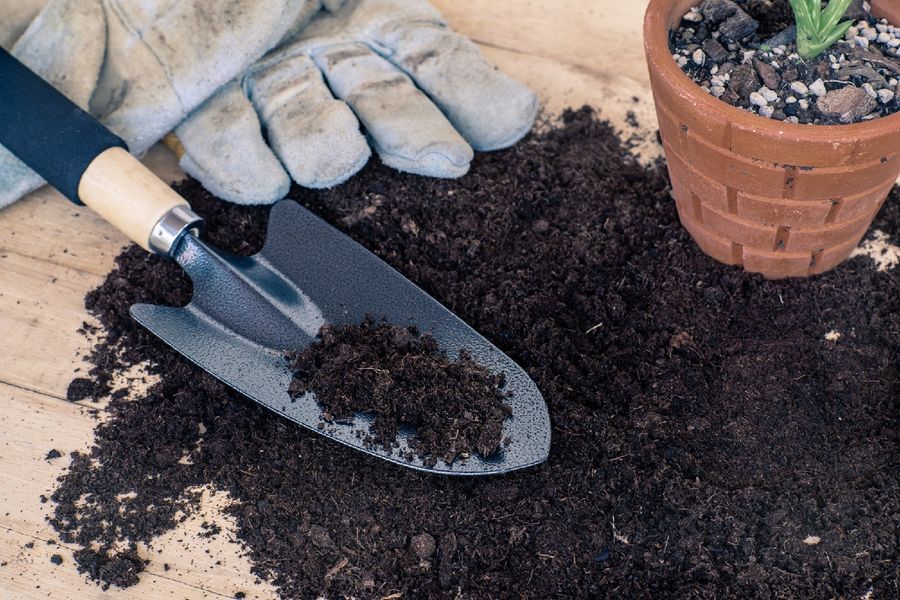
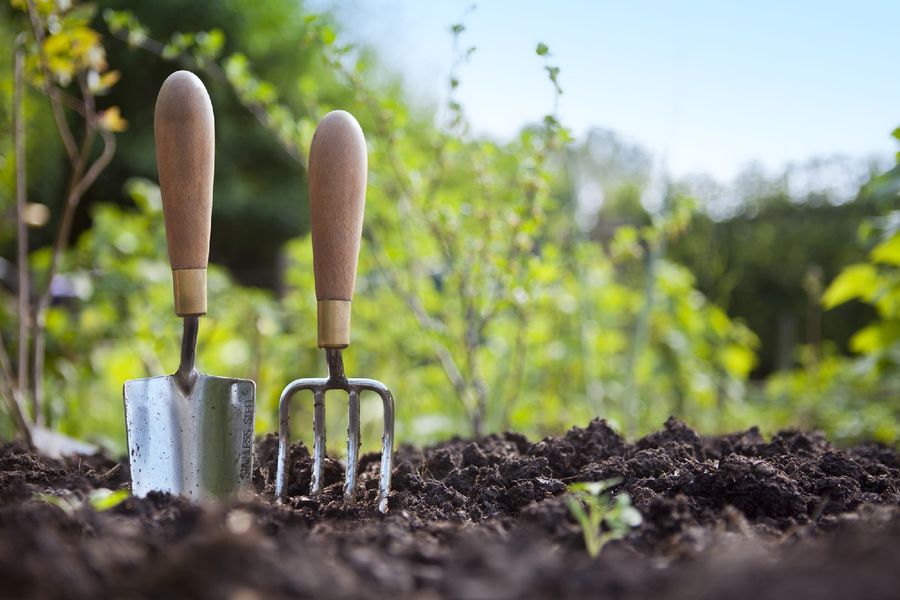
- Hand Trowel: This tool is perfect for digging small holes for your succulents, especially if you’re planting in a larger container or directly in the ground.
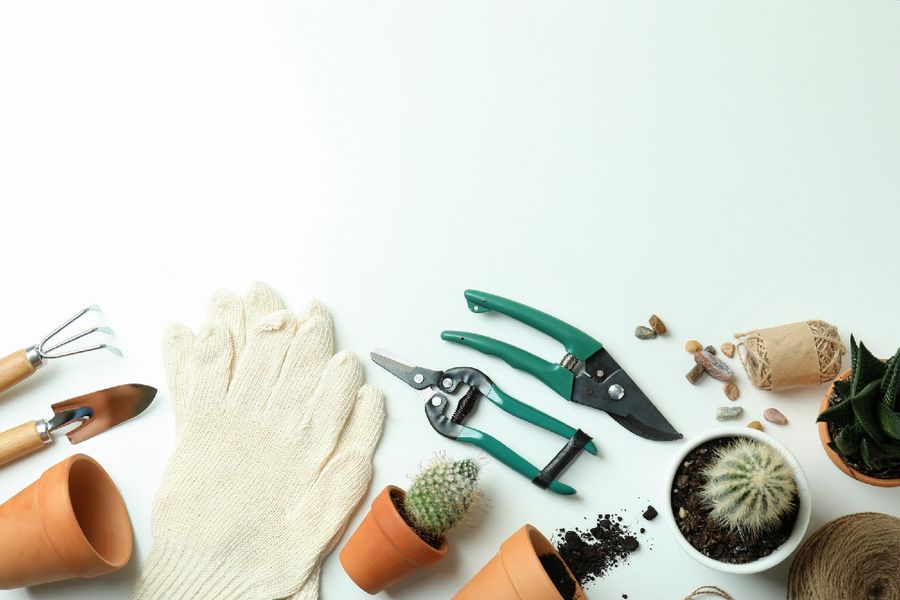
- Garden Pruners: Succulents need regular pruning to maintain their shape and health. A good pair of pruners is essential for cutting back overgrown succulents and removing dead or diseased parts of the plant.
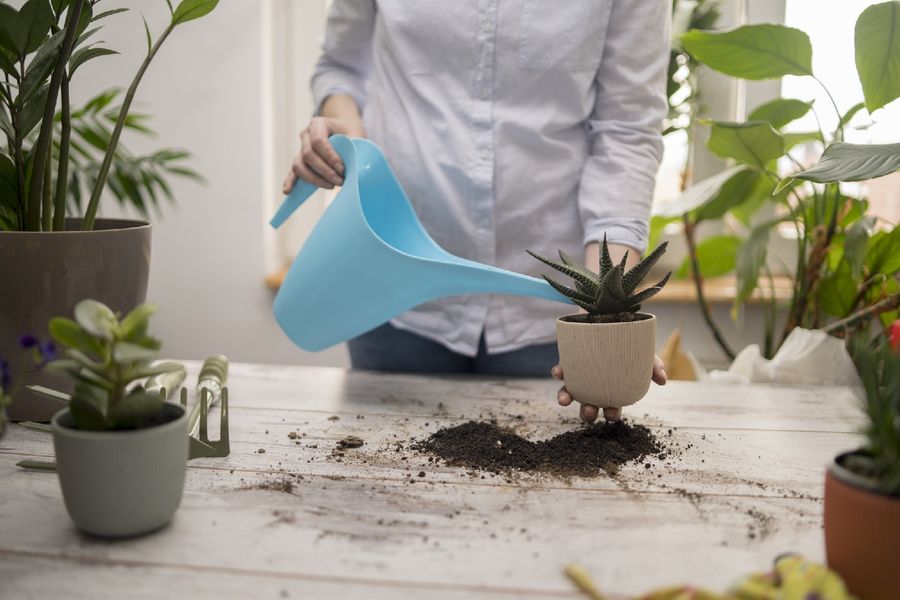
- Watering Can or Bottle: Succulents don’t need a lot of water, but when they do, it’s important to water them thoroughly. A watering can with a narrow spout or a squeeze bottle can help control the amount of water you’re giving your plants and ensure it gets to the roots, not just the surface.
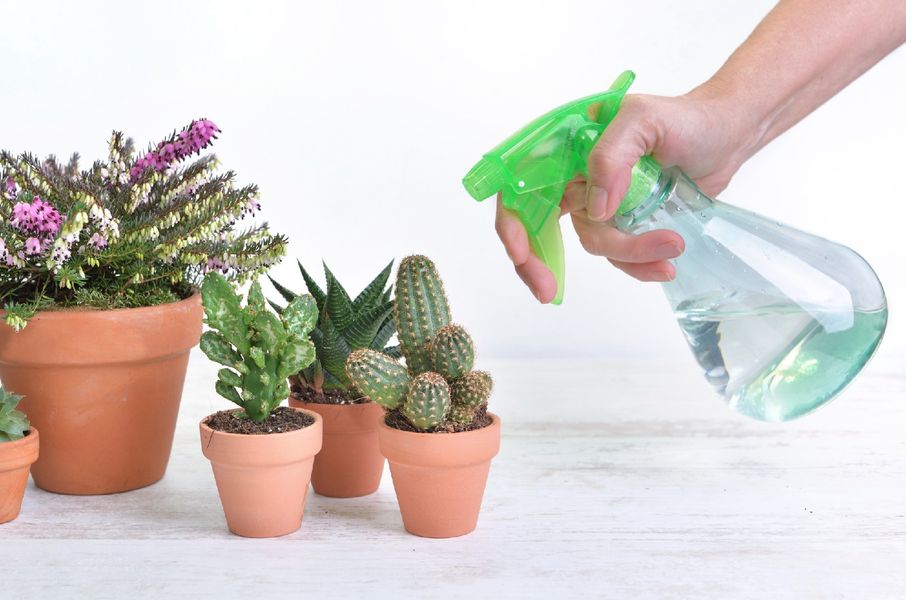
- Misting Bottle: Some succulents, like air plants, prefer to be misted instead of watered. A misting bottle is a great tool for providing your succulents with a gentle shower of water.
- Potting Mat: When potting or repotting your succulents, a potting mat can help keep the mess contained. These are especially useful for indoor gardening or if you’re working on a surface you want to keep clean.

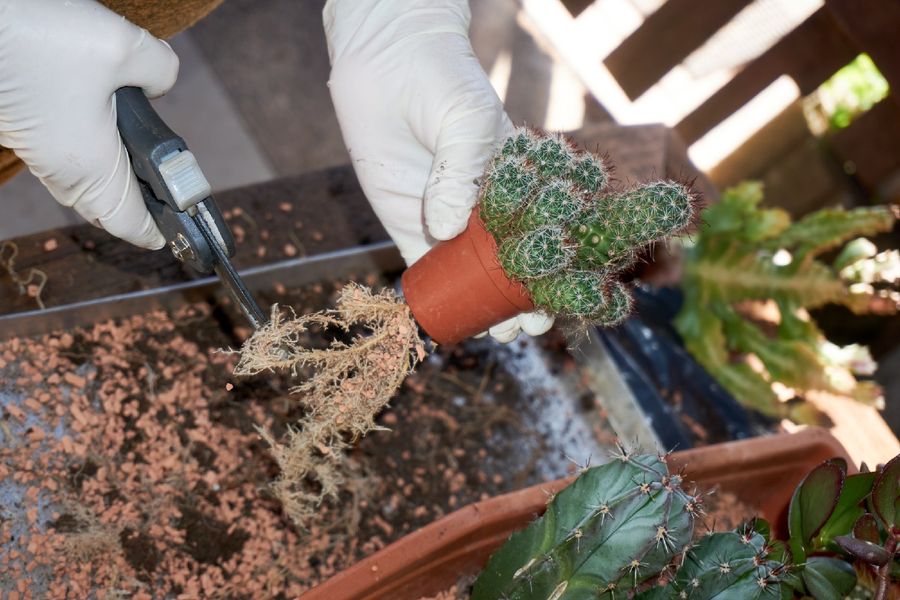
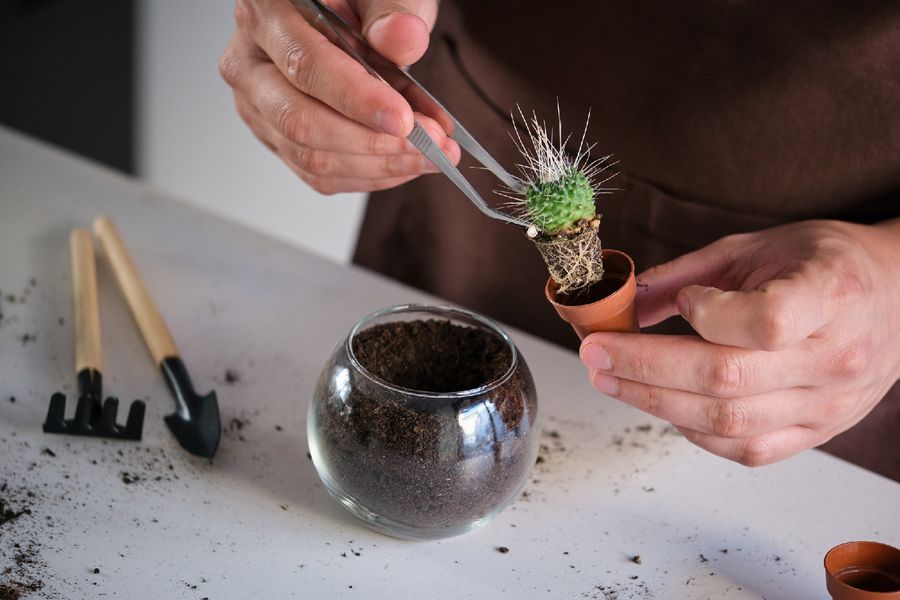
- Transplanting Tools: Transplanting succulents can be a delicate job, especially for smaller or more fragile plants. A set of transplanting tools, which often includes a small spade and tweezers, can make this task easier and safer for your plants.
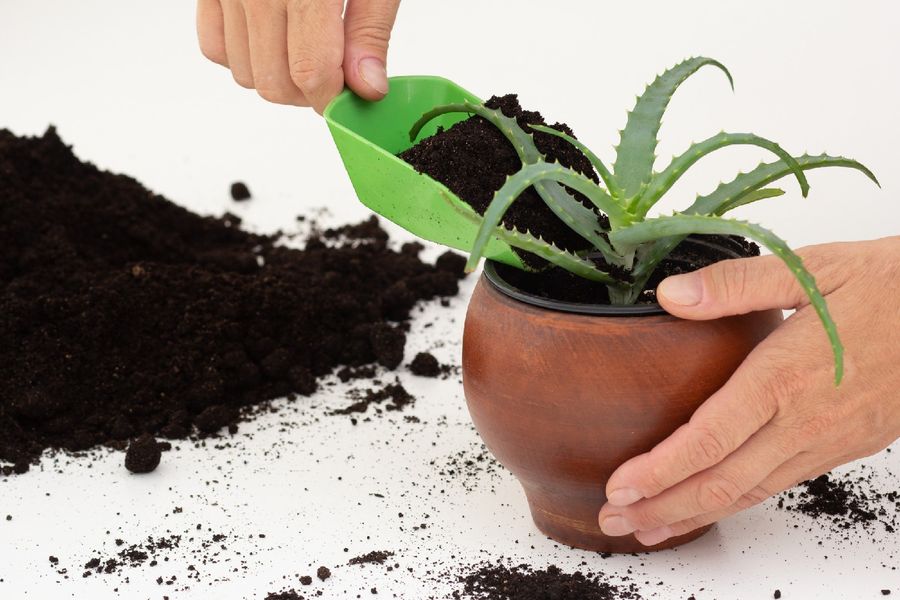
- Soil Scoop: A soil scoop can be handy when you need to add more potting mix to your plants or when you’re potting a new plant. This tool helps keep your hands clean and makes it easier to get the soil exactly where you want it.
Are There Any Specialized Tools for Succulent Care?
While the tools mentioned above are perfect for general succulent care, there are also some specialized tools that can help you better maintain your plants:
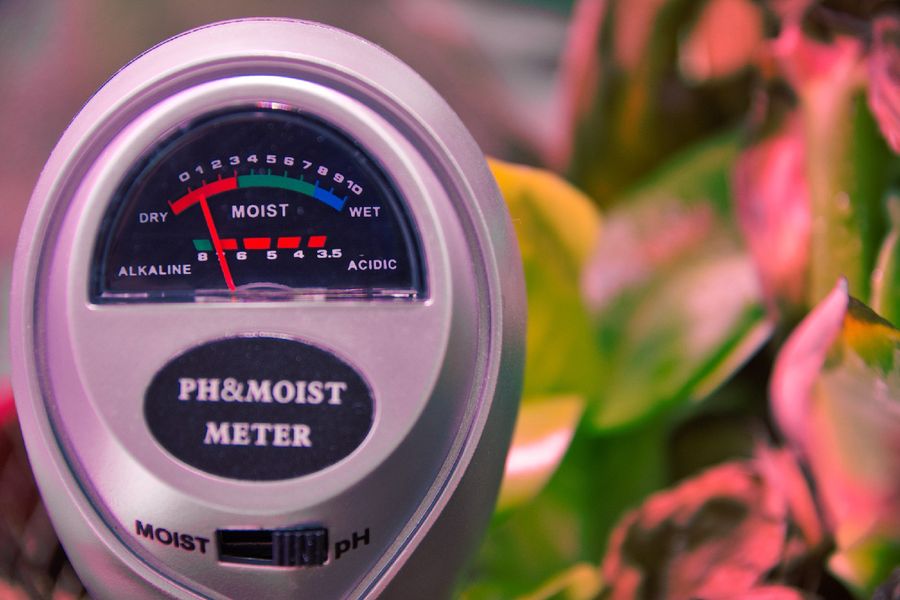
- Soil Moisture Meter: Overwatering is a common problem in succulent care. A soil moisture meter can help you avoid this by showing you how wet your soil is beneath the surface.
- Soil pH Meter: Some succulents prefer slightly acidic to neutral pH levels. A soil pH meter can help you ensure your soil is in the right range for your plants.
- Precision Pruners: For smaller or more intricate succulents, a pair of precision pruners can give you the control you need to prune your plants without damaging them.
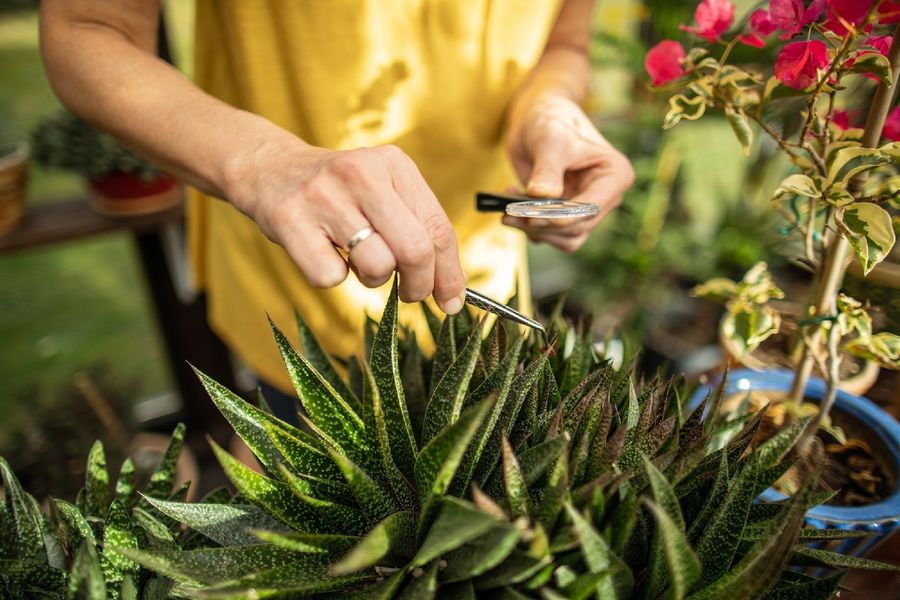
- Magnifying Glass: Some pests that affect succulents are tiny and hard to see with the naked eye. A magnifying glass can help you spot these pests before they become a problem.
Choosing Quality Tools: What to Look For
How Can I Choose a Good Hand Trowel or Soil Scoop?
- Material: A trowel or scoop made from stainless steel or a durable, rust-resistant metal will last longer and withstand the wear and tear of digging in soil. Avoid tools with thin metal parts that could bend or break easily.
- Ergonomic Design: Look for tools with comfortable, non-slip handles. If you’ll be doing a lot of planting or repotting, a handle with a comfortable grip will make the work easier on your hands.
- Size: Depending on the size of your succulents and their containers, you might need a smaller or larger tool. Check the dimensions before buying to ensure it suits your needs.
What Makes a Good Watering Can or Bottle?
- Controlled Water Flow: Succulents don’t like to sit in water, so it’s crucial to choose a watering tool that allows for controlled, gentle watering. Look for a watering can with a long, narrow spout or a squeeze bottle with a small nozzle.
- Durability: Just like with trowels and scoops, you’ll want a watering tool that’s durable and well-made. Look for a sturdy material like metal or heavy-duty plastic.
How Do I Select the Right Pruning Tools?
- Sharpness: Your pruners should be sharp enough to make clean cuts without damaging the plant tissues. Dull pruners can cause bruising and lead to infection.
- Size and Design: For larger succulents, a pair of regular garden pruners will do. But for smaller or intricate succulents, a pair of precision pruners or even a set of bonsai pruning tools might be more suitable.
- Comfort: Look for pruners with comfortable, ergonomic handles, especially if you have a large collection of succulents to care for.
Are There Any Special Considerations for Transplanting Tools?
- Material and Durability: Again, look for tools made from sturdy, rust-resistant materials.
- Size: If you’re working with small or delicate succulents, a set of mini transplanting tools might be necessary.
- Versatility: Some transplanting sets come with a variety of tools for different purposes – such as tweezers for removing dead leaves, a spatula for loosening soil, and a dibber for making planting holes. If you’re an avid succulent gardener, a set like this could be a worthwhile investment.
Proper Tool Maintenance
How Do I Clean My Succulent Gardening Tools?
- Regular Cleaning: Clean your tools after each use to remove dirt and debris. This can be as simple as rinsing them under a tap and wiping them dry with a cloth. For tools like trowels or soil scoops, you might need to use a stiff brush to remove stuck-on soil.
- Deep Cleaning: Occasionally, your tools will need a more thorough cleaning. This could involve soaking them in a solution of water and a mild detergent, then scrubbing them with a brush. Be sure to rinse them thoroughly after this process to remove any soap residues.
How Should I Store My Tools?
- Dry Storage: Always store your tools in a dry place to prevent rust. Even stainless steel tools can rust if they’re constantly exposed to moisture.
- Organized Storage: Keep your tools organized so you can easily find what you need. This could be in a toolbox, a storage bag, or even a pegboard in your garage or shed.
What About Sharpening and Rust Removal?
- Sharpening: Tools like pruners will need to be sharpened occasionally to ensure they make clean cuts. You can do this yourself with a sharpening stone or tool, or take them to a professional sharpener.
- Rust Removal: If your tools do become rusty, don’t despair! Rust can often be removed with a bit of elbow grease and the right products. Try scrubbing the rust off with a wire brush or sandpaper. If that doesn’t work, you can use a rust remover product, following the manufacturer’s instructions.
Do I Need to Disinfect My Tools?
- Disinfection: If you’ve been dealing with plant diseases in your collection, it’s a good idea to disinfect your tools to prevent the disease from spreading. You can do this by wiping the tool with a cloth soaked in isopropyl alcohol or a 10% bleach solution.
- Routine Disinfection: Even if you haven’t had any disease problems, it’s a good practice to routinely disinfect your tools, especially if you’re moving between different plants or pots.