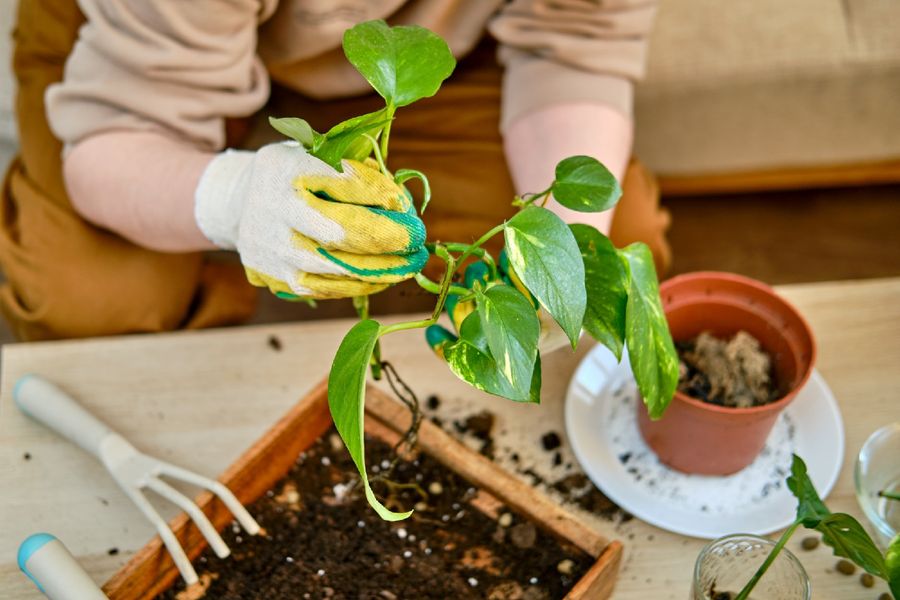
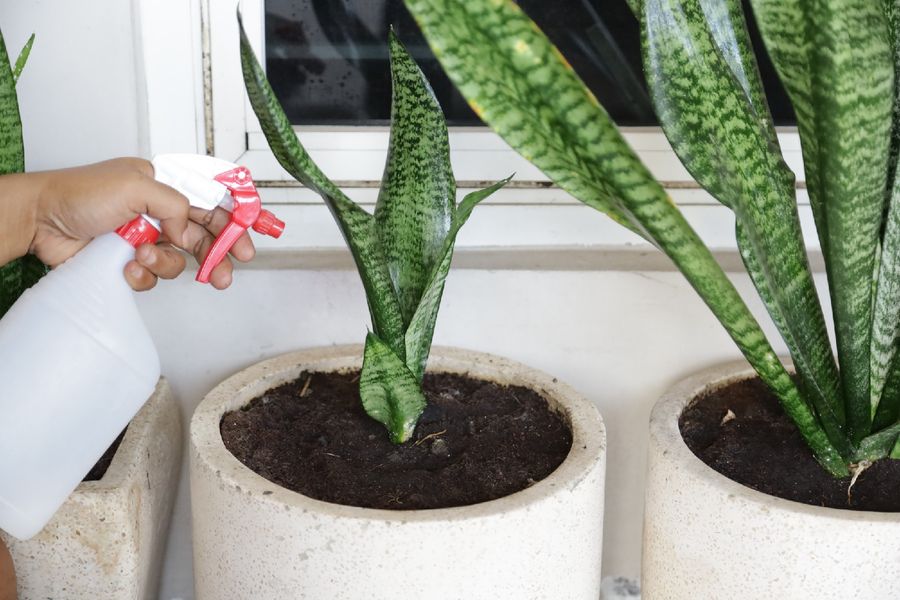
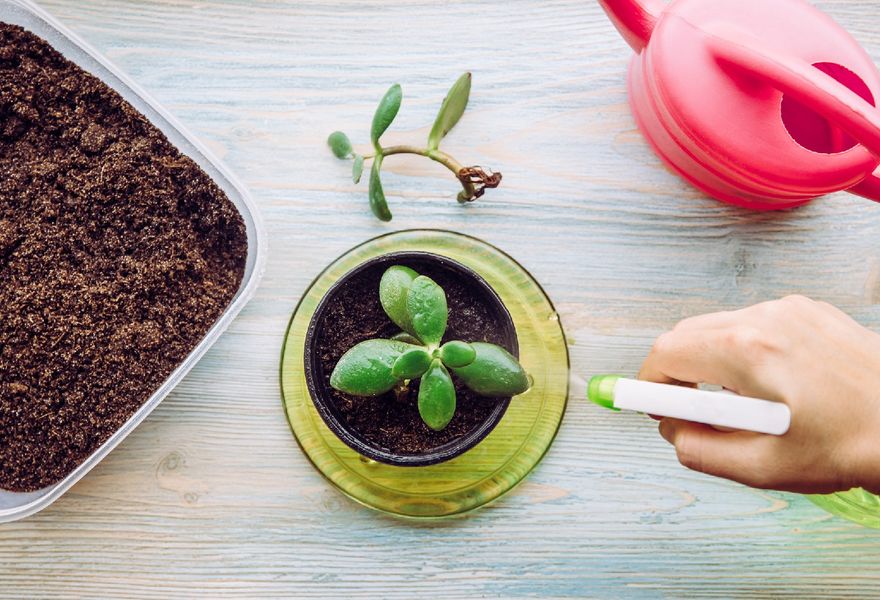
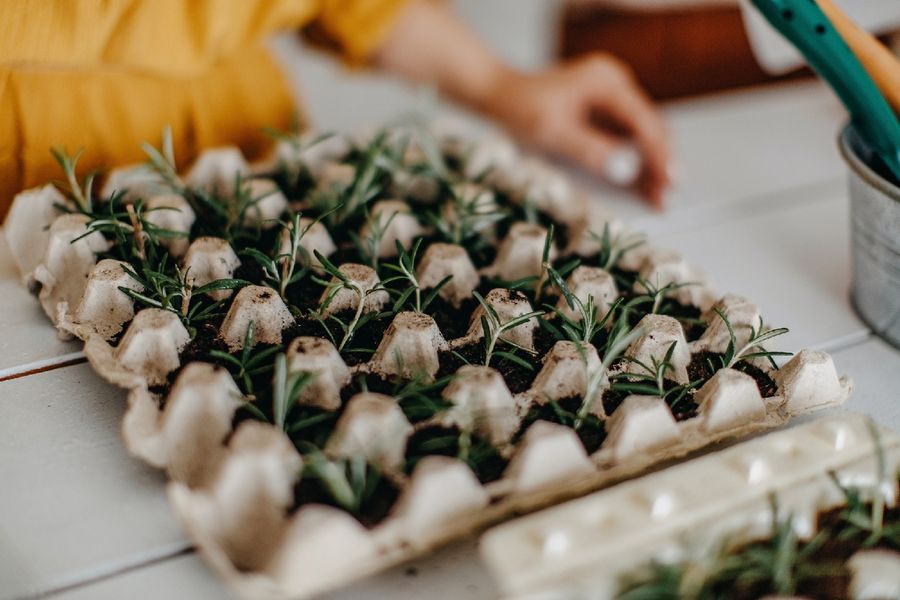
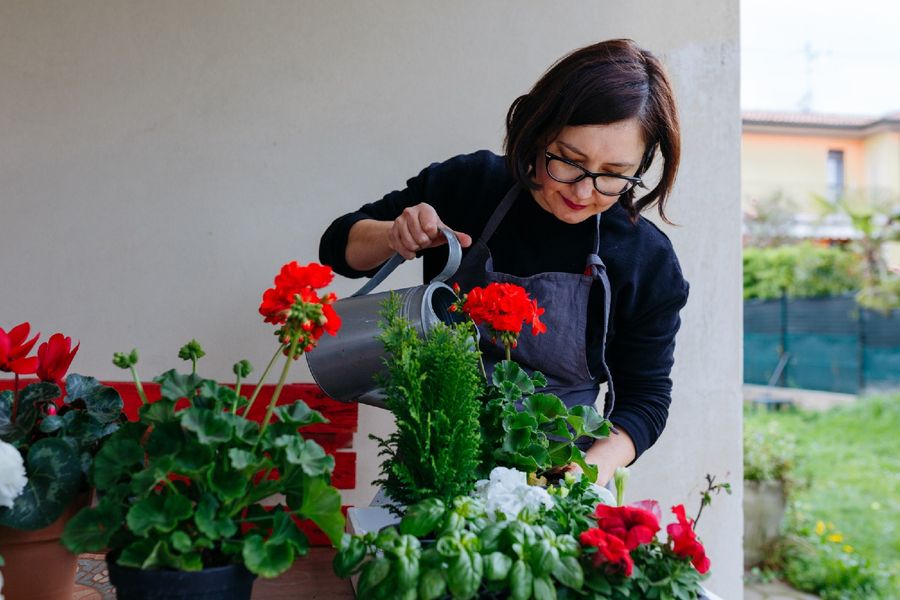
Best Plants to Start in December
As the year winds down and winter sets in, many might think it’s time to put the gardening tools away. However, December presents unique opportunities for garden enthusiasts. Starting a garden in December may seem unconventional, but it offers a chance to get a head start on the coming spring, and some plants actually thrive when planted in the cooler months. Winter gardening is not only about enduring the cold; it’s about utilizing the season’s distinct conditions to cultivate a robust garden. This article will delve into the best plants to start in your garden in December, laying the groundwork for a flourishing and vibrant garden come spring.
Garlic (Allium sativum)
Garlic, known botanically as Allium sativum, is a stellar choice for planting in December. This robust and flavorful bulb thrives in the cooler months, making it ideal for winter gardening. Planting garlic in December allows for a longer growing period, leading to larger, more flavorful bulbs harvested in the summer.

When planting garlic, it’s important to choose a well-drained site with plenty of sunlight. The soil should be rich and loose to allow for easy bulb development. Plant the garlic cloves pointy-end up, about 2 inches deep and 4-6 inches apart. Cover them with a layer of mulch to provide insulation against severe cold. Garlic has minimal pest and disease issues, making it a low-maintenance crop perfect for winter gardening. Regular watering is crucial, especially during the spring as the bulbs start to swell. Planting garlic in December sets the stage for a rewarding and aromatic harvest, a true testament to the potentials of winter gardening.
Onions (Allium cepa)
Onions, scientifically termed Allium cepa, are another excellent choice for December planting. This versatile and hardy vegetable can be planted in winter for a successful early summer harvest. Onions planted in December benefit from the cooler temperatures, which can help in establishing a strong root system before the warmth of spring encourages top growth.

For successful onion growth, selecting the right variety is crucial. Choose varieties that are suited to winter planting and your specific climate. Onions prefer a well-drained, fertile soil, ideally with a neutral pH. When planting, space the onion sets or seeds about 4 inches apart in rows that are 12 inches apart. This spacing allows ample room for growth and airflow, reducing the risk of disease. Onions require consistent moisture, so regular watering is important, especially as the bulbs start to form. With proper care, onions started in December will develop into robust, flavorful bulbs, adding a home-grown touch to your summer dishes.
Broad Beans (Vicia faba)
Broad Beans, also known as Vicia faba, are an ideal choice for planting in December, especially in milder climates. These hearty legumes can withstand cooler temperatures, making them perfect for getting a jump on the spring planting season. Starting broad beans in December can lead to an early and bountiful harvest in late spring or early summer.

When planting broad beans, choose a sunny spot with well-drained soil. It’s beneficial to add compost or well-rotted manure to the soil before planting to ensure rich nutrients for growth. Sow the seeds about 2 inches deep and 6 inches apart, in double rows to maximize space and yield. In regions with harsher winters, it’s advisable to protect the young plants with a fleece or cloche. Broad beans are generally low-maintenance, but they do benefit from regular watering and occasional feeding. They can also be susceptible to blackfly infestations, so be vigilant as the weather warms. Planting broad beans in December sets them up for a head start, leading to an early harvest of these nutritious and versatile beans.
Peas (Pisum sativum)
Peas, with the scientific name Pisum sativum, are a fantastic addition to a December planting schedule. These cool-season crops can endure chilly weather, making them suitable for early planting and ensuring an early spring harvest. Planting peas in December allows them to establish a strong root system over the winter, leading to vigorous growth as the weather warms.

Before planting peas, it’s important to prepare the soil by loosening it and adding organic matter for nutrients. Peas prefer a sunny spot but can tolerate partial shade. They should be sown directly into the ground, about an inch deep and a couple of inches apart. Since peas are climbers, providing support structures such as trellises or stakes at planting time is crucial for their growth. Keeping the soil moist but not waterlogged is key to successful pea growth. Regular watering and mulching can help maintain the soil moisture and temperature. By planting peas in December, gardeners can enjoy an early bounty of fresh, sweet peas, perfect for a variety of dishes.
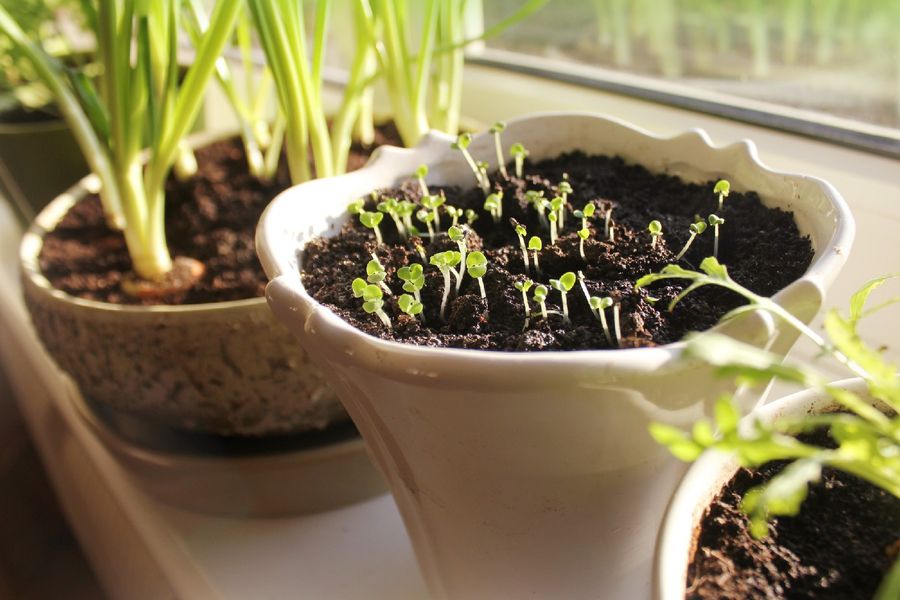
Winter Lettuce (Lactuca sativa)
Winter Lettuce, categorized under Lactuca sativa, is an excellent choice for gardeners looking to extend their vegetable harvest into the cooler months. Specifically bred to tolerate lower temperatures, winter varieties of lettuce can be successfully planted in December, offering fresh greens even in the chill of winter.

When planting winter lettuce, select a site that receives plenty of sunlight, as this will aid in keeping the ground warm. Well-drained, fertile soil is ideal for lettuce cultivation. Sowing the seeds shallowly, about a quarter-inch deep and a few inches apart, allows for adequate growth space. In colder regions, it’s advisable to use a cold frame or greenhouse to protect the young seedlings from extreme cold and frost. Watering should be consistent but moderate, as overwatering in cooler temperatures can be detrimental. Winter lettuce varieties tend to grow slower than their summer counterparts but are often more flavorful and tender. By adding winter lettuce to your December planting, you can enjoy a continuous supply of fresh, home-grown greens throughout the winter months.
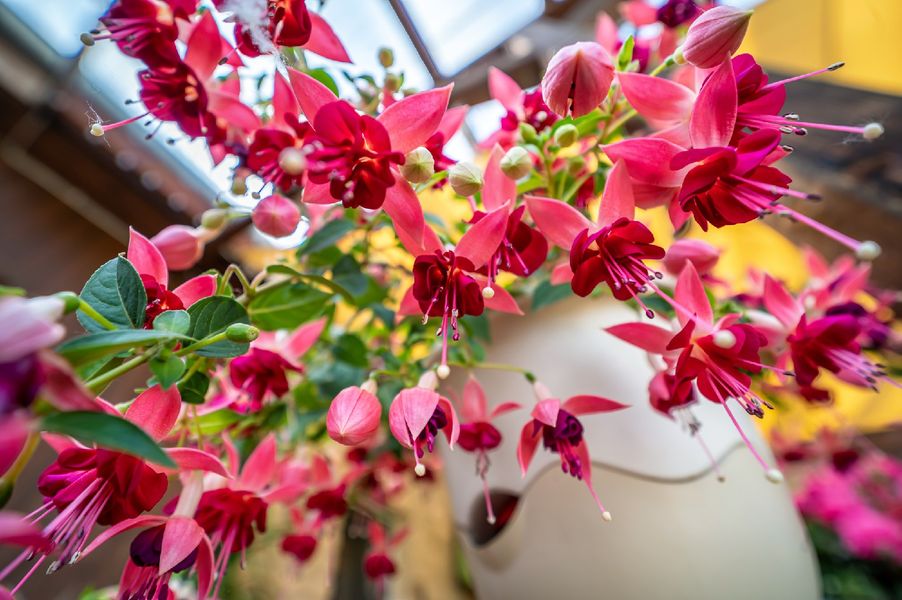
Sweet Peas (Lathyrus odoratus)
Sweet Peas, botanically known as Lathyrus odoratus, are a delightful addition to the winter garden, not for their edibility but for their vibrant colors and sweet fragrance. While they are typically associated with spring, starting Sweet Peas in December can lead to stronger, more robust plants with an earlier flowering period.

Before planting, it’s beneficial to soak the Sweet Pea seeds overnight to soften the hard outer shell, aiding in germination. Choose a sunny spot with rich, well-drained soil for planting. Sow the seeds about an inch deep and a few inches apart, providing enough space for each plant to grow. Sweet Peas require support as they are climbing plants, so installing trellises or stakes at the time of planting is essential. Regular watering is important, but be cautious of overwatering during the colder months. Sweet Peas are relatively hardy but may need protection from severe frost in harsher climates. By planting Sweet Peas in December, you’re setting the stage for an early and long-lasting display of colorful, fragrant blooms, adding both visual and aromatic appeal to your spring garden.
Embracing winter gardening is about more than just extending the growing season; it’s about understanding and working with the natural rhythms of the earth, even during its most dormant phase. With the right selection and care, your December-planted garden will lay a resilient foundation for a vibrant and bountiful spring. So, don’t let the cold deter you. Grab your gardening tools and embrace the unique joy of winter gardening, setting the stage for a flourishing garden in the year ahead.