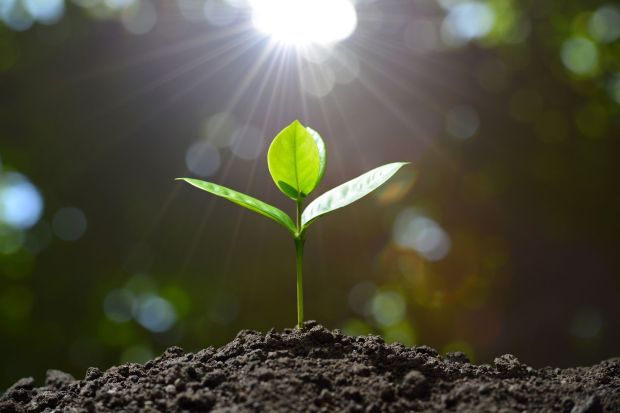
Plant Lighting 101: What You Need to Know
All plants need light to survive, and too much or too little can cause them to suffer. Learn how to plan your outdoor planting around each plant’s lighting needs and the best ways to position indoor plants for success all year long.
When it comes to growing healthy plants, light exposure needs to be a key consideration. Too little light will lead to feeble growth, but too much can scorch sensitive leaves and hurt your plant over the long term. How much light is enough? Here’s a guide to understanding the light requirements for both indoor and outdoor plants.
Why Plants Need Light
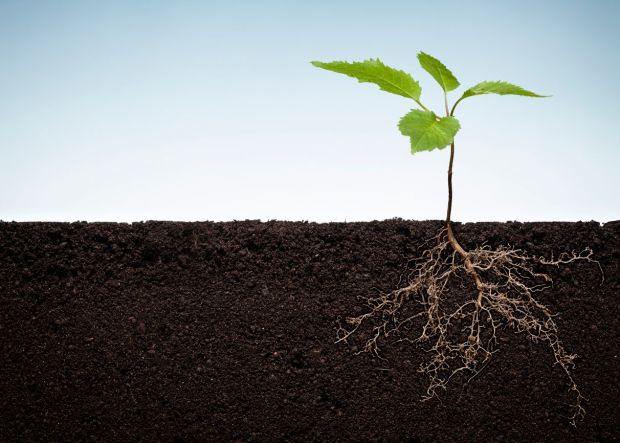
The more light available, the more energy a plant can harness, and the faster it will grow. However, this only holds true to a point. It’s possible to give growing things too much of a good thing and stress them out to the point of getting stunted or even dying. Some plants need six hours of sunlight per day, while others do better with less.
Here’s how to understand the requirements for both indoor and outdoor plants.
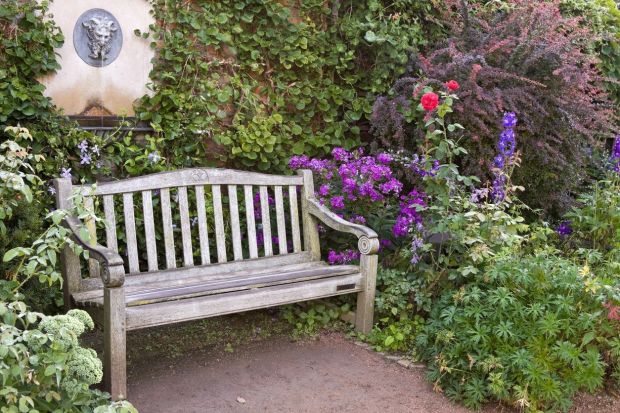
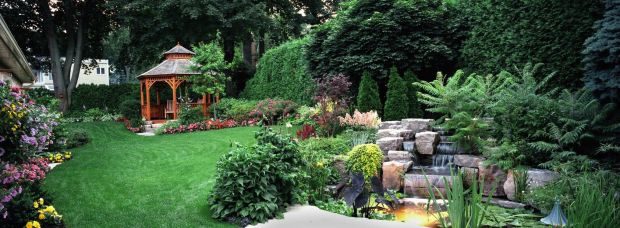
Lighting Needs for Outdoor Plants
The light requirements for outdoor plants are often indicated by the hours of sunlight they should be exposed to per day. When buying a new plant, look for a tag that includes one of these labels.
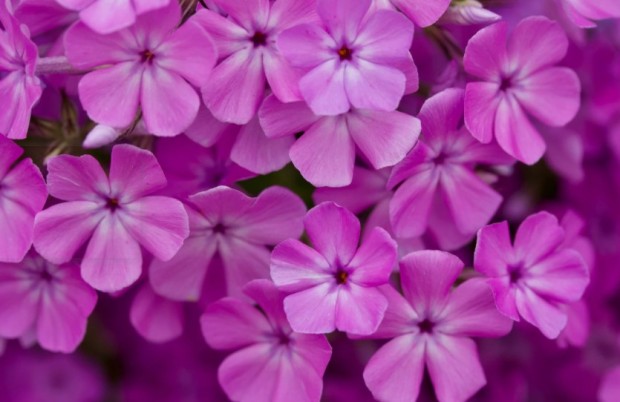
Full Sun
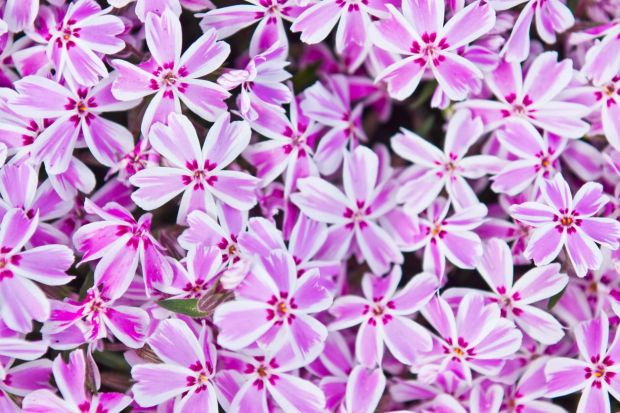
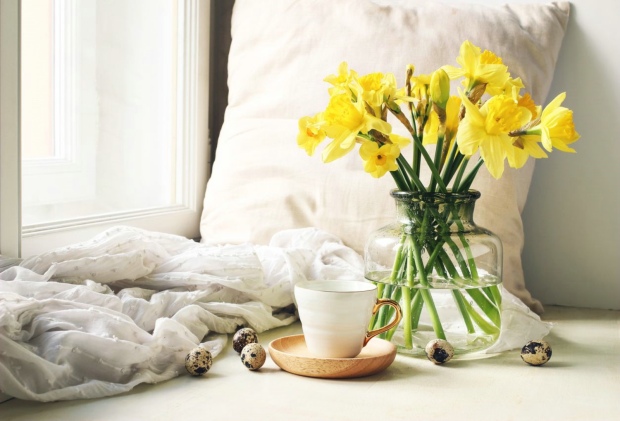
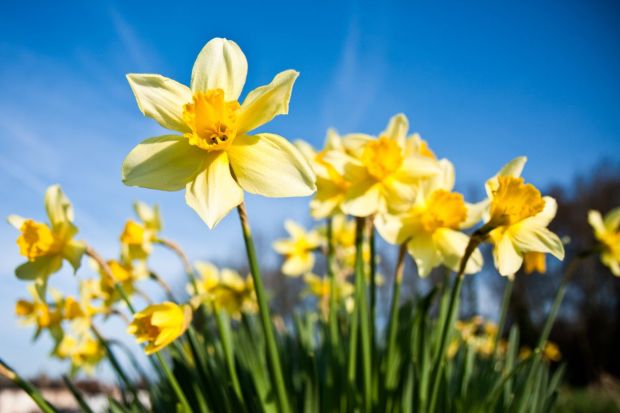
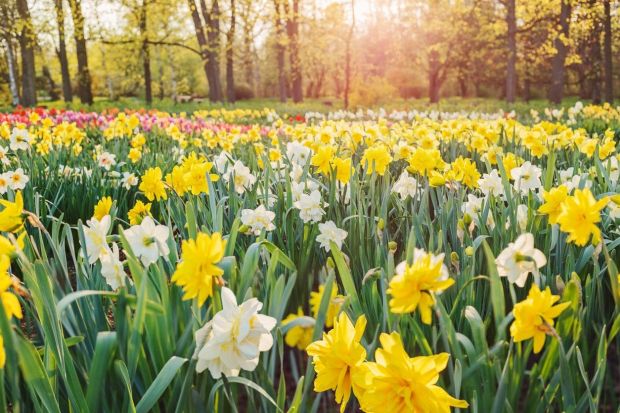
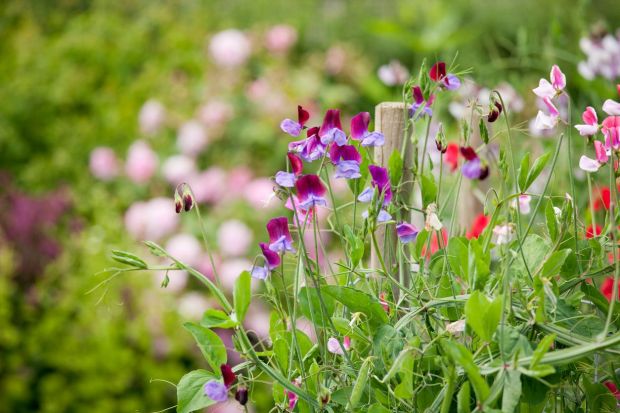
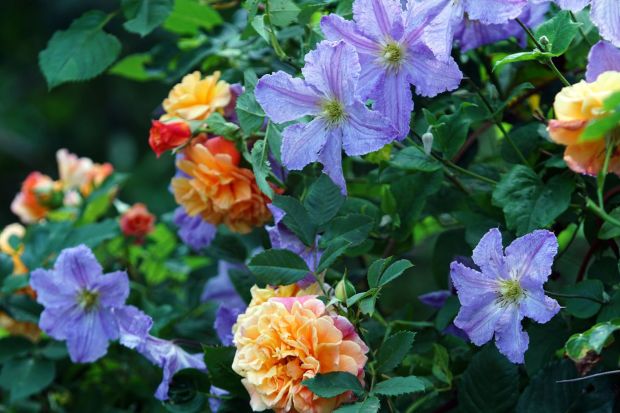
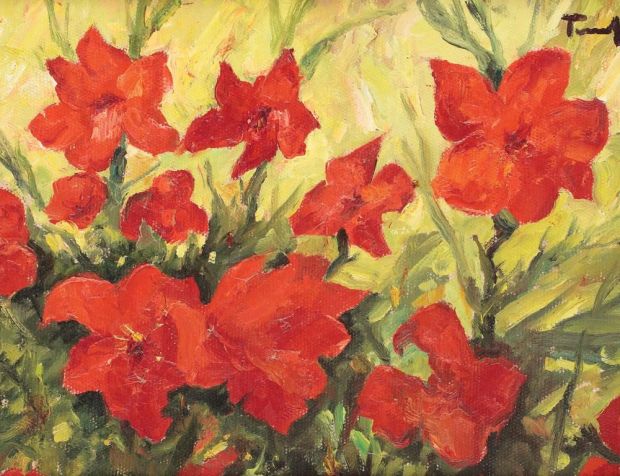
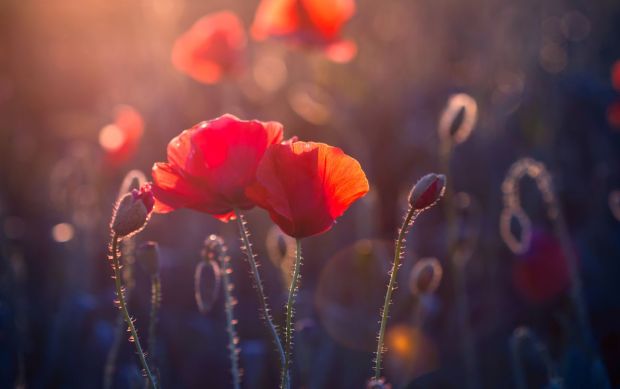
This label indicates the plant will thrive best with as much natural light as possible and need at least six hours of sun exposure per day. Drought tolerant perennials and most vegetables fall under this category. If you don’t have spots in your garden that stay sunny all day, prioritize places with lots of afternoon sun as it tends to be stronger than morning.
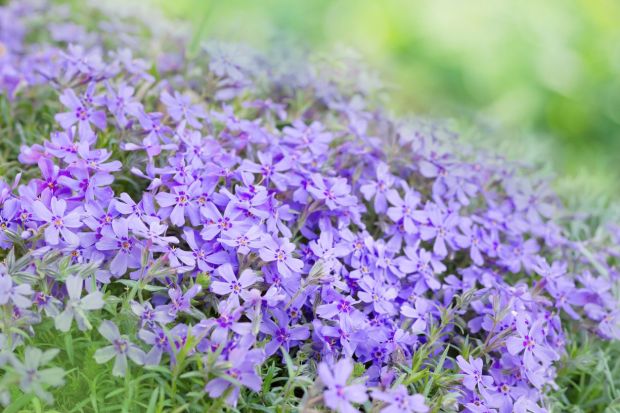
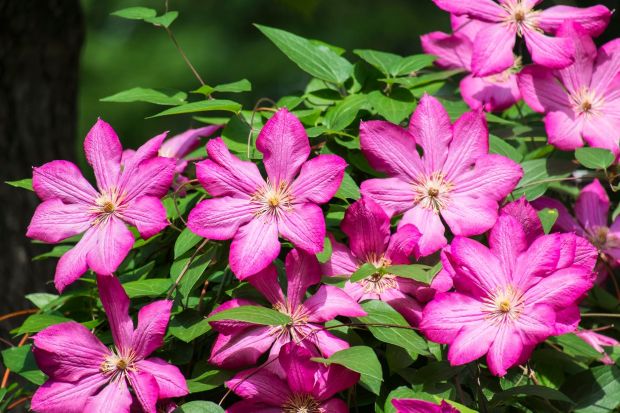
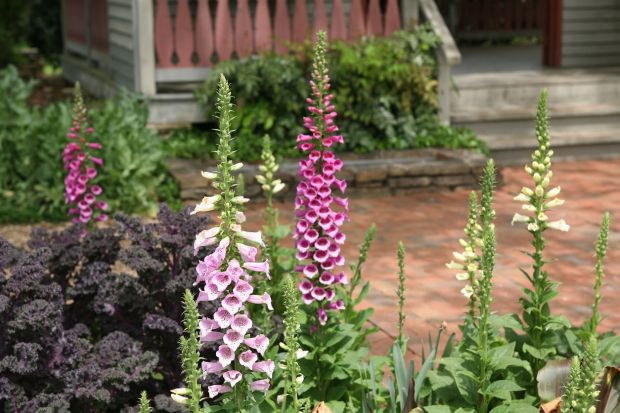
Partial Sun
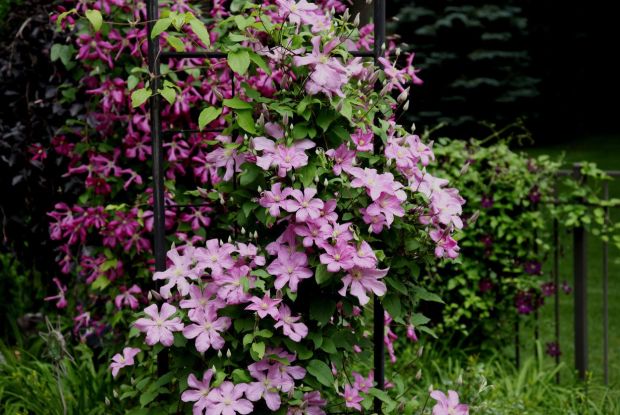
Partial Shade
This category represents plants that need four hours or less of direct sunlight (an hour and a half is ideal). Most will do best when planted in an east-facing garden bed that provides sunlight exposure in the morning and shade by midday.

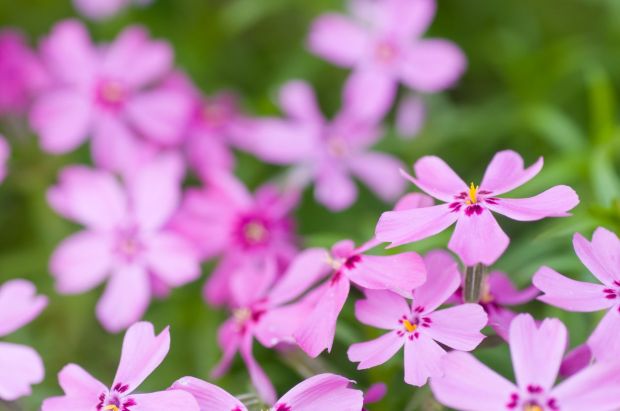
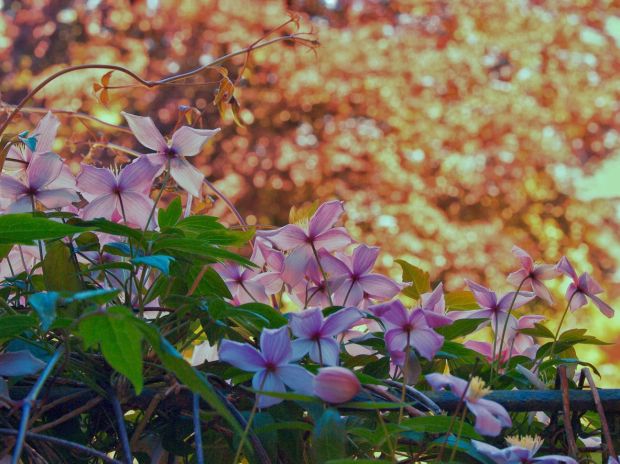
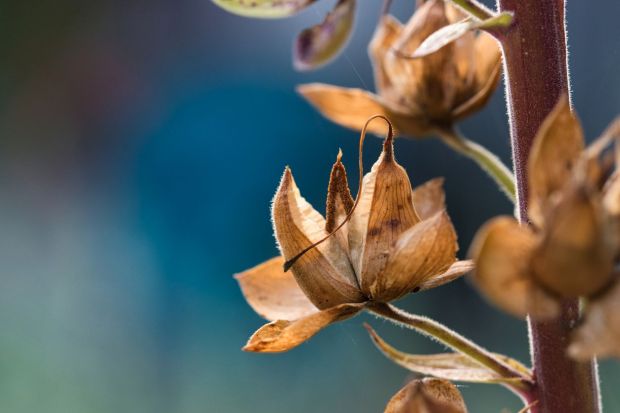
Dappled Sun
Full Shade
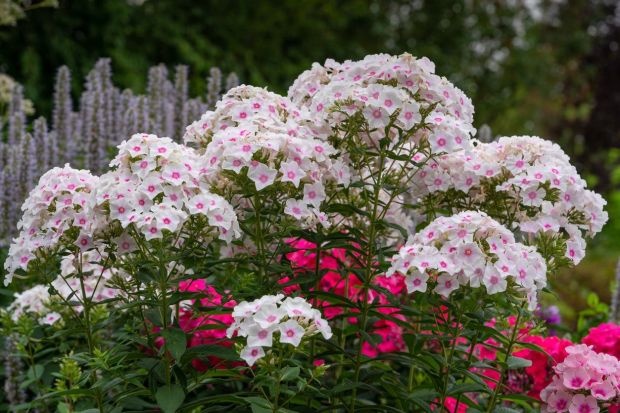
A Note on Sun Levels
With outdoor plants, all sunlight is not equal. For example, direct sunlight along the equator is significantly more extreme than the same amount of light at locations closer to the poles. You’ll need to do some research about your outdoor conditions to determine whether to modify the sunlight recommendations for each variety.
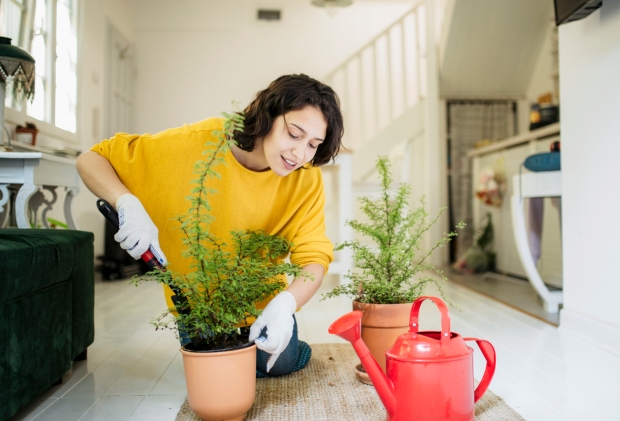
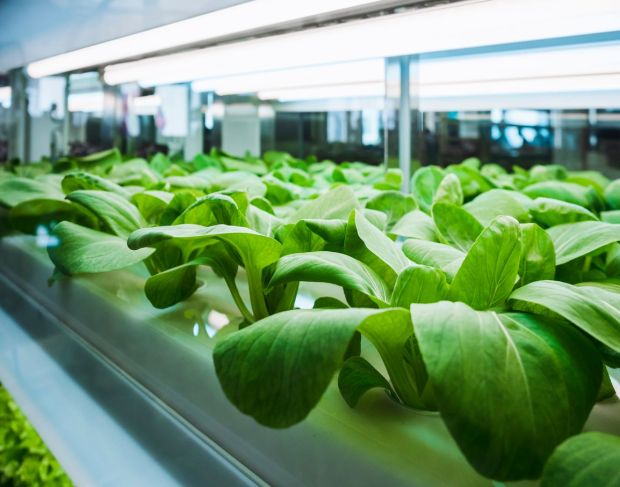
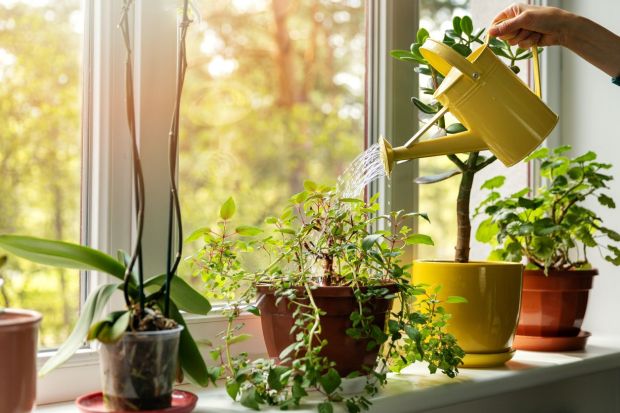
Lighting for Houseplants
– 200–500 foot-candles: Low-light, deep shade, unsuitable for most plants
– 500-1,000: Low-light but bright enough to read by, suitable for some shade plants
– 1,000-2,000: Bright, indirect sunlight that won’t produce a strong shadow
– 2,000-4,000: Direct light coming through windows, equal to about 40 percent of the midday sun
– 4,000-5,000: 50 percent of the midday sun, intense direct sunlight in a bright room
– 5,000+: Super bight, direct indoor light
Note that full sun outdoors comes in at about 10,000 foot-candles. This means that the darkest shade outdoors still tends to be brighter than what plants get from the sunniest window, so only the most shade-tolerant plants tend to thrive inside without supplemental light.
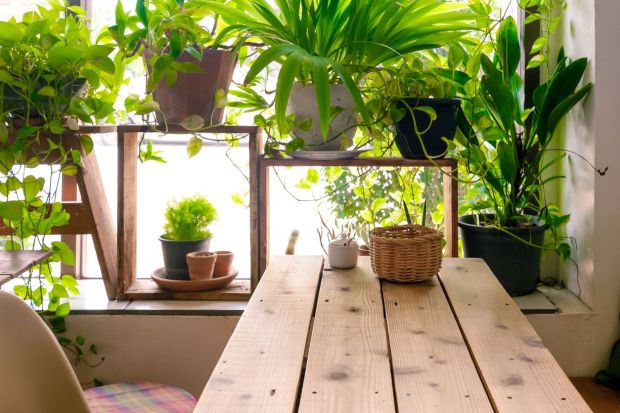
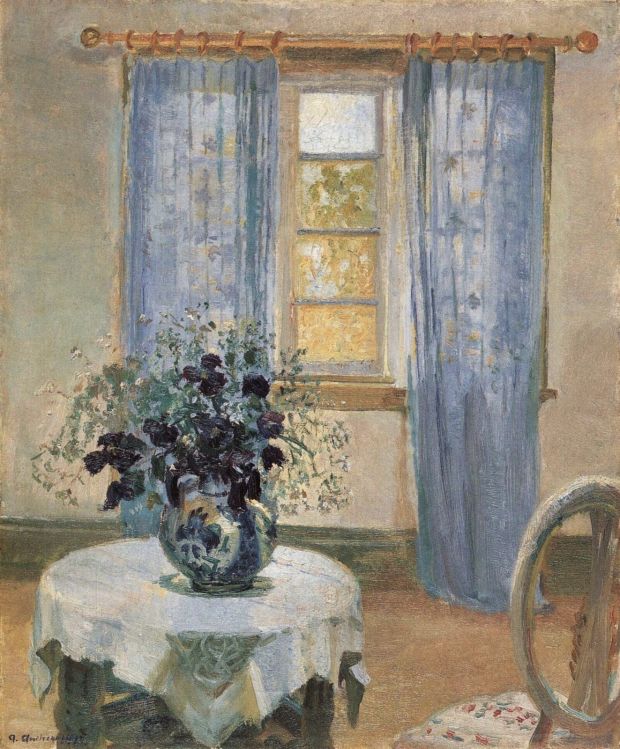
– North-facing windows: Tend to have the weakest light, may work for shade plants but likely will not grow anything in the winter
– South-facing windows: Often have the strongest light intensity and offer consistent all-day light
– East-facing windows: Benefit most from the morning sun, best for plants that need moderate light exposure
– West-facing windows: Lots of strong afternoon and evening sun, suitable for most sun-loving plants
Proximity to windows makes a huge difference for indoor plants. Moving one just a few feet from a window can easily halve its light exposure, so make your décor decisions carefully.
How Much Light Does Your Plant Get?
Short of measuring your home’s foot-candle output, how can you tell how much light your plants are getting? One easy test is to hold your hand about a foot above a plain piece of paper. If you only see a faint shadow (or none at all), you have low light. A blurry or fuzzy shadow is a sign of medium-intensity light, and a crisp shadow indicates a strong, direct light source.
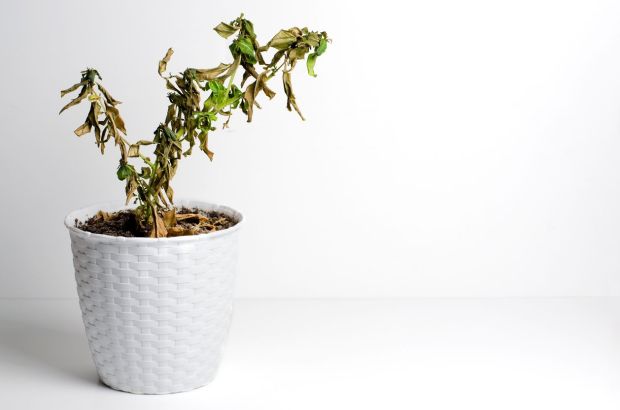
Signs Plants Need More Light
Your plants themselves will usually tell you whether they are getting enough light to thrive. Signs of too little light exposure include long, spindly stems and yellowing or dropping leaves. This is called etiolation, and it means that the plant is straining to grow towards the available light, but it isn’t strong enough for the plant to photosynthesize properly.
This problem is easy to fix by moving plants into direct sunlight or adding a supplement light source such as a grow light. Even a few hours of exposure a day to artificial light can transform a spindly plant and help it grow more robust.
In contrast, pale leaves or those with crispy browning sections may be getting burned from too much light. You may want to provide shade or move the plant somewhere with less direct light exposure.
Understanding the lighting needs for different plants will help you ensure you give them what they need to thrive. Do your research now so you can place plants where they will best get their needs met for the healthiest garden possible.