Deadhead: Boost Your Annual Flower Production
Did you know removing wilted flowers from garden plants encourages them to produce more blooms? Learn the benefits of deadheading and the three best strategies to ensure your garden is full of beautiful flowers all season long.
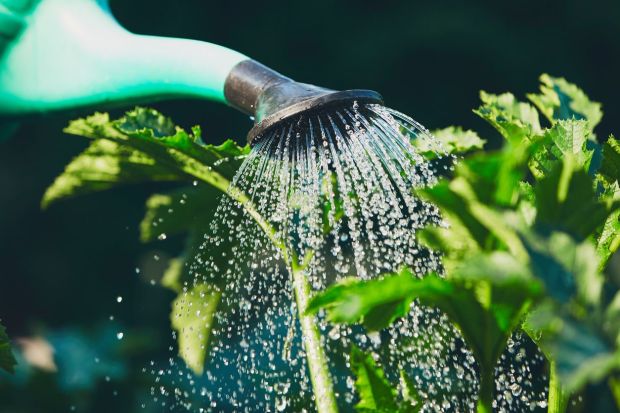
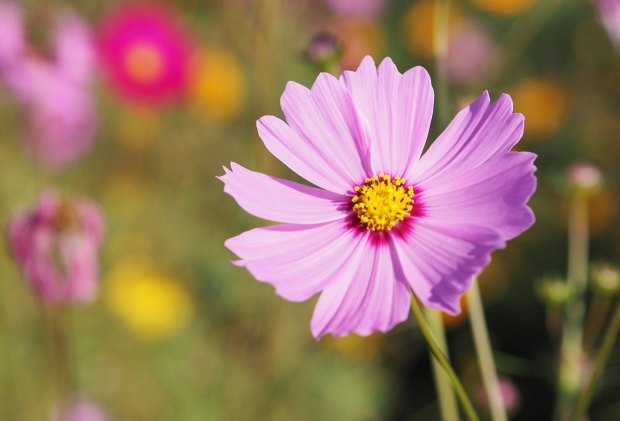
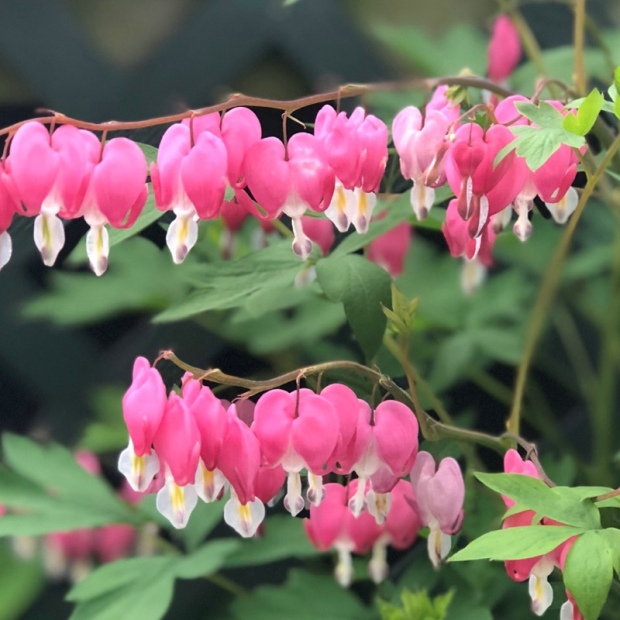
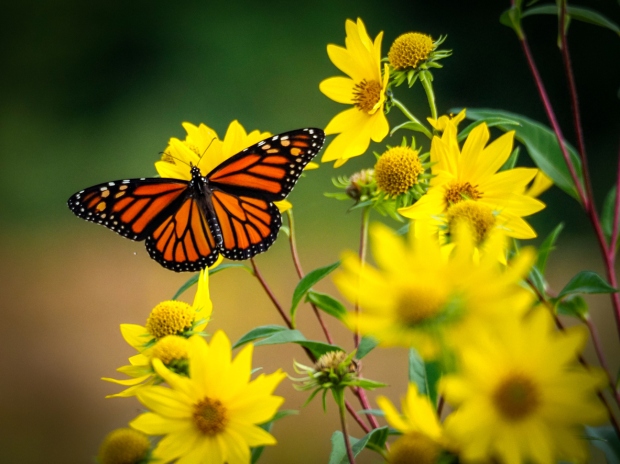
Summer blossoms may look beautiful, but they rarely last as long as gardeners wish they would. If you want to extend the lifespan of your garden blooms, then it’s time to learn about deadheading. “Deadheading” is the practice of removing old flowers from plants after they’ve finished blooming, so you keep the plant looking clean and encourage it to keep producing.
Repeat this garden chore a few times over the growing season, and you’ll enjoy fresh flowers for weeks on end. Here’s what you need to know to get started to ensure you have gorgeous blooms all season long.

Why Deadhead? Four Key Benefits for Plants
Your goal with removing flowers through deadheading is to channel the plant’s energy away from making seeds and back towards producing new blooms or developing more robust root systems.
Doing so has four main benefits:
- Improve plant appearances: Dying flowers quickly turn brown and withered or mushy, which dulls the appearance of your whole plant. Deadheading removes these old blooms and keeps your plant looking its best.
- Encourages plants to produce more flowers: For plants, flowers are a means of reproduction. The plant’s goal is to get each flower pollinated to produce seeds, and plants will slow down flower production once they achieve it. You can encourage plants to keep making flowers instead by plucking them spent ones before they form seeds so that the plants keep producing new buds instead. Best of all, these second blooms often last longer than the first because they come later in the year once the plant has gotten stronger.
- Helps conserve energy: Even dying flowers pull energy from plants, making it harder for them to put resources towards producing new blooms. Cutting back old flower stalks lets the plant regain its energy and put it towards stronger roots instead. This results in a stronger plant in the long run.
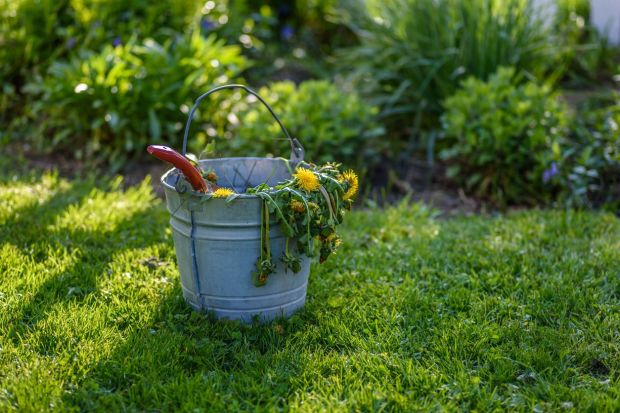
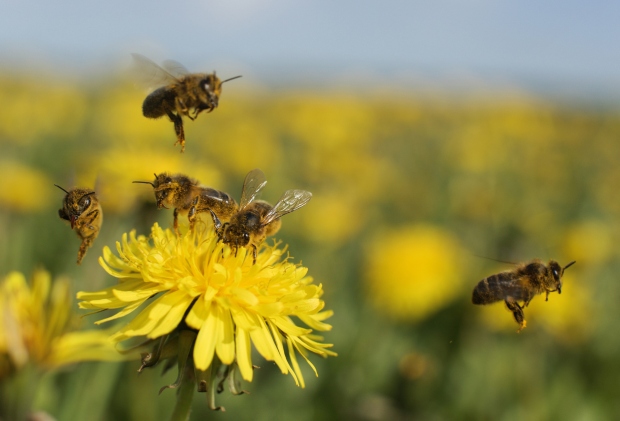
- Prevents self-seeding: Many plants are aggressive spreaders that will quickly take over your entire garden plot if you let them go to seed. Pluck off blossoms early so that the seed heads can’t mature, scatter, and start to grow somewhere else.
Best Deadheading Strategies
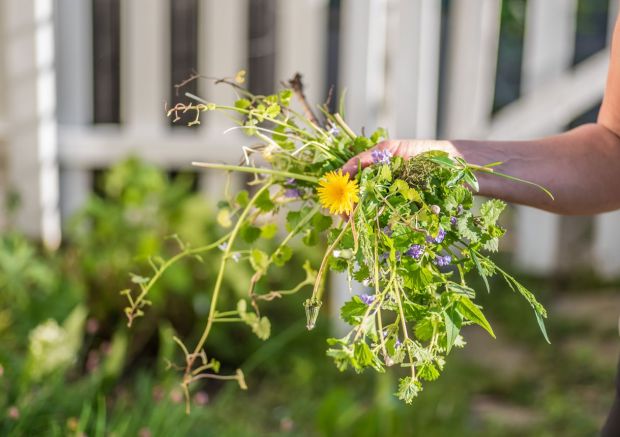
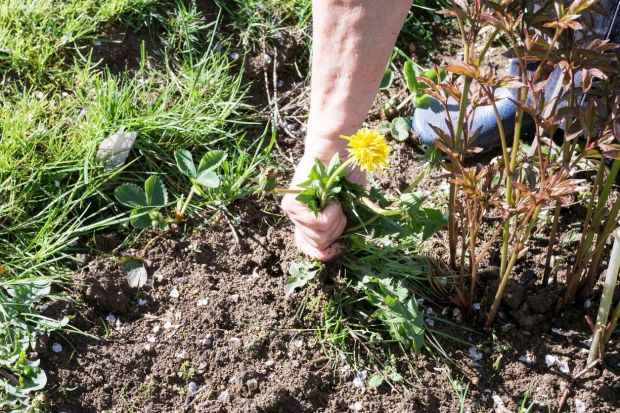
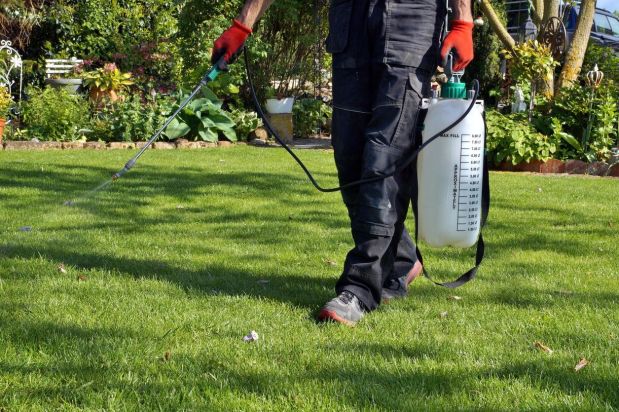
There are multiple strategies for deadheading based on your goals and the plant variety. Sometimes it’s best to use garden pruners, but in other cases, your fingers can suffice. Here are the three standard methods.
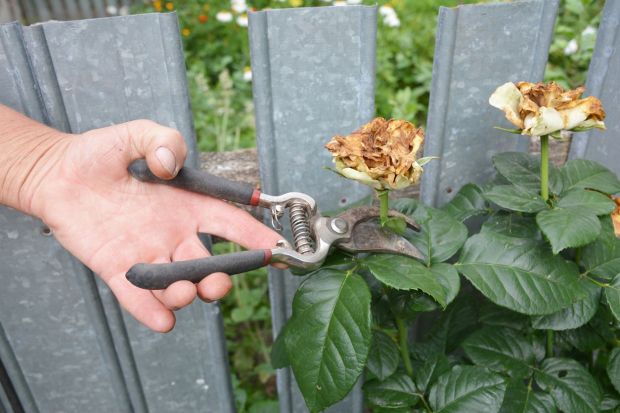
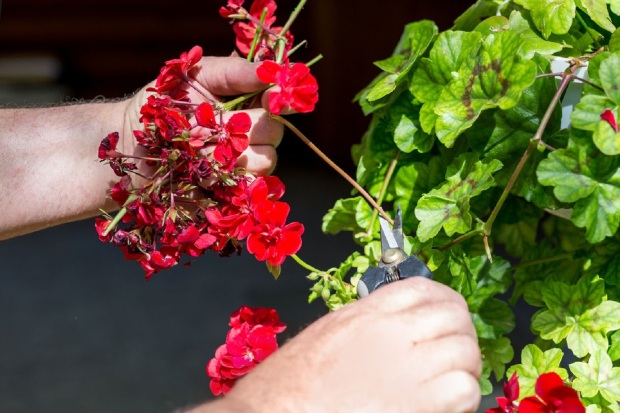
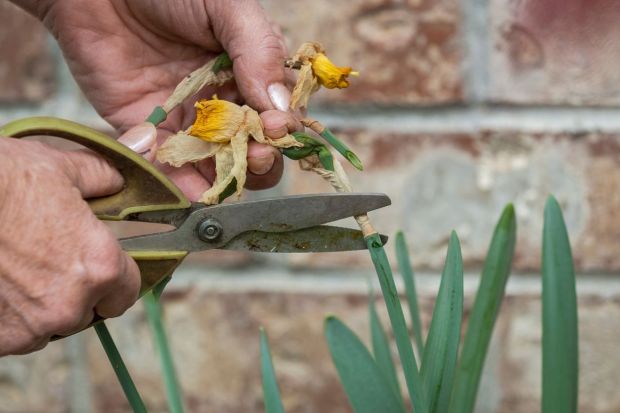
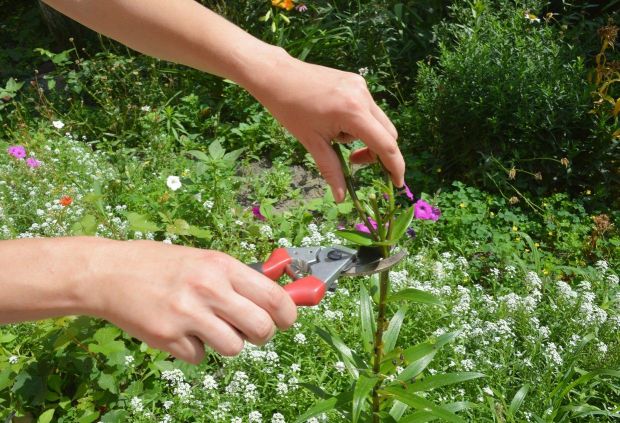
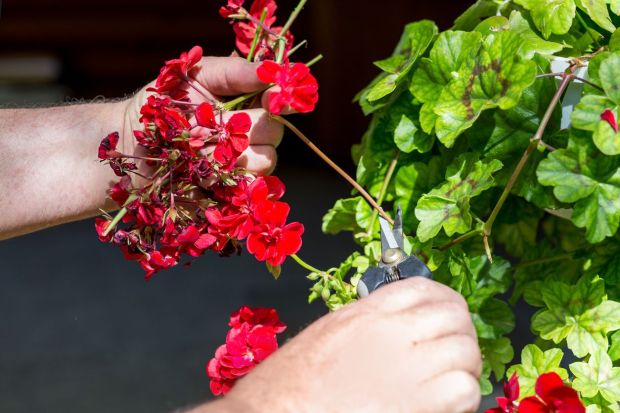
Pruning
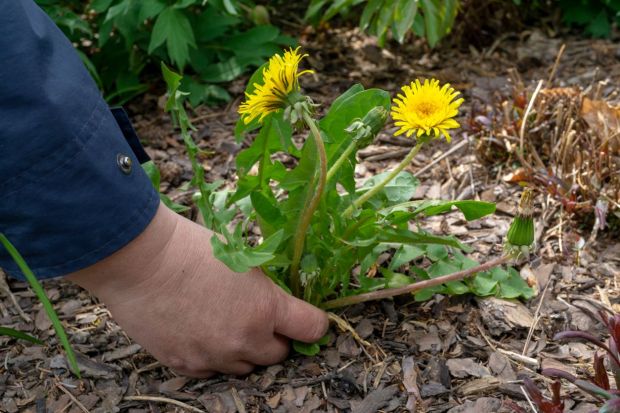
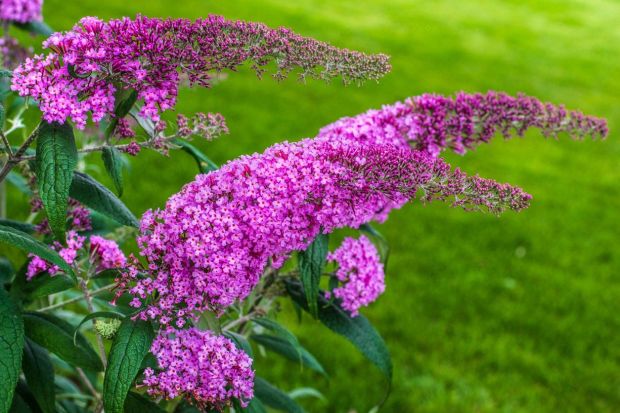
If you have daylilies, coneflowers, or another plant with large flowers, the most effective method for deadheading is to use hand pruners to take off the old blossoms.
First, check to make sure that the flower stalk doesn’t have more buds that are forming. If not, you can remove the entire flower stalk at the base of the plant. Otherwise, remove only the old flowers until it’s fully finished blooming.
Pinching
Many flowers produce thin, soft stalks that are easy to pinch between your fingers, making it possible to pop off the old flower. This also works well for plants grown only for their foliage like thyme or coleus where you don’t want the flowers to form at all.
When pinching off flowers from plants with multiple blooms per stem, make sure you remove the blossom only to the first set of leaves so that the plant doesn’t get stressed.
You can also pinch off up to one-third of the buds for fall-blooming plants like mums or asters when they start to produce flowers earlier than you want. This will delay the blooms by a few weeks for when it’s more seasonally appropriate.
Shearing
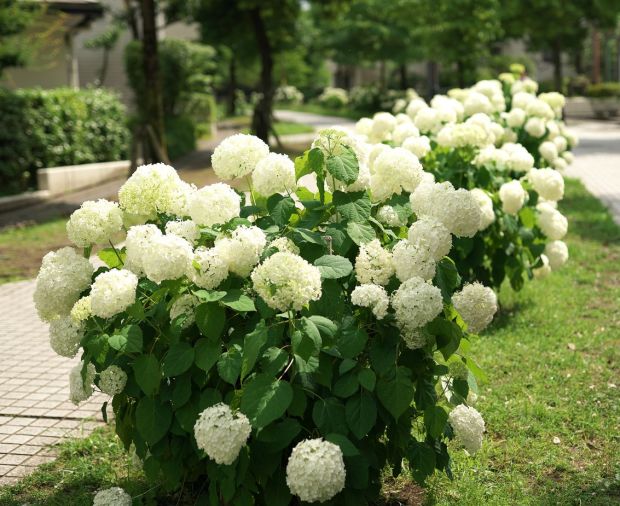
Many plants produce thick profusions of tiny flowers that would be challenging to prune off one by one. A better choice is to wait until most of the flowers are past their peak and then shear back the entire plant by a third with garden scissors. While you’ll lose some still blooming flowers in the process, the plant will recover quickly and put out lots of new buds. This works well for plants that tend to bloom heavily all at once.
Note: Deadheading won’t work if you only remove the petals without touching the rest of the flower. The plant will still produce seeds, which slows down overall flower production.
Which Plants to Deadhead
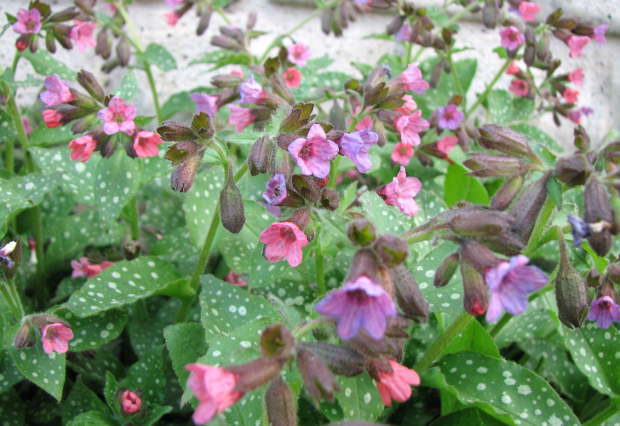
Not all plants should be deadheaded. In fact, removing flowers may harm some plant varieties, especially many types of perennials. Some perennials won’t rebloom regardless of whether you deadhead them so it’s best to keep the spent flowers in place. Likewise, you need to be careful about pruning back perennials too severely, as you don’t want to stress the plant to the point it dies back and doesn’t come back strong next season.
You’ll know whether a plant can be deadheaded based on the care instructions you receive when you buy it. Most annuals respond well—especially early bloomers that tend to produce flowers over a long season.
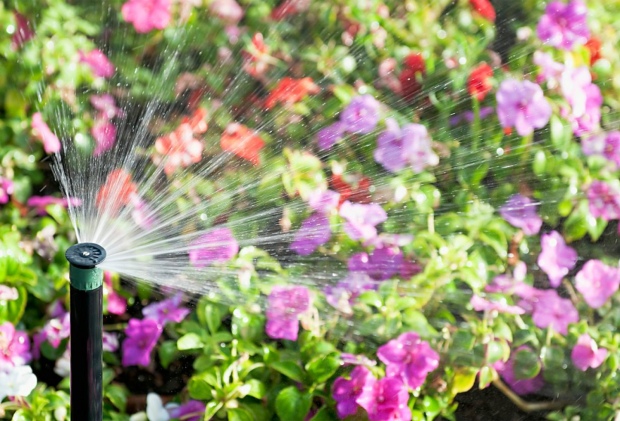
Sometimes whether or not to deadhead comes down to weather conditions. For example, delicate petunias often lose all their petals after a rainstorm, so deadheading the flower stems will encourage the plant to produce replacement buds.
When to Stop Deadheading
Removing flowers through deadheading can become a summer-long process once you commit to beautiful blooms.
Even so, it’s a good idea to slow down by the end of the growing season so the plant can successfully set seeds. Not only does this ease the plant’s reproductive frustration and keep it healthier in the long run, but the seeds that form are often beautiful and may even feed birds and other wildlife over the winter. Likewise, letting your plants reseed themselves ensures you get flowers again the upcoming year.
Deadheading is a proven way to maximize the flower potential of your garden plants. Take the time to research each variety before you begin so you understand how to best prune it, and you’ll have healthier plants and gorgeous blooms that last throughout the summer.