Clean Your Houseplants with These 6 Useful Tips
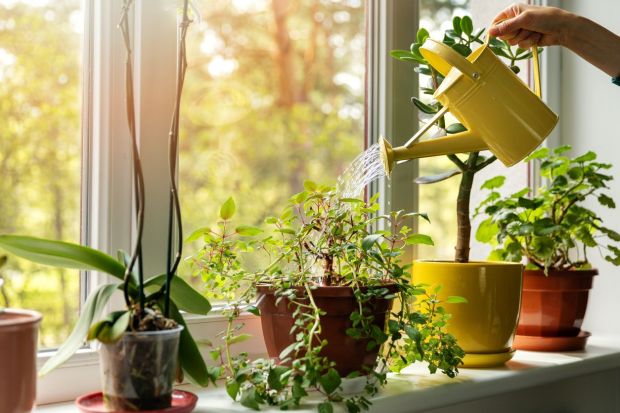
Houseplants do require some maintenance on a regular basis to thrive and grow. Keeping them healthy is easy with these expert tips. It’s important to keep the leaves clean so that your plants can breathe. Follow our tips for healthy, happy houseplants.
Just like the plants growing in your garden, your houseplants need regular maintenance too. When they spend their entire life indoors, plants tend to gather dust and other debris from the air. Some leaves will die and drop down into the pot, and flowers will also die once they’ve given you a magnificent show.
Here are some basic maintenance tips for houseplants that you should incorporate into your cleaning routine.
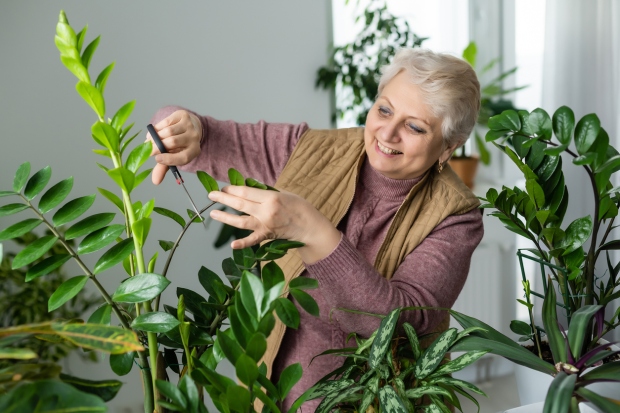
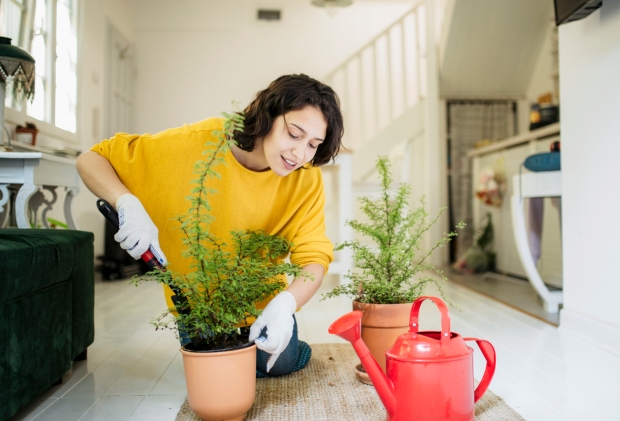
Remove Spent Flowers and Foliage
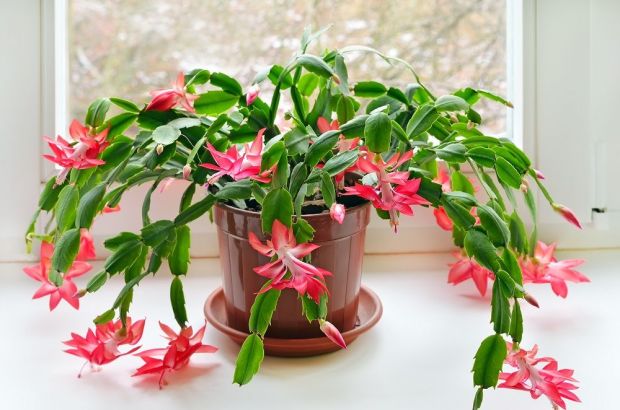
You spend time deadheading and pruning your garden plants, so you need to do the same for houseplants. Regular deadheading is important for flowering houseplants because it can encourage further flushes of flowers.
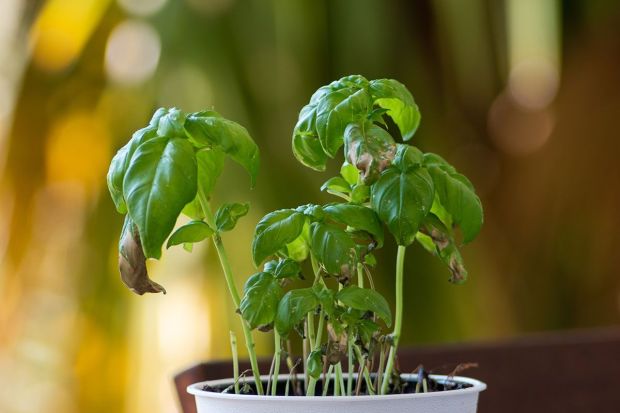
It’s also a good idea to remove any leaves and stems that are turning brown or are about to fall off. Remove any foliage that has fallen onto the soil in the pot as well, as this decaying plant matter may encourage pests and diseases.
You can also give your houseplants a light trim with a pair of garden pruners to keep them compact and shapely.
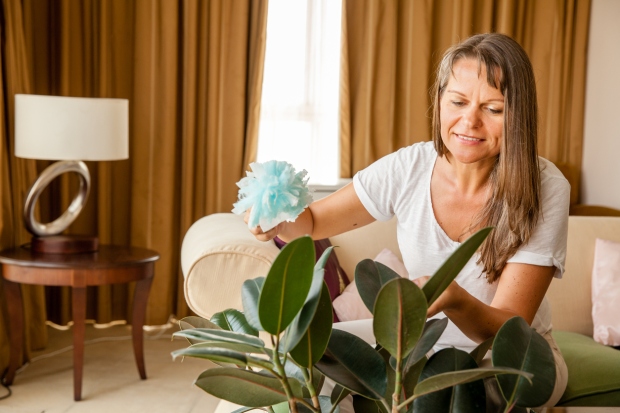
Dust Your Houseplants Regularly
Like everything else in your house, your plants will collect dust. Therefore, it’s important to remove this from the leaves. The leaves are your plant’s lungs and if they’re covered in dust, your plants will have trouble “breathing”.
For a quick dusting, you can use a feather duster but be very gentle as you don’t want to damage your plant. Don’t do this with ferns though as you may dislodge the spores into the air.
For delicate plants and those with furry leaves, you can just use a soft toothbrush to remove any dust on the leaves.
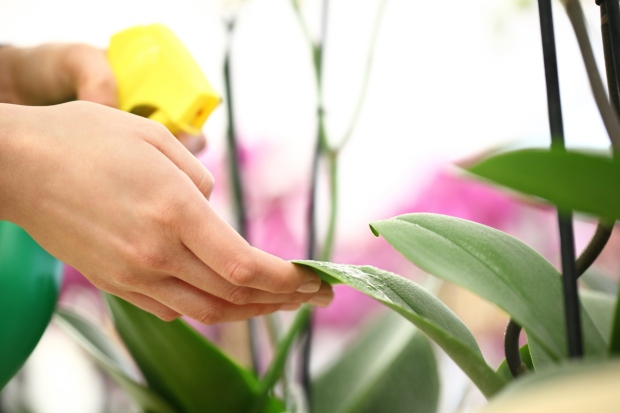
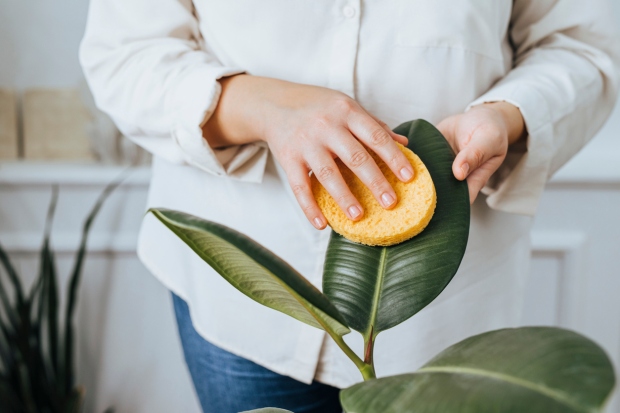
Wipe Down the Leaves for a Deeper Clean
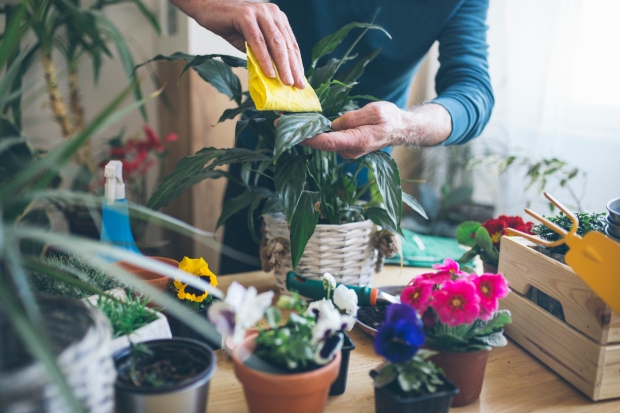
It’s a good idea to periodically wipe down the leaves of your houseplants for a deeper clean and to remove any residue that’s settled there. This can be as simple as using a damp dishcloth.
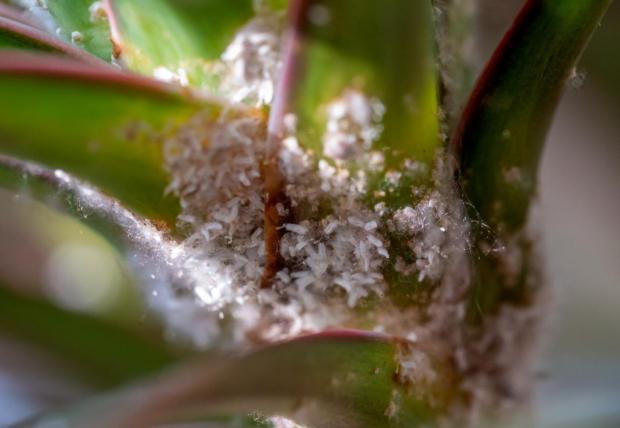
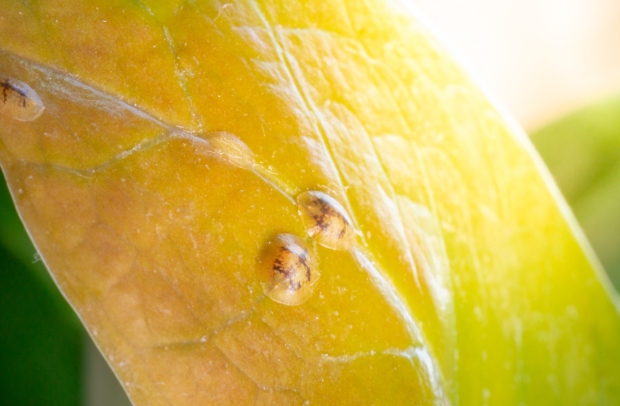
Just place your hand under the leaf to support it and wipe down from the stem outwards. Remember to wipe the undersides of the leaves as well because this is where pests may hide.
For a more thorough clean, try mixing a little dish detergent with water and then wipe this mixture over the leaves. This approach works really well for houseplants with large leaves. However, it’s not the best if you have delicate plants such as ferns or African violets with furry leaves.
Also note that you should never use a leaf shine product on your houseplants. These products contain oils or waxes, which will clog up the pores in the leaves. As a result, your plants will be unable to breathe and eventually suffocate.
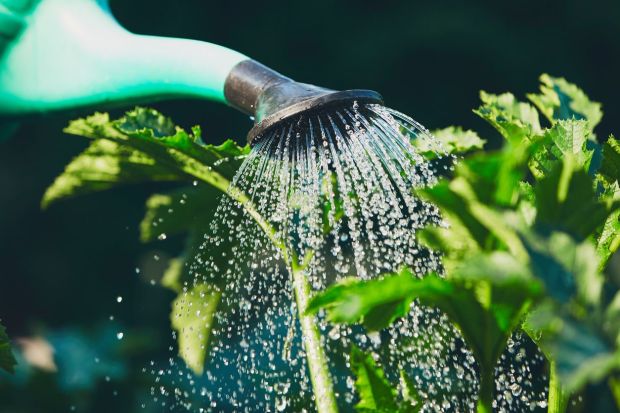
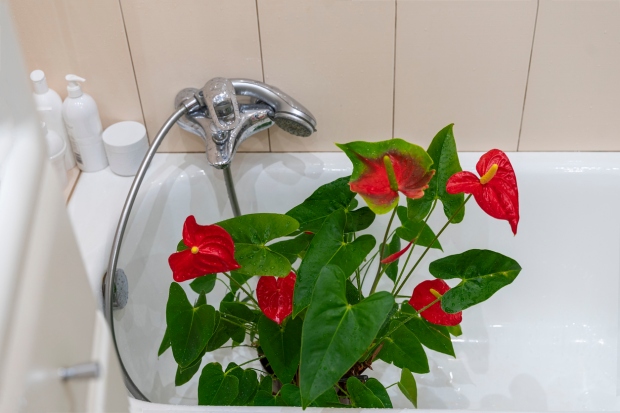
Give Your Plants a Shower
For delicate plants or those with furry leaves, you can actually give them a shower. After all, this is what your outdoor plants get every time it rains.
Remember to use tepid water. Your plants don’t like either hot or cold water. Placing them in the shower for a few minutes with the door closed also creates a little humidity. Most houseplants actually love this.
Make sure, when doing this, that the soil doesn’t wash away. You don’t want to clog up your drain with potting mix. To avoid this from happening you can:
- Place a shallow tray under your plants when you’re showering them.
- Or, place a piece of toweling fabric over the drain hole to catch any soil before it goes down the drain.
After showering your plants, you should leave them to drain fully and make sure the leaves are almost dry if you’re placing your plants in a sunny spot. This is because if there’s water left on the leaves and the sun hits them, it could cause the leaves to burn.
Before placing your plants in the shower, make sure that the pot has drainage holes. This way, any excess water can easily drain out of the soil and won’t cause any water-logging for the roots. You might like to add some additional slow release fertilizer as most of the nutrients in the soil may have leached out with the water.
If you have plants in pots without drainage holes, such as succulents, do this instead:
- Put your hand over the top of the pot to stop the soil falling out.
- Then, turn the pot on its side and only place the foliage under the shower.
This will avoid the water getting into the soil and drowning the roots.
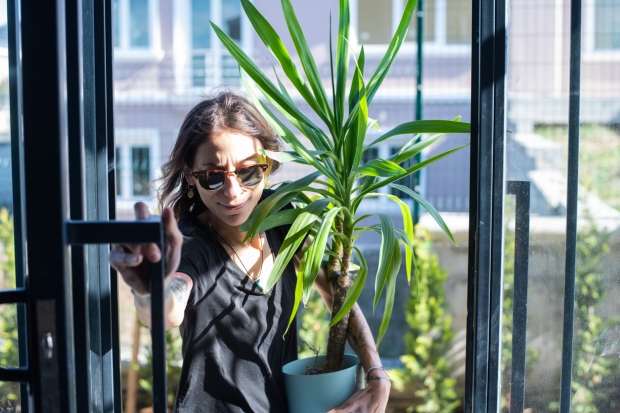
Give Your Houseplants a Spell Outside in the Rain
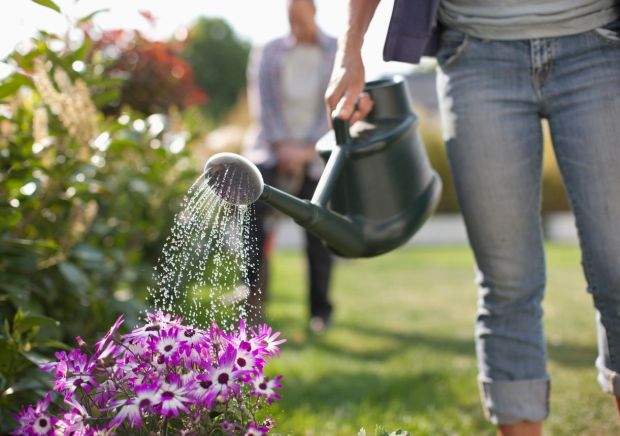
If the weather is mild and you’re expecting a light shower of rain, you can place your houseplants outside for an hour or two. Rainwater is an amazing tonic for your plants and they will really appreciate it.
Therefore, if it’s not too hot or cold or windy, if you can, place your houseplants outside in the rain for a short time. Remember to let them drain before bringing them back inside.
Top Up the Potting MIX and Add Some Fertilizer
While you’re giving your houseplants a good clean, you might like to top up the potting mix as well. Over time, the mix will settle in the pot and this will lower the level of the mix. It’s perfectly fine to just top this up a little.
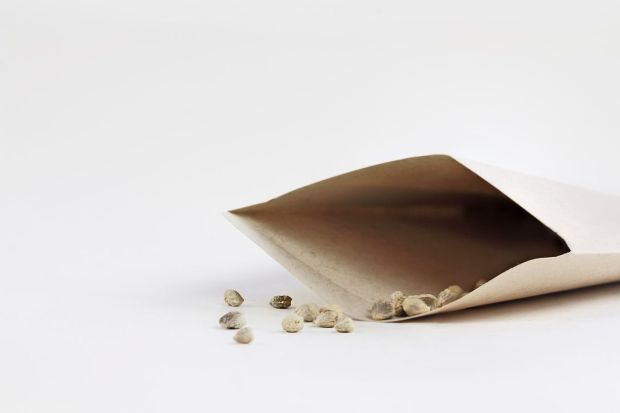
While you’re doing this, add a little slow-release fertilizer. These slow-release pellets will provide the roots of your plants with nutrients as and when they need it.
On the other hand, if your plant has been in the same pot for a long time, you might want to consider repotting it into a larger pot. Most houseplants will really benefit from this and will put on a flush of new growth as a result.
If your plant has become very root bound, you should gently tease out the roots a little and you can even trim off any that are really long. Once your plant is in the new pot, it will grow new little roots that are better able to take up the nutrients and water in the soil.
Final Thoughts
Just like the plants growing in your garden, your houseplants need a little maintenance from time to time. You should trim off any spent flowers and remove any brown foliage.
Also, make sure that you regularly remove dust from the leaves of your plants to keep them growing healthy and strong.
And finally, consider repotting your plants every so often so that they can put on some lovely new growth. If you take good care of your houseplants, they’ll reward you with beautiful lush foliage and stunning flowers to brighten up your home.