A Guide for Watering Houseplants
Keeping indoor plants healthy requires learning how to water well—too much, and you might stress them out. Learn how to tell when indoor plants need more water and the best strategies to keep them healthy and hydrated.
When it comes to keeping your indoor plants alive, how you water them needs to be a key consideration.
Unlike plants in the natural world, those kept indoors will never get rained on. This means, as caretaker, that you are solely responsible for controlling their environment to help them thrive. However, knowing the watering needs of houseplants can get challenging, and many plant owners err on the side of providing too much or too little.
Here’s a guide to watering houseplants to help you keep yours healthy and thriving.
The Challenge of Watering Indoor Plants
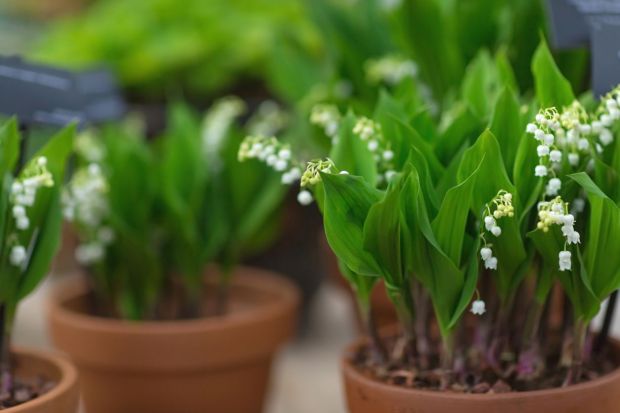
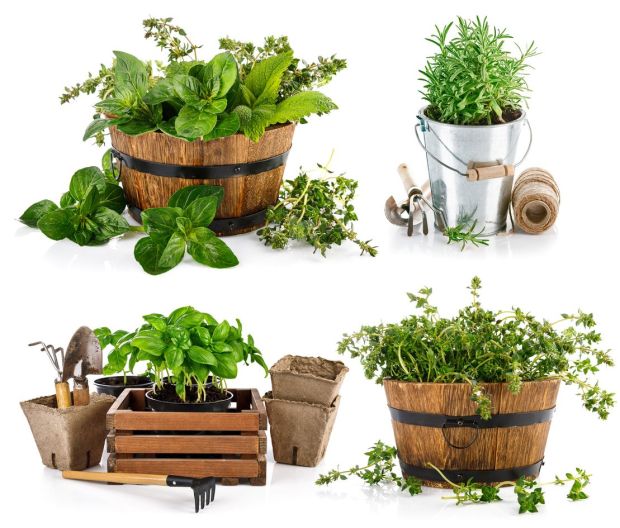
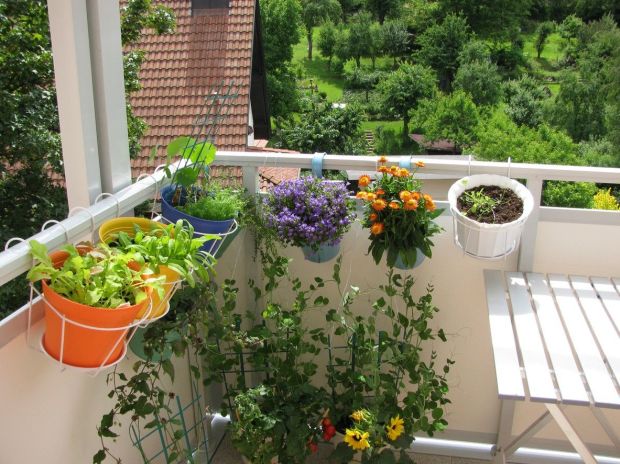
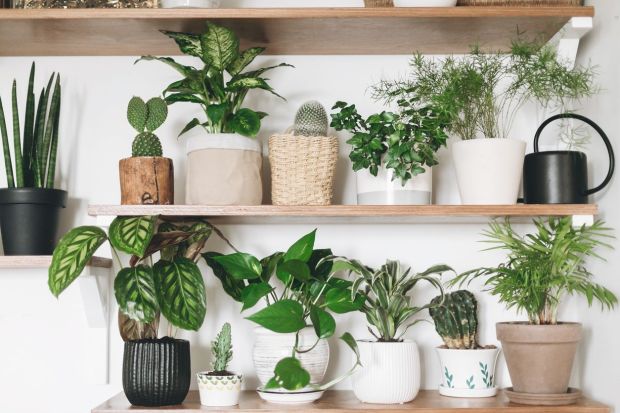
When it comes to water needs, indoor plants are far from one-size-fits-all. Each plant’s water requirements depend on various factors, from its light exposure to the location in your house and the kind of material it is planted in.
For example, succulents need minimal water and quickly rot when given too much, while many tropical ferns struggle to grow if their foliage isn’t continuously moist. Plants in hanging baskets dry out far faster than those on the ground, and many indoor plants spend part of the year in a dormant phase that changes their water needs considerably.
In other words, if you want to figure out a watering strategy for your houseplants, you need to do the research to understand each variety’s specific requirements so you can best meet their needs.
How to Tell When Indoor Plants Need Water
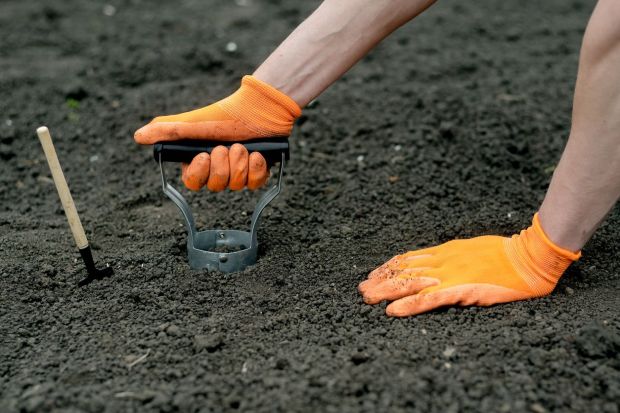
The first step for watering houseplants is knowing when they need water to begin with. The easiest method is to gauge the soil’s moisture level. Stick your index finger into the potting soil about one inch (2 cm) down. If the dirt feels dry to the touch, the plant likely needs more water.
It’s also possible to lift the pot to feel whether it seems heavy from wet soil or light and dried out. This works best if you first get a sense of how hefty the pot is immediately after watering.
Note that browning leaves and a drooping demeanor aren’t reliable signs that a plant needs water. Sometimes, these same symptoms occur when a plant is overwatered, and the roots are struggling to pull in enough oxygen.
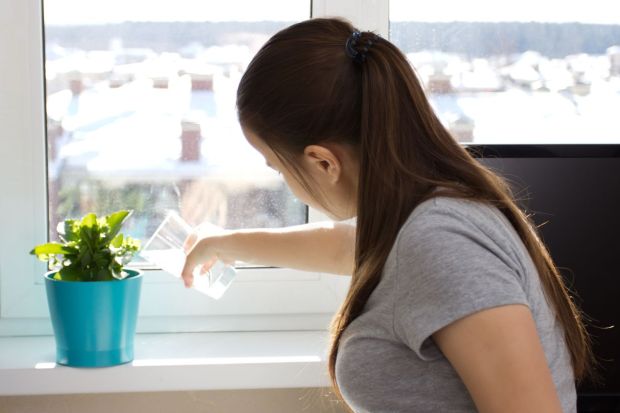
Should You Water Houseplants From the Bottom?
While watering cans are the standard way to water houseplants, another method is to water pots from the bottom. This keeps plant roots hydrated without hurting their foliage above.
First, make sure your plant is in a pot with drainage holes along the bottom. Set it on a saucer with a tall lip or any container large enough to hold the potted plant. Fill this container partway with water and place the pot in the middle.
Let it sit for at least ten minutes before touching the top of the soil. If it feels wet, the plant’s roots successfully drew up the moisture. If not, let it sit longer. Either way, make sure you move it or drain the container within an hour to ensure the roots won’t rot from sitting in water too long.
Note: Bottom watering won’t remove excess salts from the soil like top watering will. You can solve this problem by watering your houseplants from above at least once a month.
Ten Troubleshooting Tips to Water Indoor Plants Successfully
Don’t let your houseplants run into problems. Here are some proven strategies to ensure you water your indoor plants well.
1. Only Use Tepid Water
Hot or cold water straight from the tap will shock plant roots and potentially stunt them. Take your cue from rainwater and only use room temperature water for your houseplants.
2. Water Around the Whole Pot
Novice plant keepers often err by watering their plants in just one spot, which can starve half the roots of water in the long run. Take care to pour water around the whole pot so each part of the plant stays hydrated.
3. Avoid Using Treated Water
The water from your tap can include various additives, including chlorine, fluoride, and salts (if it’s softened). These compounds can affect plant health over time. Your best option is to water houseplants with filtered water, collected rainwater, or untreated well water.
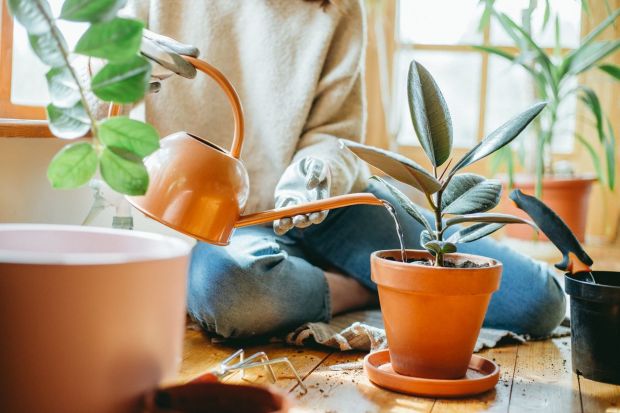
4. Water Deeply and Less Frequently
As with outdoor plants, frequent light waterings encourages houseplants to develop shallow roots and makes them extra sensitive to any drought periods. You’ll promote better root growth in the long run by watering deeply and less often.
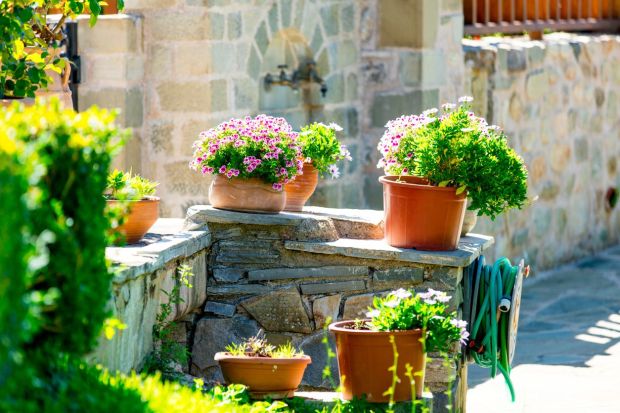
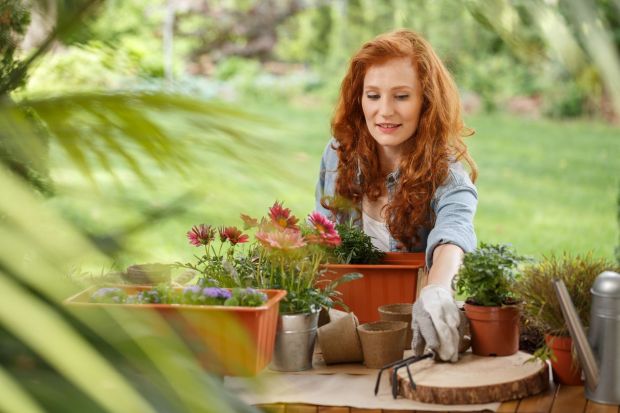
5. Choose the Right Sized Pot
One common mistake houseplant owners make is choosing pots based on their styling instead of size. Smaller pots dry out more quickly, which will stress the plant inside. Make sure you purchase the correct sized pot for your plant and scale up as it grows.
6. Pay Attention to Light Exposure
Even indoor light leads to evaporation, which means that houseplants that spend their time in bright spaces need more water than those in low-light conditions. Note whether your plant is drying out faster on sunnier days and water accordingly.
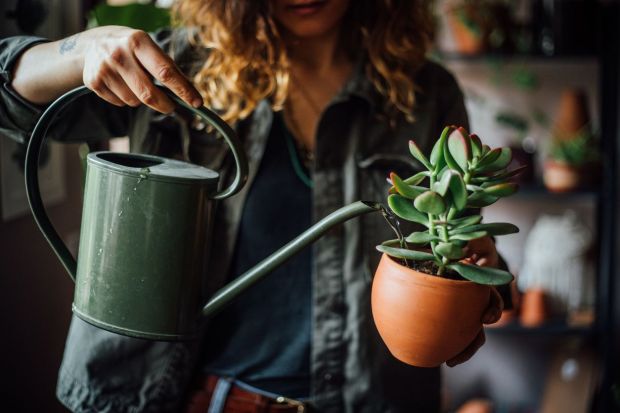
7. Water Soil, Not Foliage
One of the easiest ways to spread disease is by keeping plant leaves warm and wet, as it creates an ideal breeding ground for bacterial pathogens and fungal spores. A better choice is to use a watering can with a long spout to wet the soil directly so the foliage stays dry.
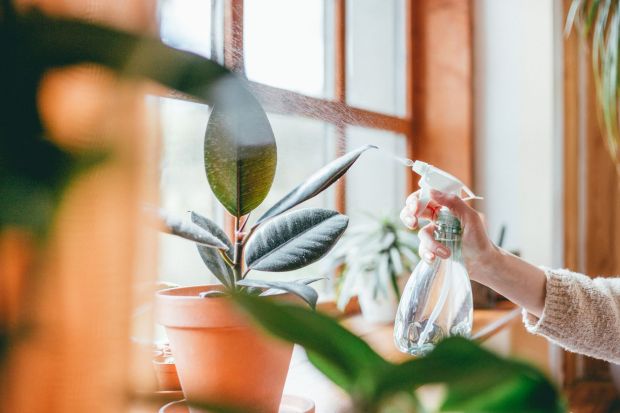
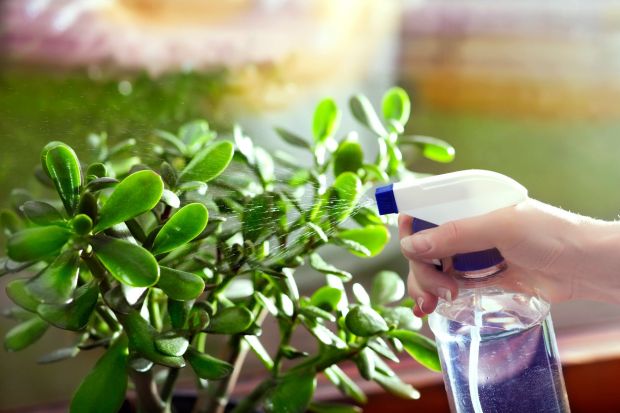
8. Track Humidity
Some plants, especially tropical varieties, require that their leaves and foliage stay relatively moist. This means you’ll need to mist them regularly to promote optimal growth. Consider keeping these plants somewhere with a relatively high moisture content, such as near a humidifier or in a steamy bathroom.
9. Consider the Seasons
Even indoor plants go through seasons of growth. They will require more water during flowering stages, but far less once they start conserving energy for colder months. Note what stage your plant is in and change your watering schedule to fit it.
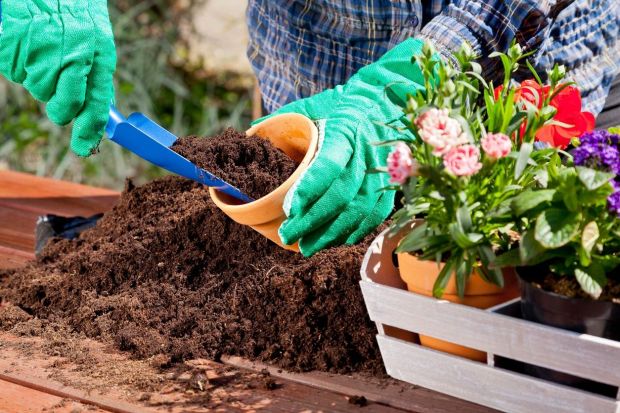
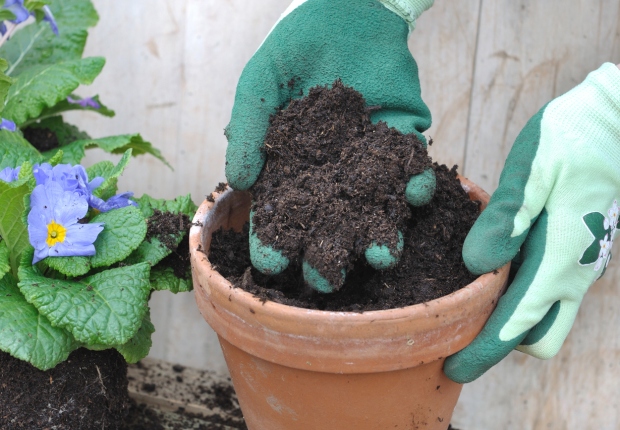
10. Repot When Waterlogged
You may find that your plant’s soil never seems to dry out, no matter how carefully you water it. This might be due to overly compacted soil or clogged drainage holes that trap the water near the plant roots. Consider replanting stressed plants in fresh soil and a bigger pot with clear drainage holes.
Watering indoor plants doesn’t need to be stressful. So long as you take the time to research the water needs of what you’re growing, you can provide houseplants with the healthy environment they need to thrive.