How to Control Common Garden Pests Active in Summer?
The most common garden pests in summer are Japanese beetles, aphids, slugs and snails, caterpillars and grasshoppers. You might also have problems with rodents, rabbits and other animals such as deer. Here’s how to keep them out of your garden.
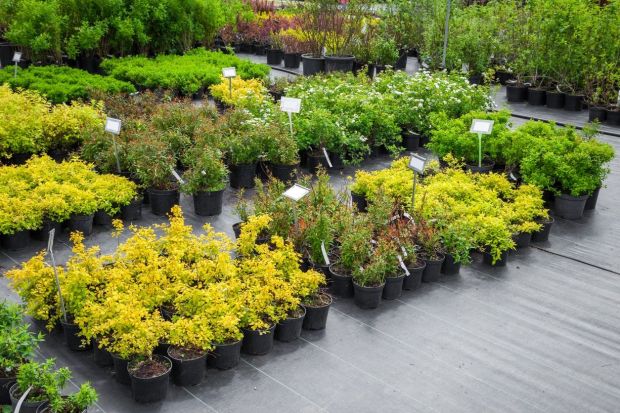
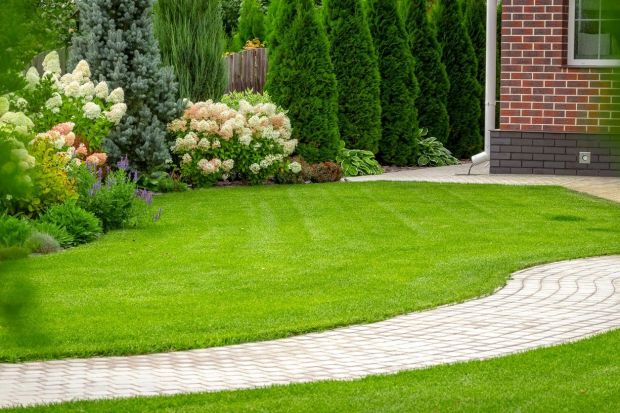
There is nothing more frustrating than putting so much hard work into your garden only to have it destroyed by pests. Gardeners can face many hurdles on the path towards harvest, and pests often give gardeners a ton of headaches.
Knowing what pests you are likely to find in the summer months and how to keep them in check will ensure your garden continues to thrive. Continue reading as we break down some of the most common pests you might come across and what you can do to keep them from destroying your garden this summer.
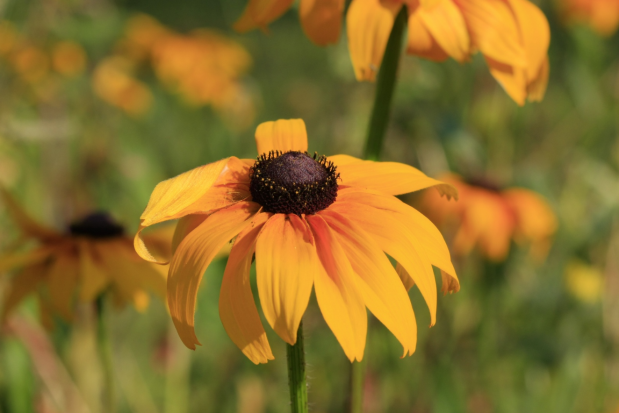
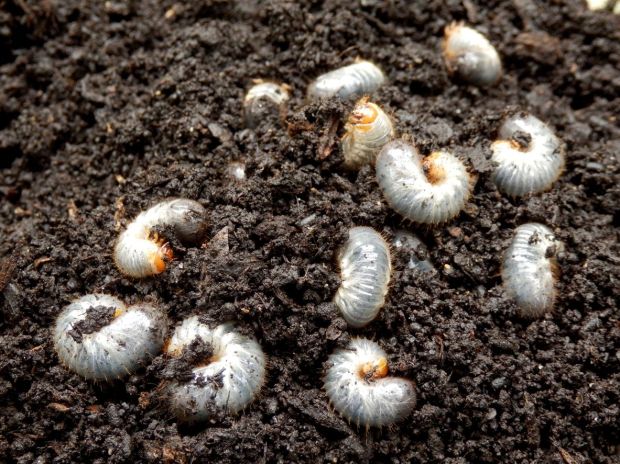
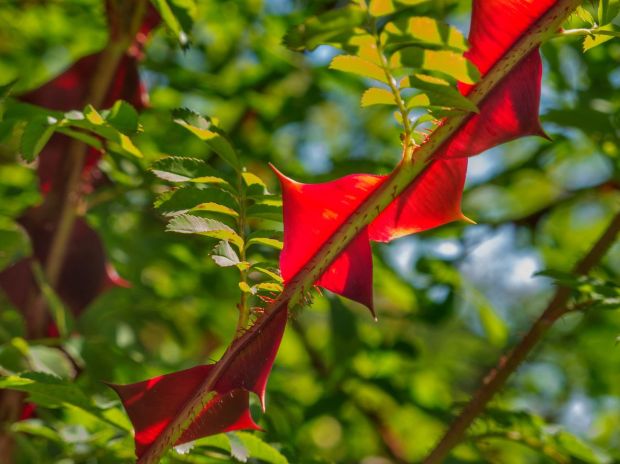
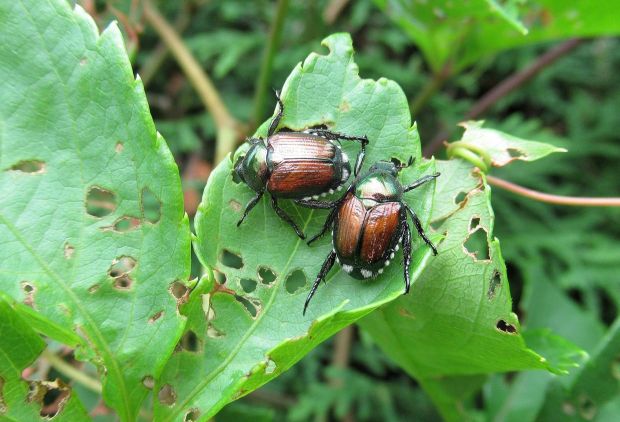
Japanese Beetles
Have you have seen a metallic blue-green insect buzzing around your yard? If so, you saw a Japanese beetle. These insects wreak havoc on not just vegetable plants, but flowers and trees as well. The adults eat leaves, chew flowers and consume fruits and veggies and their larvae aren’t much better. They devour plant roots in your garden and your lawn.
Insecticides are one option when it comes to controlling these pests. If you are looking for a non chemical option, floating row covers can be implemented in gardens and you can physically remove them by shaking the plants in the early mornings. Baited traps are also commonly implemented.
Aphids
Aphids appear on fruits, vegetables, shrubs and trees, sucking the sap and causing leaves to drop. The waste they produce is called “honeydew.” It is a sugary liquid that can encourage sooty mold on your plants branches or leaves. Honeydew also attracts ants. The tiny, pear shaped insects have long antennae and their abdomens have two small tubes projecting from them. Aphids populations multiply quickly and it won’t be long before your garden is overrun, so catching them early is so important.
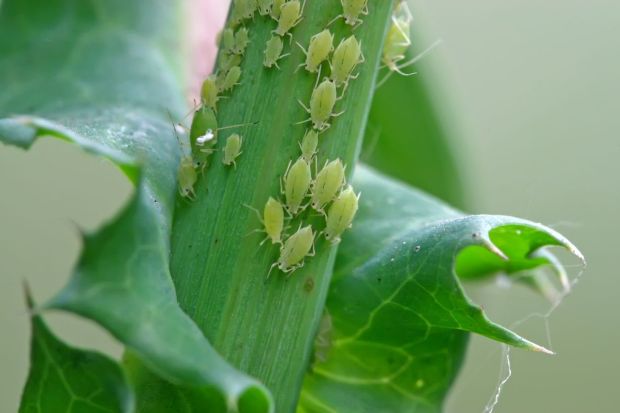
Spraying cold water on the leaves of an infested plants is used to remove aphids. This knocks them off the plant, and don’t usually go back to the same plant. Your pantry might contain an aphid deterrent. Flour is used to get rid of aphid infestations because when dusted on the plant, it constipates the aphids.
Other options include wiping the plants and its leaves with a mild soapy water solution. You will only need a few drops of dish soap in the water for the solution to be effective. Adding a pinch of cayenne pepper to the dish soap water solution is just another variant.
If you aren’t sure about these options, add diatomaceous earth around the plant. This non-toxic material kills aphids, but use with caution, as it can also kill the good insects you need to pollinate your plants. Avoid using this when your plants are blooming.
Slugs and Snails
These slimy pests definitely put a damper on a gardener’s day. Slugs and snails devour your garden produce, munching on leaves as they move along.
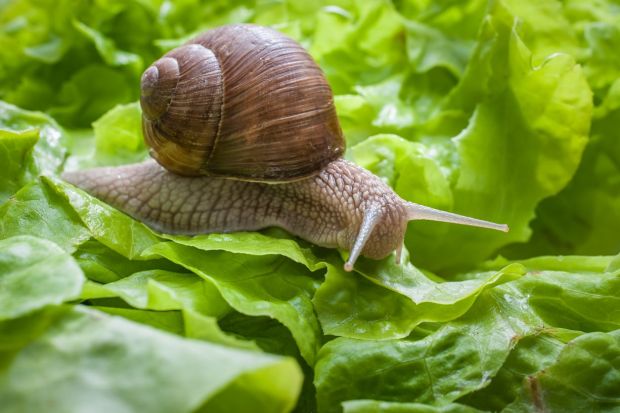
Slugs and snails can be controlled by welcoming their natural predators into the garden. Garter snakes eat these slimy pests and many other garden pests that might be bothering your garden plants. It might be hard to think about making your garden snake friendly, but these animals only help in your garden and they don’t hurt people.
If snakes aren’t something you want to encourage, another option would be to add gritty substances, like egg shells or diatomaceous earth, to the area. These substances will cut the snail or slug’s body, injuring them. Eventually these pests will either be killed or be deterred from bothering your plants.
Caterpillars
Ever heard of the very hungry caterpillar? Well it isn’t just a children’s story. These garden pests will eat their way through your vegetable garden, especially your cabbages, broccoli, kale and cauliflower.
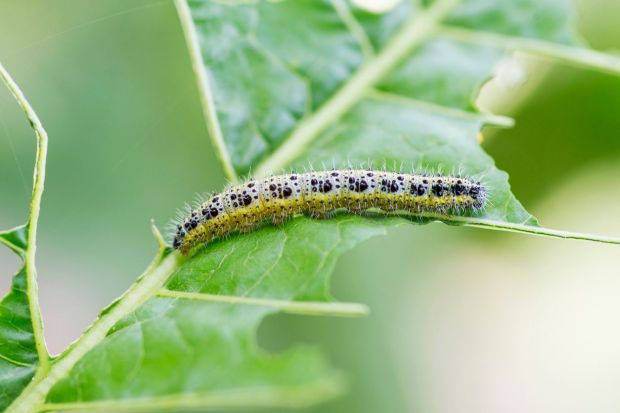
Besides removing these garden pests by hand, insect barrier fabrics are often used to keep them away. The benefit of using the barrier fabrics is you aren’t just protecting your plants from caterpillars. Other insects won’t be able to get through either.
There are also insecticides available if you want to go with a chemical approach. These can be found at local hardware stores. Follow all the directions and recommendations on the label for the safest and best results.
Grasshoppers
Grasshoppers will consume everything in their path if they make it in the garden. They eat leaves, flowers, fruits and veggies non stop. They can eat as much as half their body weight each day.
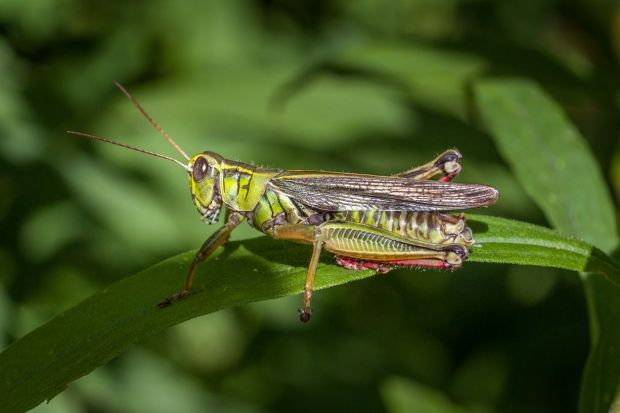
Making your garden friendly to their predators is a great way to control grasshopper populations. Bluebirds for example are a great eater of grasshoppers. Toads and snakes also make these pests a meal.
Another option would be to explore insecticides that target grasshoppers. There are many options when it comes to insecticides to help control infestations of grasshoppers.
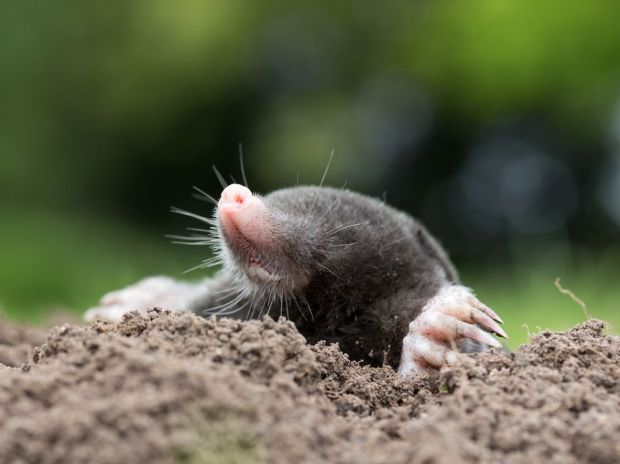
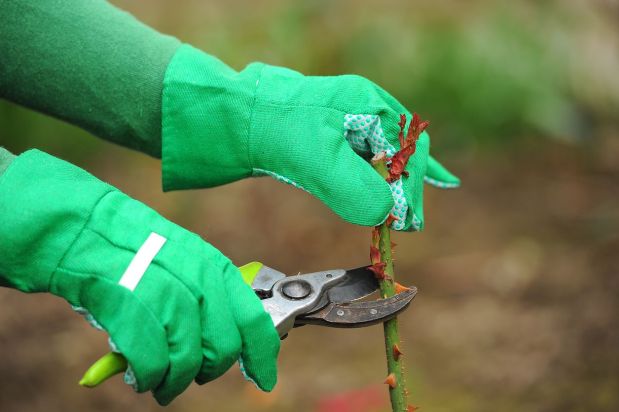
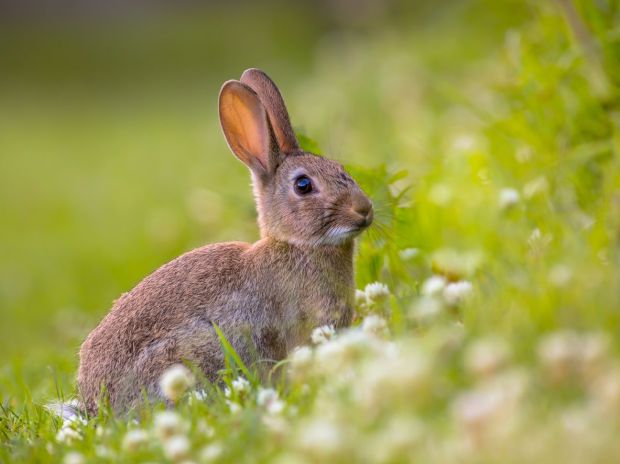
Rodents, Rabbits and Other Animals
If you are an avid gardener you probably have had some run ins with some other kinds of pests that aren’t insects. Chipmunks, mice, rabbits, raccoons and even deer can wreak havoc on a well planned garden. They nibble on seedlings, and decimate harvests. Raccoons often like to dig up plants you just put in the ground.
Fencing is an animal friendly prevention method to keep your garden plants safe, but be sure you are using fencing with very small openings. Small garden pests, like chipmunks can easily slip through common fencing. One option to keep even some of the smaller pests out would be to use hardware cloth. This is available at hardware stores. When it comes to keeping out the big pests, like deer, your fencing should be tall. White-tailed deer are able to jump over fences as high as eight feet.
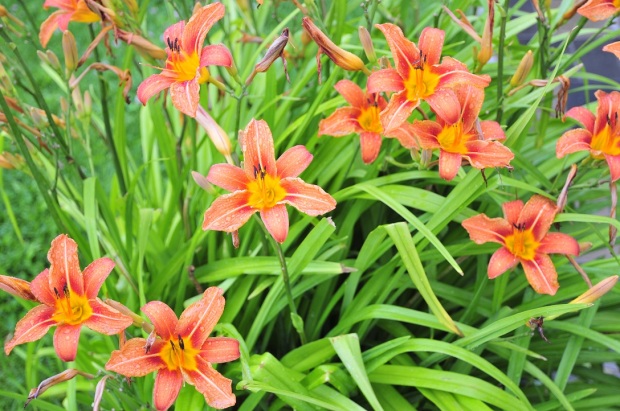
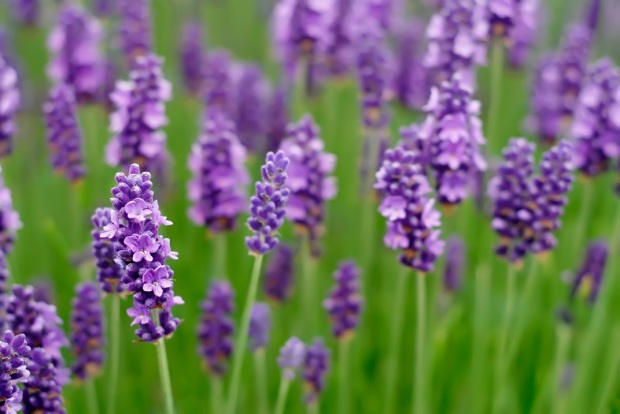
For some animals adding plants they don’t like can act as a barrier. Marigolds, onions, garlic, lavender and catnip are just some options you might look into if you have a rabbit problem. This is an animal friendly way to keep those pests from getting your tasty garden produce.
Other wild animals can be trapped in live traps and taken to another location where it is safe for them and your garden. If you are nervous about trapping animals, contact your local animal control or a pest removal service and they can help.