Try Native Plants in Your Garden! Benefits Are Many
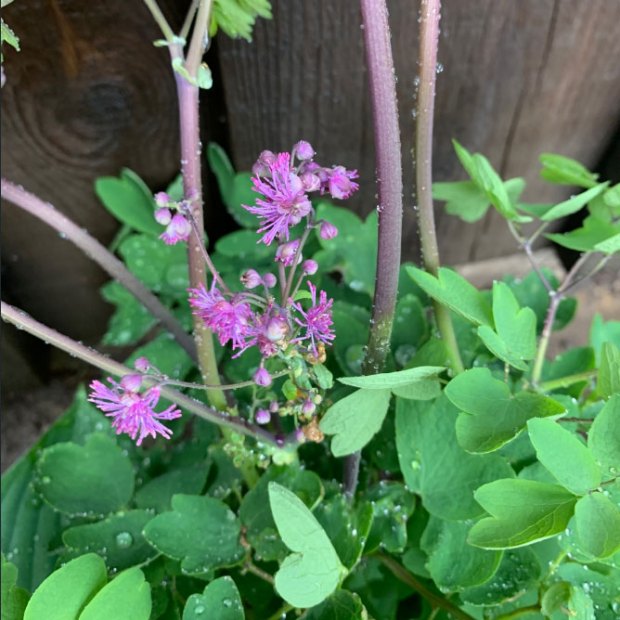
Everyone should consider growing some native plants in their garden. The benefits are many. They attract pollinators, they’re easy to maintain and they’re less likely to become invasive. Find out how to choose the best native plants for your garden.
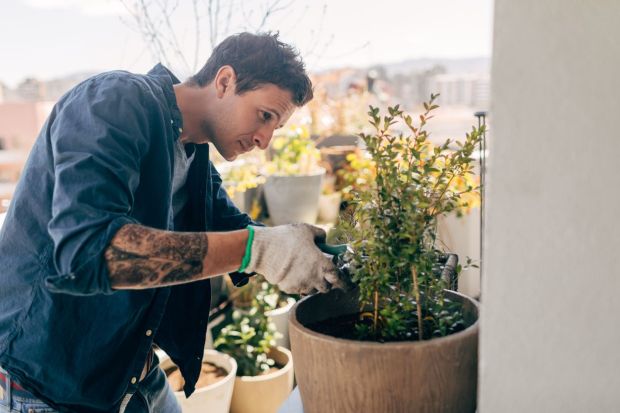
Whether you are a seasoned gardener or just starting out, we all have times and spaces where we just don’t know what to plant. One solution you should consider is to add native plants to your garden plan. Native plants are those that grew in an area naturally without any intervention from humans.
No matter where you live there are a variety of benefits to using native plants in your garden. Keep reading to learn just what those benefits are and how you can use native plants in your garden.
Benefits of Native Plants
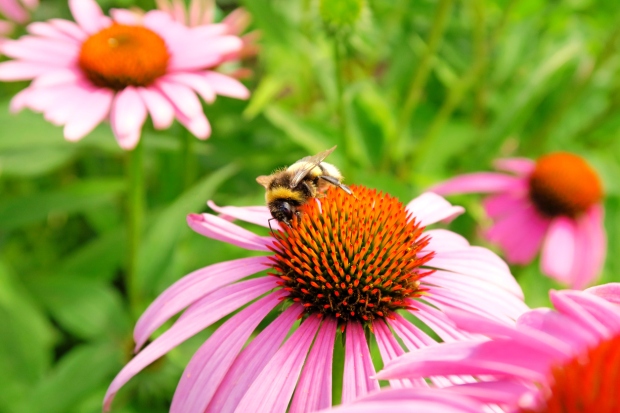
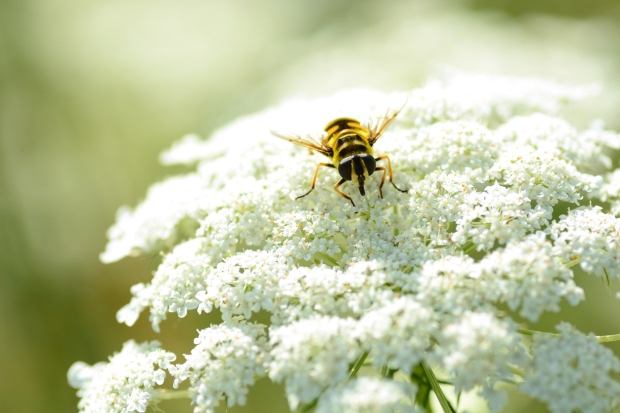
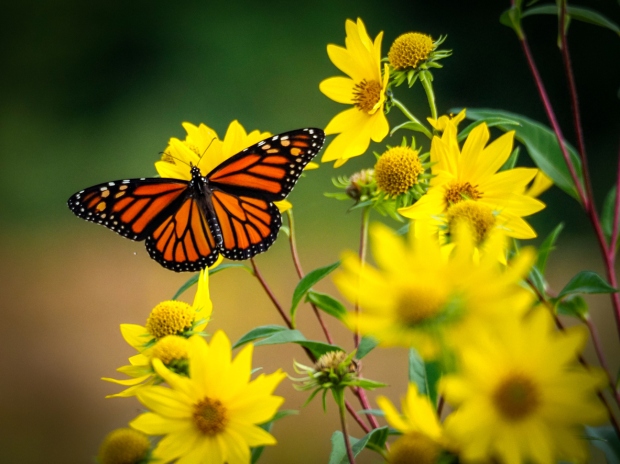
Attracts Pollinators & Endangered Species
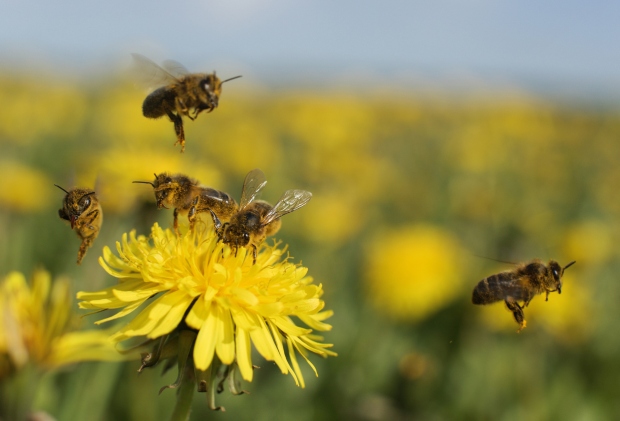
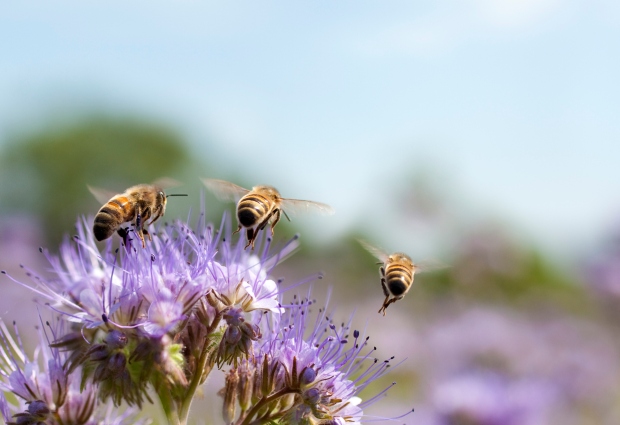
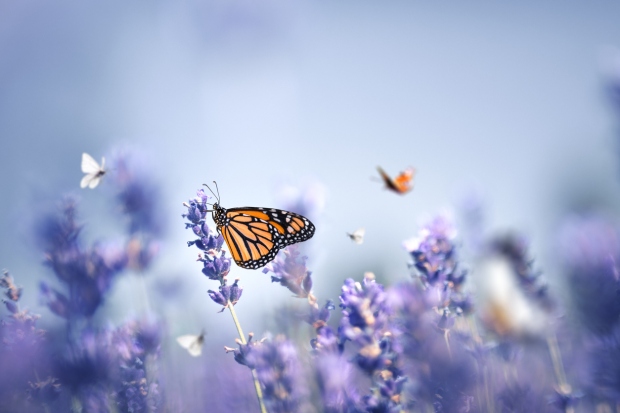
Pollinators play such an important role in the growth of our food. We need them to pollinate many fruit trees along with other fruits and veggies you might have in the garden or the surrounding area. Native plants attract pollinators your garden needs, because they have adapted to feed on them. Too many non-native plants means those pollinators wont have enough pollen or nectar or in some cases the non-native plants might be completely inedible.
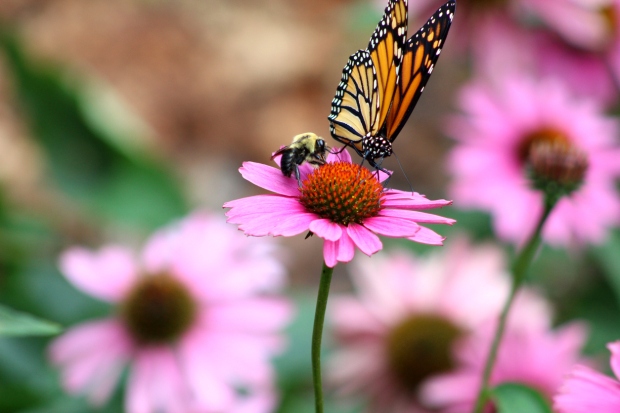
Not only will having native plants in your garden provide food for those oh so important pollinators, but it will in turn help with native wildlife that might be endangered. Native plants provide food and shelter throughout the year. Even in winter.
Besides that, non-native plants introduced by humans sometimes become invasive, competing for space and resources with animals, endangering them further. We will touch more on invasive species later.
Easier On Natural Resources
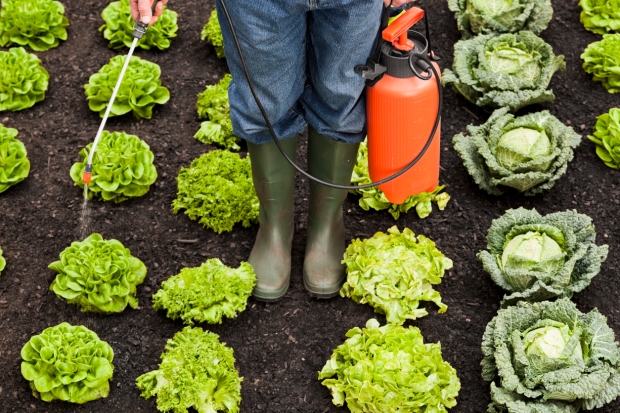
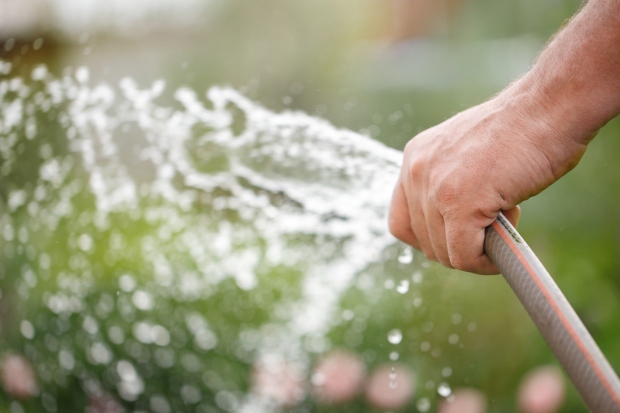
Want to mow less? Or maybe you’re interested in not dragging out that garden hose and running up your water bill ? How about less chemical applications? Native plants can really help you achieve all of these things because they are easier on natural resources.
Reducing your mowing time is just one of the benefits having a large area of native plants. Fewer mowings means less gasoline. Because they have survived without help from people the yearly rainfall is usually enough for them to survive. This means less watering on your end. They also have developed a resistance to many of the local insects requiring little to no pesticide applications. This doesn’t mean they won’t ever have insect issues, but it is greatly reduced.
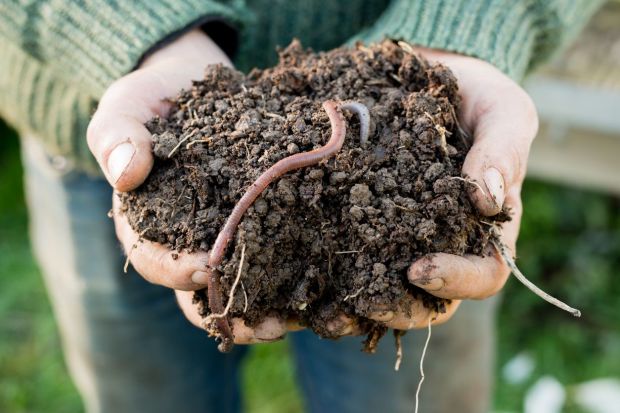
Besides all of these great benefits to our natural resources, the root systems of native plants are usually pretty strong, especially after they get established. These root systems don’t just keep the plant healthy, they also prevent soil erosion and washout.
More Likely to Thrive
Maybe you don’t have the greenest of thumbs, or you are just tired of the plants you add not lasting throughout the entire season or through the winter. Native plants are a great solution. Not only will they have a better chance of surviving in your area, they are more likely to thrive than non native species. As we touched on above, they are more resistant to insects and usually rainfall provides enough water for them to survive. They have also evolved to survive cold winter temperatures.
This doesn’t mean they don’t need some care and will always survive everything Mother Nature throws at them, but these plants have adapted to survive in their location and that means surviving the weather.
Less Likely to Become Invasive
Maybe you have heard of invasive insects or animals. Well, plants can be invasive too. Usually this happens when non native plants introduced to the area find they like the habitat and have nothing to stop their growth. Invasive species take over space and resources that are essential for animals and plant species. Not only are native plants less likely to become invasive, some aggressive native plants can even compete with the populations of invasive ones.
Low Maintenance
Native plants really don’t need as much help from you to grow, especially once they are established. As we have touched on, they don’t need a lot of extra water and you won’t have as many chemical applications. But in addition, you don’t have to worry as much about treating the soil. There are so many non-native species that require very specific soil specifications. Planting native plants can reduce your costs for soil treatments and also your time.
How to Choose Native Plants
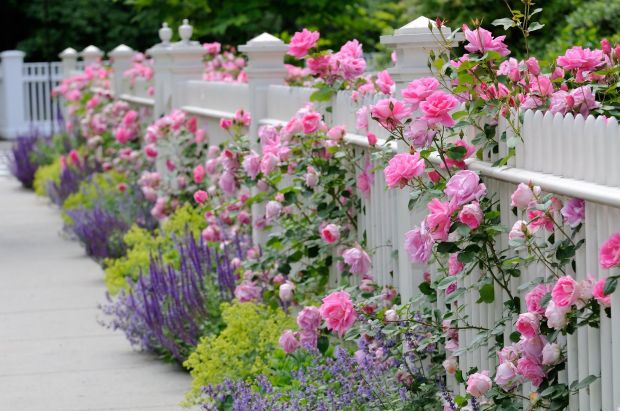
Native plants often add a beautiful and natural look to your landscape, but how can you possibly choose which plants to add? The first step is to do a little research. Finding out what is actually native to your area is crucial. If you are having trouble, your local Extension Office or horticultural group will be able to offer you some insight.
You will likely find information identifying native plants by region. Once you know your region, you can decide what will work best for your specific location, whether you live on a lake, on the prairie, in a mountain range, next to an ocean or in the dessert.
To get you started we can look at some plants that might work depending on your location.
Arid Locations:
- Blackfoot Daisy
- Desert Spoon
- Common Bearberry
- Red Yucca
Wet Locations (Does Not Include Areas With Standing Water):
- Bee Balm
- Cardinal Flower
- New England Aster
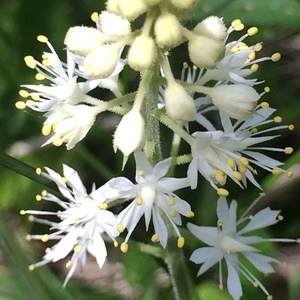
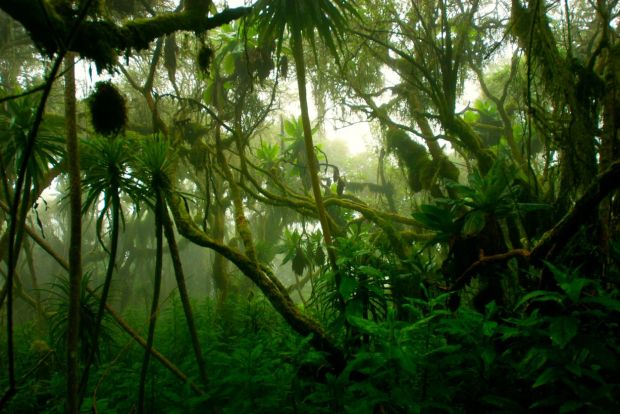
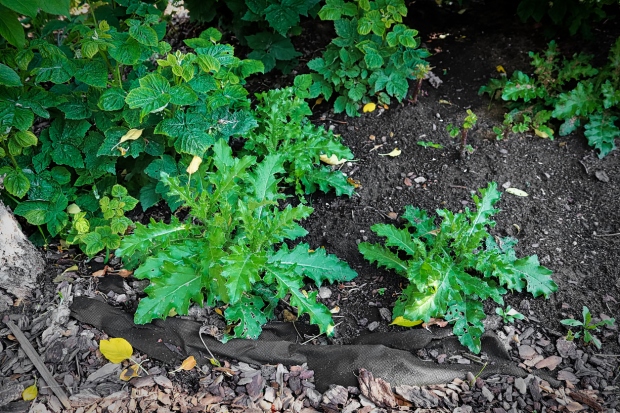
Shaded Locations (Wooded Gardens):
- Copper Iris
- White Snakeroot
- Wild Garlic
- Columbine
Cold Locations:
- Red Baneberry
- Columbian Monkshood
- Jacob’s Ladder
- Blue Flaxr
Sunny Locations:
- Narrow Leaf Blue Star
- Cup Plant
- Purple Coneflower
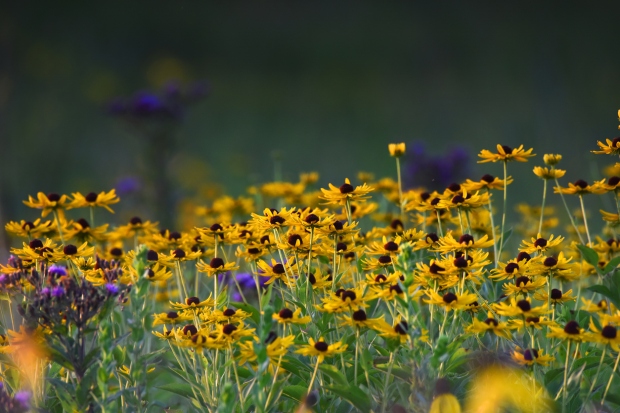
- Brown-Eyed Susans
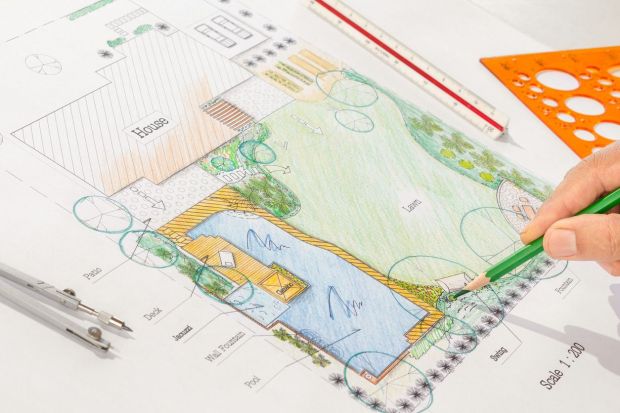
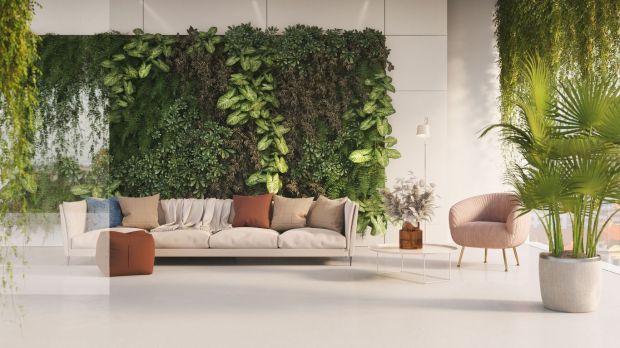
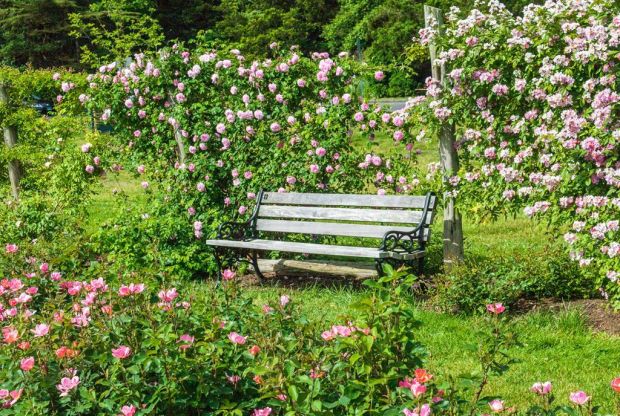
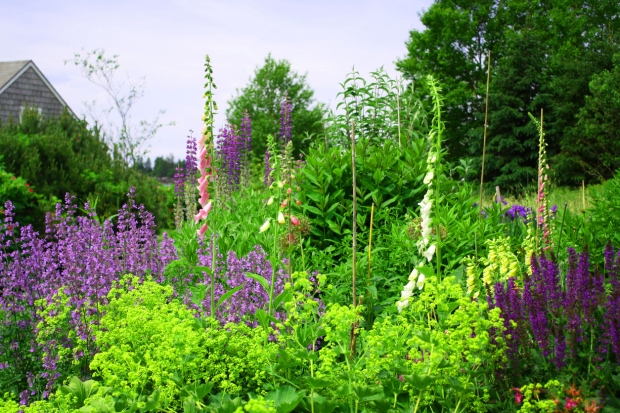
How to Design a Native Garden
Sometimes native plants can look a little out of control or wild. Much of a design of a garden is dependent on the gardener. Start out by asking yourself how you want yours to look. Do you want a natural, not manicured look or are you looking for a well groomed, tidy garden? Once you know what you want it to look like, start looking for plants that fit your location and your conditions. What type of soil do you have? Is it predominately shade or sun? You will also need to decide the size of the space you want to work in. Will this be filling your whole back yard or just a small bed on the side of the house?
Select plants that will work well together, this includes checking on the size of the mature plant. You don’t want one native plant to outgrow and overshadow another. This will cut out resources and hurt the smaller of the two. Make sure you know how tall and wide something will get before you add it to the garden. Some people make the mistake of not checking and the plants end up taking over the bed and reaching into a nearby walkway.
Great gardens are also designed to stun throughout the entire season, with different plants blooming at different times. Information accompanying the plant will tell you when the peak blooming time is or when leaves might change color.
It is so easy to feel overwhelmed when you are just starting out. Remember you don’t have to have the entire bed figured out in one year, especially if it is a large flower bed. And you don’t have to do it alone. There are so many organizations that can give you ideas and support as you plant. Don’t be afraid to ask.