Magic: Using Vinegar to Clean Flower Pots
Are your flower pots dirty? Do your terracotta pots have white residue all over them? Now there’s any easy way to clean them using common household white vinegar. Check out our homemade recipes and instructions on how to easily clean your dirty pots.
Being avid gardeners also means that we’re environmentally conscious. Most gardeners never throw out a pot but rather, we keep them to use them over and over again. This, of course, means that we have to clean them.
Why? Well apart from old dirty pots not looking very nice, it’s also bad for the plants. Old pots can harbor pests and bacteria that can be transferred to the lovely new flowers that we’re going to plant into them.
By not cleaning the pots before you use them, you’ll be subjecting new flowers to any numerous types of soil-borne pests and diseases. But, fear not. Cleaning old pots is super easy when you use a product that you, most likely, already have in your home.
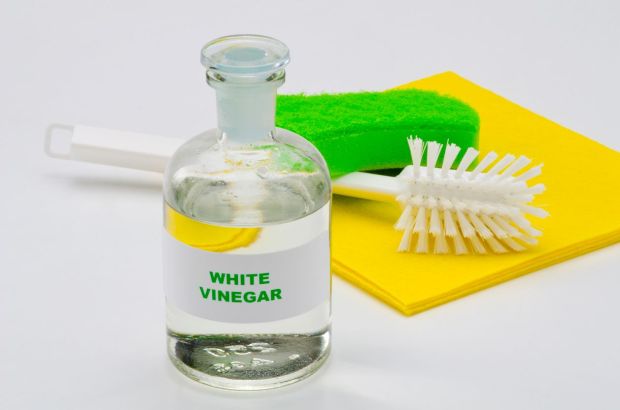
This magic cleaner is vinegar! It’s quite likely that you already use vinegar for many other cleaning tasks in the home. Well, have you also considered using it in your garden? If you follow the simple steps below, you’ll soon have lovely clean pots that you can reuse over and over again.
Using Vinegar to Remove Calcium Deposits
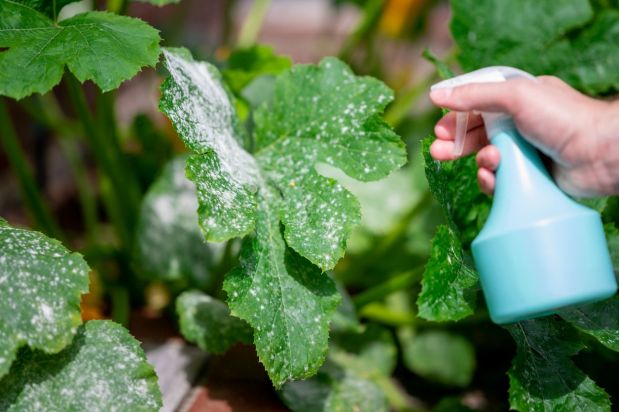
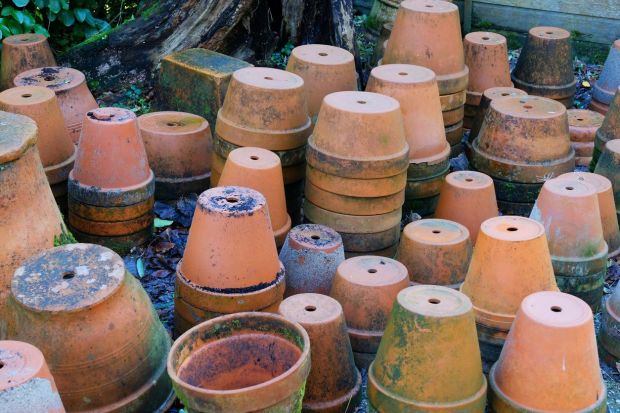
Calcium deposits are those white substances that you see on pots that have been in use for some time. Primarily, these come from both your tap water and also the non-organic fertilizers that you may be using.
The calcium will build up over time and create a chalky or crusty white residue on your pots that appears almost impossible to remove. But, if you use vinegar, these white calcium deposits will just dissolve away.
Vinegar is an acid while calcium is alkaline. This means that these two substances are chemical opposites. Therefore, the calcium will react when it connects with the vinegar and you’ll end up with a nice clean pot.
Here’s What You Need to Do:
- Brush off any dirt in and on the pot. It’s best to use a pot brush for this. Just give the pot a good going over with the brush to remove any loose soil and cobwebs.
- Find a tub large enough to soak your pots in. This could be a clean garbage can, a plastic tub or bucket or even your laundry tub.
- Fill the tub with 1 part white vinegar and 4 parts water. Add around 1 teaspoon of dish soap. Make sure that there’s enough liquid in the tub so that you can submerge the pots in it.
- Put your pots into the tub and soak them for at least an hour. If your pots are heavily stained, you might like to soak them for 24 hours.
- Remove the pots from the liquid and rub them lightly with a damp cloth. Magically, all the white calcium deposits should just wipe off.
- Rinse the pots with clear water and they’re, once again, ready for planting into.
Using Vinegar to Sterilize Your Pots
The good news is that vinegar can also be used to sterilize your pots. This is extremely important to remove any possibilities of bacteria remaining on the inside surfaces of the pot.
You can use this method for both plastic and clay pots and it’s much more environmentally friendly than using bleach.
Here’s What You Need to Do:
- Find a suitable tub or bucket to soak the pots in. Make sure it’s large enough to handle the pots you want to sterilize.
- Remove any loose soil or debris from the pots.
- Fill the tub with a solution of 1 part vinegar to 1 part water. This is a stronger solution and will sterilize your pots very well.
- Immerse your pots in the vinegar-water solution and let them soak for about 3 to 4 hours.
- While still in the solution, scrub the pots well with a brush. Don’t worry, the solution won’t affect your skin like bleach does. However, you can wear gloves if your skin is sensitive to acid.
- Rinse the pots with clean water and place them out into a sunny spot to dry completely.
If Your Pots Have Really Stubborn Stains You Can Do the Following:
- Mix ¾ cup of vinegar with 1 cup of water in a small bowl.
- Using a clean sponge, wipe this solution all over the pot.
- Wrap a wet cloth around the pot and put aside for about an hour.
- Rinse the pot under cold water and scrub off any remaining stains.
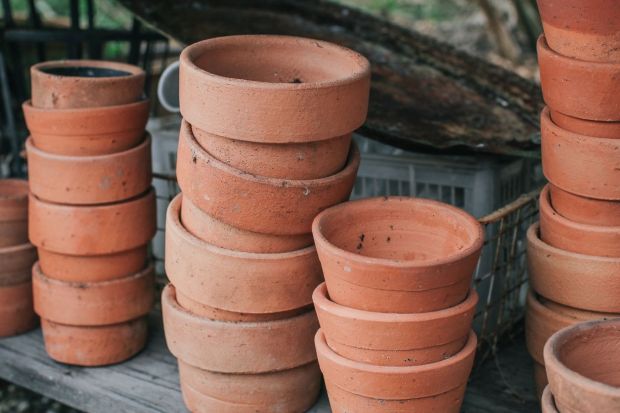
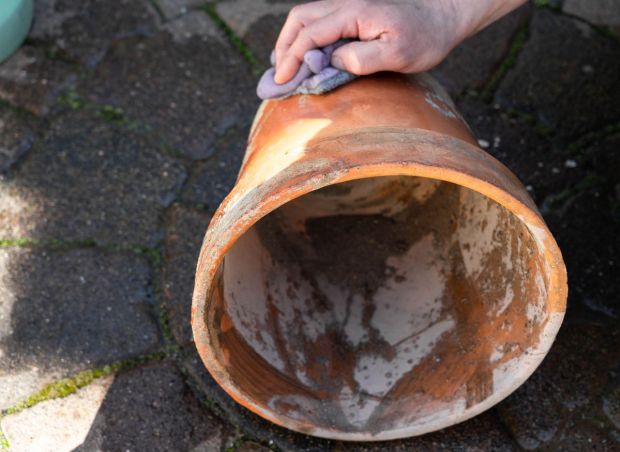
Using Vinegar to Revitalize Your Terracotta Pots
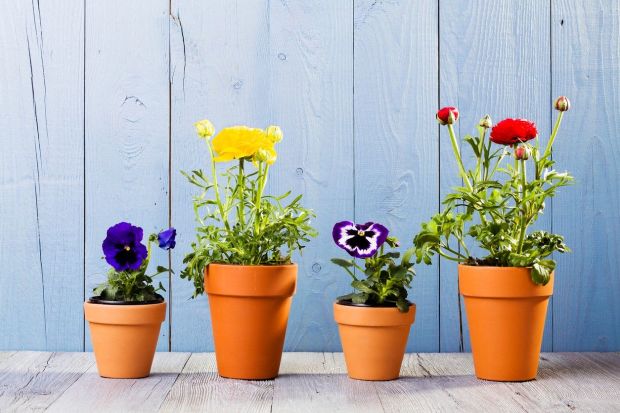
Terracotta pots not only look lovely but they’re also favored by many gardeners because it’s almost impossible to overwater them. This is because terracotta is porous and any excess moisture will evaporate away. This makes them ideal for growing succulents in. Plus, they look adorable when planted up with a colorful array of flowers.
However, terracotta does seem to develop those calcium deposit stains much more readily. Of course, this is due to the porous nature of the pot.
Therefore, if you have scored some old terracotta pots that have seen better days, you can revitalize them by using vinegar.
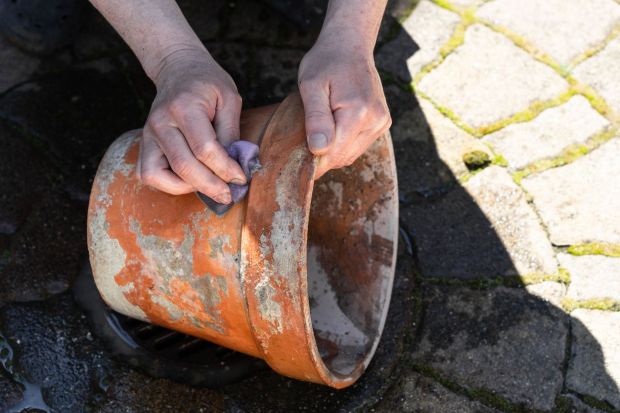
Here’s What You Need to Do:
- Scrub off any residual dirt
- Make up a vinegar and water solution using 1 part vinegar and 4 parts water.
- Soak the terracotta pots in this solution for around an hour. Make sure that the pots are completely submerged.
- Use a brush to scrub the entire pot to remove the white residue and stains.
- Rinse the pots well with clean water to remove any vinegar residue.
Final Thoughts
Cleaning your plastic or terracotta flower pots is not a difficult task when you use vinegar. The vinegar will dissolve any calcium deposits and other stains and will also sterilize your pots.
Using the methods described above, you should have your flower pots nice and clean in no time. And, you can be happy in the knowledge that anything you plant in these clean pots will be nice and healthy.