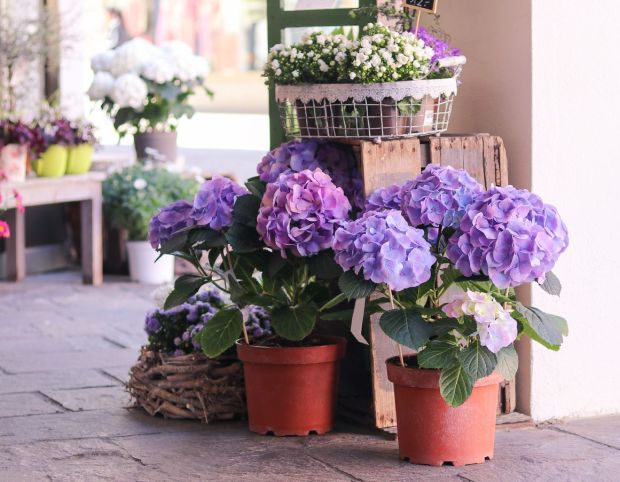
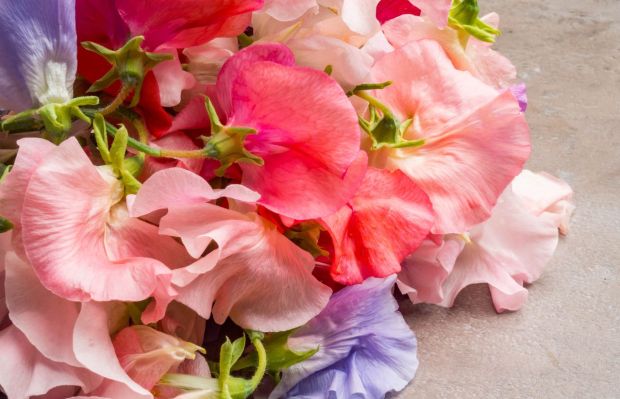
Flower of the Week: Sweetpea
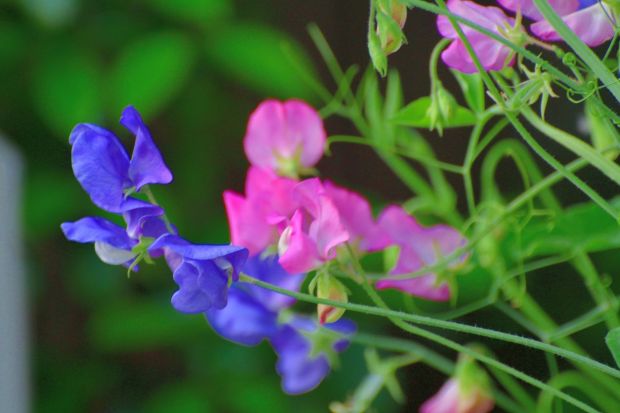
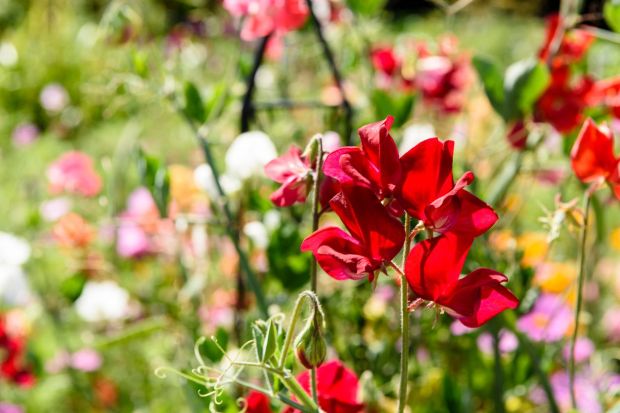
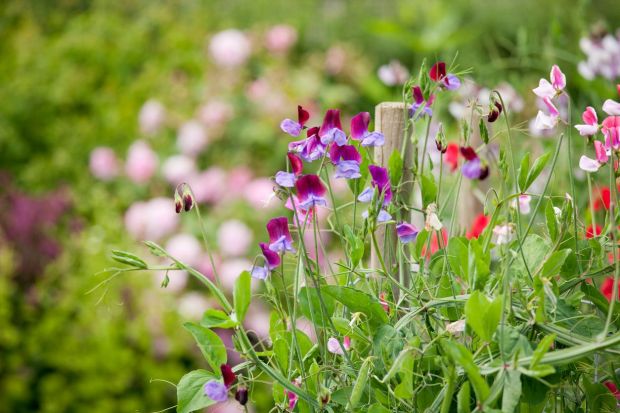
Despite the name, sweetpea is not just an aromatic pea, but a member of the genus Lathyrus in the Leguminosae family. As a hugely popular ornamental plant, sweetpea has large, bright, richly colored flowers that are distinctively fragrant. The plant blossoms each year in late spring and early summer for several weeks.
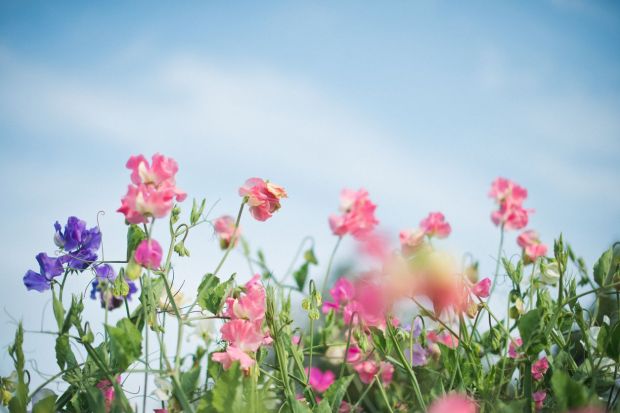
With its thin, weak stems, sweetpea is an annual climbing plant that requires fences or lattices for support when planted. Nonetheless, artificially selected sweetpeas have long, straight stalks and make good cut flower material.
A Beautiful Flower From Italy
Although native to southern Italy, Sicily, and the Aegean islands, sweetpea began showing up in European gardens in the late 17th century. The early history of its cultivation is very mysterious. Francisco Cupani was a Sicilian monk and botanist who brought sweetpeas to the attention of Europe when he sent seeds of various colors to the Netherlands and England. When it first hit the market, there were divergent theories about where it came from, with Malta, Sri Lanka, China, and even South America mistakenly identified as its original habitat.
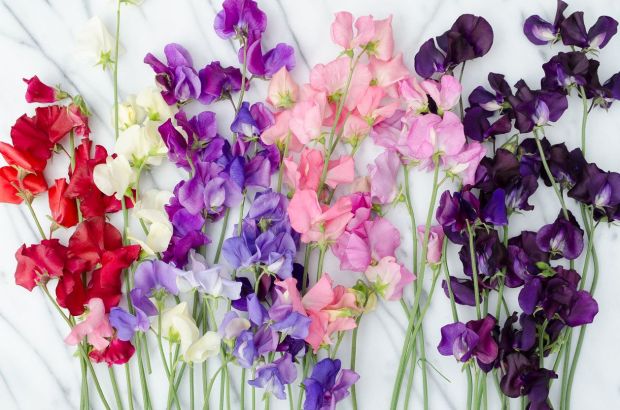
After two centuries of cultivation, a very large number of sweetpea varieties have been developed. Some were adapted to growing in the garden, and others were more suitable for use as cut flowers. At the end of the 19th century, Scottish breeder Henry Eckford greatly enriched the strains of sweetpeas. He cultured more than 150 varieties of sweetpeas in his garden in Wem in Shropshire, England, including the revolutionary large flower line.
Since then, Eckford’s extensive exchanges with the American horticultural community made California one of the centers for sweetpea cultivation. California sweetpea seeds of various colors were not only sold to various parts of the United States, but also supplied in large quantities to the British market.
The Pursuit of Yellow
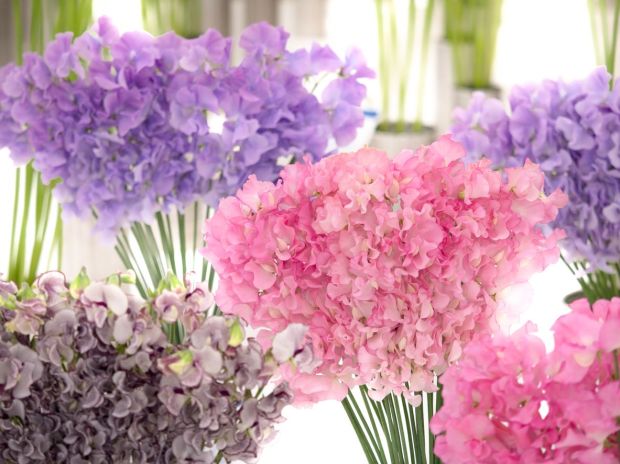
Sweetpeas are available in a wide range of pastel colors, including blue, orange, pink, white, and have many two-tone and even multi-colored varieties, but there has never been a yellow strain. Horticulturists have been as ardent in their quest for yellow sweetpeas as they have been for blue roses, but have had little success.
In recent years, horticulturists have attempted to hybridize sweetpea with Lathyrus belinensis of the same genus, even employing embryo rescue techniques, to try to introduce the latter’s yellow gene into sweetpeas. The experiment has produced some interesting hybrids, but no stable yellow strains have emerged yet.
A Delightful Aroma
Sweetpeas are known for their aroma, which is “as delightful as the Mediterranean sun.” Their delicate, sweet scents have also led major brands to compete for the release of perfumes with sweetpea among the main notes.

However, the scent of sweetpea in perfume comes from the formulation of other fragrances, not from a direct extract like rose essential oil. The amount of fragrant substances that can be extracted from sweetpeas is too little to be of commercial value to the perfume industry.
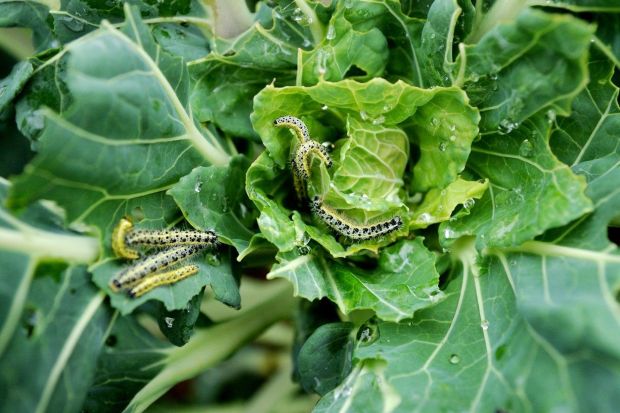
Be Careful Of Toxicity
Although both its flowers and seeds are similar to peas, ingesting large amounts of sweetpeas can cause severe osteolathyrism. The toxins contained in sweetpeas affect the formation of collagen, resulting in damage to bones and connective tissues.
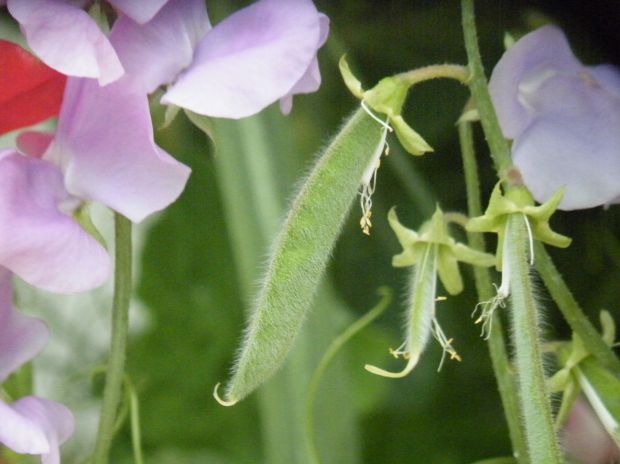
Sweetpea pods
However, there is now research looking to turn these toxic substances into useful drugs. For example the toxins might be able to prevent disruption of skin contraction after skin-grafting.
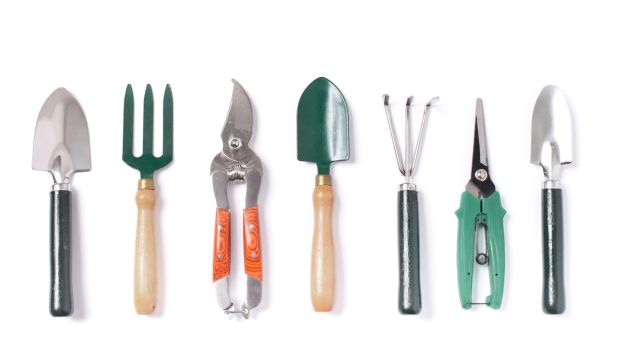
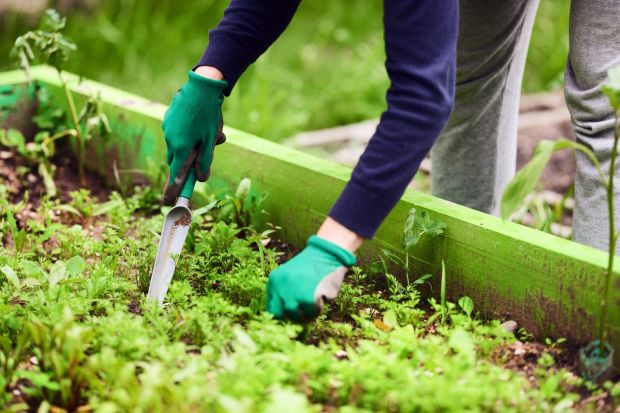
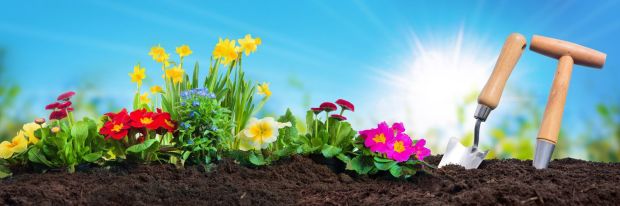
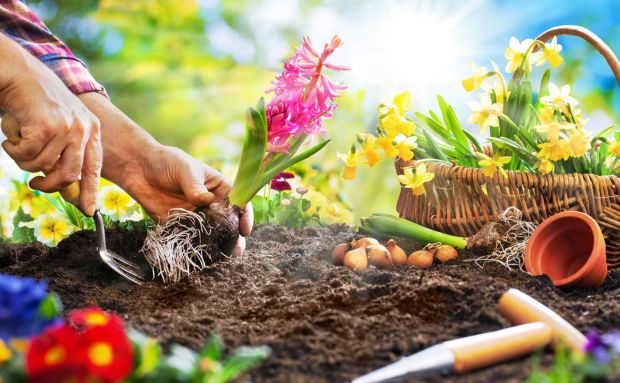
Can I Grow Sweetpea Well?
Sweetpeas are easy to cultivate, requiring just a little extra care. Varieties can be selected according to your needs. The classic varieties tend to have stronger aromas, while new varieties have more colorful flowers.

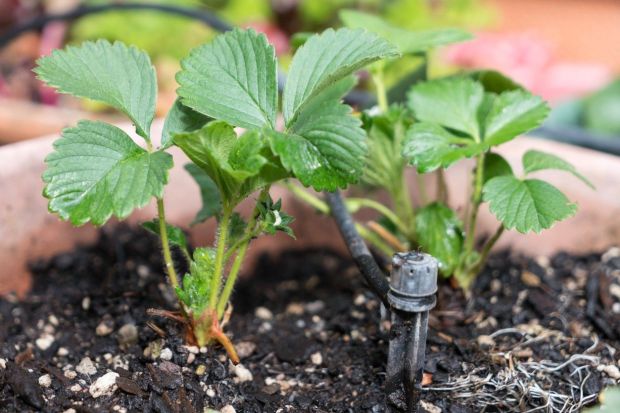
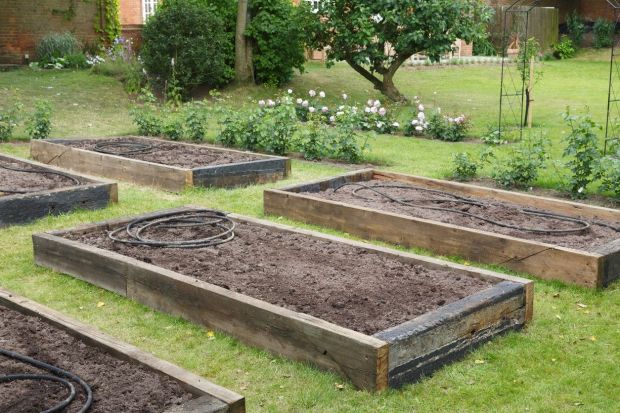
They prefer to grow in environments with warm winters and cool summers, ample sunlight, and humid air. They have moderate water requirements, are intolerant of waterlogging and frost, and need protection in open-field cultivation. Also, fencing is required in areas where hares are present.
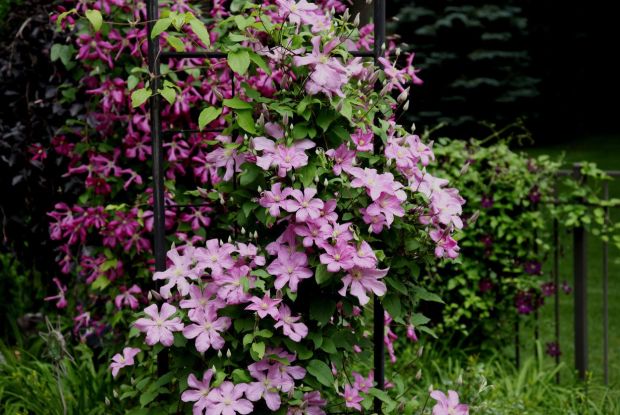
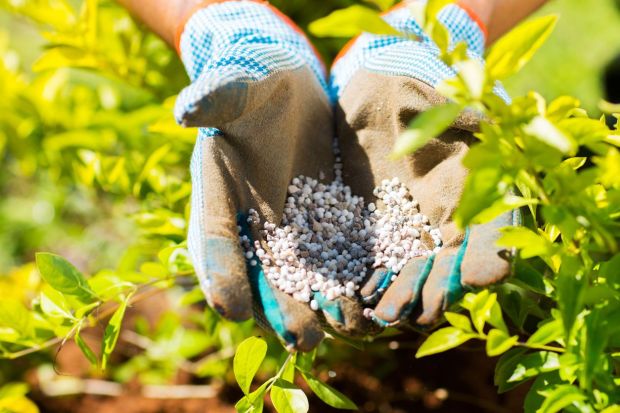
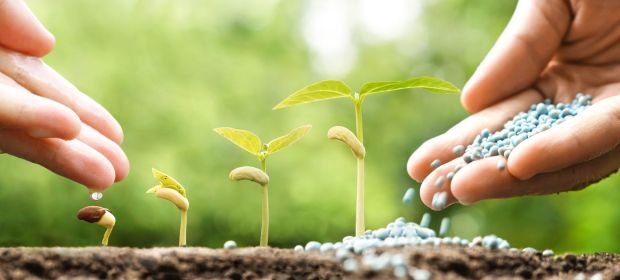
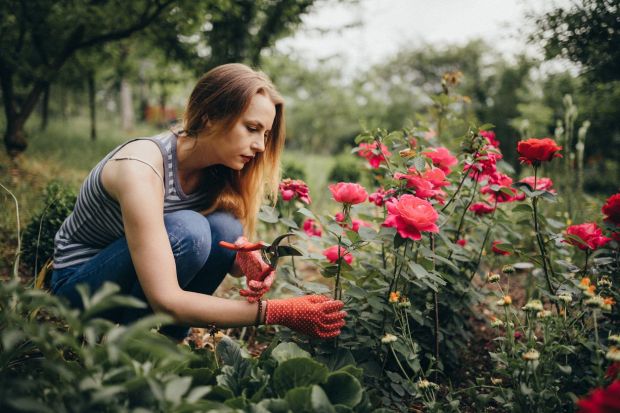
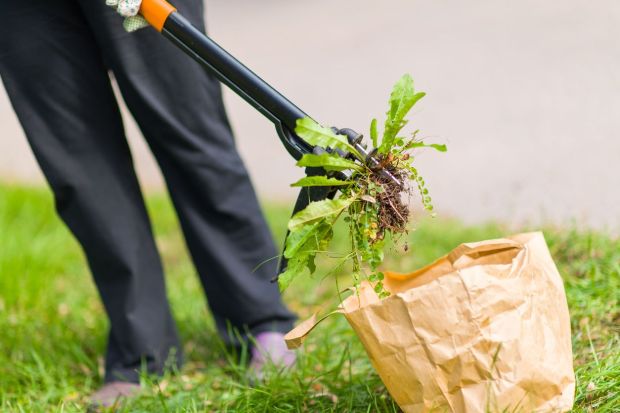
After the final singling of seedlings, each sweetpea plant should be equipped with a climbing pole, and after the plant grows taller than 30 cm, they can be pinched back to promote branching. In the peak growing season, the rapid growth of sweetpea branches require pruning and tendril removal. Overly dense side-branches should also be removed promptly; otherwise, blooming can be hindered. In the flowering season, sweetpeas need a potassium-rich compound fertilizer once a month.
The first round of sweetpea flowers are usually short-stalked and small, and can be cut back to promote the second round of bloom.
Size: 1-2.5 m tall, 0.3-0.6 m wide
Hardiness: USDA Zone 3-9
Light: Full sun, half shade
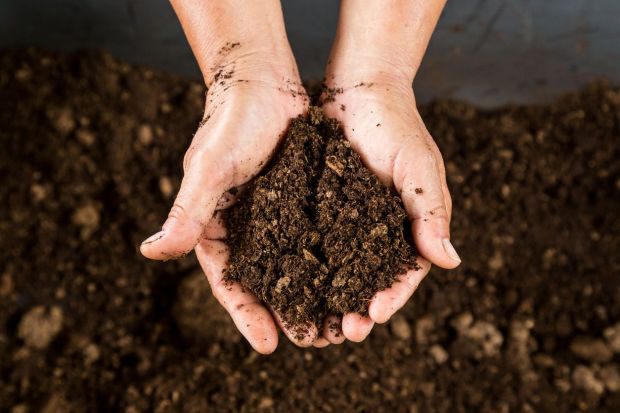
Soil: Well-drained loamy, sandy, or clay soil, slightly alkaline
Bloom Time: Late spring to early summer. Certain varieties keep blooming until fall.