A Beginner’s Guide to Plant Propagation
It’s possible to turn one plant into many through propagation. Learn about the differences between sexual and asexual propagation and what it takes to start plants from seeds and get a plant to sprout from a leaf or cutting.
Buying new plants is an expensive way to expand your garden. A better strategy? Propagate the plants you already have.
With the right techniques, you can soon fill your empty garden space from the offspring of a few parent plants. Here’s how to get started with plant propagation at home.
What Is Plant Propagation?
Put simply, plant propagation is the process of creating new plants from ones you already have. Different methods of propagation are classified into two categories: sexual and asexual.
Sexual Propagation
The most common way plants multiply is by producing viable seeds through sexual reproduction. Though there are exceptions, this method usually requires the pollen from one plant to reach the flowers of another. Under the right conditions, these seeds will germinate and grow into plants genetically similar (but not identical) to their parents.
This genetic diversity allows gardeners to create new varieties over time, but it can be a tedious strategy for increasing the plants in your garden.
- Pros: Natural reproductive process for plants, promotes genetic diversity
- Cons: Can be slow and challenging, some plants produce sterile seeds, resulting plants may not have the same traits as the parents.

Asexual Propagation
Asexual propagation, in contrast, skips seed production and instead uses vegetive plant parts like the leaves, stems, roots, and more to make a genetic clone of the parent plant. Most asexual propagation methods produce new plants more quickly than going from seed, and the clones will be virtually identical to the parent plant.
This means that gardeners will know precisely what the character traits of their propagated plants will be, but it also limits genetic diversity. Over time, it can make plants more susceptible to environmental stresses and disease.
- Pros: Often faster than sexual propagation, resulting plants are genetically identical to parents
- Cons: Less genetic diversity, plants might not be as hardy
How Do You Propagate Plants? Seven Methods
There are many strategies for propagating plants at home. Here are seven strategies that work for most varieties.
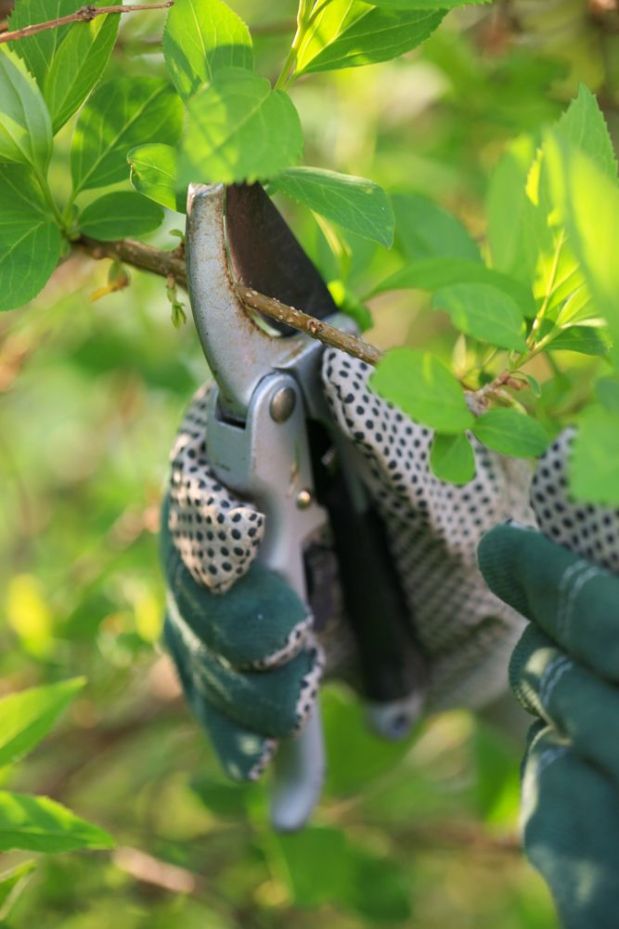
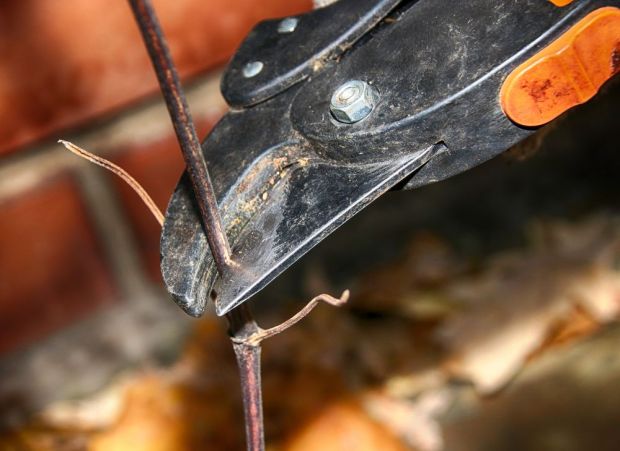
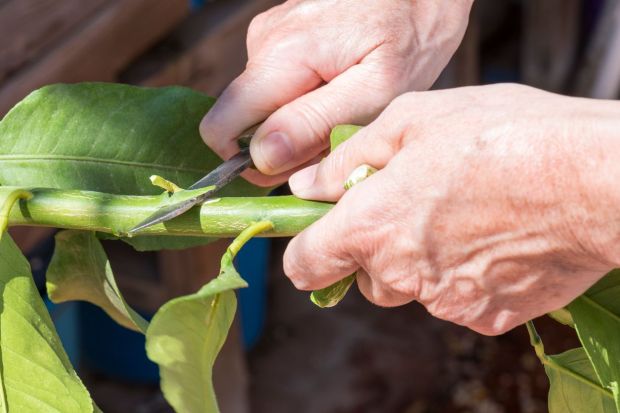
1. Cuttings
A “cutting” is a vegetative part of the plant, such as stems, leaves, or roots, that you separate from the larger parent and plant on its own to regenerate into a whole new plant. Cuttings are often classified based on the material they come from and whether it comes from old growth (hardwood) or new growth (softwood).
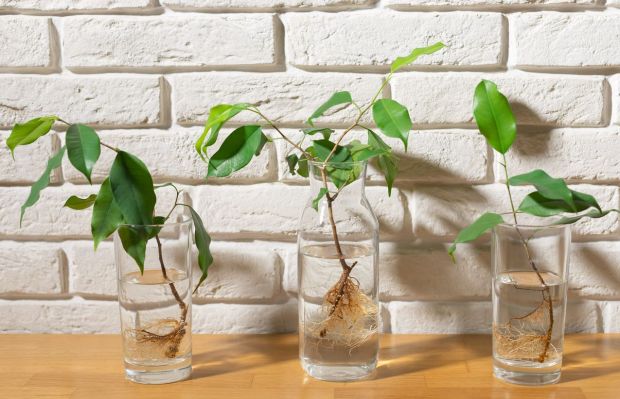
One popular propagation strategy is to place a cutting in a glass of water. Within a few days, small roots should start to form. You can plant the cutting in soil after several weeks of root growth.
2. Layering
For this propagation method, you will bend a branch from an existing plant until it’s at ground level. Cover the branch with soil and allow it to root. After a month or longer, it should develop a strong root system. At this point, you can cut it away from the main plant and plant it elsewhere.
Because it requires an entire branch of an existing plant, layering will only work for propagating a few plants from each parent at a time.
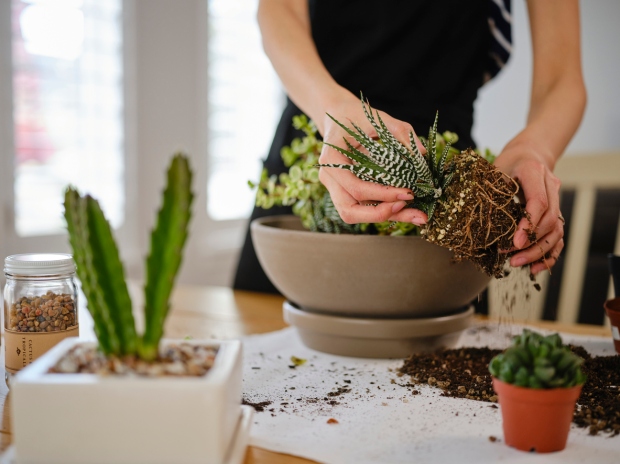
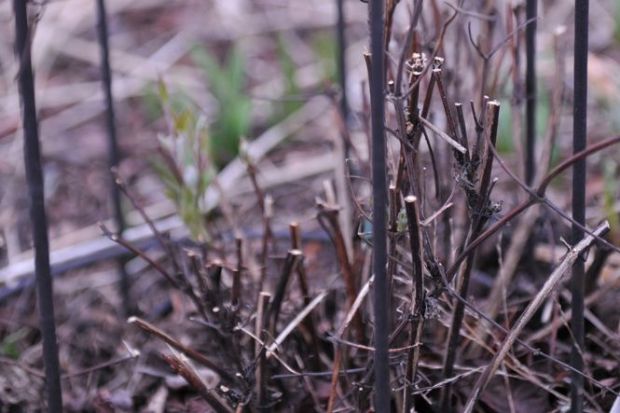
3. Division
As the name implies, this propagation technique requires you to divide up the roots system of existing plants to replant some of them elsewhere. It’s an excellent strategy for perennials that need more space to spread out.
As a general rule, plants that flower in the spring should be divided and replanted in the late summer or fall, and those that flower in the summer should be divided in the early spring when they are still dormant.
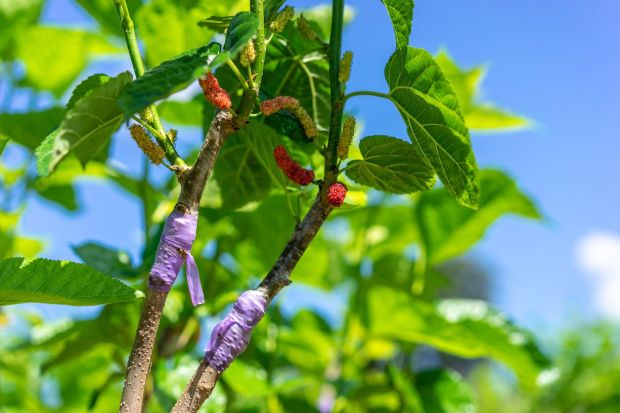
4. Grafting
Popular for trees, grafting is a propagation strategy where you cut the twig from one plant and join it onto the stem of another, so they function as one plant. This lets you combine positive character traits of multiple varieties for a better plant overall. For example, fruit growers often combine the rootstock of disease-resistant varieties with the trunks of tastier, but more finicky varieties, so they get the benefits of both characteristics in the final plant.
It’s also possible to make multiple grafts on the same plant. For example, someone with a small yard might graft multiple varieties of apples onto one trunk to maximize its production potential.
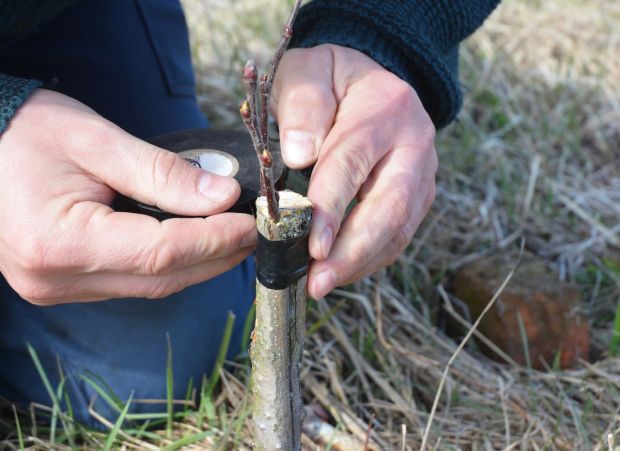
Grafting works best when done in the spring before new growth appears. Popular techniques are known as whip, bark, cleft, and side grafting.
5. Budding
This propagation method is similar to grafting but requires you to take a single bud with minimal wood and insert it into the rootstock to grow as one plant. It works well for plants that don’t produce viable seeds or for grafting new varieties on the tops of trees when other grafting strategies aren’t possible.
6. Tissue Culture
This relatively new propagation technique is more advanced than the others listed here and is typically used in commercial settings. Tissue culture works to propagate plants within a glass propagation tube and makes it possible to start hundreds, even thousands of new cultivars at once from a single parent plant.
The resulting clones are small and easy to ship, making this a popular propagation method for large nurseries.

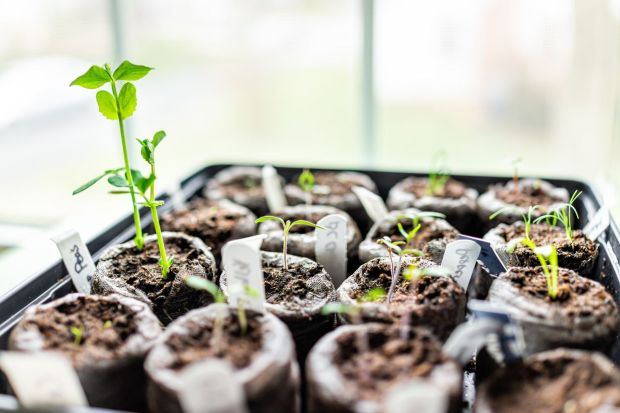
7. By Seed
Finally, it’s also possible to propagate plants by seed. While the best method will vary based on the variety you’re working with, it’s usually possible to harvest the plant’s seed head once it turns dry and brown. Store it in a cool, dark place, and plant the seeds once seasonally appropriate the following spring.
Note that many plant varieties, such as hybrids, produce seeds that won’t be “true” to their parent. These seeds can develop unexpected, often undesirable character traits. Avoid this problem by researching the traits of the varieties you are growing before saving seeds to ensure you aren’t wasting your time.
Try Propagation for a More Prolific Garden
Learning how to start new plants at home is a cost-effective way to expand your garden. Experiment with these different propagation strategies in your garden, and you’ll never be short on plants again.