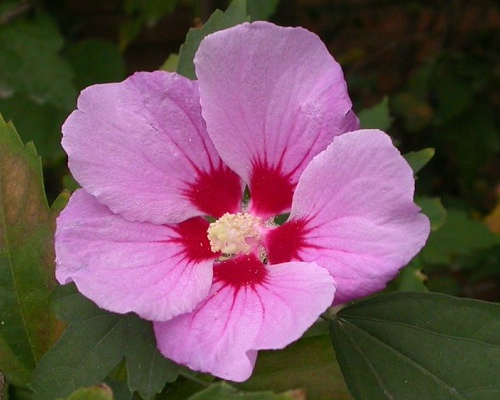
Flower of the Week: Hibiscus
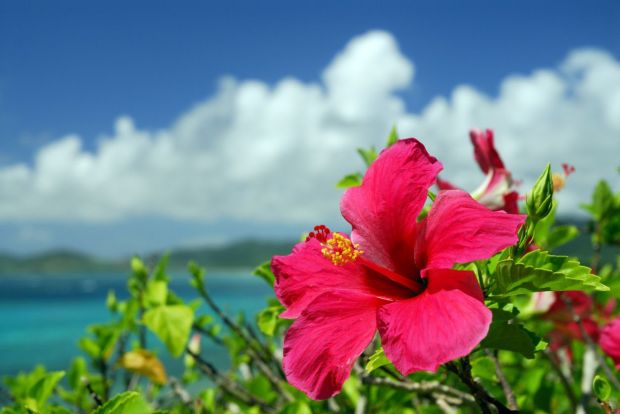
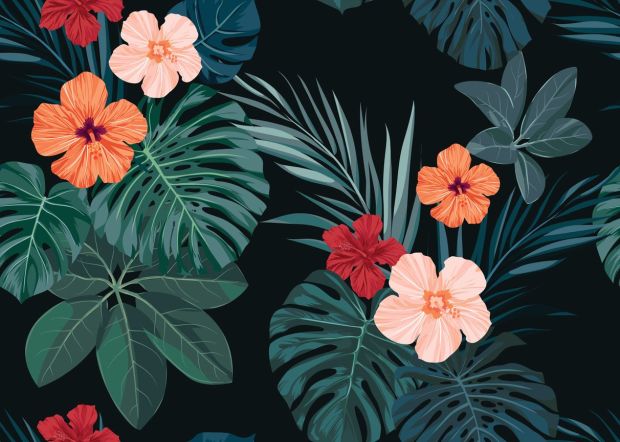
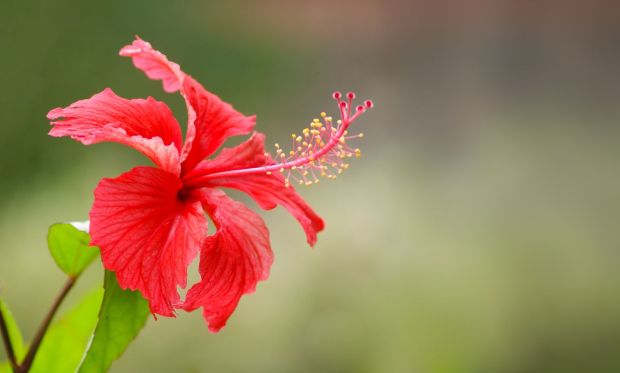
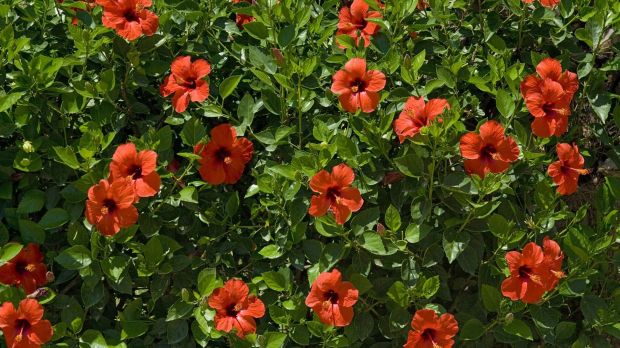
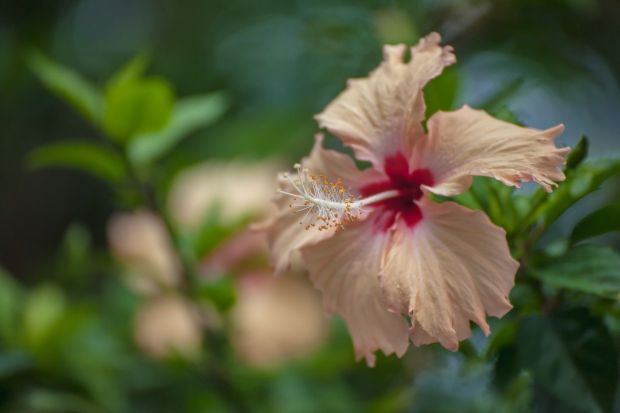
Rose of China (Hibiscus rosa-sinensis) is one of the most common tropical hibiscuses. Often found in warm and hot regions, it’s an evergreen flowering plant with a long history of cultivation. The flowers of Rose of China are large and gorgeous, with trumpet-shaped petals and long, conspicuous stamens clustered into a single bundle that extends beyond the petals.

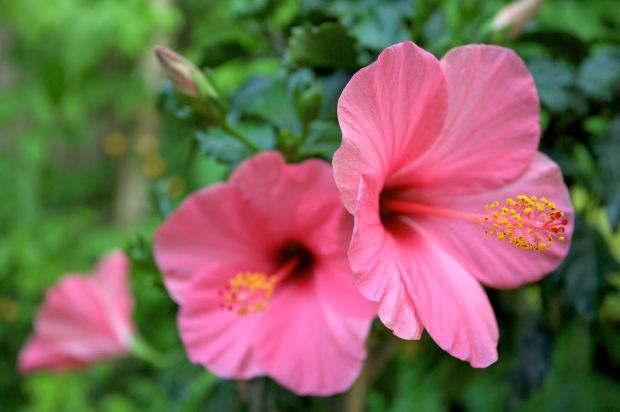
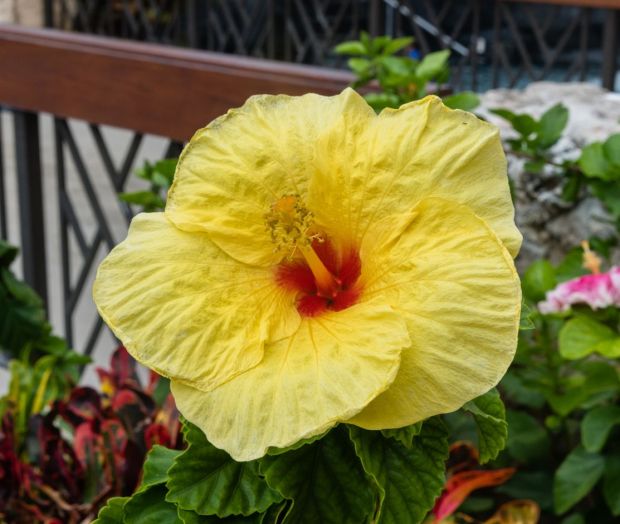
The most common Roses of China have flowers in red, white, and pink, but with years of hybridization and selection by horticulturists, the colors of these tropical hibiscus cultivars now come in a rich variety. You can easily find varieties in yellow, orange, light purple, and variegated colors, as well as double varieties.

The Mystery of Its Origins
Today, Roses of China can be found everywhere at any given time of year. Besides being traditionally and widely planted in the Indochina Peninsula and Malaysia, Roses of China are also found in Pacific islands such as Fiji and Hawaii. It’s also cultivated in large quantities in Florida and California in the US, as well as Australia.
However, with such a widely-familiar species, we have no way to determine the plant’s definitive origin. Because we haven’t found credible wild populations of tropical hibiscus to date, we can at best infer that they most likely originated from tropical Asia based on the information available.
A Symbol of the Tropical Islands
Rose of China has long been a cultural icon, appearing on posters, billboards, and Hawaiian shirts. Once you see it, you’ll think of turquoise seas and blue skies, or sandy beaches and indigenous women with hula skirts on their waists. Additionally, many countries and tropical island regions have also adopted it as their symbol.
In the Pacific region, Malaysia, Solomon Islands, and Niue have all chosen the red Rose of China as their national flower. In the Caribbean Sea on the other side of the Americas, Haiti and Puerto Rico also use Rose of China as their national symbols.
Hawaii’s state flower was originally a white tropical hibiscus, but over time a change was made to go with a native Hawaiian species of the same genus. In the end, the state settled on the yellow Ma’o hau hele (Hibiscus brackenridgei) as Hawaii’s official state flower in 1988.
What's the Connection with Shoes?
Among the array of English colloquial names for Rose of China, “shoeblack plant” (or even simply “shoe plant”) is particularly distinctive. It’s so-called because in South Asia, especially India, it’s a tradition to polish shoes with the flowers of hibiscus.
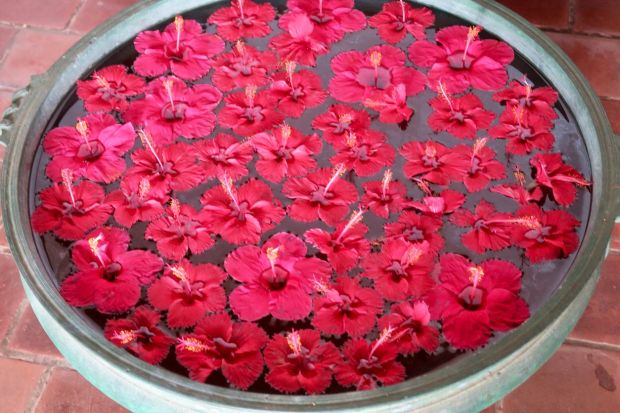
Not only can the flowers of hibiscus wipe dirt and dust off of shoe surfaces, but the crushed flower petals also contain substances that can dye shoes more black. Truthfully, the flowers of hibiscus dyed far more than simply leather shoes a century ago. Historical archives indicate that Rose of China was used as a cosmetic to darken women’s hair and eyebrows in the past in Southeast Asia and Southern China.
Can I Grow Rose of China Well?
Rose of China is easy to cultivate as long as it’s in a suitable climate zone. Because it is of tropical origin, it’s not cold-resistant and needs to be strictly kept from frost damage. For open-field planting, USDA zones 10-11 or zones to their south are safe for it to overwinter, while protective measures are required in Zones 9 and below. Rose of China likes light and does not tolerate shade well, so when planting it in the garden try to choose a south-facing area with ample light (and avoid wind vents). To pot Rose of China, the placement of the pot should change according to the season to ensure sufficient light. Otherwise, the flower buds will not sprout or will easily fall out.
Rose of China likes moist soil. Water it regularly to keep the soil moist, usually once a day in the morning. Water once in the morning and once in the evening under hot and dry weather. From March to early September, apply compound fertilizer (10-10-10) to the plant while watering it, and follow the instructions regarding the amount of fertilizer needed. For open-field planting, fertilizing once every half-month is good, while for potted hibiscus, fertilizing once a month at half the concentration the instructions suggest will suffice.
Rose of China is pruning-resistant and has a strong branching ability. The old stems should be shortened to half their lengths and the old branches shortened to two-thirds their lengths before the early spring budding to maintain the shape of the plant. With proper management, open-field-grown Roses of China can keep blooming all year round, and the flowering season of potted hibiscus can last from spring to late fall.
Size: 1.2-3 m tall, 1.5-2.5 m wide
Hardiness: USDA Hardiness Zones 9-11
Sunlight: Full sun to half-shade
Soil: Fertile, moist, good drainage required
Bloom time: All year round