An Introduction to Tamiami International Orchid Festival
Whether you’re in the floral industry or just someone who likes orchids, you’ll want to check out the Tamiami International Orchid Festival, which is the largest orchid event in the United States.
- Location: Fruit and Spice Park, 24801 SW 187th Ave, Homestead, FL 33031
- Date: October 1st - 3rd, 2021
- Time: 10 a.m. - 5 p.m. daily (EDT)
- Cost: $15 per day at the door (buy in advance for a discounted price) | Kids under 12 get in for free
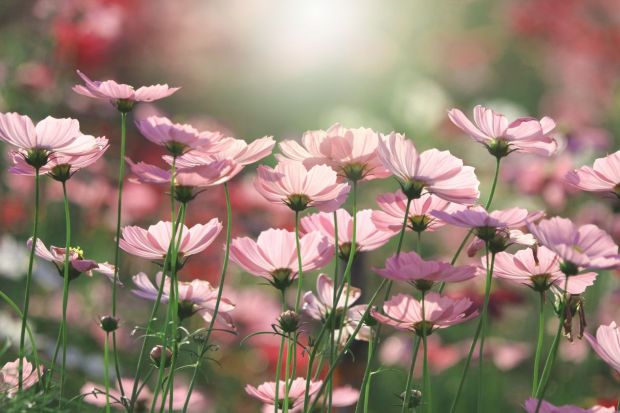
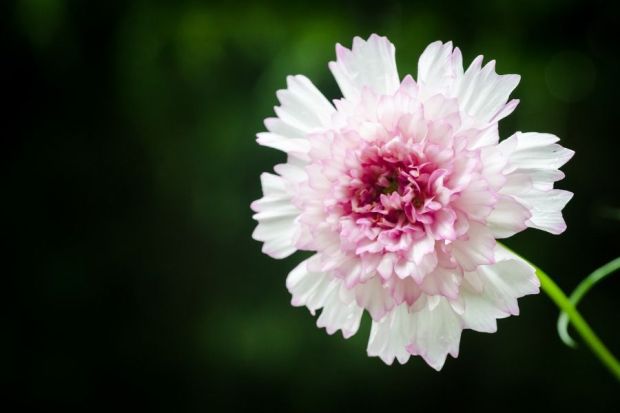
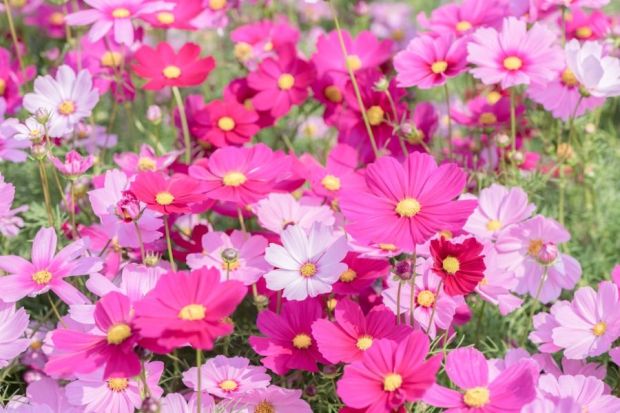
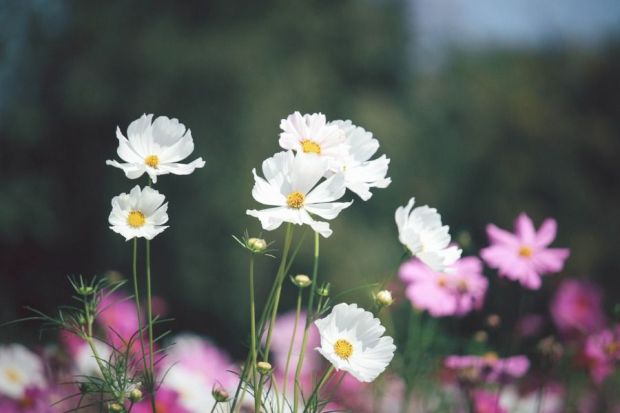
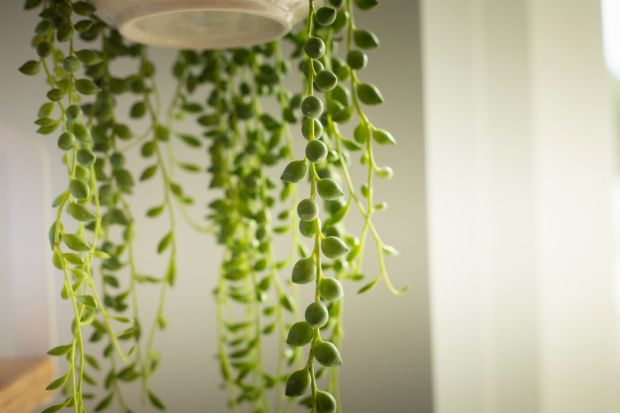
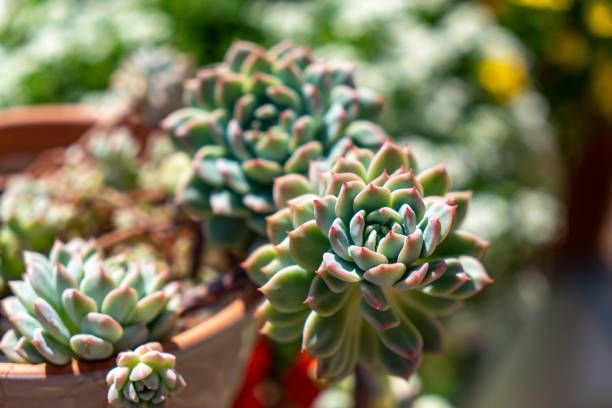
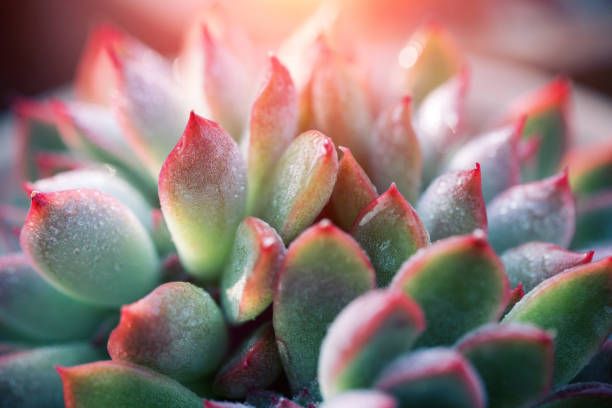
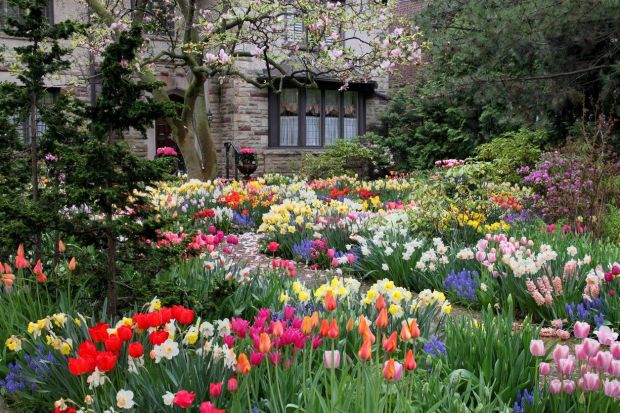
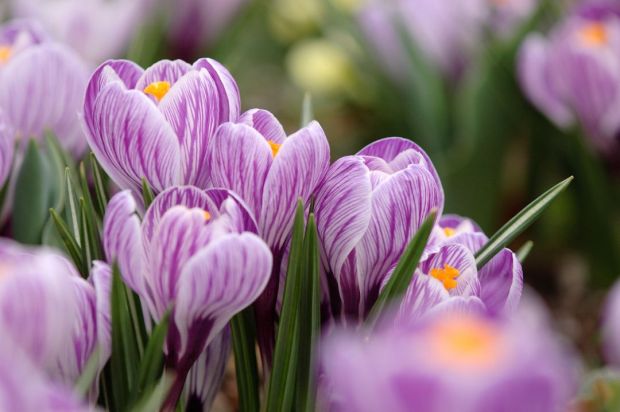
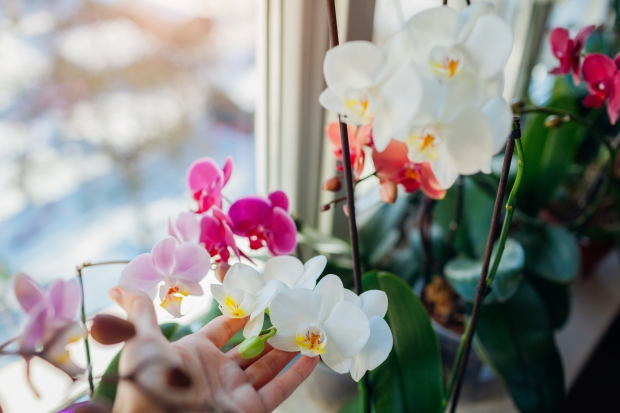
Humans have long admired orchids for their beauty and refined elegance. Orchids grow in almost every habitat and can even be found above the Arctic Circle. While these flowers have been popular since the 19th century, it wasn’t until the 1990s that they became a common and popular houseplant. Currently, there are almost 30,000 different species of orchids, with more popping up every year.
Since 2004, the Tamiami International Orchid Festival has celebrated the beauty and diversity of orchids. It is a wonderful event for all who love these gorgeous flowers. Whether you are a seasoned veteran in the floral industry or a home gardener, there’s something for everyone to enjoy.
Tamiami Orchid Festival Basics
The Tamiami Orchid Festival is held every year on the first weekend in October. For 2021, the event is located at the Fruit and Spice Park in Homestead, Florida.
For those interested in attending, you can purchase tickets in advance for a discounted price. Tickets range in price depending on how many days you attend and whether you buy tickets in advance or not. Make sure to check out the website for more information. Unfortunately, all ticket sales are final, so you won’t get a refund if you can’t make it.
If you’re short on cash, you can volunteer and get free admission for the entire weekend. While you will have to work a few hours a day, it’s a great way to see the festival without breaking the bank. Plus, you’ll connect with other volunteers who are just as enamored with orchids as you are.
Things to Do at Tamiami Orchid Festival
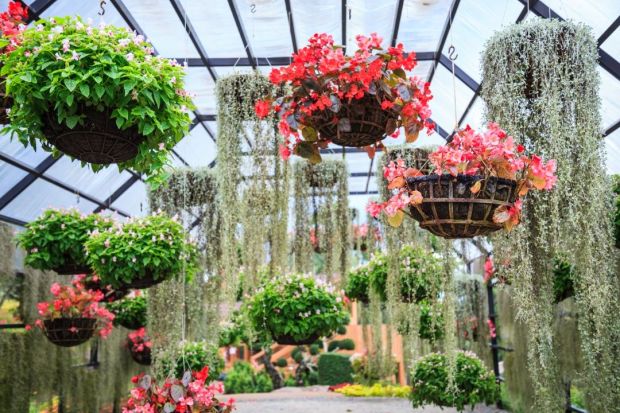
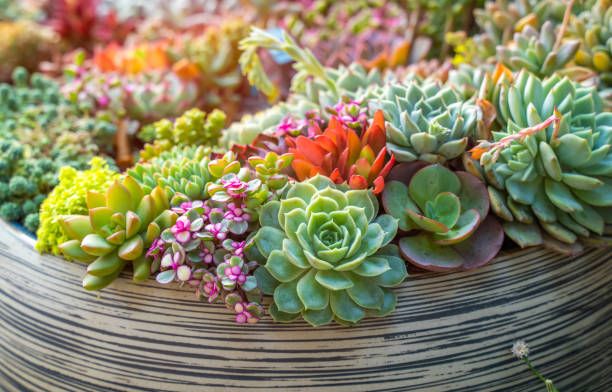
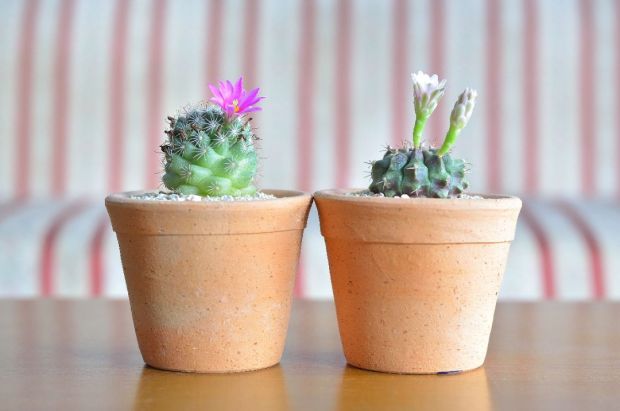
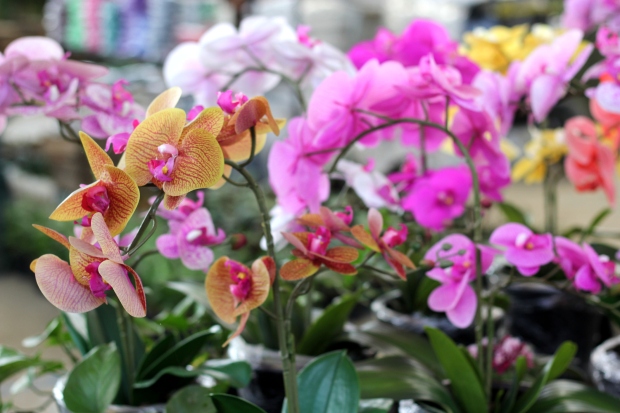
As the name suggests, the festival is all about orchids. It’s the perfect opportunity for you to see rare orchids and purchase them for your home or garden. There are over 90 vendors so you’re bound to find something you like.
If you plan on bringing the orchids you bought to another country, you can easily get the appropriate documentation at the festival. The USDA will be on-site to provide CITES documentation for a fee.
If you want to get more in-depth information, the festival also offers a variety of orchid-related lectures that come free with the price of admission. These classes cover a range of topics such as:
- Orchid insect and pest control
- Basic orchid care
- Preventing and controlling diseases
- Repotting orchids
- Starting a nursery business
- And much more!
These lectures are a perfect opportunity to meet other orchid enthusiasts and learn the best way to care for your plants.
The festival is an excellent place for professionals in the floral industry to network with vendors, other professionals, and customers. For best results, you can purchase a booth yourself at the festival as you’ll be able to meet wholesale and home buyers at the same time. It will cost you a bit up front, but it will be worth it for the connections alone.

What to Do Beyond the Festival
The festival is located in Homestead, which is a city within Miami-Dade County. By car, it is around 42 minutes from Miami, so you won’t have to travel far to enjoy a bit of that Miami nightlife. Miami is full of delicious restaurants, great bars, and, of course, Miami Beach if you want to catch some rays.
If you don’t want to travel far, there’s a lot to do in Homestead as well. Some great sightseeing options include:
- Coral Castle - referred to as the Modern Megalith, Coral Castle boasts a nine-ton hand-carved gate that many consider to be one of the wonders of the world. It also features a Polaris telescope and the world’s only sundial with seasons.
- Schnebly Redland’s Winery - Try unique wine and beer crafted from exotic tropical fruits. The winery offers daily tastings and tours every weekend.
- Everglades Outpost Wildlife Refuge - If you’re more into nature, this refuge is a great place to visit, especially if you have children. You can take a behind-the-scenes tour and feed and interact with the animals.

Conclusion
The Tamiami Orchid Festival is a must-attend event for all orchid enthusiasts. It offers the widest variety of orchids available on the market for affordable prices. But, more importantly, you get to meet other orchid lovers like yourself!