Designing Your Garden for Winter Appeal
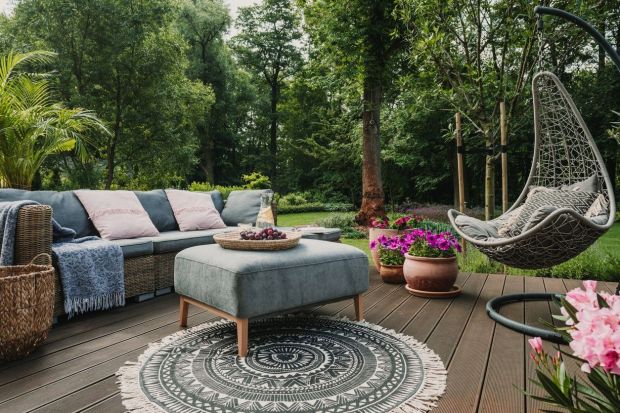
Many people believe that gardens are destined to have no appeal in winter. This is not true. Through the use of plants, stonework, structure, lighting, and wildlife, your garden can be just as appealing in winter as any other time of year.
A typical image of a garden will likely show it in spring, summer, or fall. But those who live in colder climate zones know that their gardens must exist through winter as well. Still, many gardeners feel that winter is a time of year when their gardens are destined to have no appeal at all.
However, this belief proves to be far from true. As you will soon see, there are several ways that you can maintain the intrigue of your garden even during the most desolate months of the year. This article will give you a few tips to help you design your garden for winter appeal.
Choose Plants that Have Winter Appeal
While the most well-known plants often gain their popularity from springtime flowers or fall foliage, there are plenty of species that display prominent ornamental features in winter as well. If creating a lovely winter garden is your goal, your first step should be to seek out these plant varieties.

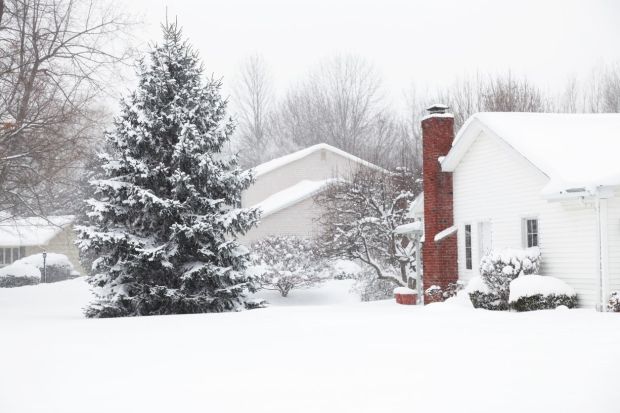
Evergreen Trees and Shrubs
Among the most obvious plant choices for gardeners designing a winter garden are evergreen trees and shrubs. While deciduous trees drop their leaves and take on a somewhat barren appearance, evergreens maintain lush foliage throughout the entire year. This foliage is not just persistent; it adds captivating colors and textures to your garden regardless of the season.
Although many people refer mainly to coniferous trees when they discuss evergreens, it is worth pointing out that there are many suitable broad-leafed evergreens you can add to your garden. Here are a few examples of some popular evergreen plant options for winter appeal:
- Blue spruce
- Rhododendrons
- White pine
- Mountain laurel
- Japanese yew
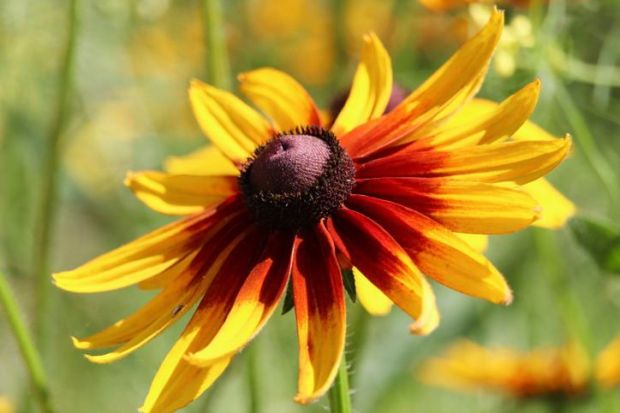
Plants with Attractive Bark, Berries, and Flowers
Foliage is not the only feature that an attractive winter plant can add to your design. Many plants that lose their leaves make up for it with other eye-catching characteristics. At times, this winter interest comes from the plant’s bark, while in other instances, it is the long-lasting fruit of a plant that makes for its appeal. And while it seems unlikely, there are also a few species that hold magnificent flowers in the winter too.
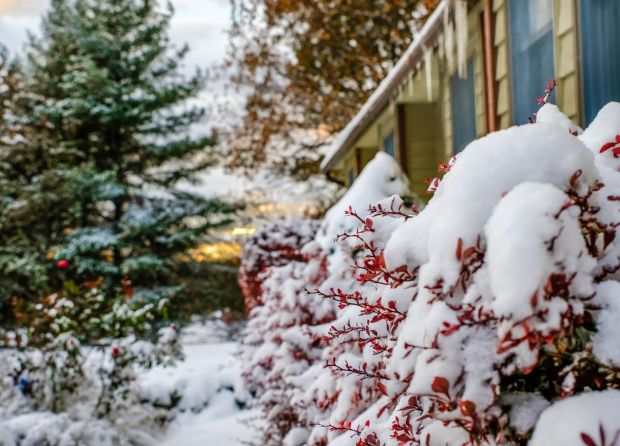
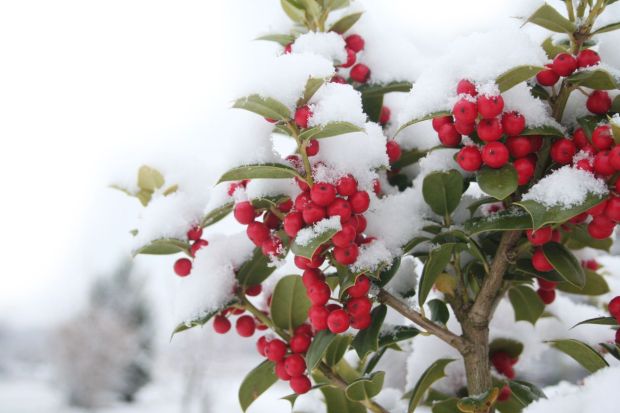
These plants stand out in winter for their bold bark, berries, and flowers. Read through to find the unique quality that makes each of these species an excellent addition to a winter garden design. Remember that many of these plants also have visually appealing traits throughout the rest of the year as well:
- Red twig dogwood
- Holly
- Paperbark maple
- Witch hazel
- Paper birch
Herbaceous Perennials
This third category of winter garden plants may interest only a niche group of gardeners. But if you’re in that group, you’ll love the way your summer perennials look in the dead of winter. While these plants are far past their former warm-season glory, their dried-out forms can have a charming effect in winter as they collect and hold light piles of fallen snow.
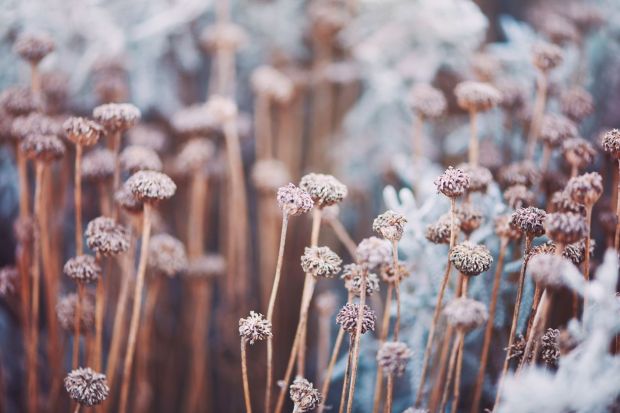
To achieve this design style, all you need to do is refrain from mowing your perennials at the end of the year. Instead, allow them the stand in place while they take on more muted tones. Some of the best plants to use for this purpose are below:
- Purple coneflower
- Reed grass
- Yarrow
- Purple moor grass
- White burnet
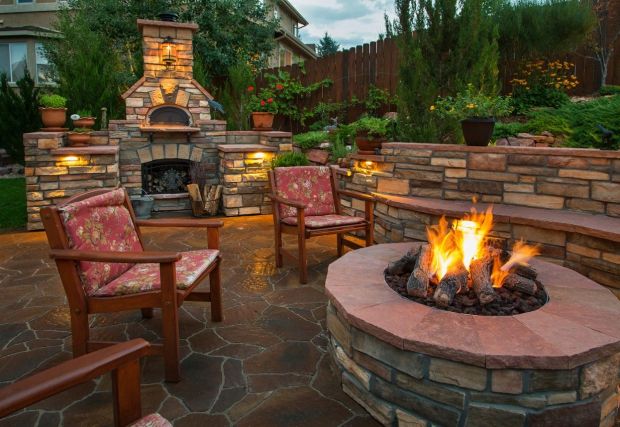
Incorporate Stonework into Your Design
Plants are far from the only garden element that can stand out in winter. Another prominent garden feature that can make a statement in winter is stonework. As is the case with evergreen plants, stonework maintains a consistent presence in your garden.

Let’s recognize that quality stonework is expensive and serves a primarily functional role in your garden. For that reason, ere on the side of not adding stonework for stonework’s sake. Instead, if your find yourself in need of one of these hardscape features, you can then take the approach of selecting materials that will add to your garden’s winter appeal:
- Retaining walls
- Garden steps
- Patios
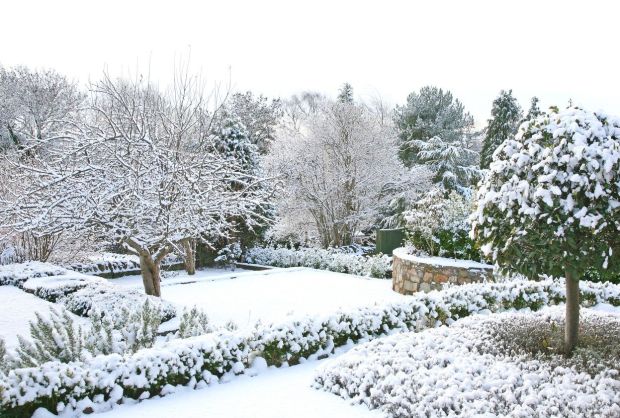
As is true for plants, much of the wintertime appeal of stonework comes from how it interacts with the snow. In this instance, the rough textures of natural stone serve as small ledges to catch the snow on its descent.
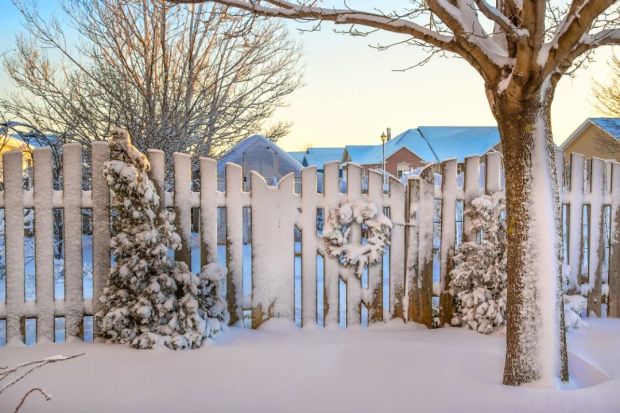
Use Unique Garden Structures
Another way to add appeal to your garden in all seasons is to add some noteworthy gardens structures to your landscape. Such features help to shape the space of your garden and can come in many forms:
- Pergolas
- Arbors
- Sheds
- Fences
- Gazebos
It is a common mistake for garden designers to neglect garden structures, focusing solely on plants instead. What you should know is that garden structures can be equally impactful when shaping garden space. They’ll usually look nice in winter as well.
Find a Way to Add Elegant Lighting
Landscape lighting is another often overlooked aspect of garden design. Adding lights to your landscape not only makes your gardens more attractive at night but also increases the nighttime safety of your property. Landscape lighting can look great in any season, and the options below are often some of the most impressive:
- Overhead string lights
- Uplighting for trees and other features
- Lights for garden steps and railings

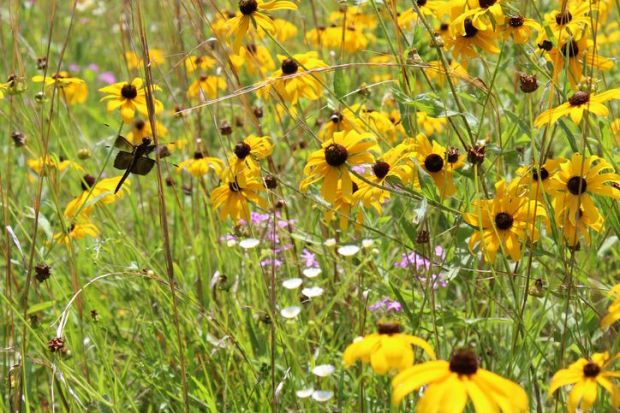
Attract Birds to Make Your Garden More Lively
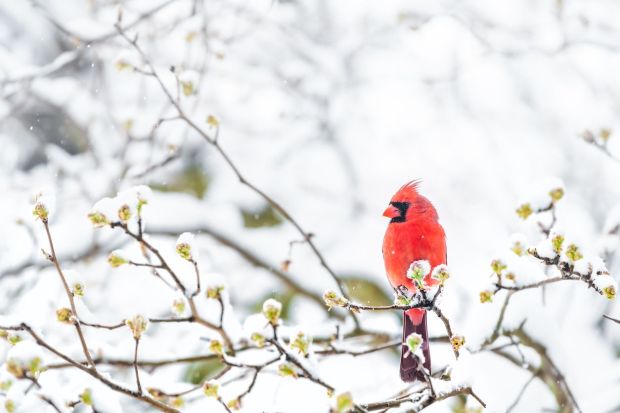
The top challenge in designing a garden that looks fantastic in winter is upholding the liveliness your garden has in the other seasons. In the absence of deciduous leaves and most fruits and flowers, it is easy for a garden to look uninspiring in winter.
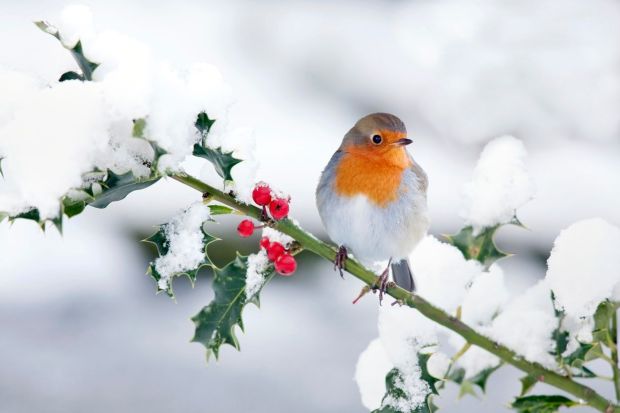
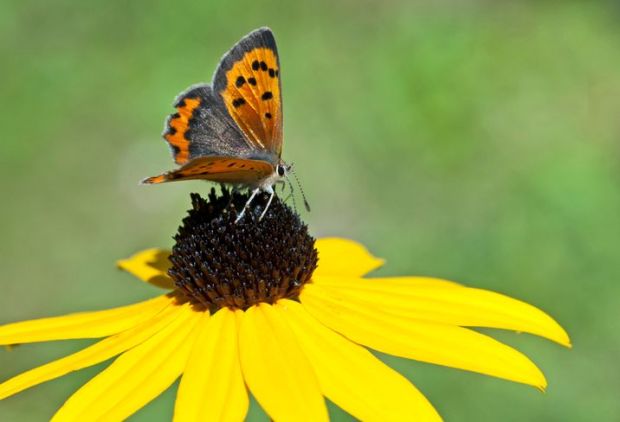
Thankfully, there is a way that you can add a burst of life to your garden, even in the deepest part of winter. The way to do that is to attract birds to your garden. Birds that live in your region in winter still need to find sources of food, and your garden could be one of them.
Try planting species that hold fruits for longer into the winter. These plants tend to be the only source of food for numerous bird species. As an alternative, you can set up bird-feeders in your yard.
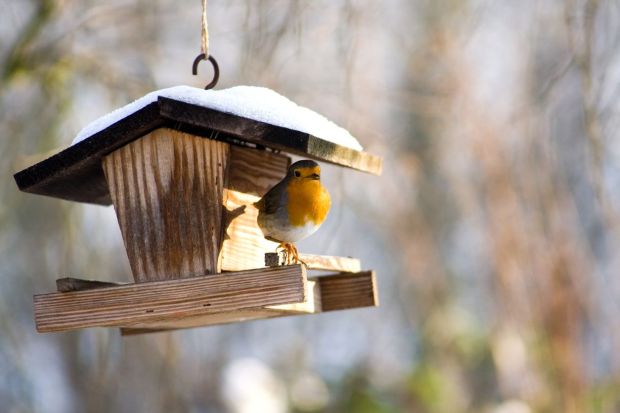
Either way, make sure that the food you provide is healthy and clean to support the wellbeing of your neighborhood’s birds. In exchange for the food, you’ll get to relish the vibrant colors and activity that birds can bring to the landscape.