Topdressing: Making Your Indoor Plants Look Different
Topdressing is a great way to make your indoor plants look better than ever. But before you can do that, you need to know what topdressing is and how you can do it yourself. This article is what you need to get started.
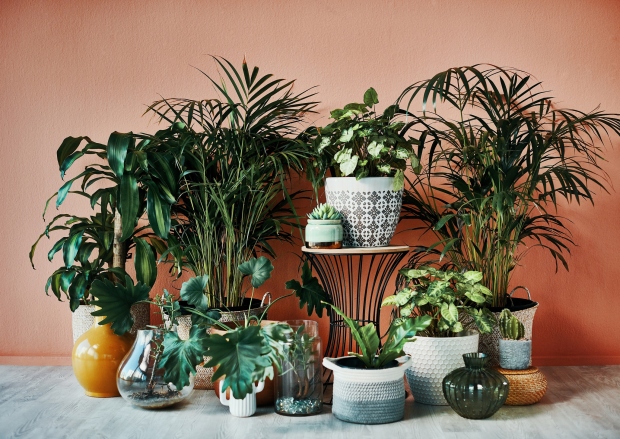
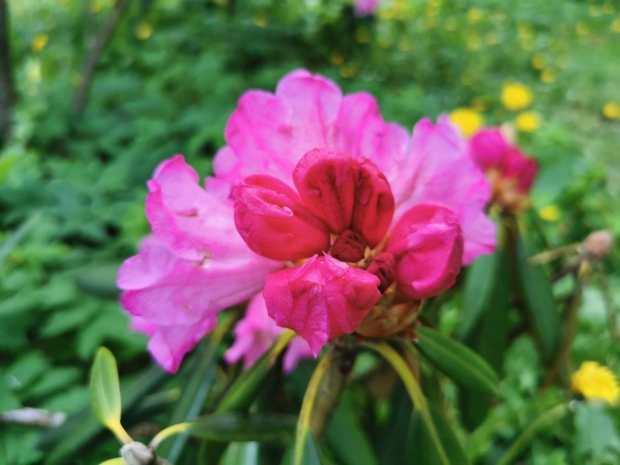
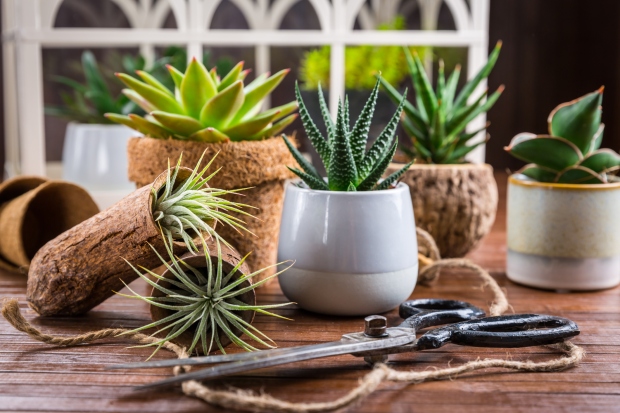
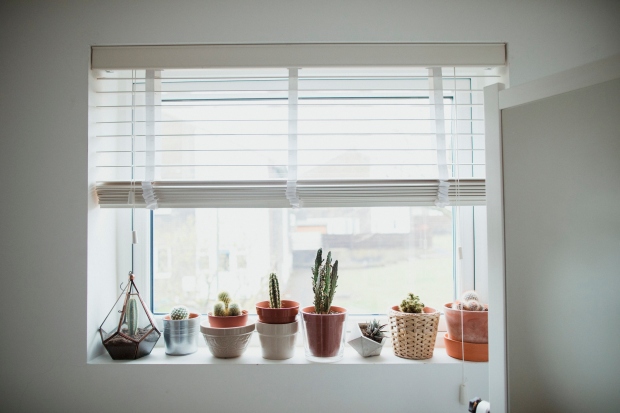
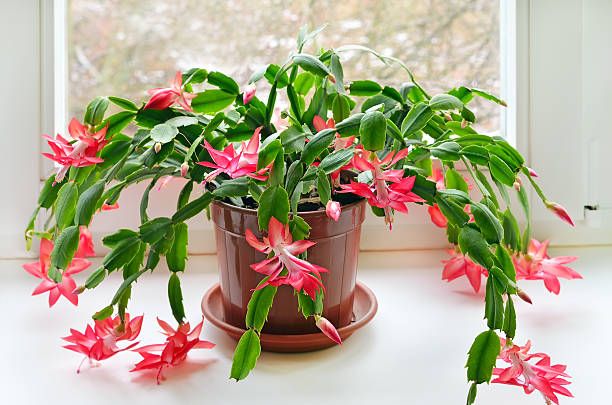
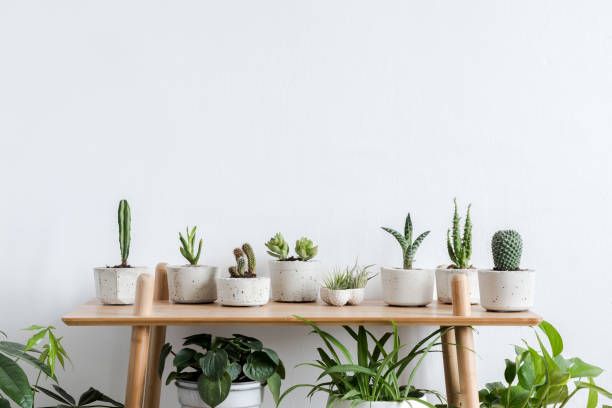
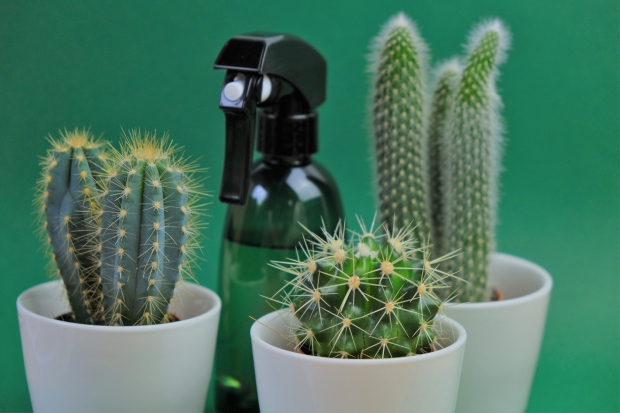
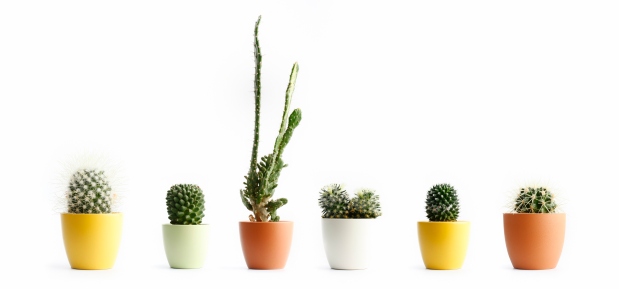
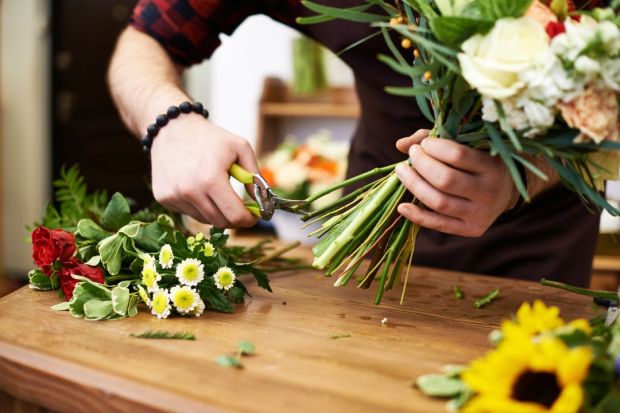
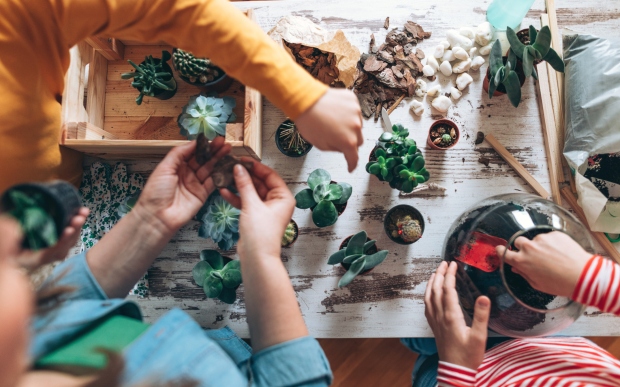
One of the most reliable ways to boost the appeal of your indoor living spaces is to grow colorful potted plants. While plants alone will add plenty of visual intrigue to your home, there are some tricks to planting and arranging those plants that will make them stand out even more.
One of the best ways to make your indoor plants look their best is with topdressing. Topdressing not only enhances the appeal of your houseplants but also improves the soil quality too. This article will tell you all you need to know about topdressing your indoor plants.
What is Topdressing?
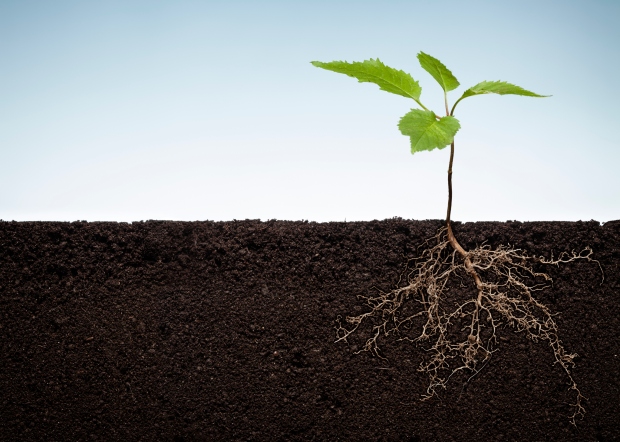
Topdressing is the tactic of adding materials on top of the soil to improve both the health and visual appeal of your plants. Depending on how you apply it, topdressing may have one or more of these benefits for your garden:
- Improving soil nutrients
- Moderating soil temperature
- Enhancing garden aesthetics
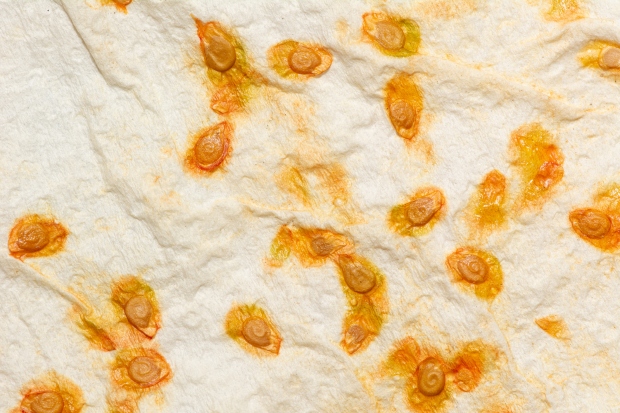
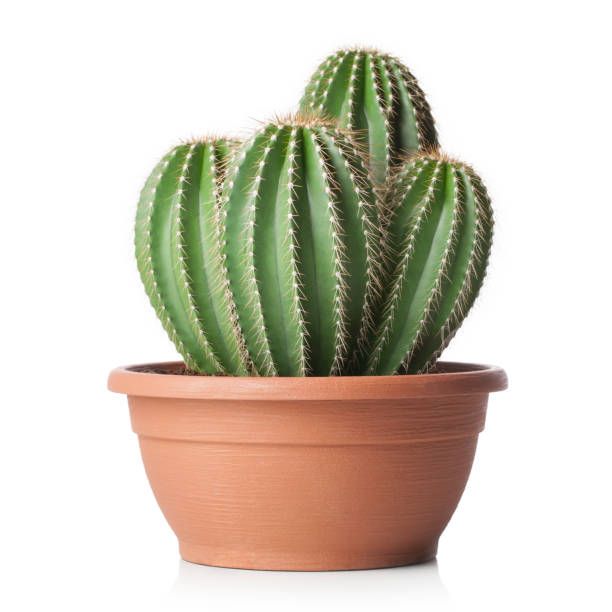
Most houseplant owners use topdressing to enhance the visual appeal of their plants, as indoor plants don’t have issues with temperature and nutrients as much as outdoor plants do. Topdressing is the equivalent of putting jewelry on your plants. The fun is finding the right materials to truly enhance their color and appearance.

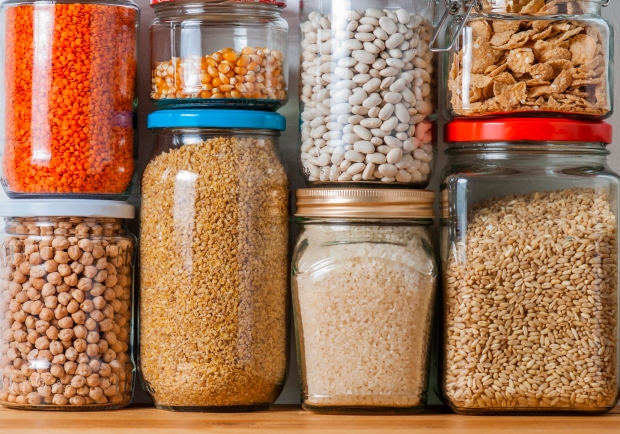
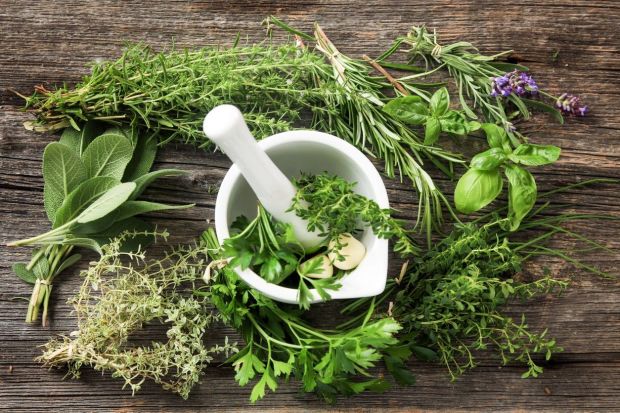
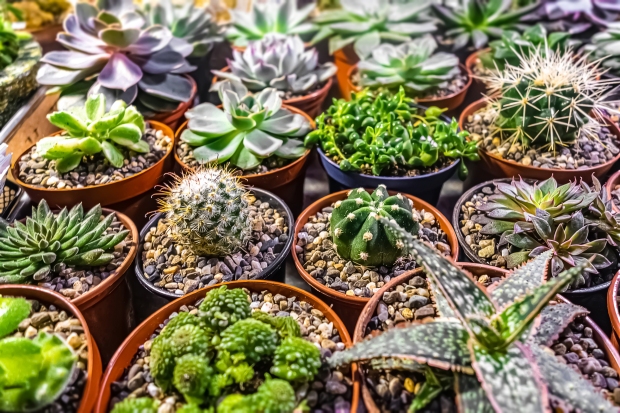
Topdressing Material Options for Indoor Plants
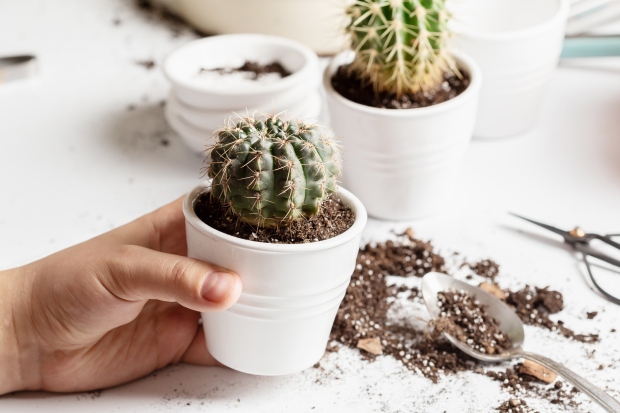
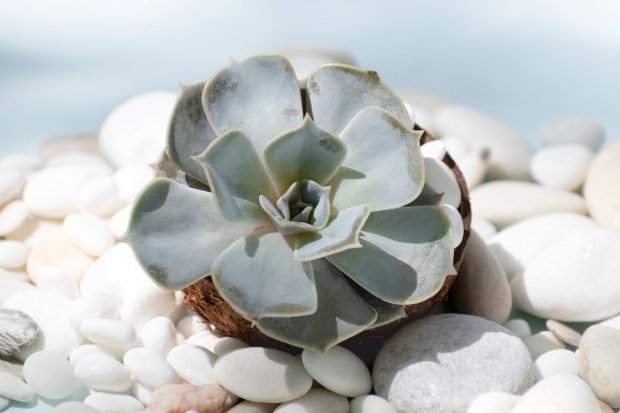
Before you can add topdressing to your indoor plants, you’ll need to become familiar with some of the most popular materials for the job. The following list contains great options for topdressing, each offering its own unique qualities and benefits:
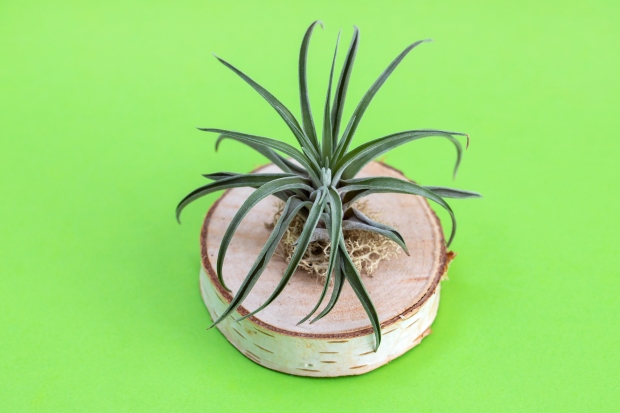
- Mosses
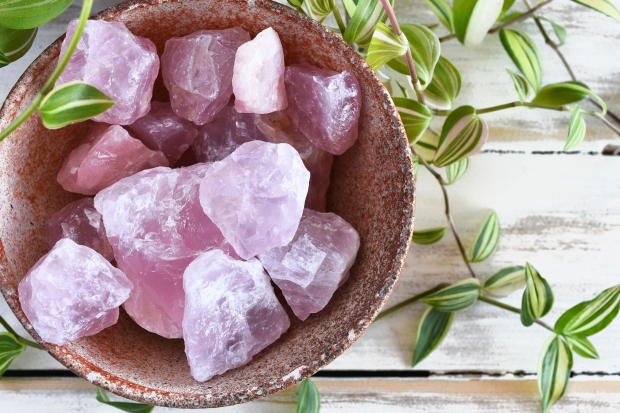
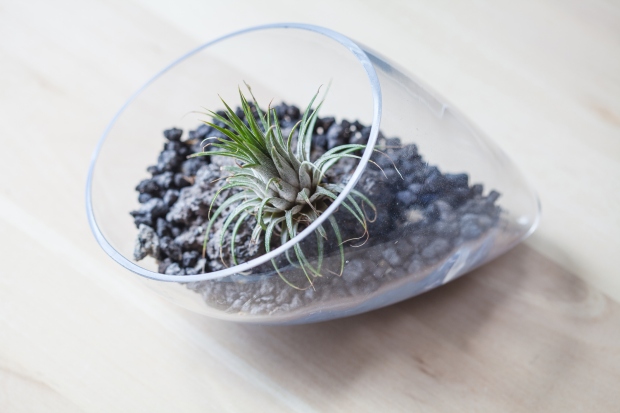
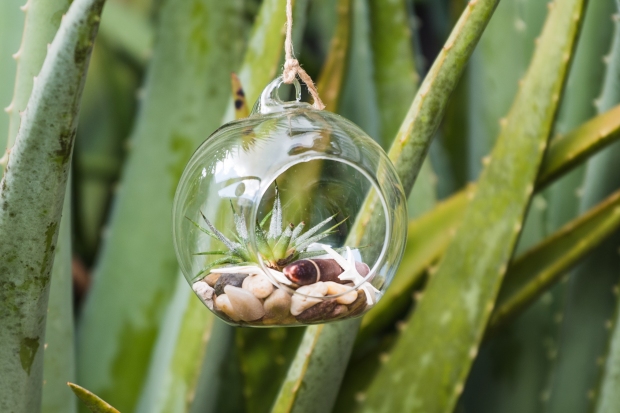
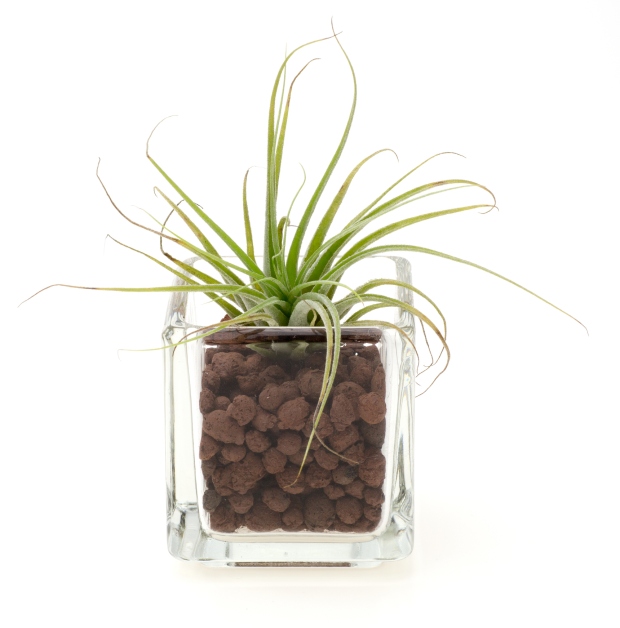
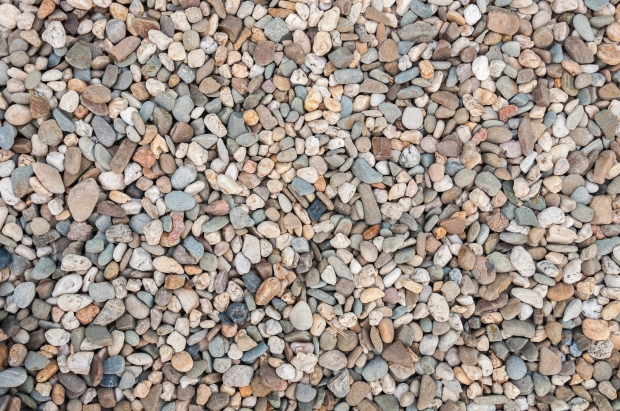
- River Rock
- Crushed slate
- Pebbles
- Glass
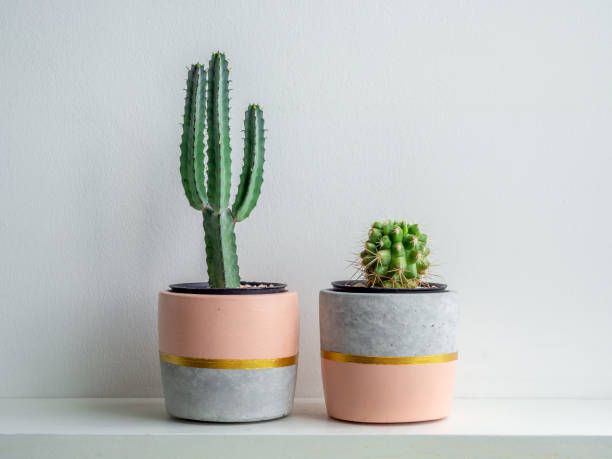
- Sand
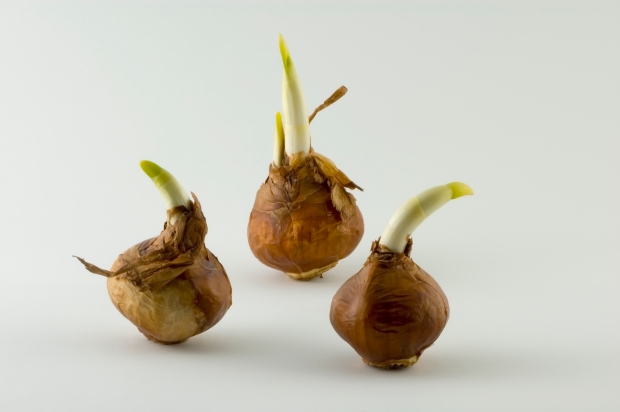
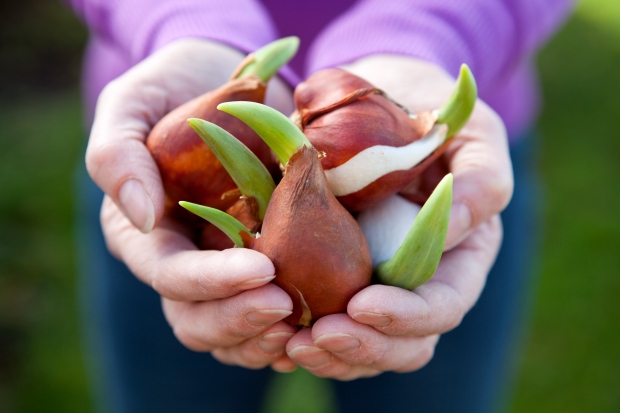
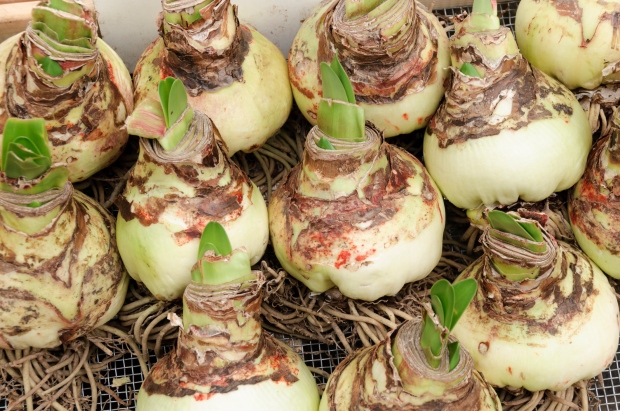
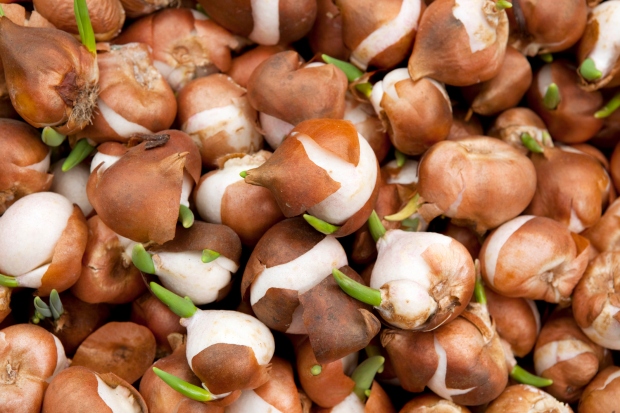
- Dirt
By no means should you consider that list to be exhaustive. In fact, you’ll find that there are numerous other topdressing options and several possibilities within each of the categories listed above. Additionally, you’ll find many synthetic topdressing materials that enhance your plants’ appeal.
However, while it is exciting to see so many topdressing choices, a few materials may not be the best for indoor plants. For example, it is best to avoid using organic materials for indoor topdressing. While mulch and other organic matter are fantastic at strengthening soil nutrients, they give off unpleasant odors and may even be a fire hazard.
Choosing the Best Topdressing for Your Plants
Now that you have some knowledge of what topdressing is and what some of the most widespread topdressing materials are, you’re ready to start choosing a topdressing for your indoor garden.
As mentioned earlier, there is a multitude of suitable topdressing material choices, and no single one stands above the rest. As such, it is up to you to pick what topdressing is best for your plants. The next couple of sections will give you some helpful insights to guide your selection process.
Know Your Goal With Topdressing
Topdressing can either be used to improve your plants’ health or to make them more appealing. Knowing your primary goal for topdressing will help you select the appropriate materials. Some materials will add nutrients back to the soil but offer little visual appeal, while other materials add great color contrast but very little nutritional value.
Though most houseplant owners use topdressing solely to enhance the visual appeal of their plants, you should still consider your goal before choosing topdressing materials. Are you interested in topdressing purely for visual appeal or do your plants need a nutrition boost?
Understand Color Theory
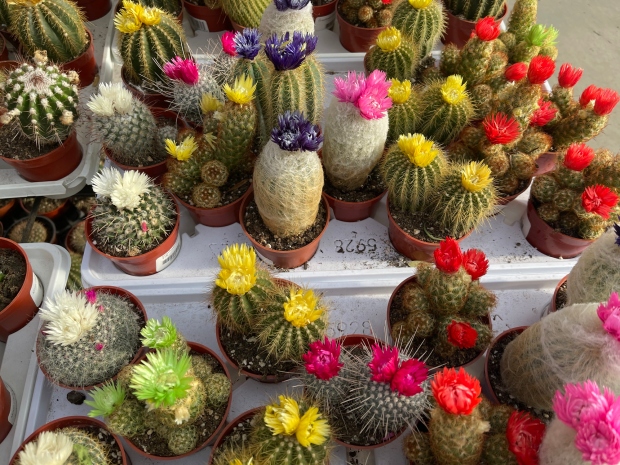
Color is likely the most noticeable trait of any topdressing. For that reason, you should take great care in selecting colors that will contribute to an impressive overall appearance. Take time to learn some fundamental color theory to understand which colors work well together and which won’t.

Remember that your topdressing is not the only element that adds color to your garden. Consider the colors of your plants’ flowers and foliage and choose a topdressing that will complement them or add striking contrast. Keep in mind, too, that your plants may change throughout the season to show different hues. Select a topdressing color that can work well with those changes.
Pair Complementary Textures
Next to color, texture is another excellent characteristic of topdressing materials. Stones, glass, and other materials can all wow you with their varying degrees of coarseness or fineness. Don’t neglect the role of these textures as you pair your topdressing materials.
Get Creative with Your Topdressing
One final tip for selecting topdressing is to let your creative side take over. Have fun choosing different colors and textures that you like and work well with the plants you already have.
You should also recall that your goal in adding topdressing is to make your entire garden display looks great. Don’t lose sight of that goal by fixating too much on one plant and topdressing pairing. Instead, keep your attention on the overall effect you create to find the most success.