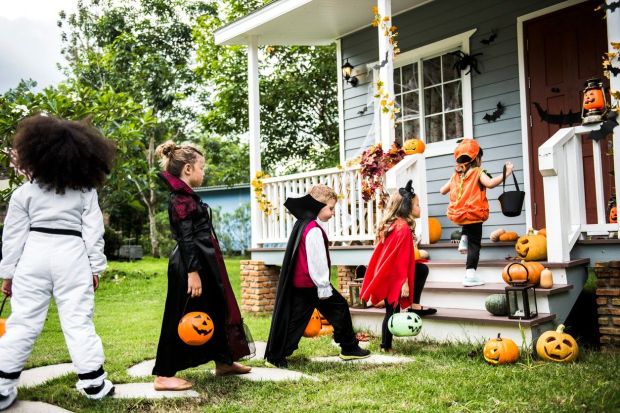
Curb Appeal With a Halloween Theme
Popular holidays like Halloween are a great time to enhance your home’s curb appeal while showing your holiday spirit. With the proper décor, lighting, walkways, and vegetation, you can enhance the appeal of your home while setting a spooky scene.
Creating and improving curb appeal is a worthwhile endeavor for any homeowner. The way your home looks from the street determines how inviting it is and ultimately influences the value of your house and landscape.
When a popular holiday is coming up, enhancing curb appeal becomes more than a chance to make your home look stellar in a general sense. It is an opportunity to show your holiday spirit as well. This article will show you a few ways that you can boost your home’s curb appeal while setting a spooky ambience for Halloween.
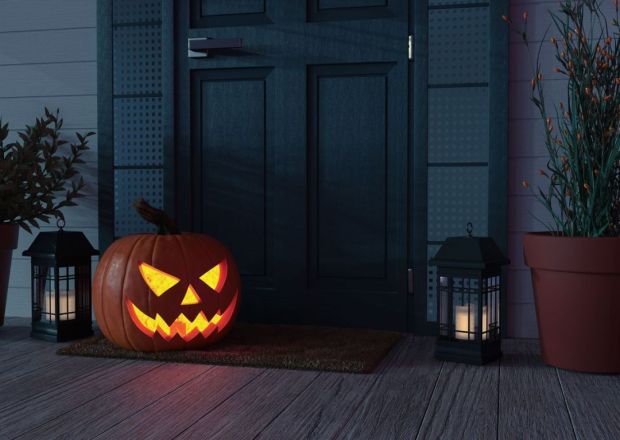
Add Some Seasonal Décor
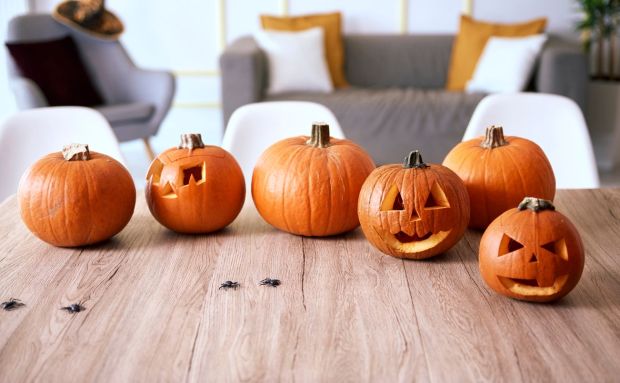
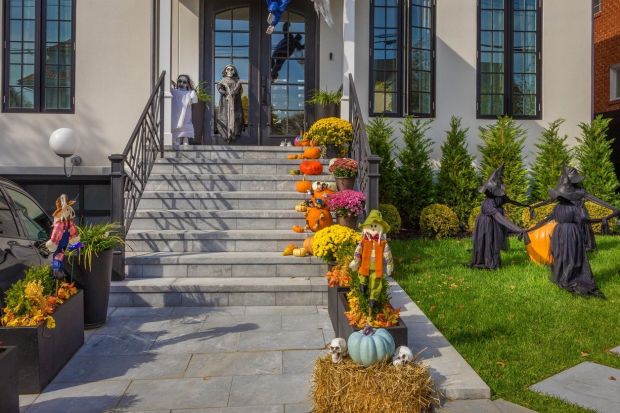
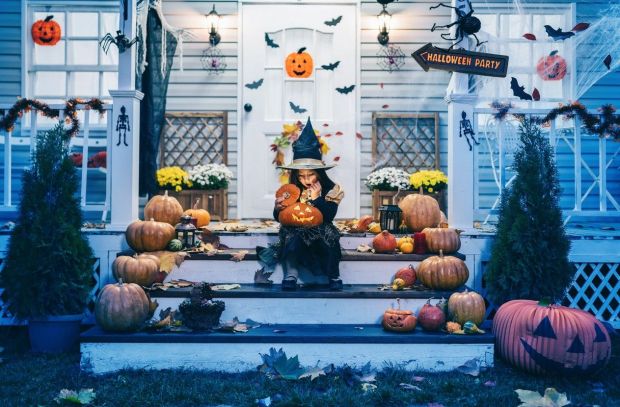
Setting out a few seasonal décor items is a great way to make your house and yard look welcoming. Houses with such displays also reveal that their owners take time to care for their home and make it look its best. Both of those outcomes can go a long way in elevating the curb appeal of your home.
To make one of these seasonal displays for the fall and Halloween season, here are a few classic autumn items you can use:
- Haystacks
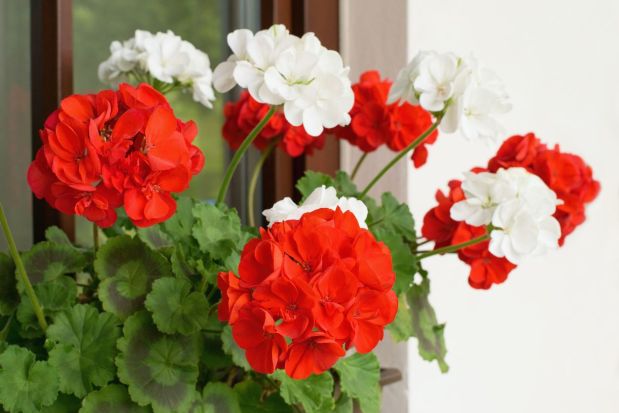
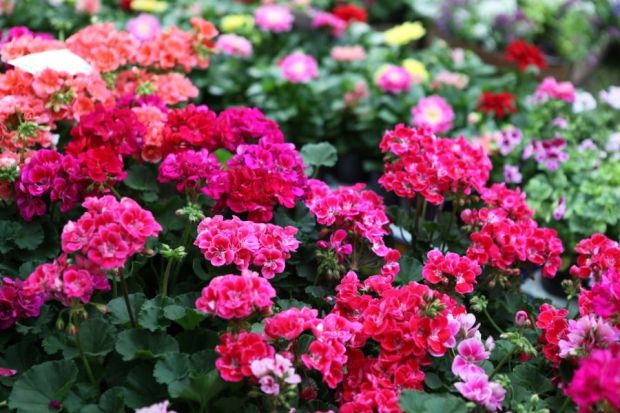
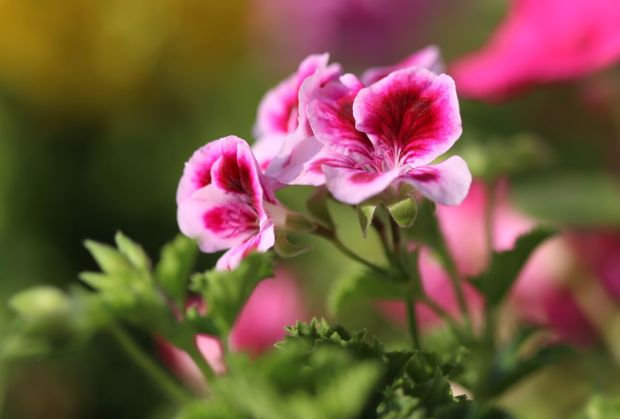
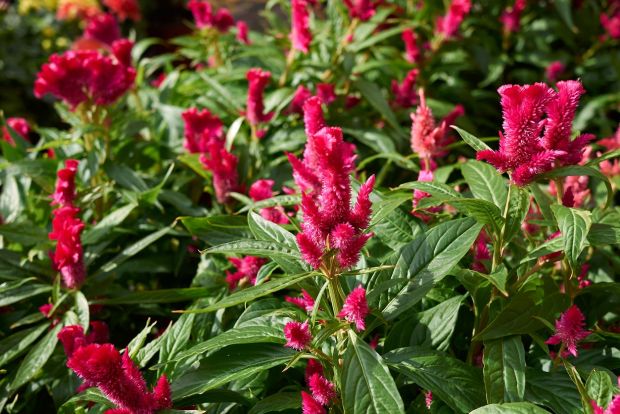
- Fall-blooming annuals
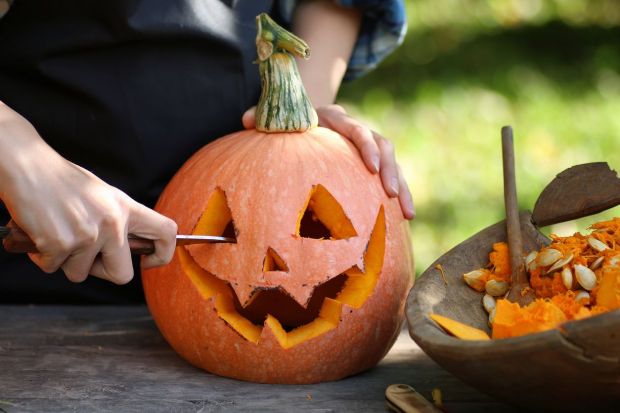
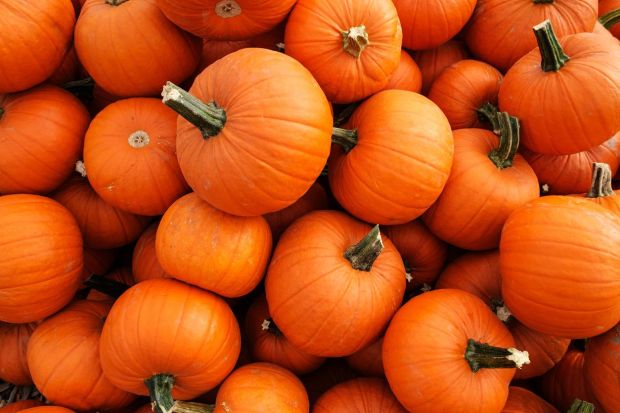
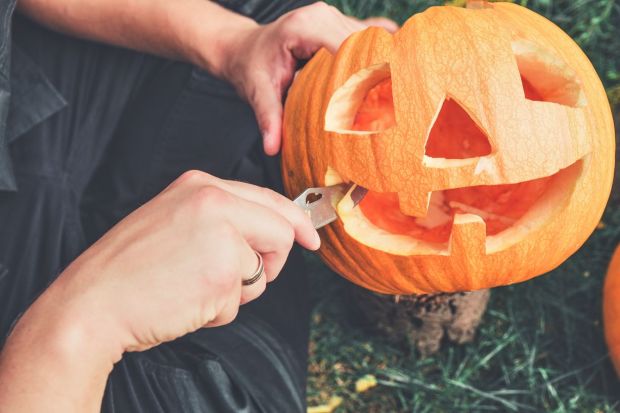
- Pumpkins and jack-o-lanterns
- Gourds
- Fall-themed wreaths
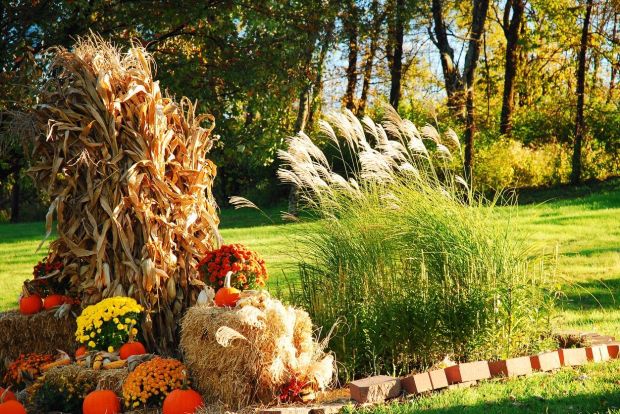
Each of these items can be emblematic of fall when used the right way. Feel free to get a bit creative with the décor pieces you use, and soon you will have a lovely autumnal display that is ready for Halloween.
Remember too that you should change these displays as the seasons change. That means you can make themed arrangements for the winter, spring, and summer months too.
Make Sure You Have Enough Lighting
Drive through a neighborhood at night, and you will notice that some homes look more attractive than others. You may not notice that the common feature that many of those homes have is outdoor lighting. Outdoor lighting can be as effective as any other landscape element at making your house look fantastic once the sun has set.
Fortunately, landscape lighting has another primary benefit. Along with looking great, landscape lighting can make your property much safer. Here are a few types of lights that you should consider for your home’s curb appeal:
- Path lights
- Step and railing lights
- Fixtures for your main entrance
- Façade lighting
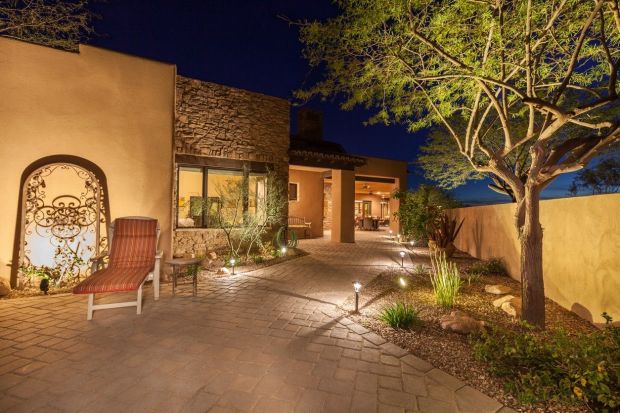
Effective landscape lighting will make it easier to see and move through your landscape at night without being too bright or overbearing. Landscape lights also let you highlight the most important aspects of your house and yard.
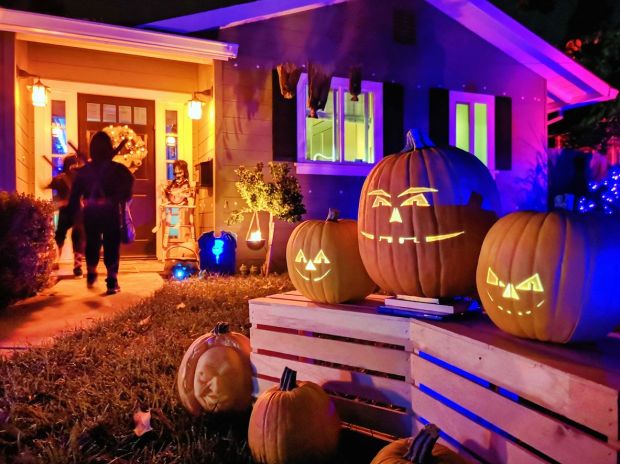
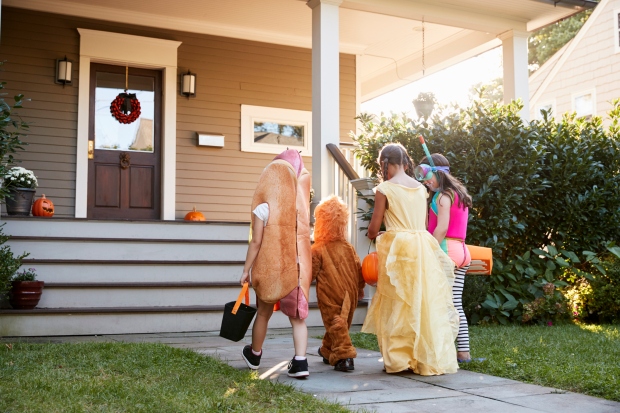
When Halloween arrives, that lighting becomes all the more essential. As each trick-or-treater arrives at your home, the lighting you arranged will lead them easily to your front door. You can even add colored lights or use them creatively with your Halloween décor to add to the ambience.
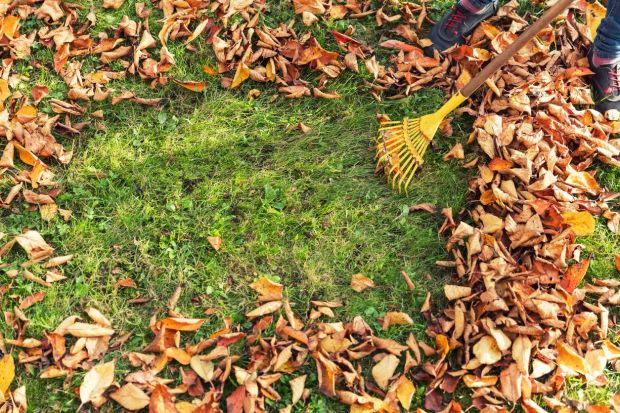
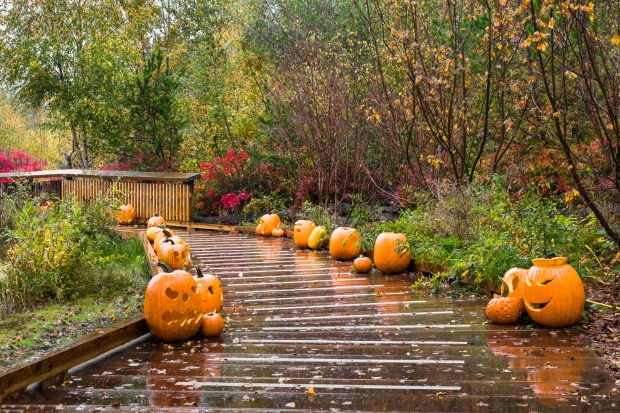
Keep Walkways Clear and in Good Condition
Another somewhat subtle landscape element that can add a lot to your curb appeal is your walkways. Most homeowners park their cars in a garage or driveway then often use a side entrance to get inside. This means that they could go a while without using their front walkways. However, these walkways are what many new visitors to your home will use to access your front door.
Walkways that are well-designed and well-maintained have a surprising impact on the overall appeal of your front yard. These paths can take many forms and appearances. However, they all should achieve these fundamental goals:
- Creating a clear path to the main entrance for new guests
- Providing a level and consistent walking surface that is safe to navigate
- Improving visual character through tasteful material selection
Although you may not use your front paths very often, you should not neglect them. When a holiday like Halloween comes around, and numerous people are trying to get to your front door, you’ll be happy to have a quality path system that will take them there.
Furthermore, you can utilize this space to set a spooky scene before your trick-or-treaters arrive at the door. This is a great place to add décor and lights to show your visitors your Halloween spirit.
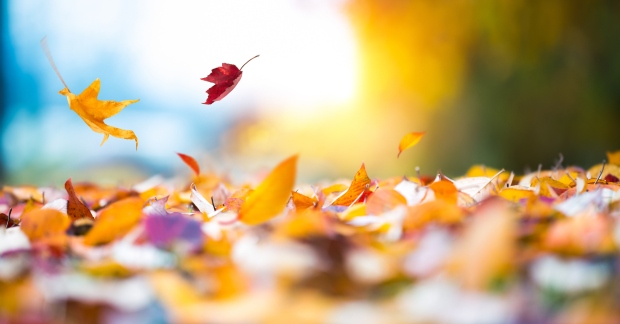
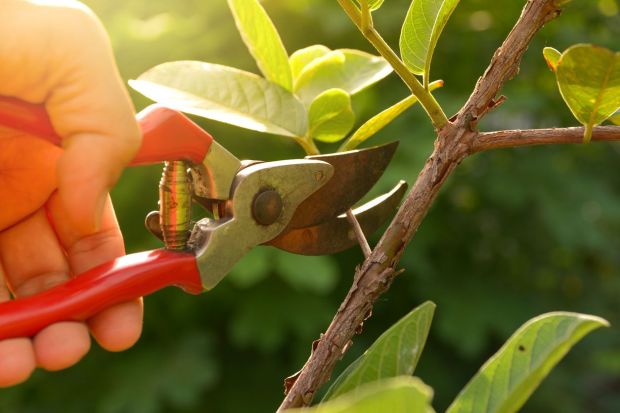
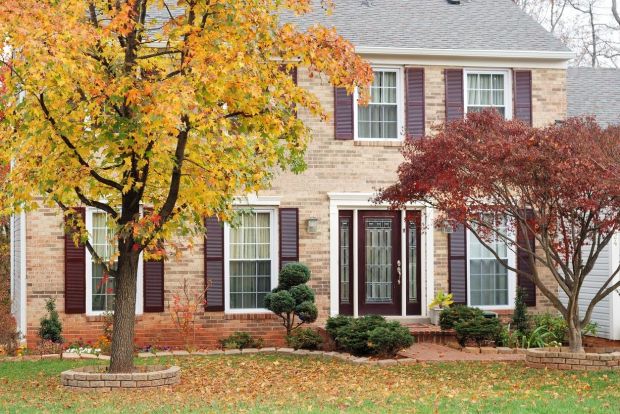
Plant Trees with Vibrant Fall Colors
One of the best tips for improving curb appeal is to grow some trees in your front yard. If maximizing your appeal in the fall around Halloween is your goal, you should consider a few specific tree varieties.
What you should look for are trees that have bold fall leaf colors. The following species are sure to add an eye-catching burst of color to your fall landscape:
- Red maple
- Sugar maple
- Flowering dogwood
- Paper birch
- Japanese maple
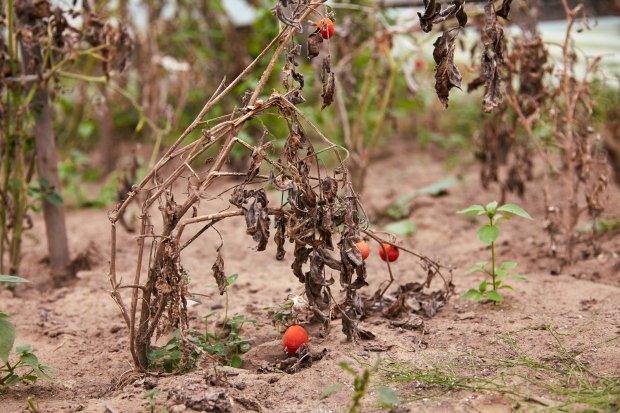
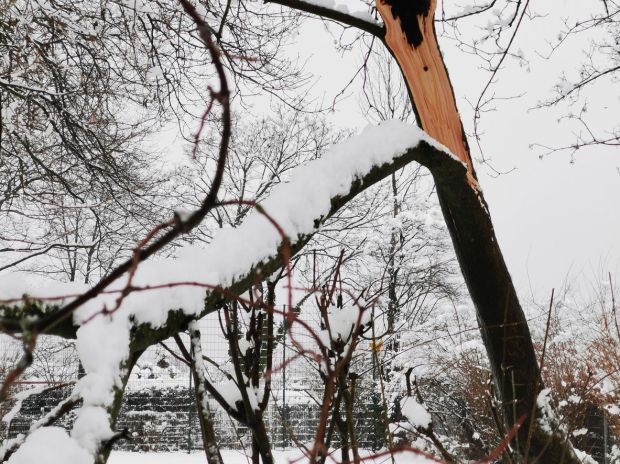
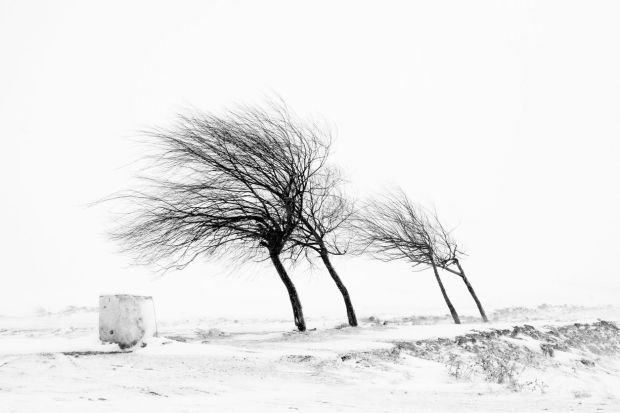
Each of those trees gives you the astounding fall leaf color that you desire. But if you are worried that these trees may lose their leaves before Halloween, there is no need to worry. A few bare branches waving in the wind will only add to a spooky feel that is only fitting for the holiday.