How to Decorate Your Garden Into a Thanksgiving Theme
If you love Thanksgiving and the fall season, why not let your garden show it? There are many decor items that will reveal your holiday spirit. This article will teach you how to decorate your garden with a theme that celebrates Thanksgiving.
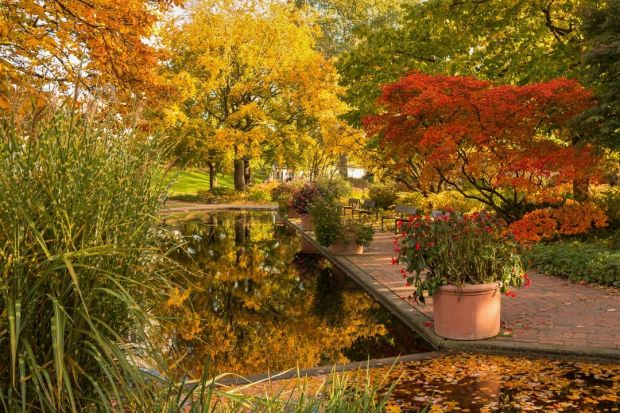
As winter approaches, there remain only a few final opportunities to enjoy your garden before the year ends. One such occasion is Thanksgiving. While plant life typically doesn’t thrive in late November, there are other ways that you can decorate your garden to celebrate the holiday.
Through the use of gourds, fall-blooming plants, and other decorative items, you can show the world your love for Thanksgiving through your autumn-inspired garden style. This article will teach you how to utilize these items to make the perfect Thanksgiving-inspired landscape.
Arrange Pumpkins and Gourds
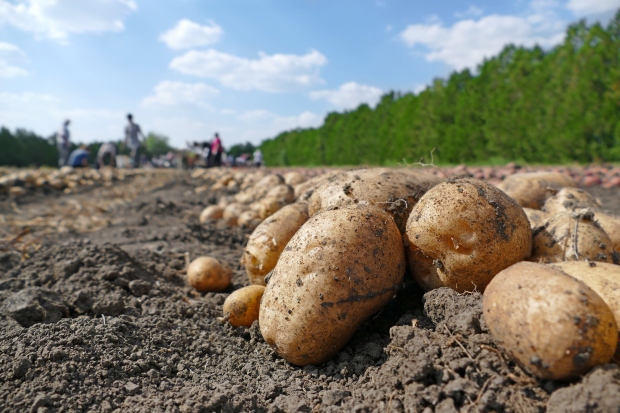
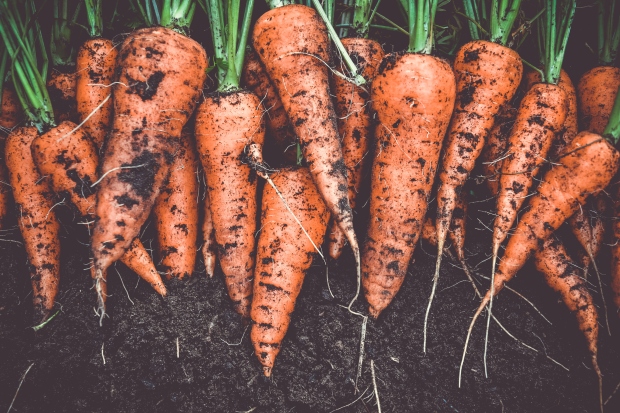
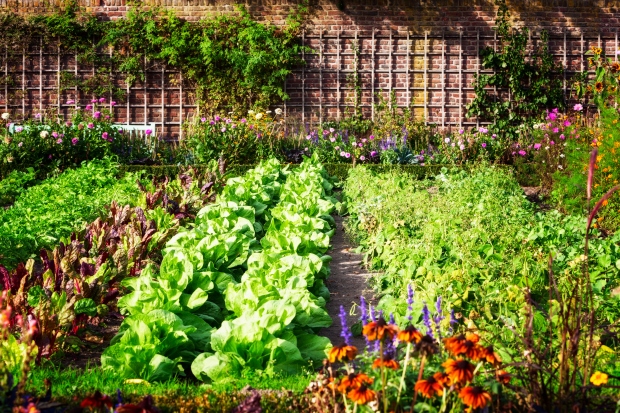
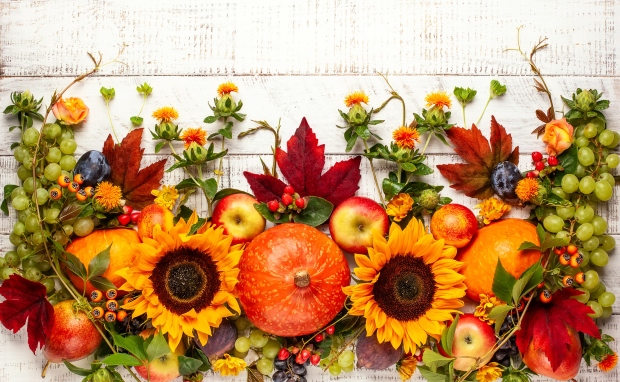
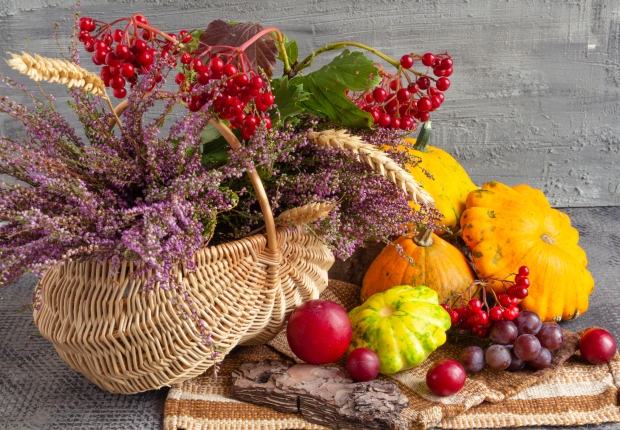
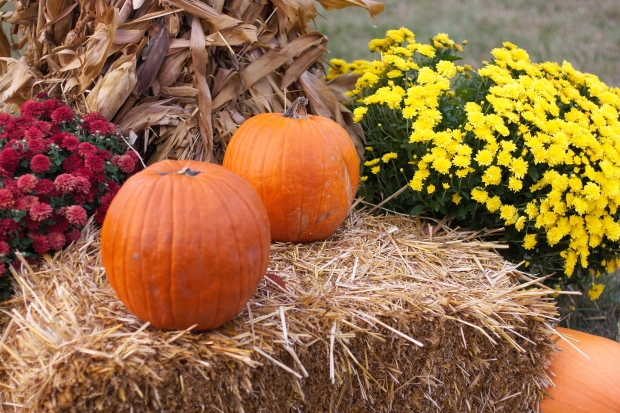
At its core, Thanksgiving is a celebration of the year-end harvest. To fully embrace the Thanksgiving spirit in your landscape, you need to add decorative elements that evoke a bountiful harvest season.
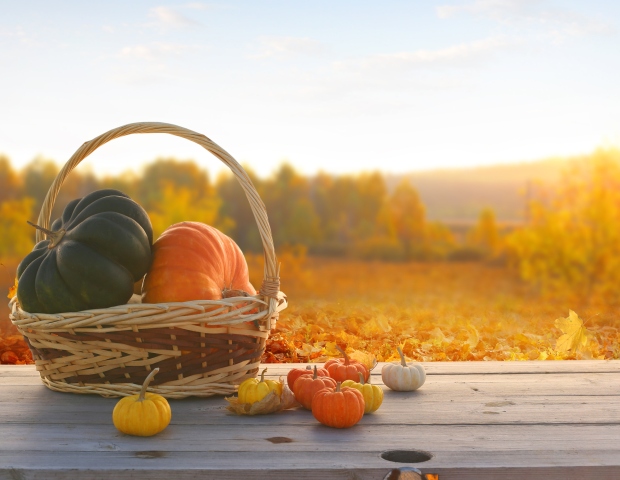
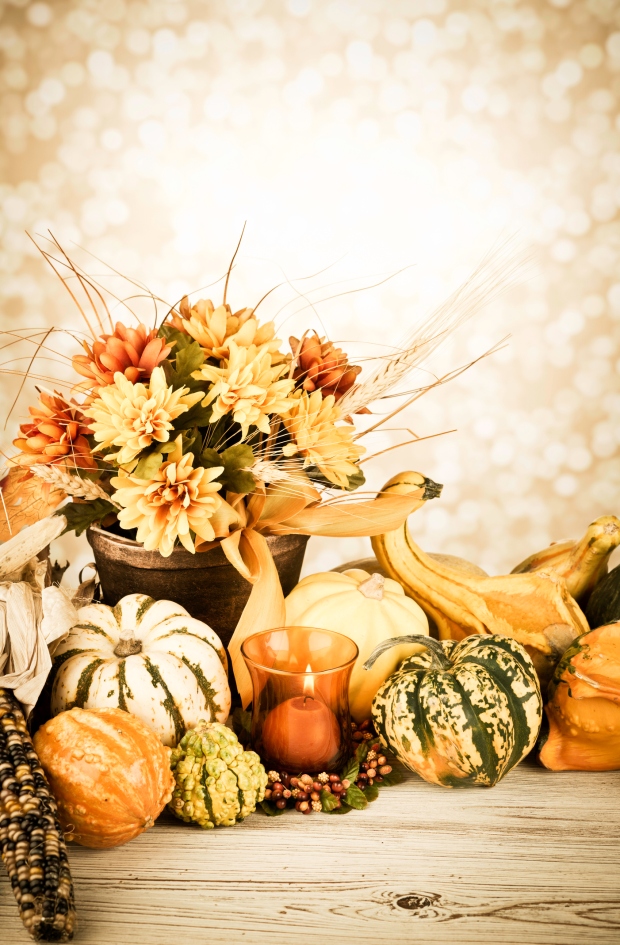
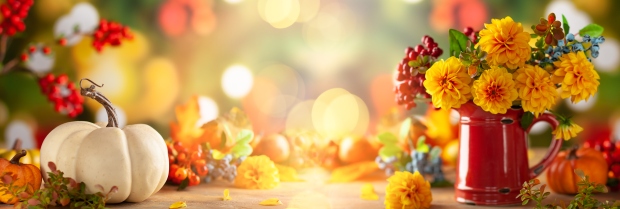
One of the most effective ways to achieve that character is to arrange pumpkins and various gourds throughout your garden. These items are popular emblems of fall and will add a rich sense of celebration to your garden.
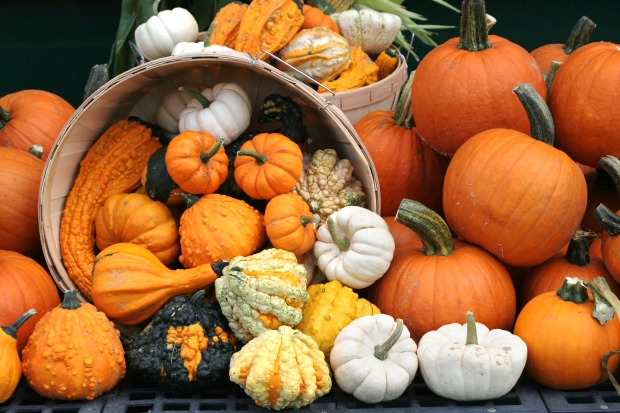
There are special varieties of gourds known as ornamental gourds that make for perfect autumn décor. Farmers who grow ornamental gourds simply allow some of their regular gourds to stay on the vine for longer. On the vine, these gourds mature, dry out, and harden, which allows them to last longer than normal gourds. Their longevity and vibrant colors make them popular garden décor around Thanksgiving.

Find Haystacks and Corn Stalks
While the pop of color that an assortment of ornamental gourds can add to your garden is eye-catching, there are some subtler ways to enhance the agricultural theme of your garden’s Thanksgiving display.
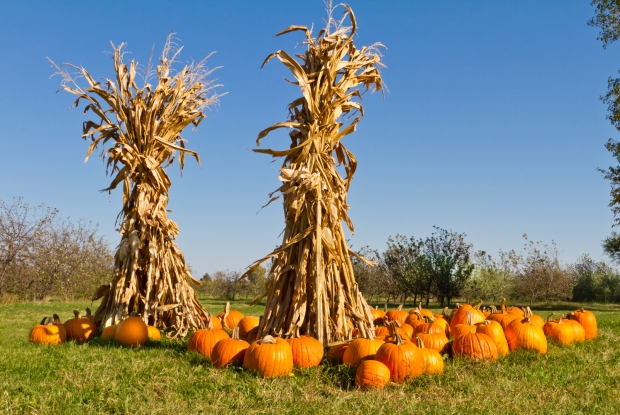
The next décor items that you should incorporate into your garden in fall are haystacks and corn stalks. These items hold neutral tones while serving as strong textural elements in your overall design. They can also go a long way in adding some structure to a holiday display.
A wide haystack will act as an excellent platform to support your other fall decorations. Decorative corn stalks will add a much-needed vertical element to the appearance of your Thanksgiving garden. Both will do well to boost the farm-like feel that is so closely related to a classic Thanksgiving.
Select Plants with Fall Appeal
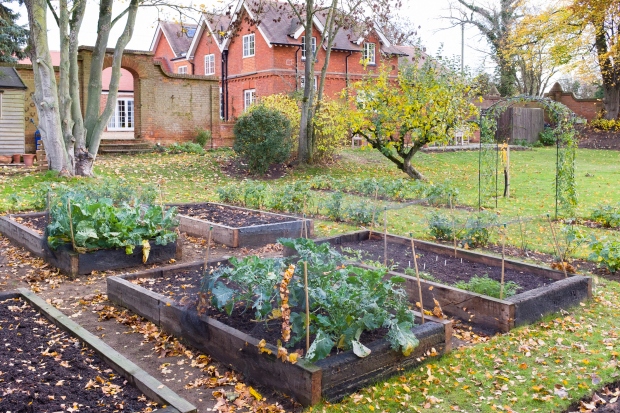
All of the decoration ideas so far are based on the idea that living plants will be relatively scarce for many around the time of Thanksgiving. But while the best garden growth does occur in spring and summer, there are still several plants that stand a chance of looking great in late fall as well. As you set your Thanksgiving garden scene, be sure to make use of these attractive plant varieties.
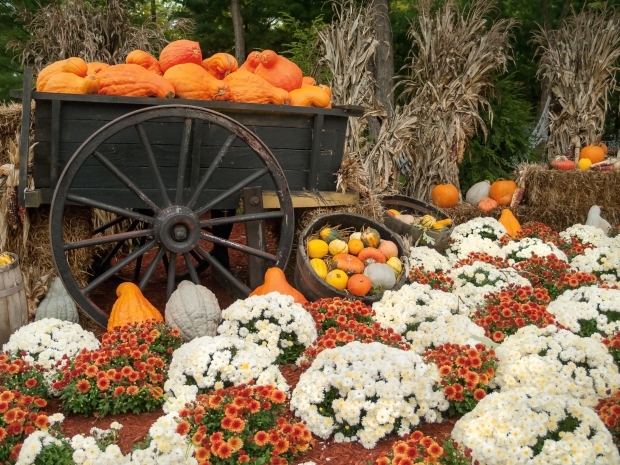
Fall-Blooming Annuals
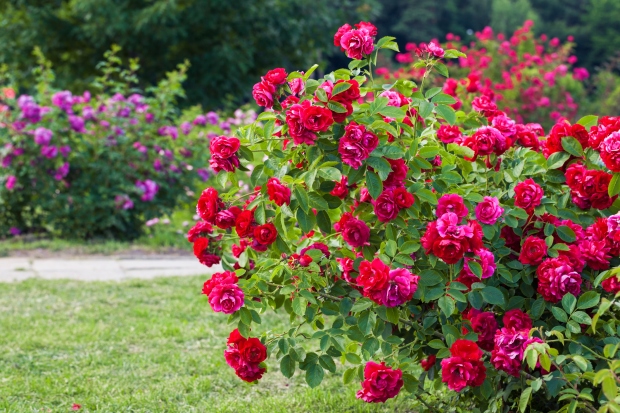
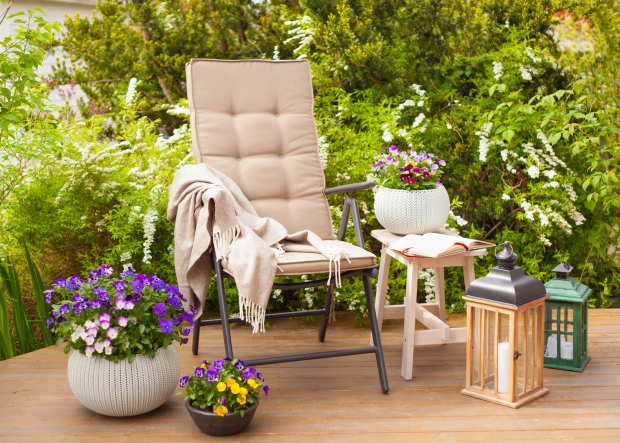
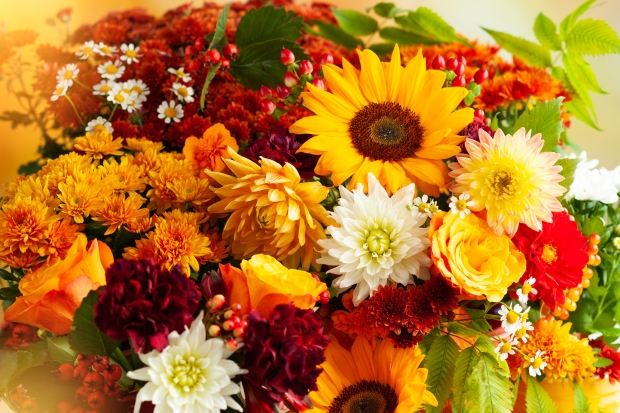
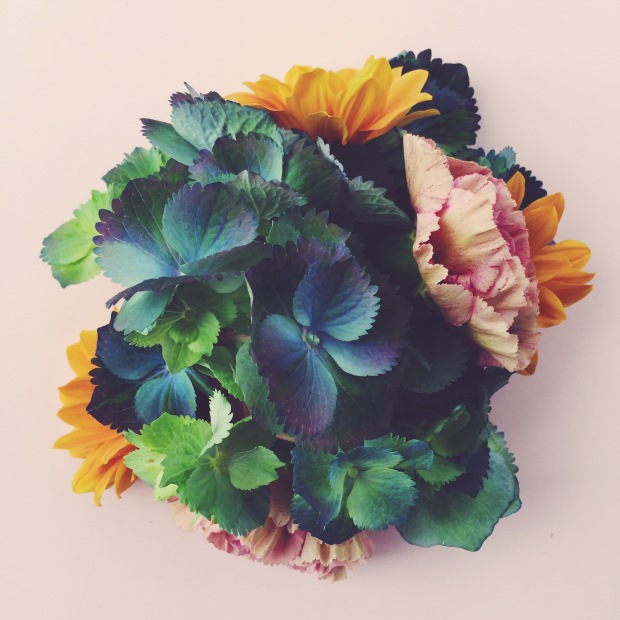
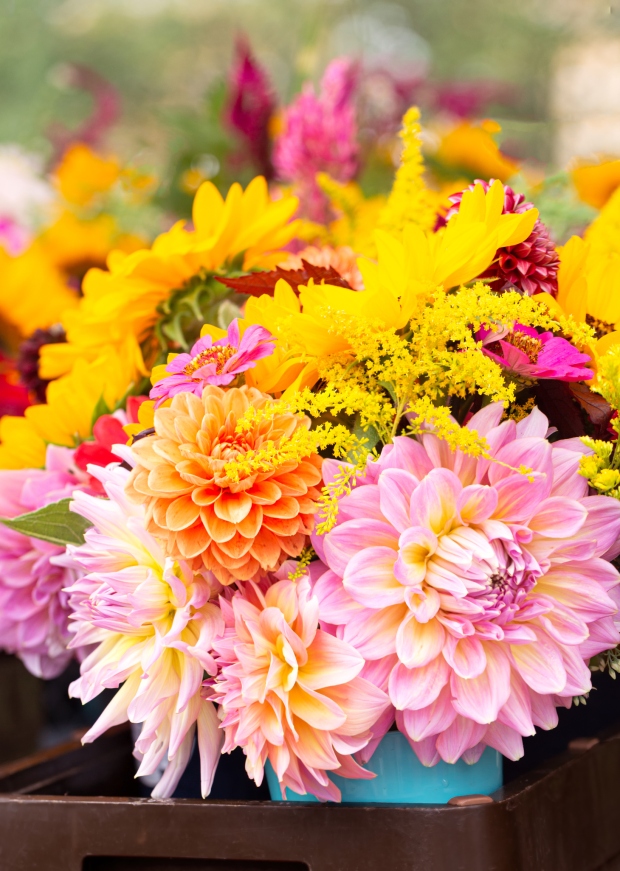
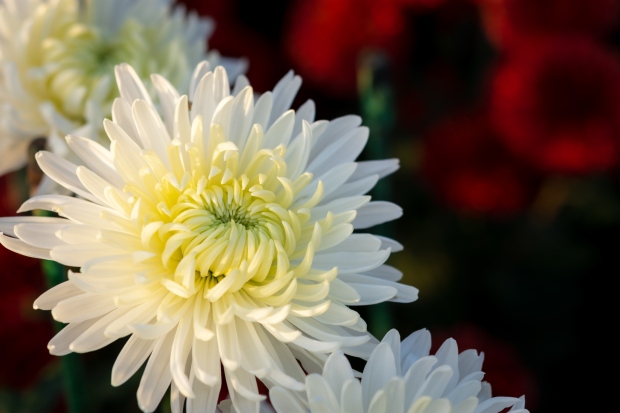
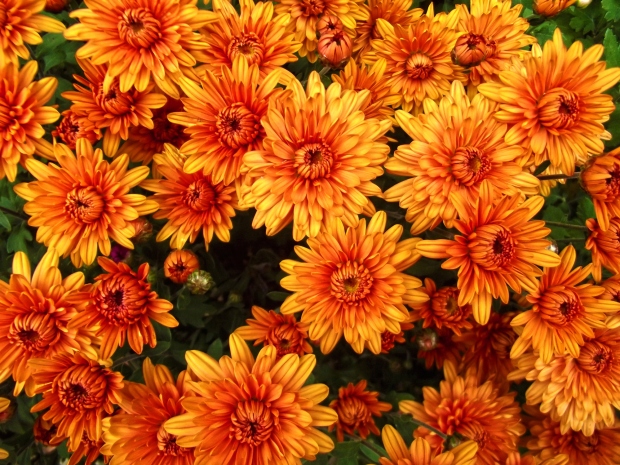
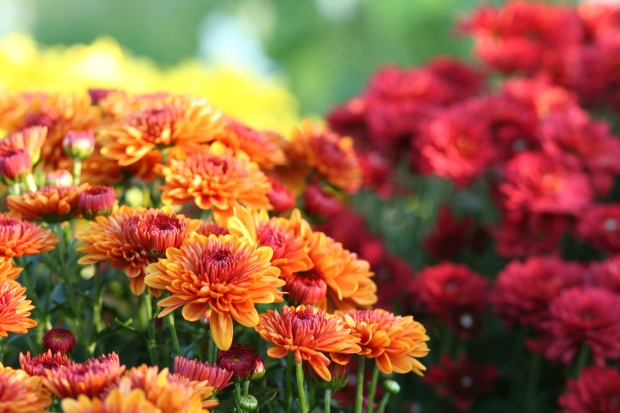
You may be pleasantly surprised to find that numerous annual flowers bloom into fall. These plants will add a vibrant splash of color to your landscape which will only increase the ornamental value of your holiday displays.
Another beneficial aspect of using fall-blooming annuals in your Thanksgiving garden is that these plants allow for some design flexibility. Since all annuals live for a single season and are typically small, they are an ideal set of plants for garden containers. The advantage here is that using containers will allow you to position and reposition your annuals as you please. This gives you the freedom to alter and improve your display design as the holiday approaches.
If you’re interested in fall-blooming annuals for this purpose, here are a few of the best varieties you can use:
- Chrysanthemums
- Flowering kale
- Croton
- Ornamental cabbage
- Pansies
Perennials with Late-Season Interest
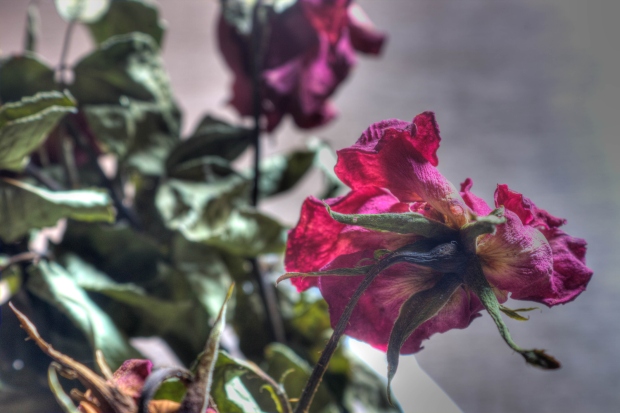
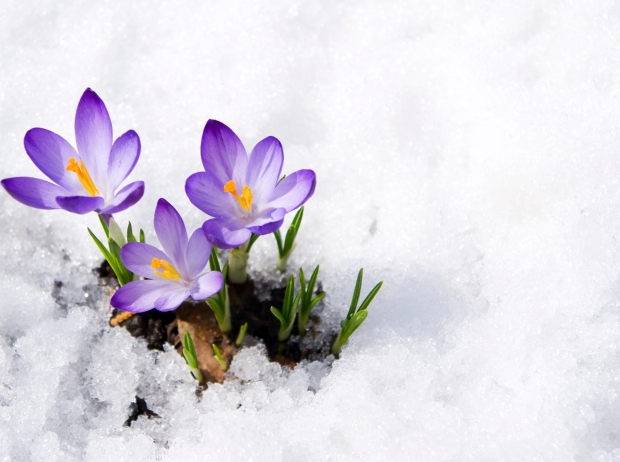
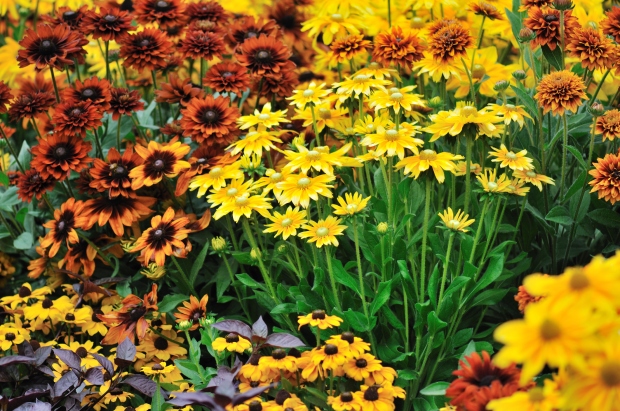
In addition to the annual plants mentioned in the last section, there are just as many perennial plant species that will also add interest to your garden in late fall. Some of these perennials have blooms that persist late in the year. Others will impress you with their interesting foliage and overall textures.
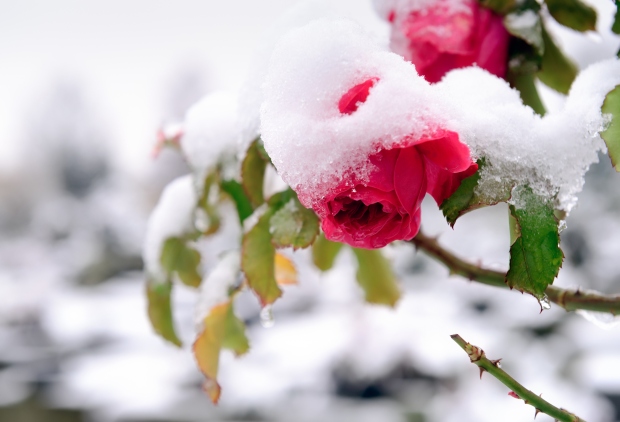
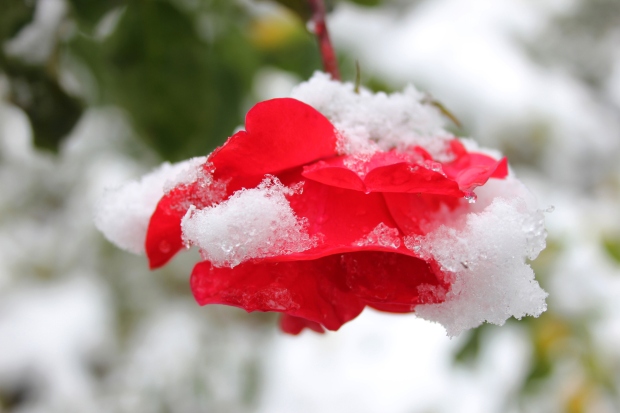
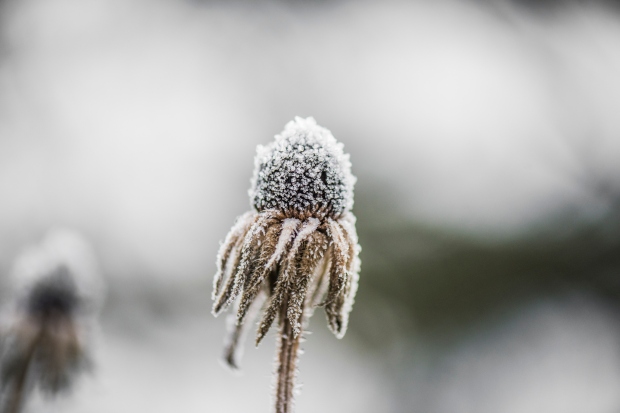
However, there is another trait of perennials that can add to their value in the fall. When a perennial dies, its above-ground parts dry up. While it is common to cut these parts of the plant back to the ground at the end of the season, leaving them often creates a distinct appearance that is surprisingly pleasing. The dried stalks and seed heads of certain species can look charming as they collect snow and can also be highly beneficial to bird species that struggle to find food in the colder seasons.
Here are some of the best perennial plants that fall into that category and will be a great addition to your Thanksgiving garden:
- Black-eyed Susan
- Purple coneflower
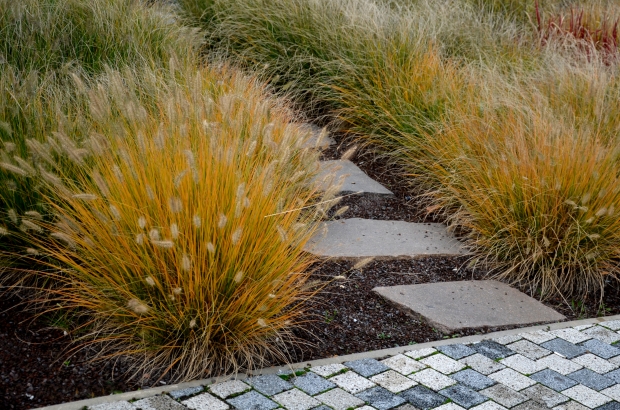
- Feather reed grass
- Fountain grass
- Russian sage
Set Up Thanksgiving-themed Flags
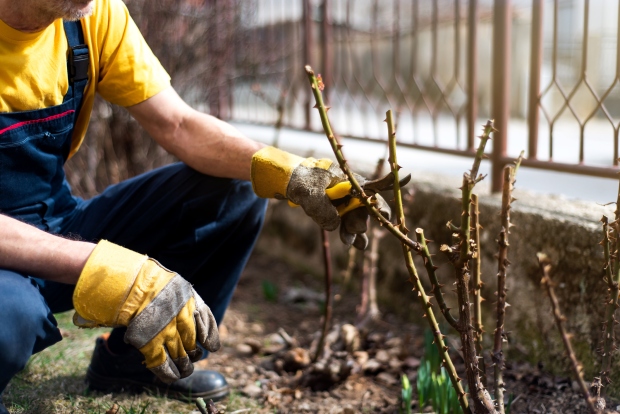
The previous section introduced you to a few of the best plants that will perform well in late fall. Still, despite these viable options, the majority of your favorite plants will not be looking their best in the cold temperatures that accompany Thanksgiving. Thankfully, there are other ways that you can compensate for that lack of color and vibrance.
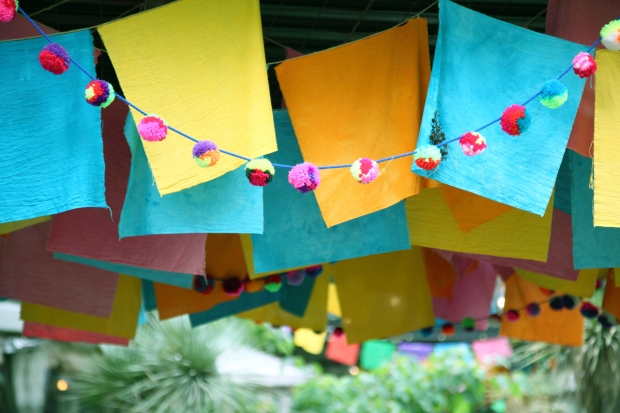
One fool-proof way to make up for a lack of vigorous plant growth in your garden is to use garden flags. These flags come in sizes that are appropriate for a garden, and they can also feature interesting designs. Plenty of these flag designs have a Thanksgiving theme and will look great in your garden as you anticipate the holiday season.
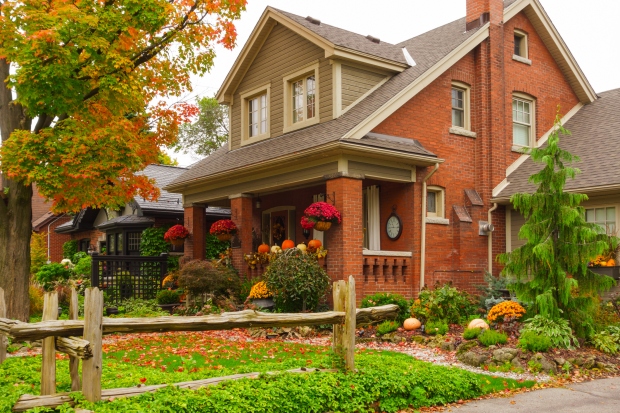
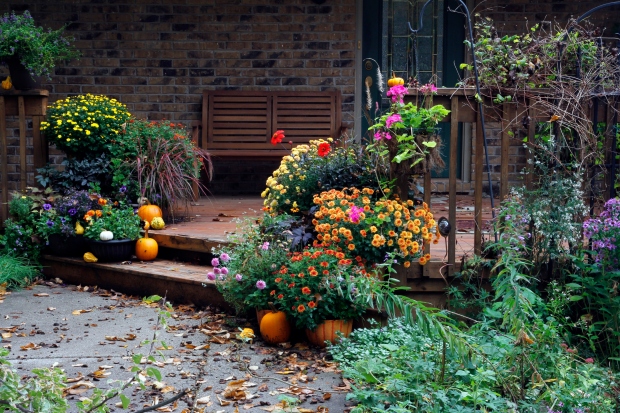
Add Décor to Your Home's Exterior
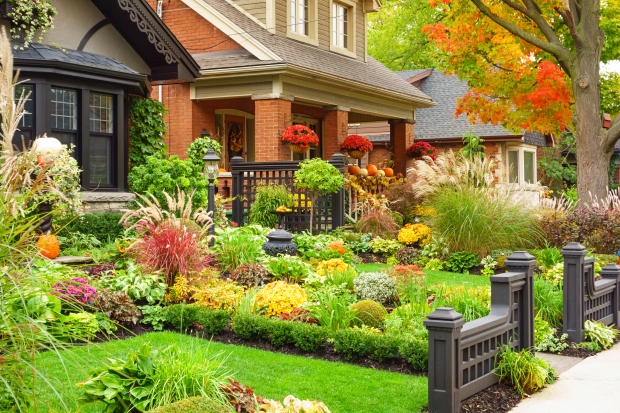
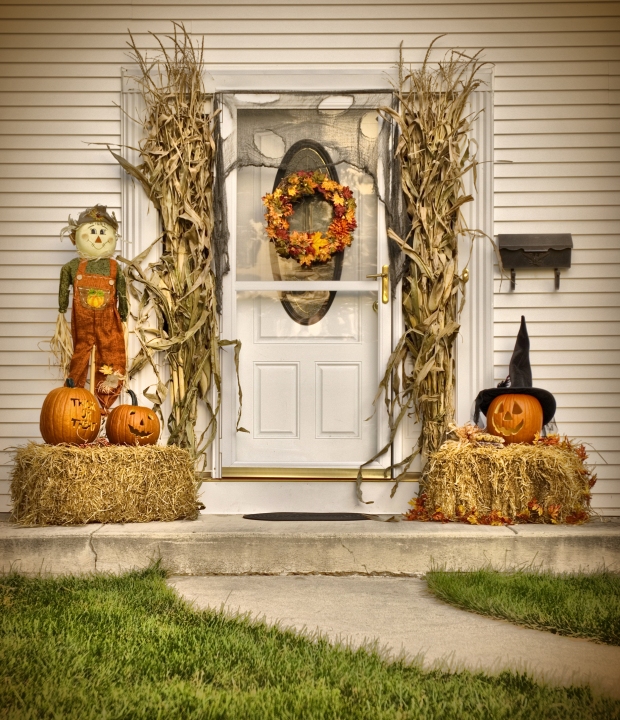
This final Thanksgiving garden décor tip has little to do with your garden at all. Instead, this idea focuses on one of the structures that you are sure to see while you spend time in your garden—your house. Decorating your house with Thanksgiving-themed items is an excellent way to put the final touches on your garden display.
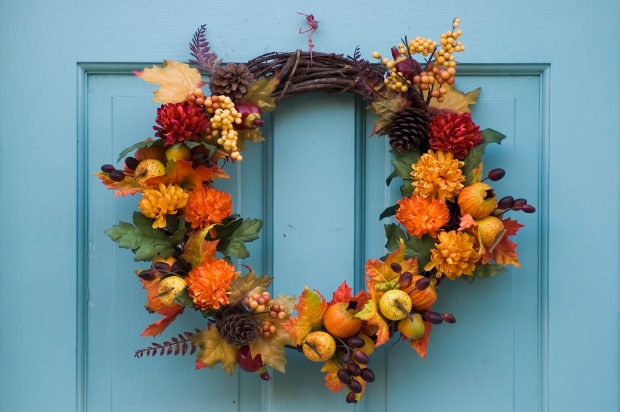
You can always use some of the decorative items mentioned earlier to dress up your home’s walkways and entrances. Many decorations can be mounted on your doors and windows, as well. Thanksgiving wreaths and other pieces are all fantastic choices. Find some items that match your home and your garden, and soon you will have a complete Thanksgiving theme for your property.