Learn How to Fertilize Your Orchid
Orchids need nutrients just like other houseplants, but they can be very sensitive to food and water. Here’s how to safely fertilize your orchids.
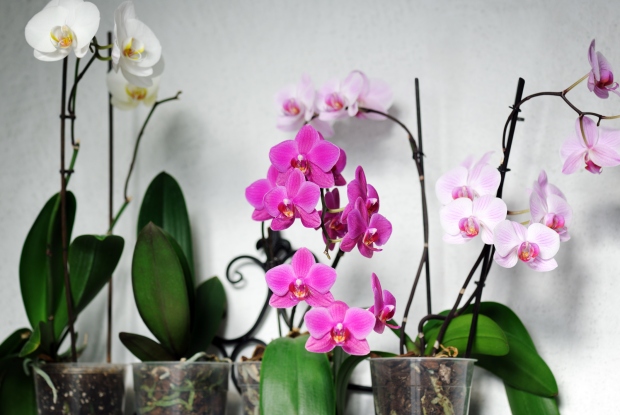
To get your orchid to re-blossom, one of the most important things you can do is fertilize it correctly. Like other houseplants, orchids need nutrients for growth, but they can be pretty sensitive to fertilizer applications. Instead of giving them too much plant food, these tender plants will do much better by being slightly underfed.
Why do orchids need fertilization?
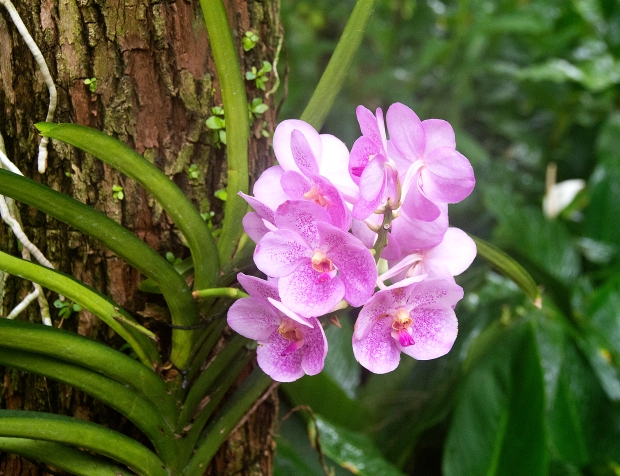
In nature, orchids grow attached to trees or logs, not down on the ground with their roots in the soil. Native to tropical jungles and rainforests, the roots pull humidity from the air and absorb nutrients from the bark on the tree or dust that lands in proximity.
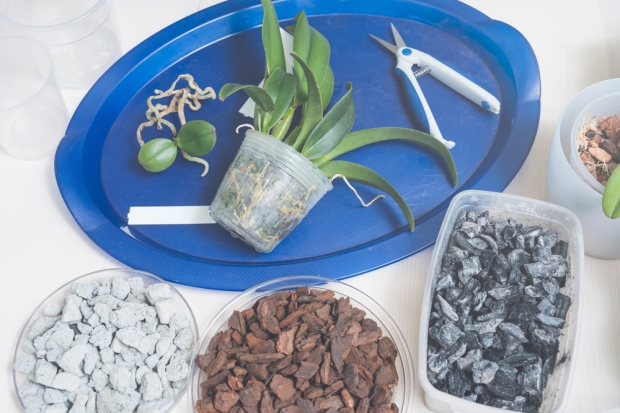
Because of their native origins, to cultivate orchids for indoor growth, many types are grown in a medium like bark chips or sphagnum moss. Unlike soil, these growing substrates do not have as much organic matter that breaks down and releases nutrients like nitrogen, phosphorus, and potassium over time. Therefore, you must supplement orchid plants with fertilizer to get essential nutrients for metabolic cellular processes, growth, and flowering.
How often to fertilize orchids
When it comes to fertilizing your orchids, you can break their growth cycle into three periods: active vegetative growth, flowering, and resting or dormancy. The plants have different fertilizer needs during each of those three periods.
Active growth period
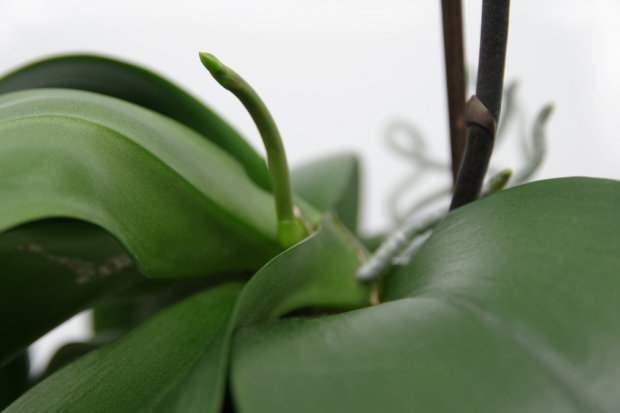
During the active growth phase, which occurs just before blossoming, the plant needs the greatest amount of fertilizer. Fertilizing during this period encourages the plant to put up new stems and develop flower buds that will allow the orchid to bloom again. This period is when the plant grows the most and stores energy to put up new stems and to develop flower buds.
When the plant is actively growing, it can be fertilized weekly or every other week. Many orchid growers follow the “weakly, weekly” approach — giving plants a small dose of fertilizer when they water weekly versus a larger amount once or twice a month.
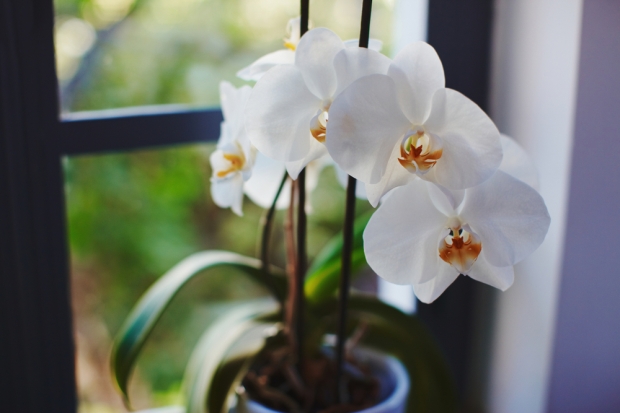
Flowering period
Active growth slows when the flower buds open, meaning orchids expend less energy during blossoming and need less fertilizer. Therefore, it is recommended you avoid fertilizing plants when they are blooming. In some cases, fertilization can cause premature bloom loss.
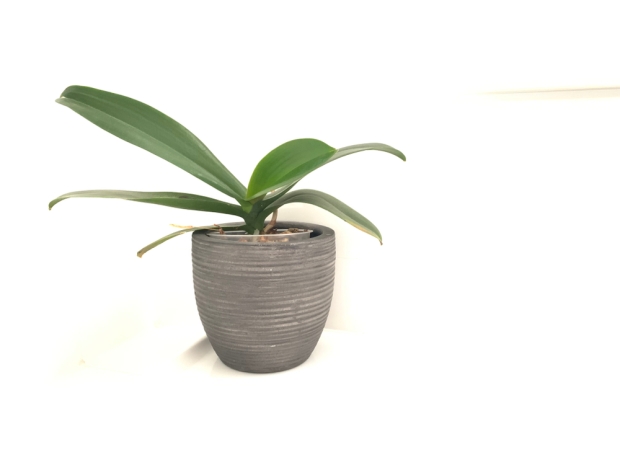
Resting period
After the blooms have dropped off your orchid, the plant needs to build up its energy reserves in preparation for the active growth phase that follows. At this same time, autumn or winter temperatures begin to drop, and the day shortens in length. In turn, orchids will considerably slow down their growth to rest and store nutrients.
Fertilize your orchid every two to four weeks during the resting period at a reduced dosage rate.
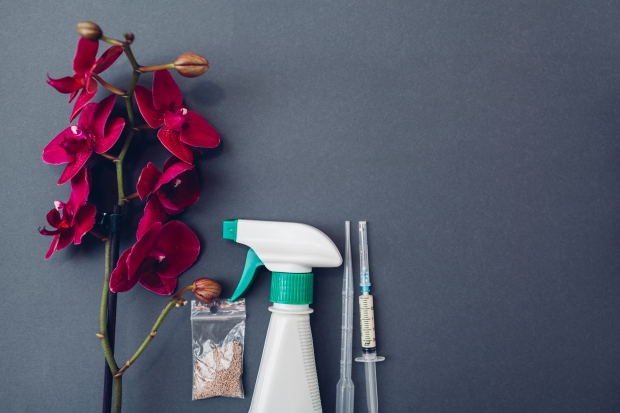
Choosing a fertilizer
You can purchase a fertilizer specially formulated for orchids, or you can use all-purpose plant food. There are both granular and liquid fertilizers available; liquid fertilizers come in ready-to-use formulas and in concentrated forms that need to be diluted in water.

If you choose an all-purpose plant food, ensure that it contains equal amounts of N-P-K, such as a 20-20-20 product. Nitrogen is needed for leaf growth; phosphorus promotes healthy root growth and bud development; potassium increases plant defenses against environmental stress and helps maintain overall health. It is also essential to choose a product that contains micronutrients too. These trace elements help perform many vital functions in the plant.
Just be careful to avoid any product that contains urea to prevent burning the roots.
Step by step instructions for fertilizing your orchid
These instructions are for fertilizing weekly when the orchid is actively growing, putting on vegetative growth. If you fertilize every two weeks, you can mix the fertilizer solution twice as strong; follow the application dosage recommendations on the product label for monthly fertilization.
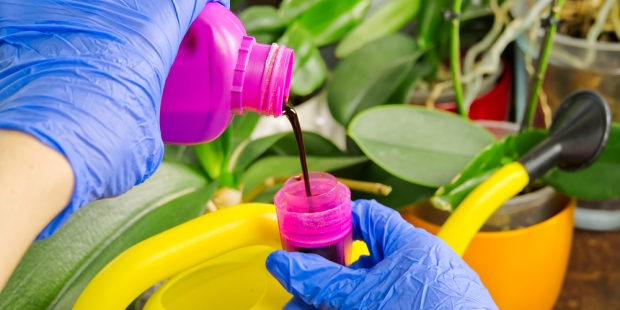
- Mix the fertilizer at one-quarter the strength listed on the container, making sure there is at least 50% water in the solution. Use rainwater if possible or filtered or distilled water. If you have municipally treated water, allow the chlorine to dissipate for 24 hours before using it to mix fertilizer.
- Remove the plastic orchid container from its decorative pot (if it has a pretty container), and place it in the sink, a saucer, or a shallow dish.
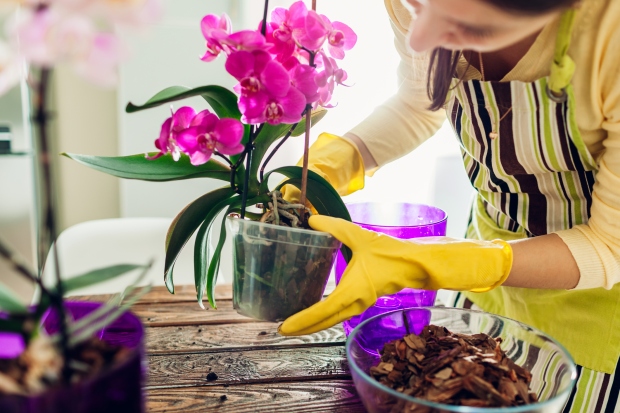
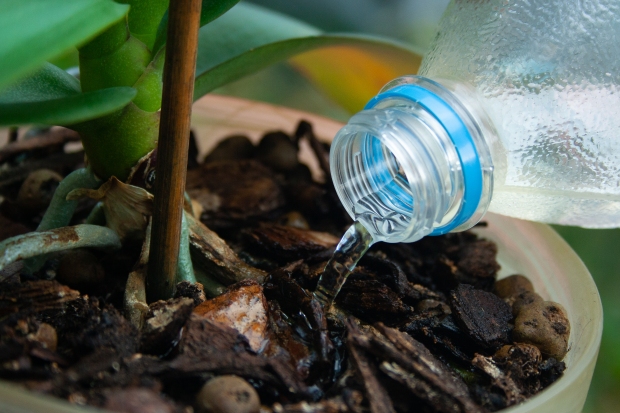
- Use a water bottle or watering can with a narrow spout to water the orchid. Pour the fertilizer/water mixture onto the soil until excess begins draining out the bottom of the pot. Take caution to avoid getting fertilizer solution on the leaves since the leaves are prone to burning.
Give the excess water time to drain out of the growing substrate. If using a saucer to collect the water, dump the excess solution from the tray, so it isn’t reabsorbed back into the growing medium through the drainage holes.
- After fertilizing, there is no need to give the orchid any more water until the next time the orchid needs moisture. Orchids are very sensitive to overwatering.
- Place the orchid back in its decorative container until it needs to be watered again.
Tips for fertilizing
- When fertilizing at stronger doses — half strength or above — water the growing medium slightly before applying fertilizer. When orchid roots are dry, the higher fertilizer rates can burn them.
- Over time, chemical salts from the fertilizer will form a white crust on the top of the growing substrate. Periodically flush excess fertilizer salts from the growing medium using distilled, filtered, or rainwater.
- Never fertilize your orchid if it has a pest infestation, is struggling with a disease problem, or the roots are damaged.
- Avoid using slow-release fertilizers for your orchid. The nutrients in these products are meant to be released over time to give plants periodic doses of food. But when grown in a soilless medium, there is nothing for the nutrients to bind to, and they just get flushed out of the container before the roots can use them.
- If the leaves of your orchid become dark in color and begin to look floppy, scale back on fertilizing. These are typical symptoms of overfertilization.