Prune Your Plants Before Spring for Garden Success
Winter pruning takes some planning, but it’s the best time to make structural changes for trees and other plants. Follow this guide to get started.
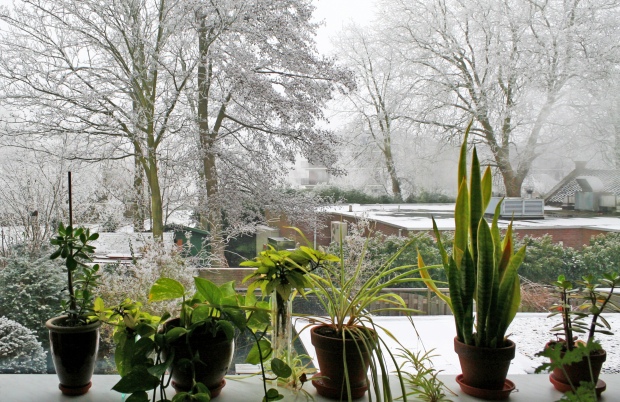
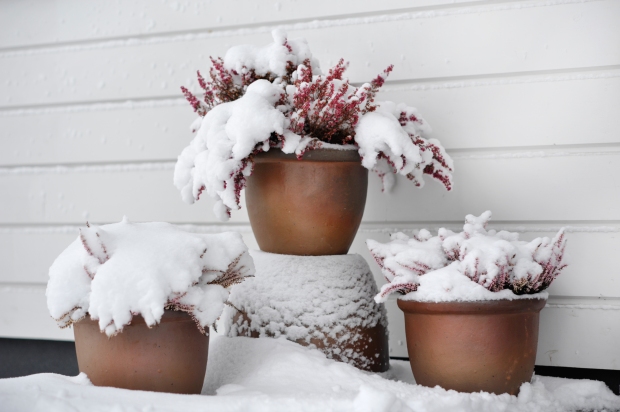
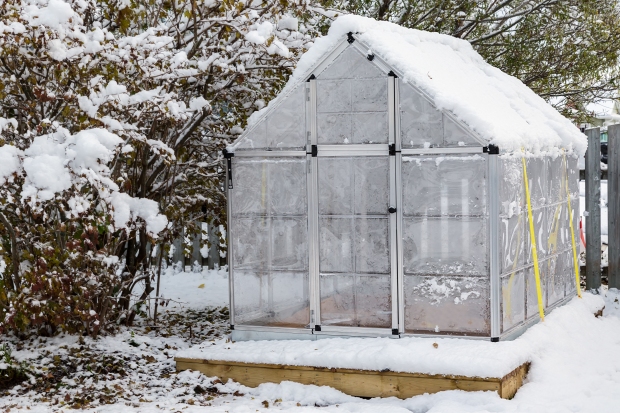
Chilly weather tends to keep us indoors and away from gardening projects. That can be a mistake if you have pruning to complete. Winter is the best time to prune a variety of species, but choosing to trim the wrong ones might cause long-term damage to the plant.
Here’s a guide on what to prune in the winter for the best success for your garden come springtime and beyond.
Why Prune in the Winter?
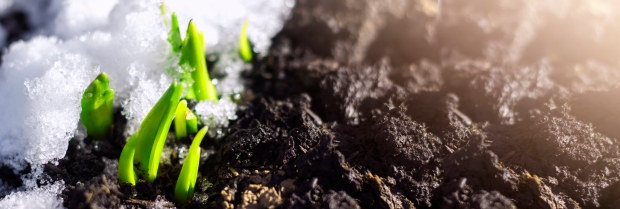
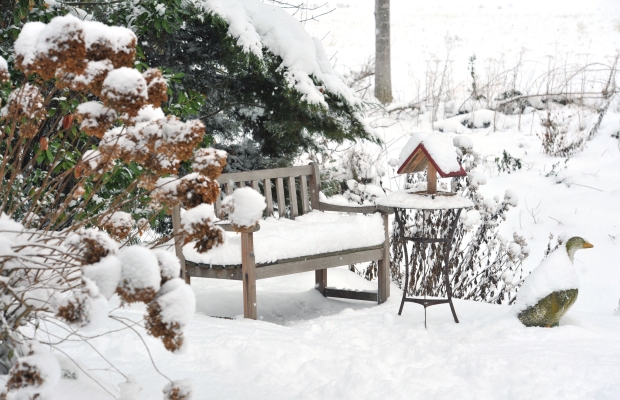
There are plenty of reasons to prune plants in late winter. The biggest benefit of pruning in the winter is that you can take advantage of plants’ natural growth cycles. Cold weather and shorter days put many plants in a state of dormancy where they stop actively growing until they experience warmer temperatures.
This leads to less stress on the plant for faster recovery times and prevents the trimming from triggering new growth that would die in the chilly weather.
You also lower the risk of spreading disease from one plant to another in the winter because insects won’t be flocking the fresh pruning wounds and contaminating them.
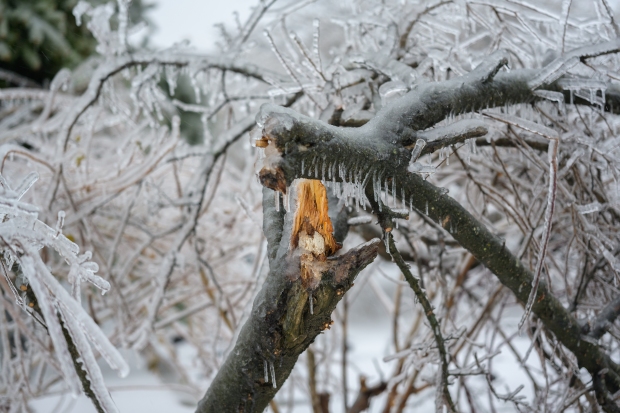
Likewise, winter pruning makes it easier to take in the whole structure of your plant at once. Without leaves in the way, you’ll better notice dead and diseased limbs that need to be removed and get a better sense of the pruning cuts necessary to achieve specific shapes.
When is Late Winter?
The definition of “late winter” will vary based on which growing zone you live in. Generally, it’s considered the last four to six weeks before temperatures thaw in the spring. Determine your date by counting back from the average last frost date for your plant hardiness zone.
What Plants Are Best Pruned in the Winter?
Not all plant varieties do well with winter pruning. Here’s an overview of what to prune and what to avoid.
Annuals
Avoid pruning all annuals. Most will die as soon as they experience a heavy frost, so you’re better served leaving them in place or tossing them in the compost pile.
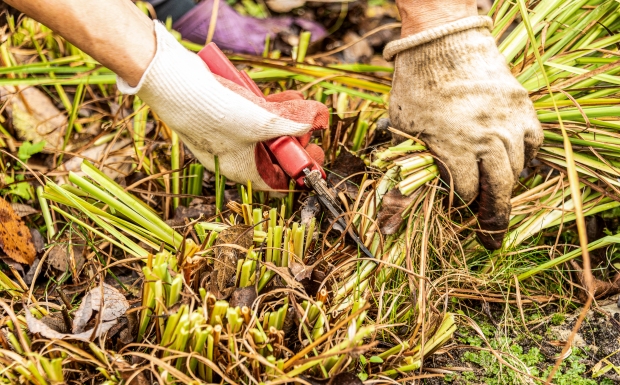
Perennials
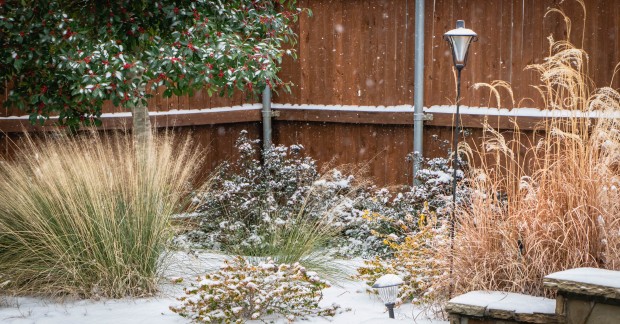
Perennial flowers and grasses can be cut back in the fall, but that’s essentially a matter of personal preference. Pruning keeps things tidy and helps prevent the spread of disease, but it’s usually not a problem to leave the plants as-is.
Don’t cut too close to the roots, as you don’t want to overexpose them to the colder weather. If pruning away diseased plant material, make sure to remove and discard it (don’t compost it!) so you don’t spread the problem once spring returns.
Hold off on pruning plants susceptible to freeze damage, such as roses. A better trimming time is March or later when the risk of hard frost is essentially over.
Note: You may want to leave some perennials intact, especially if they contain seeds, as they provide food and habitat space for wildlife.
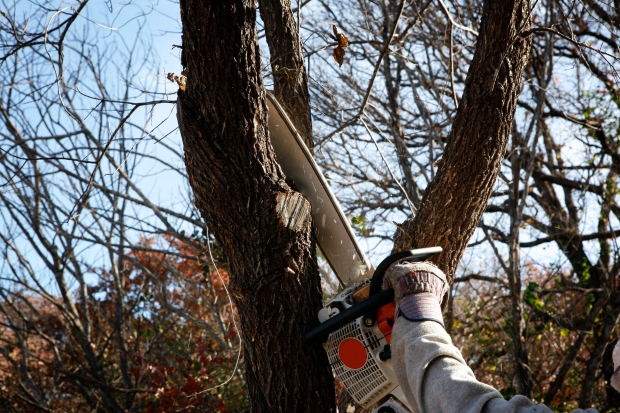
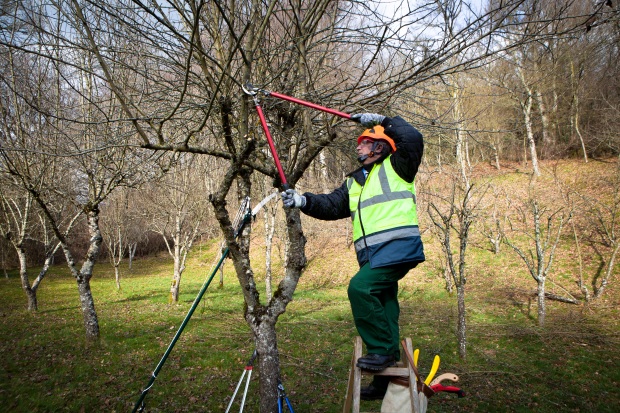
Deciduous Trees
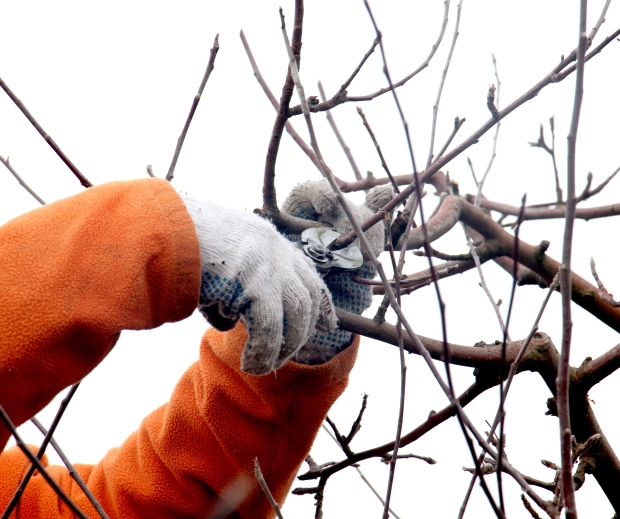
The most common pruning that takes place in the winter is for trees. It’s possible to trim trees and shrubs as soon as the plants enter dormancy and until the leaf and flower buds begin to plump up in the spring.
Note that some deciduous trees tend to drip lots of sap when pruned in the winter. While this won’t affect the tree’s health, it might leave a sticky mess on your hands and tools. If this is a dealbreaker for you, consider pruning sap-heavy trees like maples, elms, birches, dogwoods, and walnuts in the summer instead.
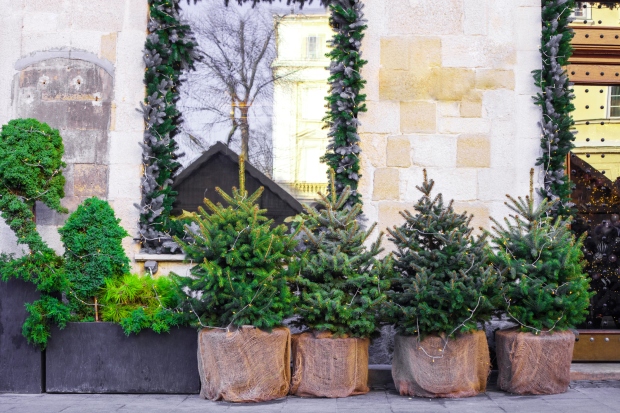
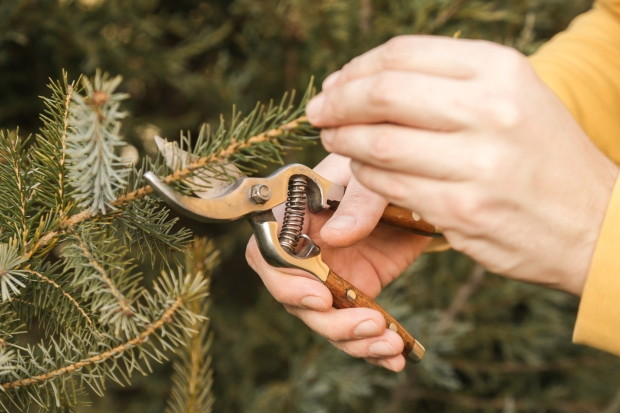
Evergreens
Evergreens are a bit different. It’s best to prune these trees and shrubs during their summer growing season, as they never become genuinely dormant in the winter. This means that pruning in the cold might trigger regrowth and cause the plants to dehydrate and suffer tip burn where the needles turn brown and fall off.
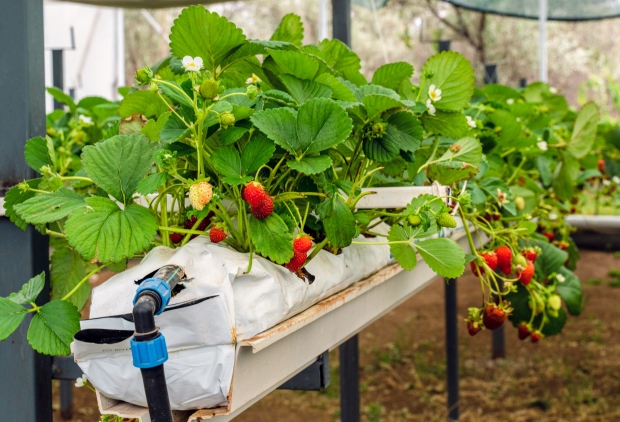
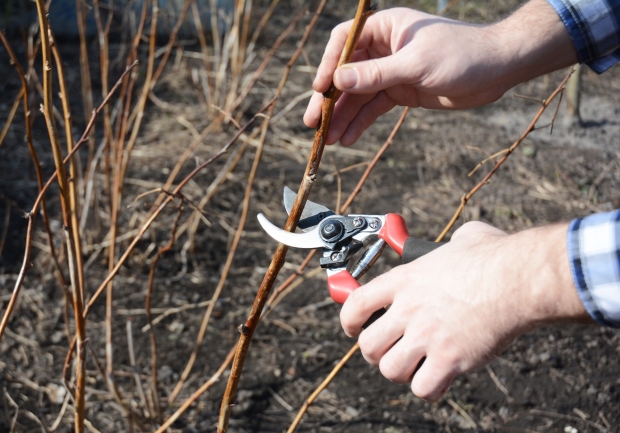
Berries and Brambles
Cane fruits like raspberries and other brambles can be pruned in the late winter. You want to remove the older canes while keeping those a year old and younger, as they will produce this coming season’s fruit.
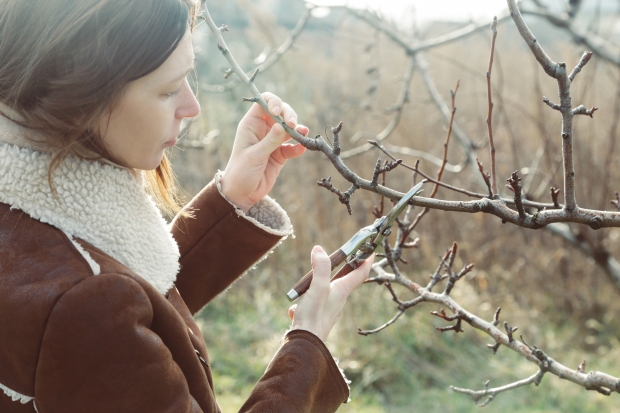
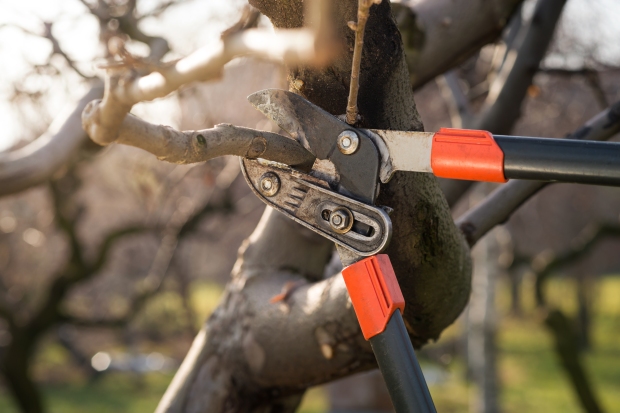
Fruit Trees
Winter is the ideal time to prune fruit trees if you’re looking to maximize fruit production. It’s the best time of year to get a sense of their branching structure so you can remove suckers and open up heavy canopies to boost light and air circulation. Make sure you start pruning early enough in the season that you don’t snip off developing buds.
What About Spring-Flowering Trees?
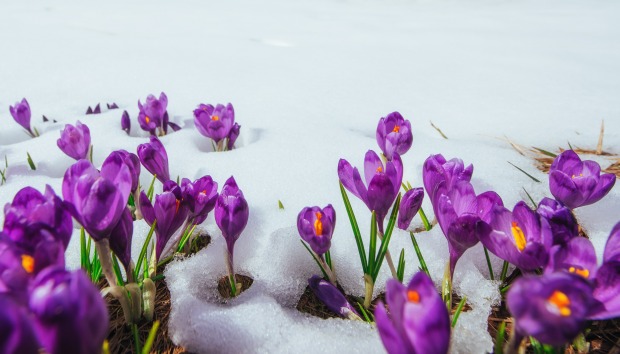
Knowing when to prune plants that bloom in the spring can be tricky. Start too late, and you’ll trim off the developing buds and lose all the blooms for the year.
Generally, it’s best to wait to prune early spring-flowering plants in the summer after the blossoms have fallen off. However, exceptions include butterfly bushes and tulip trees.
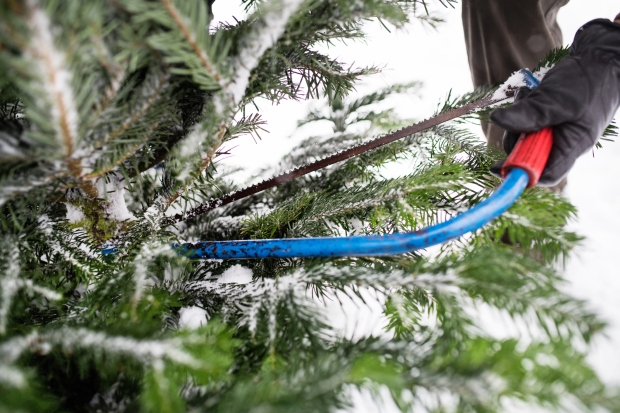
Six Steps for Successful Winter Pruning
Not sure how to begin the winter pruning process? Here are the steps for starting out.
1. Have a Clear Goal
It’s never smart to approach a plant without a plan. Take some time before grabbing the pruners to determine what you want to achieve with trimming, whether it’s removing deadwood, improving the structure, or preparing the plant for winter conditions.
2. Know Whether You’re Up for the Job
Some pruning projects are beyond the skill set of the average gardener. If you’re looking to trim large trees or maximize production from your apple orchard, it may be worth calling in an expert.
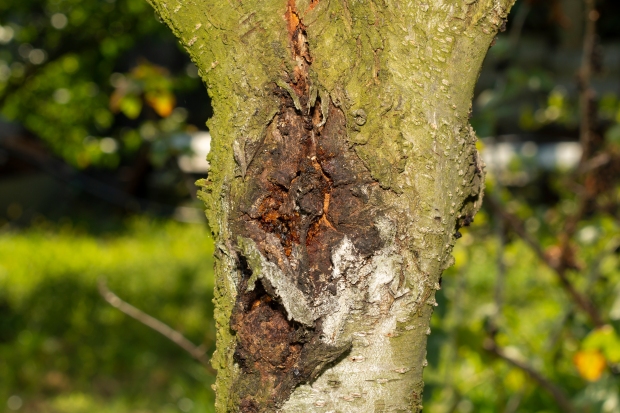
3. Remove Dead, Diseased, and Damaged Wood
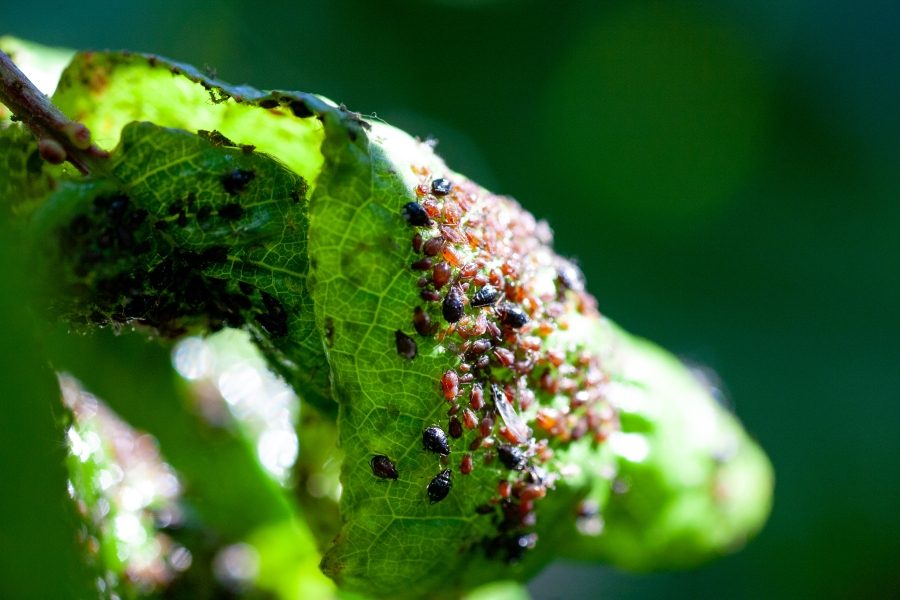
As you begin to prune, start by removing all the dead, damaged, and diseased wood. Look for signs of insect infestations, such as egg masses left by caterpillars or old chrysalises left by moths. Disease may show up as unusual swellings, darkened areas, or open lesions. Remove now, and you’ll deal with fewer problems in the spring.
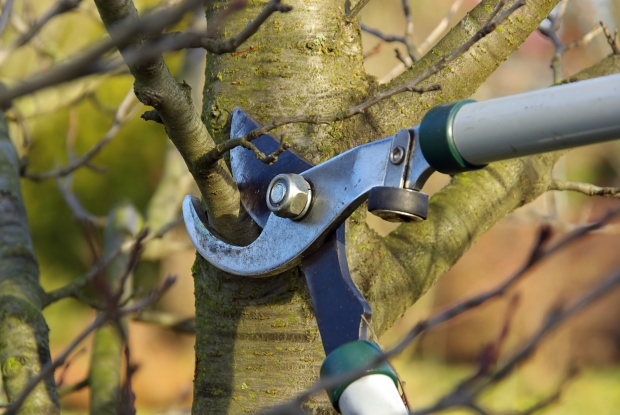
4. Prune for Structure
Once you’ve removed the problem spots, it’s time to trim away any branches that crowd the tree, blocking sunlight or airflow to the branches below.
Remove overlapping branches and ones growing in the wrong direction, always taking care to prune back to a bud or branch, so you don’t leave large open wounds.
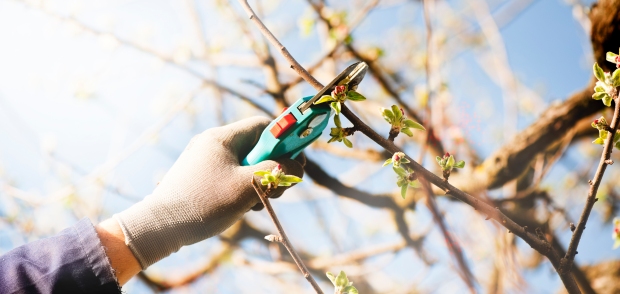
5. Remove Suckers and Smaller Pieces
Finally, do a final cleanup by removing any suckers and smaller limbs that are less than ideal on your plant. This is the time to tidy things up to improve the tree’s overall appearance. Make sure you disinfect your tools after finishing, and you’re ready to move on to the next plant!
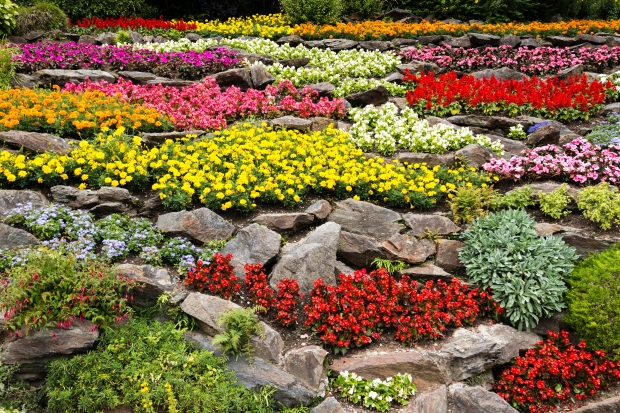
Prune in Winter for Long-Term Success
Winter pruning may mean you’re braving the elements, but it’s well worth the effort to establish healthy plants. So, track the weather so you can determine the best time to trim your trees and other plants for better growth long term.