Do Figs Really Bear Fruit Without Blooming?
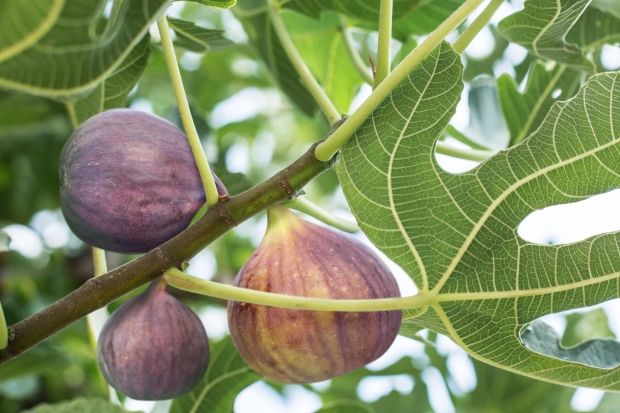
If you’ve ever watched a fig tree develop fruit, you might have noticed a conspicuous lack of flowers. While it might seem like figs bear fruit without blossoming, that’s not quite the case. In fact, figs create a cluster of flowers, you just might never see it.
It’s a common misconception that figs bear fruit without blossoming. They can actually produce 500 to 7,000 flowers, but you won’t ever see them. That’s because figs are technically inverted flowers. Unlike apple or peach trees, fig flowers bloom inside hollow pods known as syconium. Each of these flowers produces a single, one-seeded, hard-shelled fruit called an achene. Since there can be thousands of flowers, you’re actually eating multiple fruits when eating a fig!
Wherever the flowers are located are where the seeds develop and eventually, the syconium develops into the fleshy false fruit that millions of people around the world know and love. The actual formation of the syconium begins with the initial growth of modified leaves known as bracts. These curve to form the outer pod and will eventually meet to form the mostly closed syconium. In many figs, there’s a small opening called the ostiole that forms by the interlocking of the bracts.
Fig Fruit and Reproduction
Since the flowers bloom internally, the fig tree can’t depend on wind or bees for pollination. Instead, many rely on small fig wasps to pollinate the flowers. In turn, fig wasps have a place where they can safely lay their eggs. This mutualistic relationship has been traced back as far as 34 million years ago, and the two creatures have co-evolved to the point where there is a unique species of fig wasps for each of the 8,000 or so species of fig that require pollination.
How does it work? A female fig wasp will make her way inside a male fig flower once she is ready to lay her eggs via the ostiole. Once she gives birth, she dies, and the eggs gestate inside the flower. Once mature, the male wasps will mate with the female wasps. While the male wasps don’t have wings, they do have teeth that they use to chew through the special fig pollen holders, which they drop down to the female. Eventually, the males will chew holes in the skin of the fig, and then die once their work is done.
The females, now covered in pollen, search for another male fig flower to deposit her eggs. In the process, some of the female wasps land in female figs (the ones we eat). Although the female figs don’t have the special egg receptacles for the wasps to lay their eggs, she does successfully pollinate the flower, which then ripens into the fig you see at stores. Sadly, it’s a one-way trip for the female fig wasps, and she dies inside. The plant then releases an enzyme called ficin that breaks down the wasp into protein.
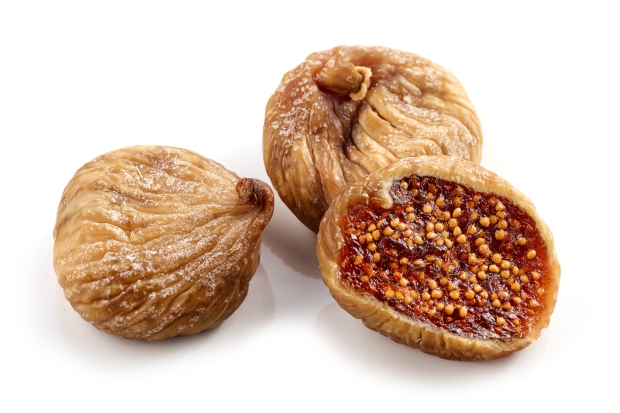
If the thought of potentially eating tiny wasps makes you go “ewww,” the good news is that there are many varieties that self-pollinate. In fact, if you live in the United States you’ll be happy to know that 95% of the figs produced and sold commercially in California are self-pollinating. Considering that the state produces 100% of the nation’s dried figs and 98% of its fresh figs, you might not have to worry too much about having an extra-crunchy fig.

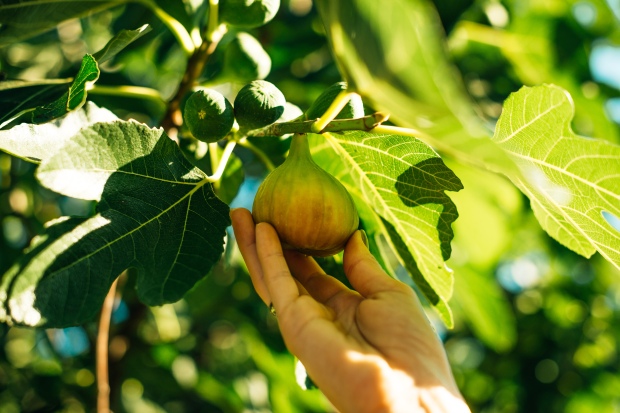
If you plan to grow your own fig tree, look for ones that are self-pollinating as there might not be any fig wasps in your area. Even if you do plant self-pollinating trees, you can still increase your yield by gently tapping or using an electric toothbrush on the fig pods when they grow to encourage pollination.
Final Thoughts
The humble fig might seem like a “boring” plant. After all, it doesn’t bloom! However, the more you learn about it, the more interesting it becomes. So the next time someone argues with you that figs don’t bloom, let them know that they actually do, they’re just inside the “fruit.” While you’re at it, let them know that when they eat a fig, they’re actually eating a flower!