6 Easy Ways to Remove Dust From Houseplants
Despite spending their whole lives indoors, houseplants tend to get dusty. Cleaning houseplants doesn’t have to be a challenge. Follow these tips to keep yours dirt-free and healthy.
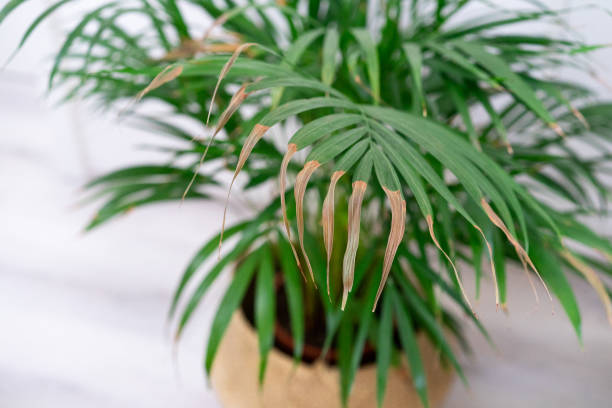
Keeping plants clean can be a challenge, especially indoors. Inside your home, houseplants have no exposure to rain or wind, meaning that any dust that settles on their leaves tends to stay there. Not only will this layer of dust make the leaves look drab, but it can also interfere with photosynthesis.
It may seem overwhelming to clean a living plant, but the process is straightforward once you know what steps to take. Here’s how to keep your houseplants clean to ensure they live their healthiest, most vibrant life in your house.
Why Clean Houseplant Leaves?
There are two main reasons to clean your houseplants: aesthetics and health. A dusty home isn’t a pleasant space to be in, and coated houseplants can make the living space look dirty. Likewise, a layer of dust on plant leaves will reduce the amount of light they can absorb, which interferes with photosynthesis and slows down growth in the long run.
Even artificial plants need regular cleaning. Without it, they will start to look faded and might even become sticky and unappealing. Frequent cleanings will keep them vibrant and extend their lifespan in your home.
How Often to Clean Houseplant Leaves?
There’s no official rule on how frequently you need to clean plant leaves. Generally, it’s wise to inspect them before every watering session. If you see dirt on the leaves or feel it between your fingers when you touch them, then it’s time to do some cleaning.
Certain living conditions will make plants dusty faster than others. For example, if you live with pets, are in the middle of indoor renovation projects, or have windows open frequently, your plants will tend to get dirtier faster.

Six Strategies for Cleaning Houseplant Leaves
There are several different strategies for cleaning houseplants, each of which is better suited to some varieties than others. Read through this complete list before determining what cleaning solution is the best fit for your situation.
1. Clean Plants in the Shower
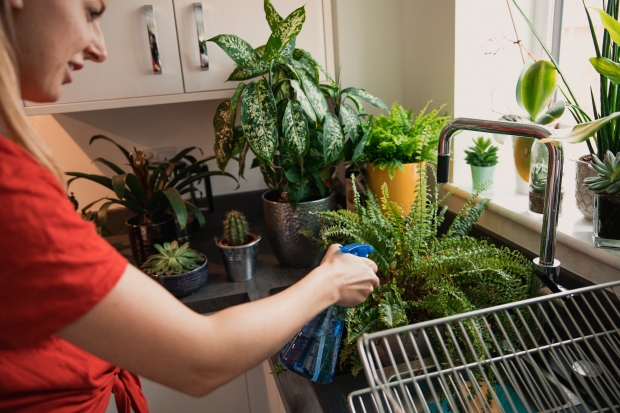
One of the easiest ways to give a houseplant a refresher is to take it into the shower with you. Small plants do well with a quick dip in the sink, but consider bringing in the larger potted plants for a more immersive cleaning.
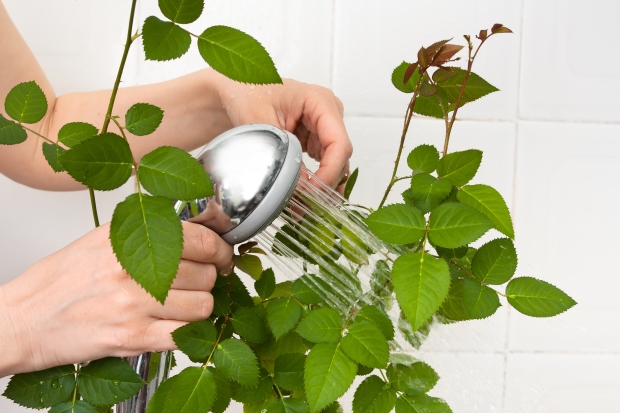
This strategy works best if you have a detachable showerhead and can adjust the water pressure to ensure you don’t snap off fragile stems and leaves. Just bring the plant into the shower, turn the water on a gentle spray (make sure to keep the temperature lukewarm), and let the plants enjoy the water.
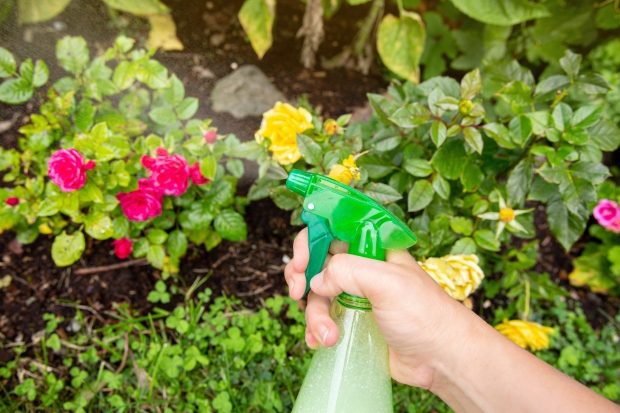
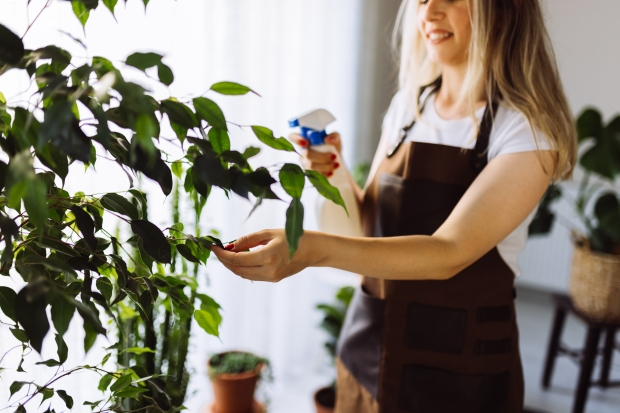
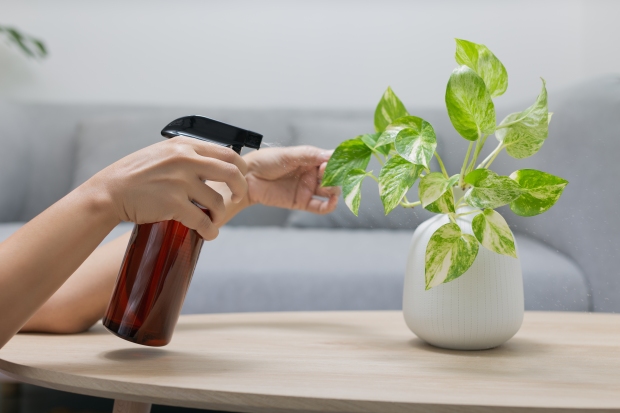
If you don’t have an adjustable showerhead, consider using a spray bottle in the shower instead.
Keep them in the bathroom until they’ve fully air-dried, or blot the leaves with a paper towel to speed up the process.
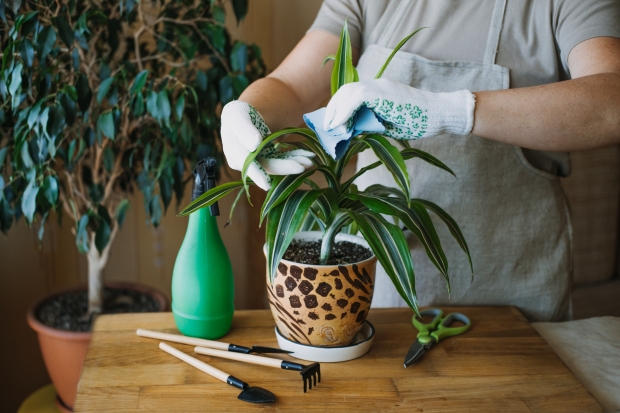
2. Clean by Hand with Soapy Water
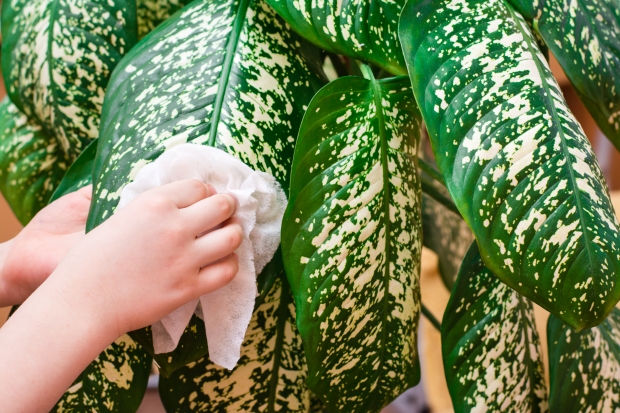
While this method may be tedious for plants with tons of tiny leaves, it’s one of the most effective cleaning strategies available for houseplants with large, sturdy leaves.
All you need is a non-abrasive sponge or a soft microfiber cloth and some dish soap. Mix ¼ teaspoon of soap within a liter of room temperature water, and dip the sponge in to dampen it. Carefully wipe down each leaf, rinsing off the sponge or cloth as it gets dirty. You may need to make several passes to get everything.
After going over the leaves with soap, rinse the entire plant with plain water to remove any residue. Allow to air-dry (to reduce mold growth) and return to its normal placement.
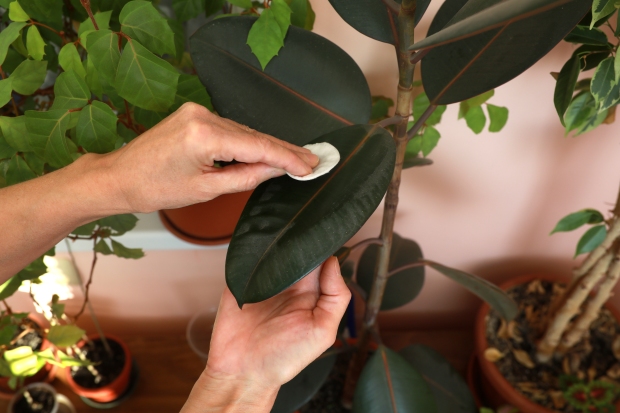
3. Dust with a Microfiber Cloth
Water isn’t necessary to clean houseplants. In many cases, a dry microfiber cloth works just as well. You’ll need to wipe down each leaf individually, so consider using a duster for larger plants.
This is an easy way to perform regular dusting maintenance without the hassle of wetting down your plants, and it’s the perfect solution for varieties like African violets that don’t do well when their leaves get wet.
4. Dunk the Plant in Water
Keep things simple when it comes to cleaning small plants by dunking them directly in water. Hold the base of the plant at soil level, tip the plant over, and gently swirl the leaves in a bucket.
It’s best to water the soil beforehand to keep the leaves from falling out of the pot. Plastic wrap will also work in a pinch. Just make sure the water is room temperature to avoid any shock to the plant.
5. Use Compressed Air (Best for Cacti and Succulents)
Compressed air makes for the best cleaning solution for prickly cacti and waxy succulents. You want to avoid excessive contact with water for these varieties, as it can cause their waxy coating to disintegrate, leading to faster evaporation that can compromise their health over time.
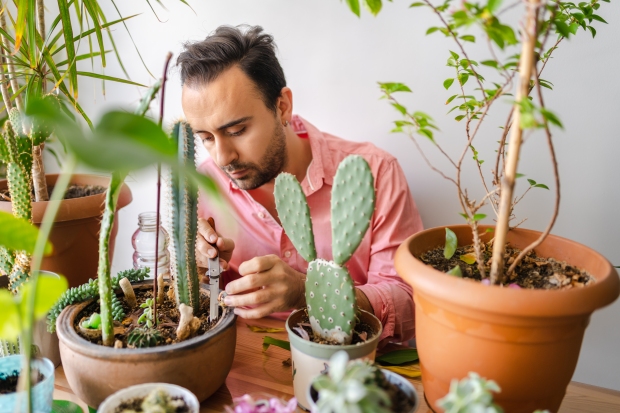
To use compressed air, position a canister at least a foot away from the plant and spray it with short bursts until dirt and grime gets dislodged.
Note: You may want to perform this cleaning ritual outdoors to ensure the dirt doesn’t end up scattered through your home.
6. Use a Paintbrush
For fans of detail work, it’s possible to remove dust and grime from houseplants with a paintbrush. This is a smart strategy for fuzzy varieties like ferns, flowers, and African violets. Choose a small, soft brush for delicate plants to ensure you don’t knock off all the leaves.
Extra Tips for Cleaning Plant Leaves
No matter what method you follow to clean your houseplants, it’s best to have the following tips in mind:
- Pay attention to the undersides of leaves, stems, and stalks. These areas tend to be missed!
- NEVER use water that is too hot or too cold. Anything other than room temperature will stress your plant unnecessarily.