

Tips to Prepare Birdbaths and Birdhouses
Birdbaths and birdhouses encourage wild birds to visit all year round, creating a birding garden.
An attractive birding garden isn’t just about food; because birdbaths and birdhouses encourage wild birds to visit all year round.
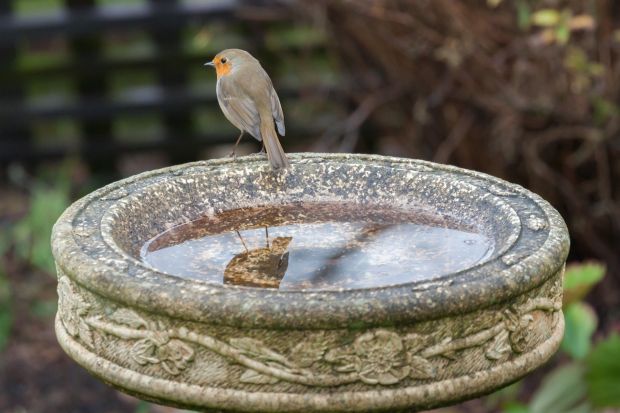
Robin on a bird bath
A birdbath gives feathered visitors a place to bathe and drink. Bathing loosens dust and parasites from their feathers, which makes preening easier and keeps plumage in tip-top condition.
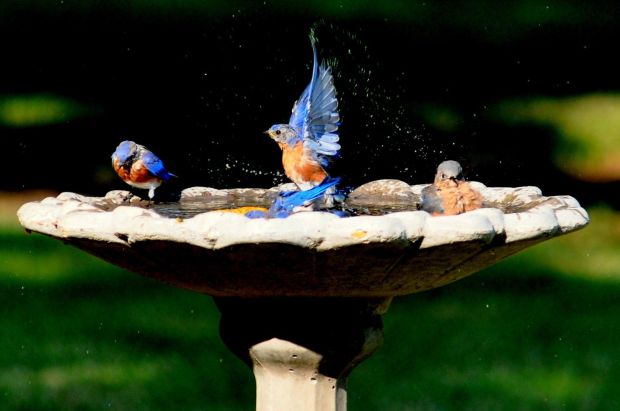
Bluebird bathing with joy
A birdbath provides valuable drinking water when the ground is frozen or parched dry. Just be sure to keep the bath clean by removing fallen leaves, change the water regularly, and scrub the sides free from algae (but take care any chemical cleaners are non-toxic to birds.
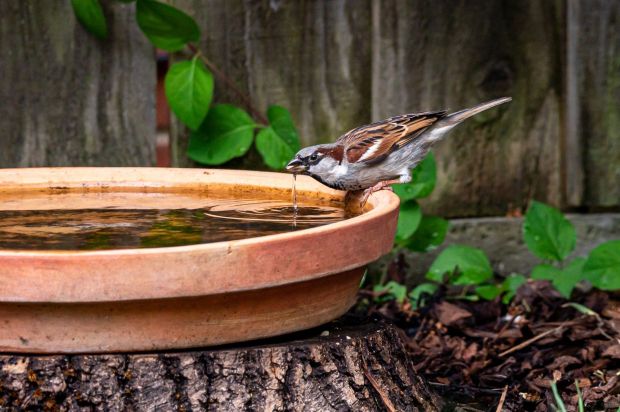
Male house sparrow, perched by the side of a bird bath drinking water
Most birds like a wide, shallow bath, placed about a foot above the ground (rather than on a tall pedestal). Moving water, such as a small fountain, attracts more birds and helps prevent the water from freezing in chilly weather. When making a choice, keep ease of cleaning in mind.
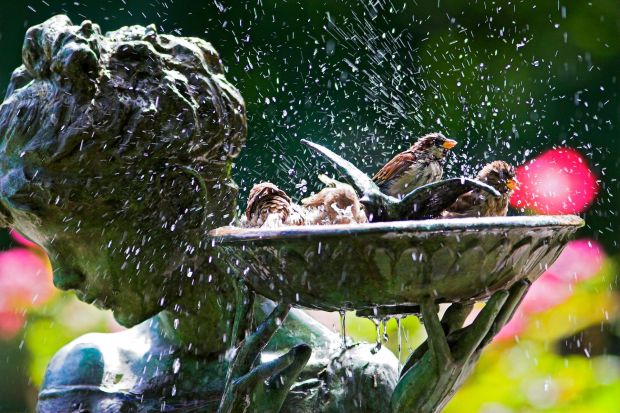
Sparrows playing and washing in a bird bath
Birds visit a birdbath to cool off so choose a shady spot, but somewhere they have a good view of what’s going on around them. Birds enjoy having perches nearby, on which to sun themselves after a bath. Putting the birdbath near a hosepipe makes topping up the water and cleaning much easier.
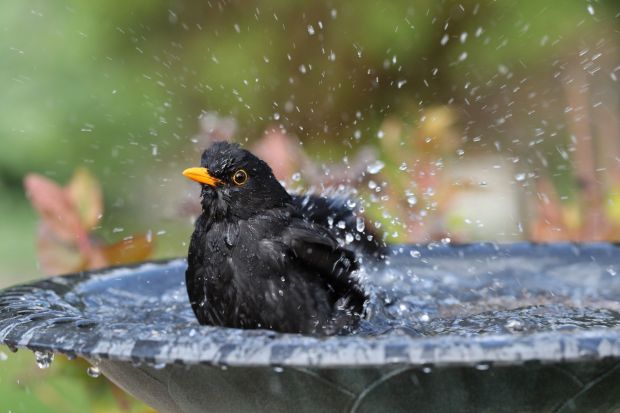
A male Blackbird enjoying a wash in a bird bath
Just as finches prefer nyjer seeds to sunflowers, so different bird species have preferred nesting places and houses. This gives the keen birder the opportunity to attract a favorite bird with their dream birdhouse.
A wren peeking out of a birdhouse
Broadly speaking, there are three types of birdhouses: the nesting box, colony house, and platform.
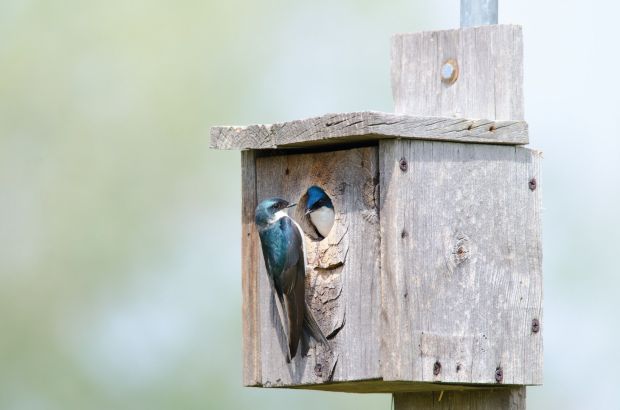
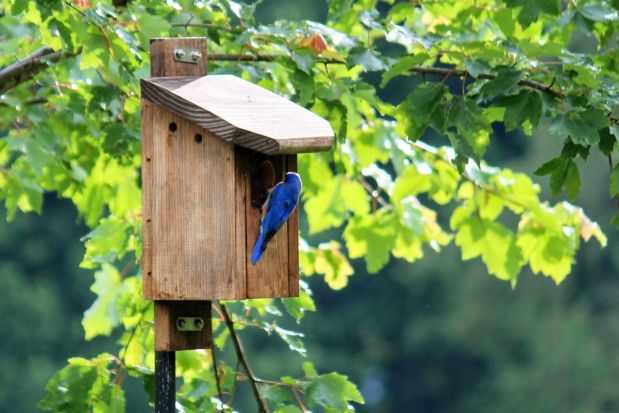
These are cozy wooden cubes, often with a pitched roof, and a bird-sized entrance hole. The size of the entrance is important, especially for tiny birds such as wrens, since a small hole keeps out larger, more aggressive species. Nesting boxes are ideal birds such as the bluebird, chickadee, finches, flycatcher, nuthatches, owls, woodpeckers, and wrens.
A couple of tree swallows in a nesting box
Some yard stalwarts such as the cardinal, robin, and dove are platform nesters, along with blue jays, barn swallows, and phoebes. Their ideal home is a platform floor with a lip around it, so think shelf or ledge. These are best attached under the eaves or in an open porch to create cover from the elements.
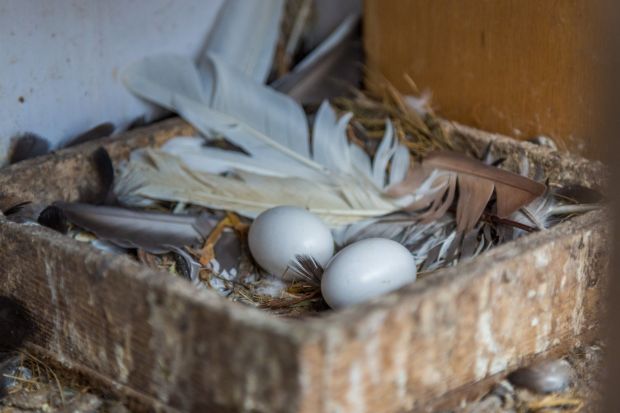
White pigeon eggs lay on the nest
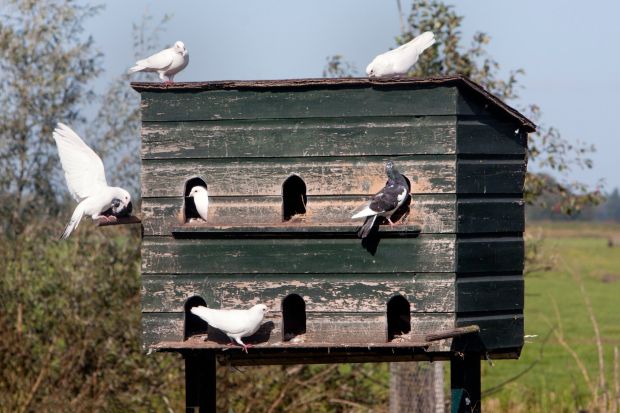
A dovecote is the classic example of a colony birdhouse, favored by birds that love to live in groups or flocks. Think multi-story living with individual apartments. Alternatively, make a simple colony house by stringing up gourds. These attractive birdhouses make an eye-catching feature in any yard for purple martins, doves, weaverbirds, and some blackbirds.
Dovecote and pigeons live in a colony birdhouse
Key to finding the right location for a birdhouse is to understand the habits of the birds you wish to attract.
For example, a wren, chickadee, and tree swallows prefer a birdhouse attached to a tree or wall, around three to ten feet (0.9-3.0 meters) above the ground. Chickadees appreciate a covering of greenery, whilst the bluebird prefers a sunny spot, four to six feet (1.2-1.8 meters) from the ground.
Bluebird perched on wood bird house
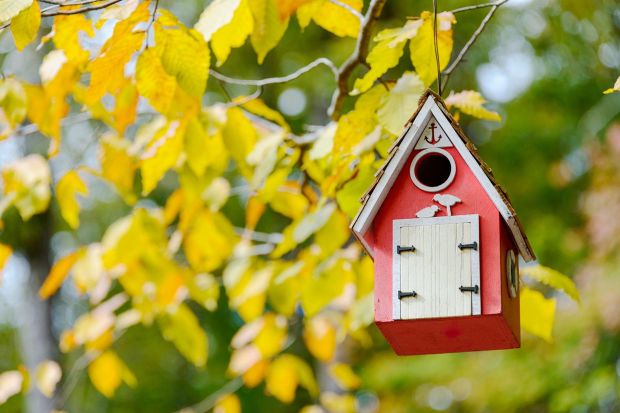
To attract a lively colony of purple martins, choose a spot at least 40 feet (12.2 meters) away from trees or buildings. These birds like to be up high, around 10-15 feet (3.0-4.6 meters) from the ground. However, avoid attaching the house to a tree branch as this makes it vulnerable to visiting cats.
Red birdhouse hanging on a branch
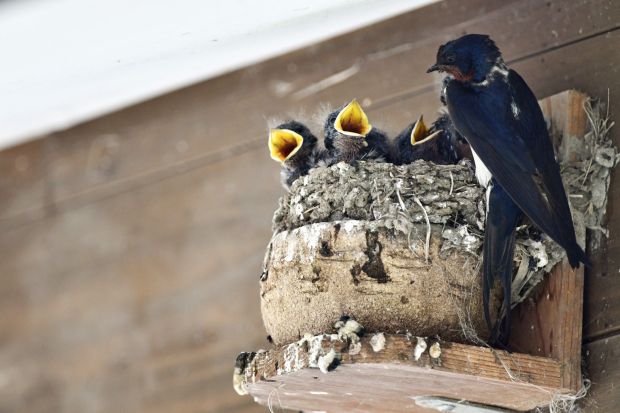
As for platform nesters, such as robins or phoebes, a ledge with a view is the order of the day. Site the platform beneath the eaves, out of the prevailing wind, to provide a snug nesting spot too cozy to resist.
A nest for swallows under the eaves
Building a great birdhouse isn’t hard with these tips.
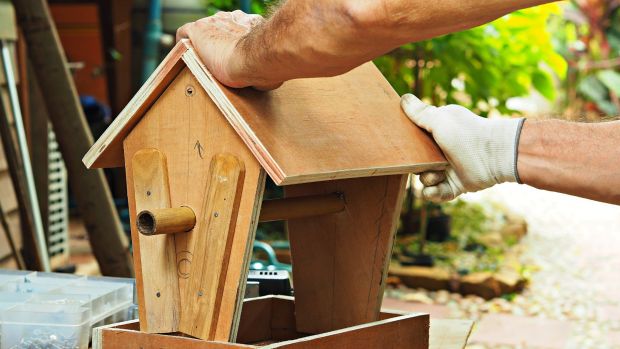
1. Construct the box from hardy timbers, such as redwood or cedar. Ensure the walls are at least ¾ inch thick to prevent heat buildup in the summer.
2. Keep the air fresh but avoid letting in the weather by placing half-inch diameter ventilation holes beneath the roof overhang.
3. Avoid painting the birdhouse (birds prefer the natural look), but especially avoid dark colors as these intensify summer heat.
Building wooden birdhouse
4. Research the species you wish to attract, to find out the ideal size of the entrance hole.
5. Also, don’t add a perch as these make it easier for predators to raid the nest, and consider mounting a short tube (or predator guard) in front of the entrance for added home security.
Birdhouse with a predator guard
Tips to Prepare Bird Food That Attracts Birds
Birds need to consume high amounts of calories every day to survive, and a garden with right seeds and proper feeder helps wild birds to thrive.
Birds need to consume mind-boggling amounts of calories every day just to survive, and feeders help wild birds to thrive.
For example, a chickadee eats one-third of their body weight per day, whilst a hummingbird burns off around 10,000 calories in 24 hours (that’s four times more than the average man!). Providing easy access to seeds is a simple but important way to support native birds and help them flourish.
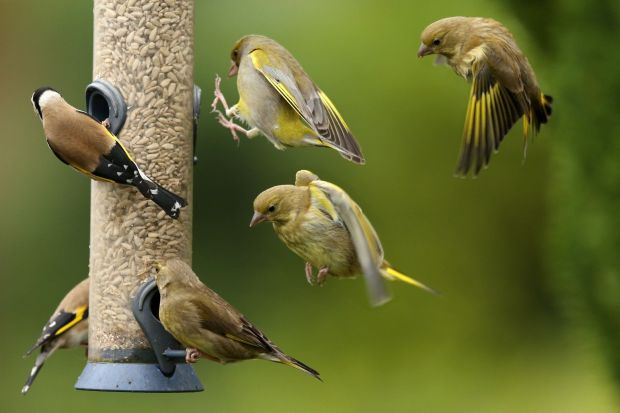
Greenfinches and Goldfinches on and around a bird feeder
Toss into the mix the energy demands of raising chicks, long migratory flights, or even molting and you see why bird feeders matter. It could be vital all year round, from the harsh weather of winter to the baked hard ground of summer, because life’s tough for wild birds.
There are many different types of bird feeders, and the right choice depends on the bird species and what they eat.
This is a tray or platform raised above the ground. The bird table is popular for a reason, in that it’s suitable for all foods and accessible to most birds. The traditional bird table is mounted on a pole, but there is also a wide variety of hanging platforms available, with the advantage of being harder for predators to access.
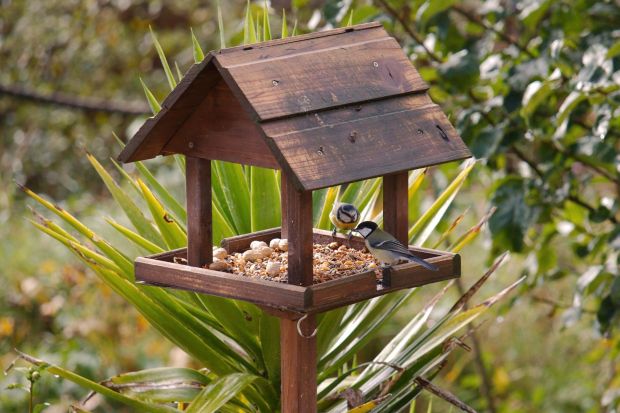
Garden birds feeding from a bird table
Simply place a tray feeder are placed on the ground and to limit the mess when feeding ground-dwelling birds. Just add corn, peanuts, or sunflower seeds to attract doves, ducks, pheasants, and quail.
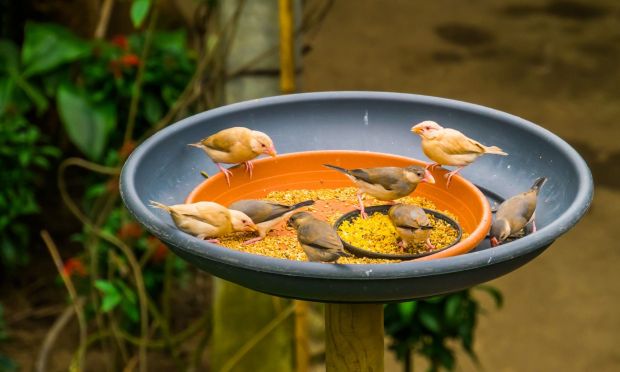
Small birds sitting in a feeding tray
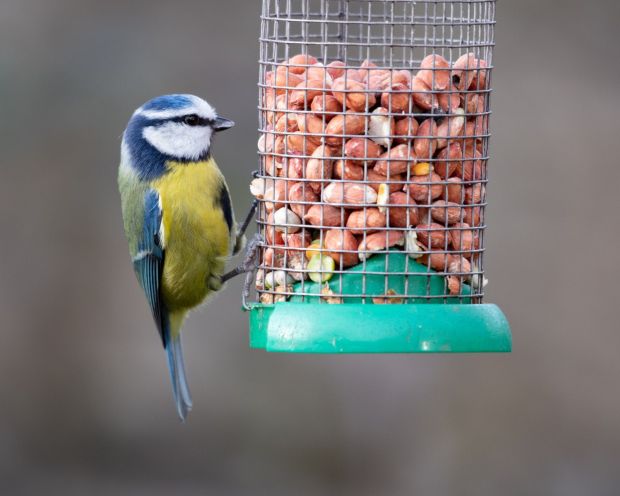
As the name suggests, tube feeders are a hanging tube (to contain the seed), with feeding ports for the birds. When made from metal mesh, tube feeders allow birds to hang in a natural feeding position. Birds likely to visit include chickadees, finches, sparrows, titmice, and even some larger birds such as jays.

Coal tit feeding from a tube feeder
These are a similar design to tube feeders but made from a fine gauge mesh. This contains the small nyger seeds and allows birds with small beaks, such as finches, to get at the seeds.
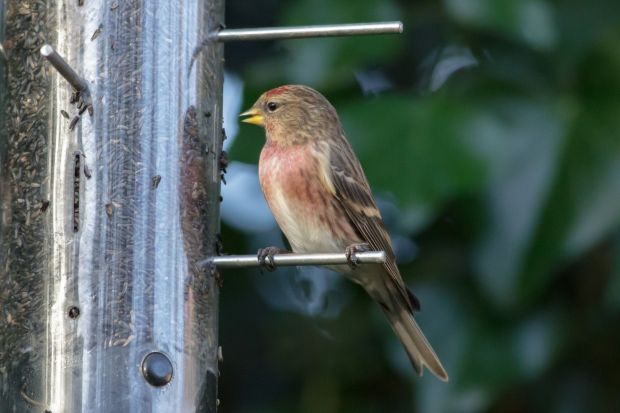
Lesser redpoll feeding from a Nyger feeder
Hopper feeders are a container that stores enough seed for several days. The food is accessed via a tray or feeding ports at the bottom. Hoppers have the advantage of keeping the seed dry in wet weather, but on the downside may encourage condensation and spoilage. Birds found at hopper feeders include buntings, cardinals, chickadees, finches, grosbeaks, jays, and titmice.
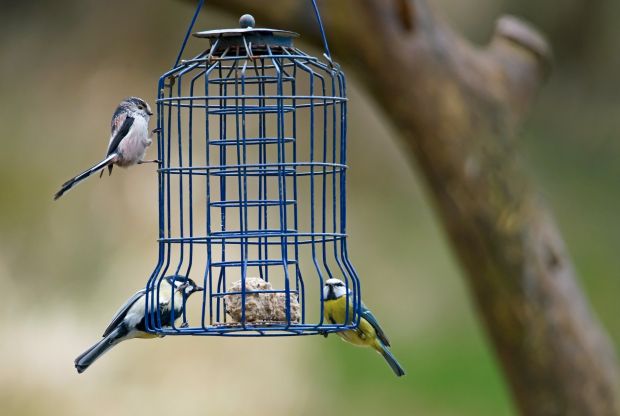
Reat tit, long tailed tit and blue tit on a bird feeder
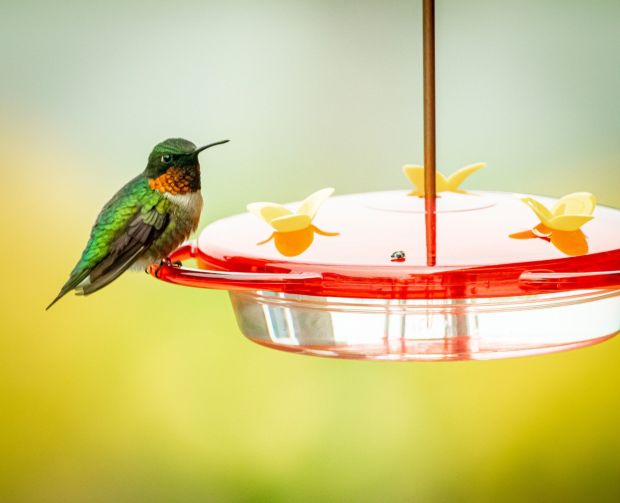
This feeder is different in that they hold liquid nectar for hummingbirds or oriels to drink via sipping ports. Nectar feeders can be hung from tree branches, mounted on hooks, or even attached to a window.
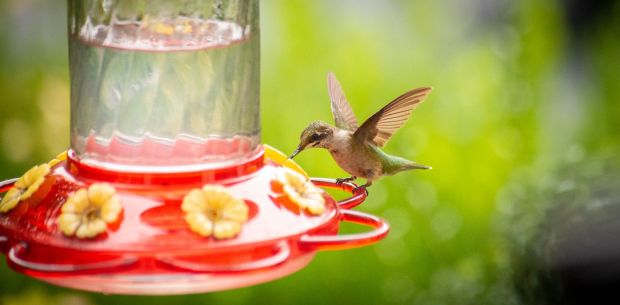
A juvenile hummingbird approaches a nectar feeder
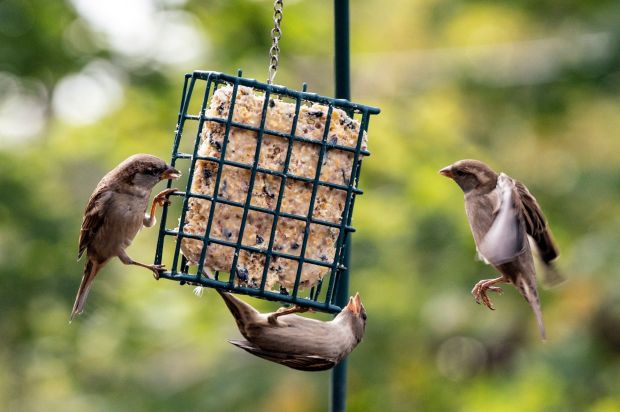
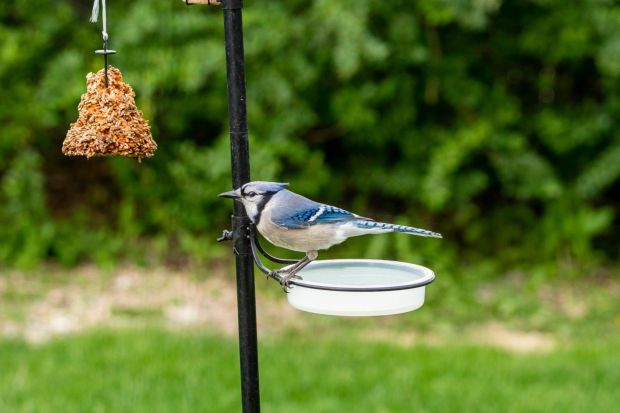
To attract woodpeckers and nuthatches, suet (beef or sheep fat) feeders are the way to go. These are a hanging mesh basket that allows the bird to peck at the suet inside. The bird can comfortably grip the feeder, like a woodpecker pecking at a tree trunk.
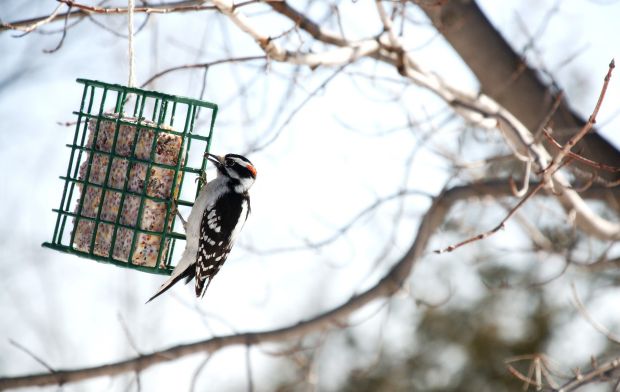
A downy woodpecker feeding from a suet feeder
Not all seeds are suitable for all birds and indeed offering cheap bird food bulked up with fillers may harm certain species.
Healthy seed means healthy birds, so offer good quality seeds that are fresh and free from spoil. Avoid mixes bulked up with cheap fillers such as lentils, split peas, milo (birds rarely eat it in the wild), rice, and grains. Also, avoid foods containing crushed dog biscuits, as these should not be eaten dry.
Check the mix looks fresh and is free from dust, mold, insects, empty shells, or debris; and that the seeds have not been treated with insecticides which are toxic to birds.
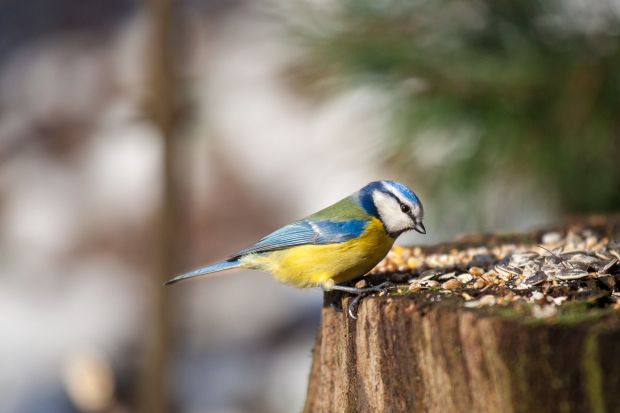
A blue tit and its food
Different species prefer different seeds, and offering a variety increases the range of feathered visitors to the table. Here is a brief guide:
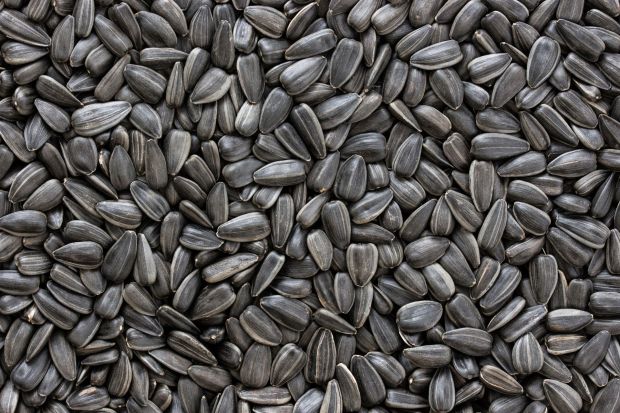
These high-fat, slim seeds with an easy-open husk are firm favorites with blackbirds, cardinals, chickadees, doves, finches, grackles, grosbeaks, juncos, nutcrackers, nuthatches, and house sparrows.
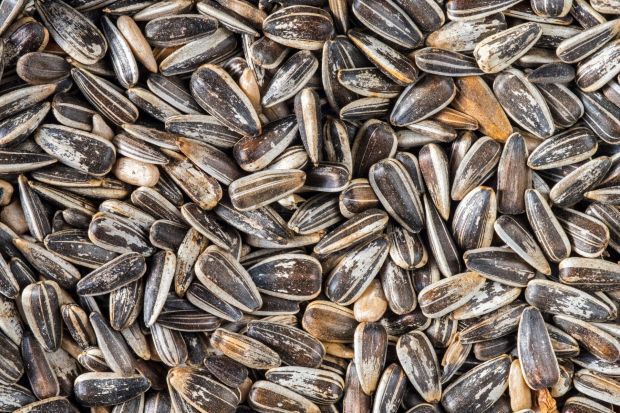
An excellent all-round seed just like the black sunflower seed, but the shell is harder to crack. This may discourage smaller birds, such as finches and sparrows from feeding, but remain hugely popular with cardinals, grackles, jays, and woodpeckers.
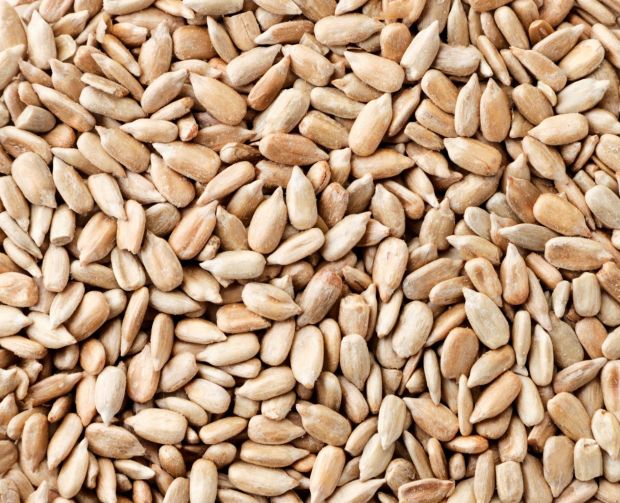
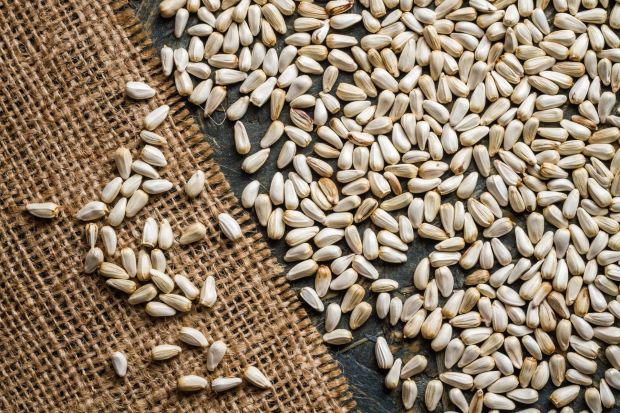
Sunflower seeds without a tough outer hull are a valuable easy-access, high-fat food that attracts a wide variety of birds including doves, goldfinches, titmice, and towhees, to name but a few. The lack of a shell also makes for less mess on the ground.
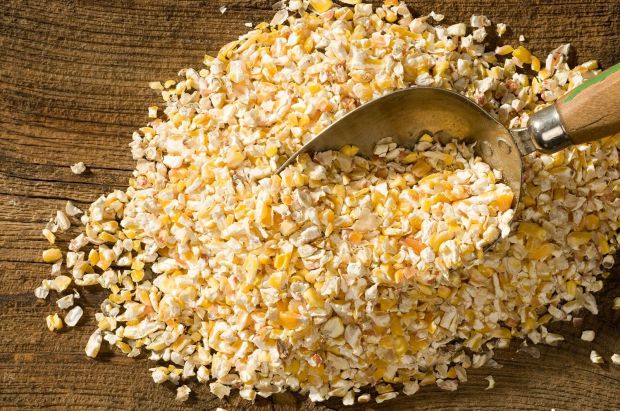
Whole kernel corn is too big for smaller birds to eat but great for their larger cousins such as crows, ducks, grackles, jays, and ravens. Cracked corn, as the name suggests, is smaller, making it suitable for blackbirds, cowbirds, juncos, quail, ravens, starlings, and towhees.
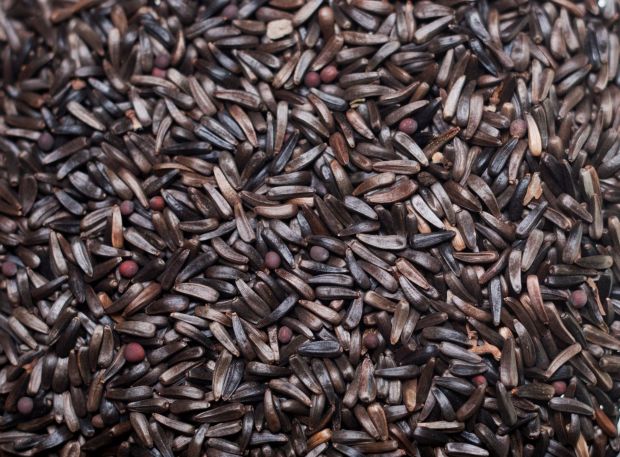
Nyger (thistle) seeds are a small black seed, imported from India or Ethiopia. These seeds spoil easily so it’s important to source fresh, heat-sterilized varieties. Use these to attract birds such as the chickadee, doves, goldfinch, house finch, purple finch, and pine siskin.
Peanuts have a lower fat content than sunflower seeds and are ever popular as bird food. Shell-on peanuts are only suitable for birds with powerful beaks such as magpies, crows, and some woodpeckers. Hulled peanuts should only be fed unsalted, and are loved by bushtits, chickadees, cowbirds, crows. grackles, magpies, and ravens.
Small but with a surprisingly tough shell, this power-packed seed is too much like hard work for grackles and starlings who prefer easier pickings. However, safflower seeds are nourishing for more determined birds including many finches, cardinals, chickadees, nuthatches, and titmice.
Although not a seed, suet deserves a special mention as a good source of energy for many wild birds such as chickadees, nuthatches, and woodpeckers. Just be careful to remove any plastic netting before putting the suet in a feeder, as birds may become tangled.
Sugar water in a nectar feeder attracts hummingbirds and orioles. Commercial nectar formulations are available, but a home-made version using one-part white sugar to four parts water is just fine.
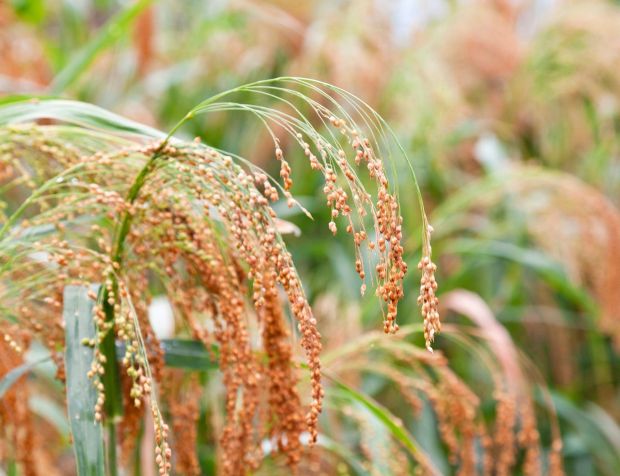
White proso millet is the equivalent of millet caviar and much loved by ground-feeding birds, such as cardinals, doves, juncos, sparrows, and towhees. Try to avoid red millet, which is inferior and may go uneaten.
When choosing the best spot, think like a bird looking for shelter, peace, and safety. Choose a quiet, sheltered spot in the yard, where the birds can to feed undisturbed.
Also, try mounting the feeder on a shepherd’s hook or similar, making it more difficult for predators to reach them.
Birds are creatures of habit and will become confused if an existing bird feeder is moved. To attract yet more birds to the yard, place additional feeders in new locations.
Your _COMMON_NAME_ is growing slowly and leaves are dull and limp? Time to fertilize it. A water-soluble fertilizer with balanced NPK or high nitrogen formule is a good choice. Providing nitrogen helps plant leaves grow stronger and produce vivid green color.

Water-soluble fertilizers generally include ready-to-use,water soluble granules,Concentrate Liquid Fertilizer, etc. Ready-to-use type can be used directly, while water soluble granules/Concentrate Liquid Fertilizer needs to be diluted first. Simply spray water-soluble fertilizers on the leaves, especially the large ones. It will be absorbed through the leaves. Alternatively, you can add some fertilizer to the water when you water the soil, and the plants will absorb it through the roots.

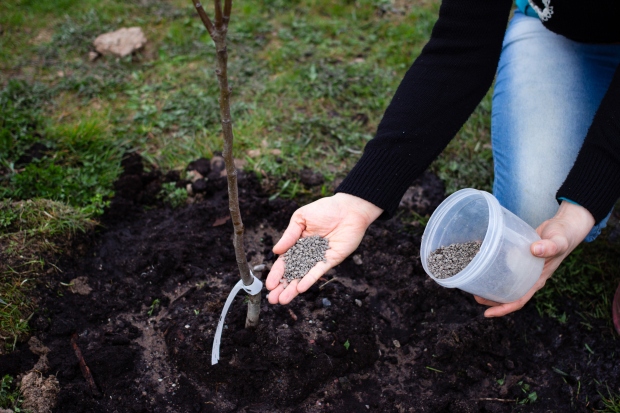
Slow-release fertilizers generally include Smart-Release granules/spikes and compose. Slow-release fertilizers release fertilizers slowly, providing nutrients to plants continuously. When one plant are newly planted or repotted, slow-release fertilizers can be added to the soil as a basal fertilizer. When the plant grows stably, bury the slow-release fertilizer in the soil around the plant regularly or simply sprinkle the slow-release fertilizer on the soil surface, and the fertilizer will be released slowly with water.

Your _COMMON_NAME_ isn’t blooming as it should be? Or just few blooms with little buds? Maybe its time to fertilize. A water-soluble fertilizer with high phosphorus formule would be a good choice. Providing phosphorus helps plants to produce more, larger flowers with longer period of time.
Water-soluble fertilizers generally include ready-to-use,water soluble granules,Concentrate Liquid Fertilizer, etc. Ready-to-use type can be used directly, while water soluble granules/Concentrate Liquid Fertilizer needs to be diluted first. Simply spray water-soluble fertilizers on the leaves, especially the large ones. It will be absorbed through the leaves. Alternatively, you can add some fertilizer to the water when you water the soil, and the plants will absorb it through the roots.
Slow-release fertilizers generally include Smart-Release granules/spikes and compose. Slow-release fertilizers release fertilizers slowly, providing nutrients to plants continuously. When one plant are newly planted or repotted, slow-release fertilizers can be added to the soil as a basal fertilizer. When the plant grows stably, bury the slow-release fertilizer in the soil around the plant regularly or simply sprinkle the slow-release fertilizer on the soil surface, and the fertilizer will be released slowly with water.
“Like all other plants, _COMMON_NAME_ need nutrients to help them grow healthily and beautifully, Surprisingly though not many people think they need fertilizer for their plants. However, most plants do not have a high demand for fertilizer. Feed them with suitable amount or it might burn the root of your _COMMON_NAME_. A slow-release fertilizer with balanced NPK or high potassium formula is always a good choice. Providing potassium helps plants to grow stronger and blossom eye-catching flowers.”
Water-soluble fertilizers generally include ready-to-use,water soluble granules,Concentrate Liquid Fertilizer, etc. Ready-to-use type can be used directly, while water soluble granules/Concentrate Liquid Fertilizer needs to be diluted first. Simply spray water-soluble fertilizers on the leaves, especially the large ones. It will be absorbed through the leaves. Alternatively, you can add some fertilizer to the water when you water the soil, and the plants will absorb it through the roots.
Slow-release fertilizers generally include Smart-Release granules/spikes and compose. Slow-release fertilizers release fertilizers slowly, providing nutrients to plants continuously. When one plant are newly planted or repotted, slow-release fertilizers can be added to the soil as a basal fertilizer. When the plant grows stably, bury the slow-release fertilizer in the soil around the plant regularly or simply sprinkle the slow-release fertilizer on the soil surface, and the fertilizer will be released slowly with water.

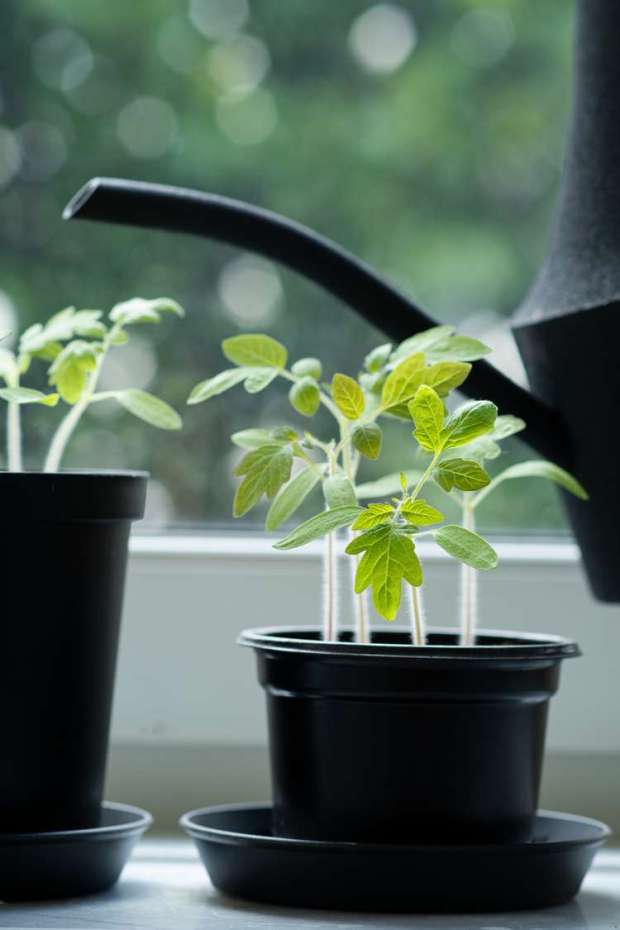
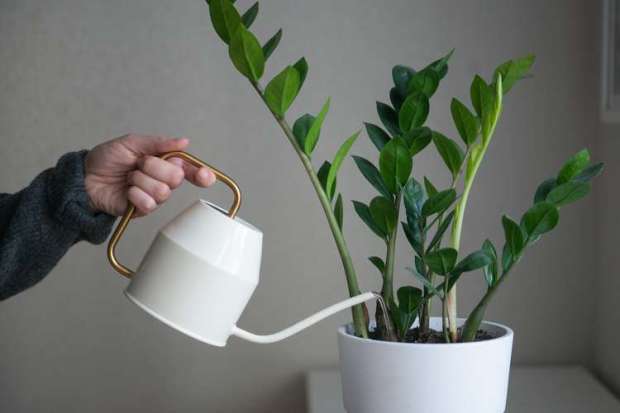
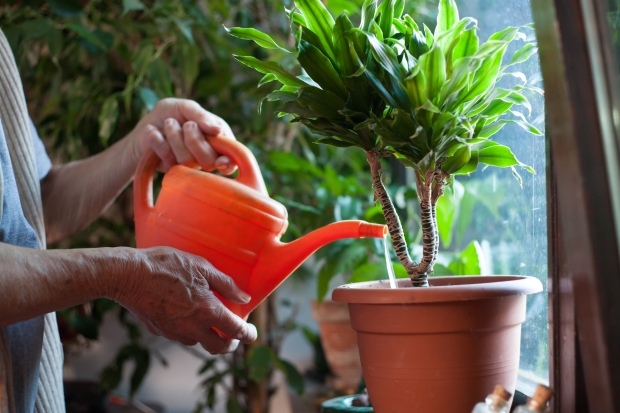
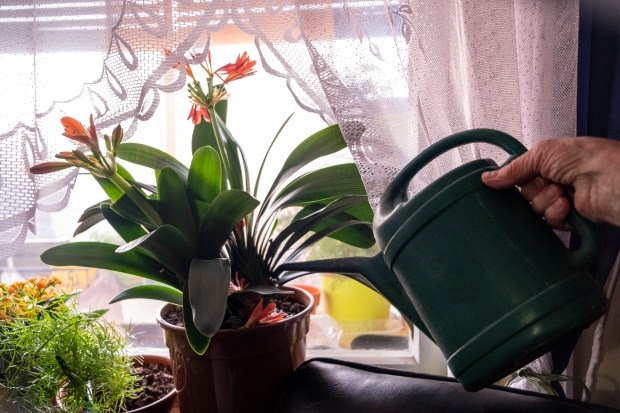
Watering
How to Illuminate Your Garden at Night
When the sun goes down for the day, it doesn’t mean you need to head inside. Adding creative lighting to your garden in the following ways allows you to enjoy your outside space after dark.
For many people, their backyard garden is a place to sit and relax, to unwind and enjoy the peace and beauty of their outdoor space. Adding light sources to your landscape lets you enjoy your plants regardless of the time. Sitting in your garden in the evening hours, with everything bathed in the soft glow of lighting, might become one of your favorite ways to spend your free time.
There are many different ways to illuminate your garden that fit your decor style and budget. Choose to create casual elegance with string lights or lanterns or a more modern aesthetic with carefully placed walkway lighting and stylish lamp posts. Most lighting fixtures are available as solar-powered options or must connect to an electrical outlet.
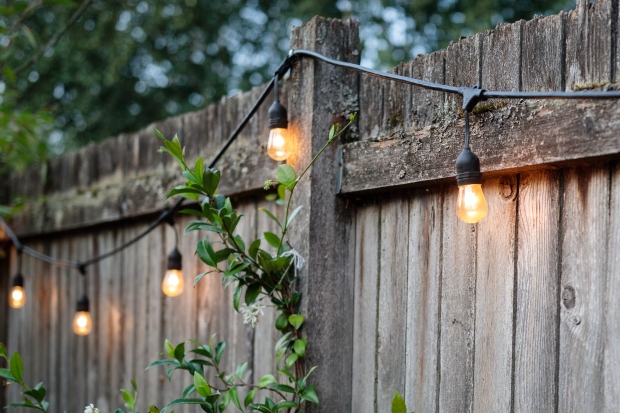
A simple way to light your garden is by stringing lights along your wooden privacy fence. String lights come in many bulb shapes, sizes, and colors and are easy to install with hooks or even nails in the cross beams. For an extra bit of fun, look for light sets with a controller that adjusts their brightness or allows them to twinkle.
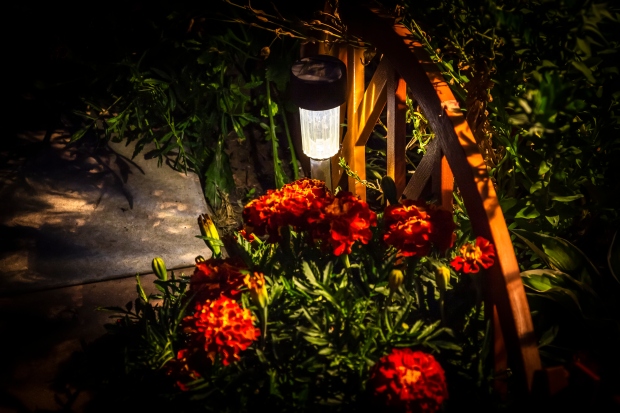
A common way to illuminate your garden is by placing landscape lights along a paved walkway or garden path. These shorter lights add just a touch of light low to the ground and bring attention to beautiful stonework or pretty flowering groundcover plants. You can buy them in various shapes and sizes, and they are available in models that are easy to move around or can be permanently installed.
Hanging Chinese lanterns from your trees, shrubs, or fence brings a festive flair to your garden. Add inexpensive colored lanterns to decorate for an upcoming themed party, or go with simple white lanterns for an elegant mood. Choose from paper lanterns for mild climates or purchase weather-resistant fixtures to keep out the rain and wind.

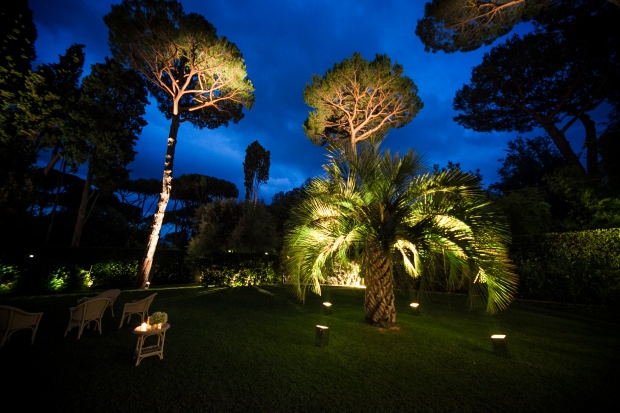
To highlight beautiful trees in your yard and garden, use uplighting to cast light from the ground up into the foliage. Palm trees and other ornamental trees with intricately textured bark look beautiful at night when showcased with ground lighting.
Lights can be hardwired to a switch inside the house, or opt for ones that automatically turn on at dusk for a hassle-free light source.
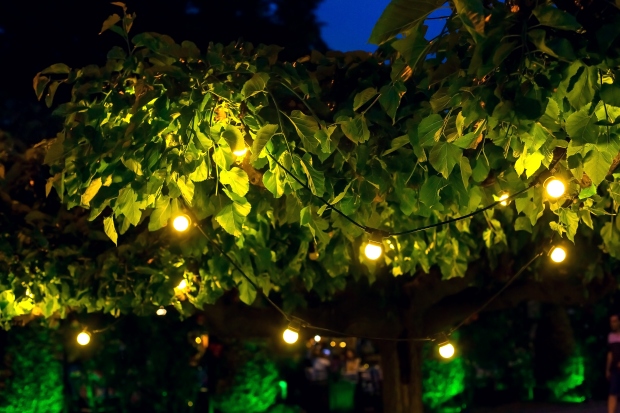
Backyard trees provide the perfect backdrop for simple garland lighting. String twinkle lights or Edison lights from the bottom tree branches for overhead lighting. They add a quaint light source to your space that can take on the appearance of lightning bugs flitting through the air.
If you’re looking for a romantic, bohemian light source, beautiful glass jars with candles are a great, inexpensive idea for garden lighting. You can purchase jars in many sizes and even paint them with high-heat paint if you want to add color to your space. Once you set the jars in the desired locations, pop a regular candle or an LED-flickering light into them for a soft glow.

Upright torches help to illuminate your garden space while also keeping pesky mosquitoes and other flying insects at bay when filled with insect-repelling fuel. Choose from the iconic bamboo torches to bring a tropical feel to your garden, or buy sleek wrought-iron and glass fixtures to add an air of modernism and sophistication.
Insect-repelling torches can be placed around a patio during parties or backyard barbecues and then moved back into the garden when you aren’t entertaining.

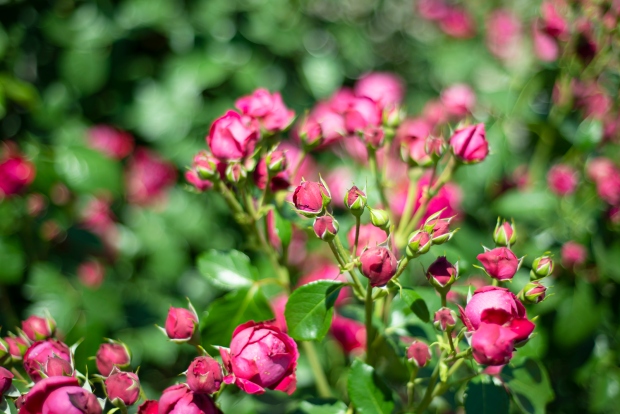
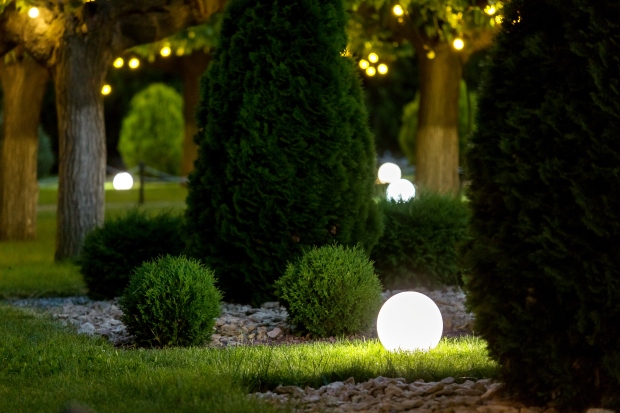
Globe lights are available in many colors and sizes to create a soft, ambient glow throughout the garden. Choose from frosted globes or hand-blown glass orbs in bright, bold colors, depending on your taste.
They look beautiful paired with tall ornamental grasses or tucked in along well-manicured hedges, bringing a new shape and texture to the landscape. Add a variety of sizes to complement different plant heights, or use one standard fixture throughout the garden for uniformity.
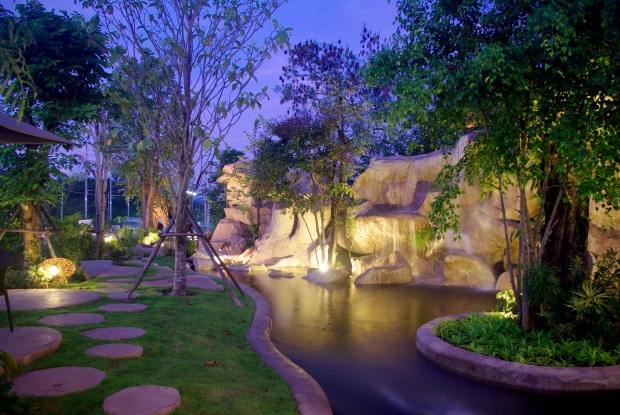
A water feature in your garden — whether it be a fountain, koi pond, or cascading waterfall — is already a beautiful focal point in your landscape. Adding lighting around it elevates it to a show-stopping piece enjoyed both day and night.
Install a combination of short solar lanterns or path lights around the edge of the pond and a spotlight that shines up onto the fountain or waterfall to bring it into focus. You can also sink waterproof lights into the bottom of the pool to illuminate fish, showcasing their bright colors after dark.
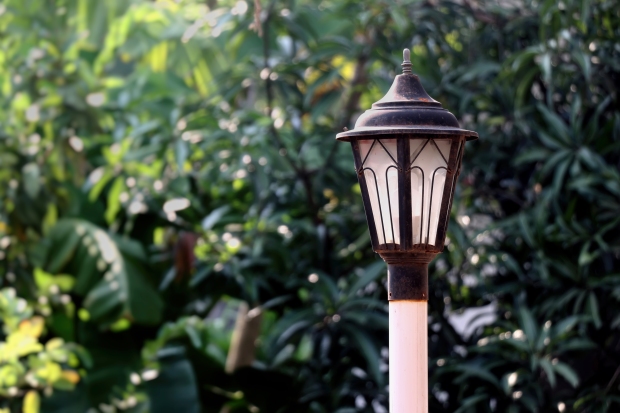
To create the upscale look and feel of an elegant urban garden, install upright lamp posts along your walkway or tucked in along your flowering shrubs. Choose from modern stainless steel designs or look for old-fashioned lamps to bring a feel of an 1800s gas-light district to your backyard.
No matter your style or budget, there are many different ways to bring your garden to life at night with lighting! Illuminating your outdoor space is a great way to enjoy the outdoors after hours.