Black Locust
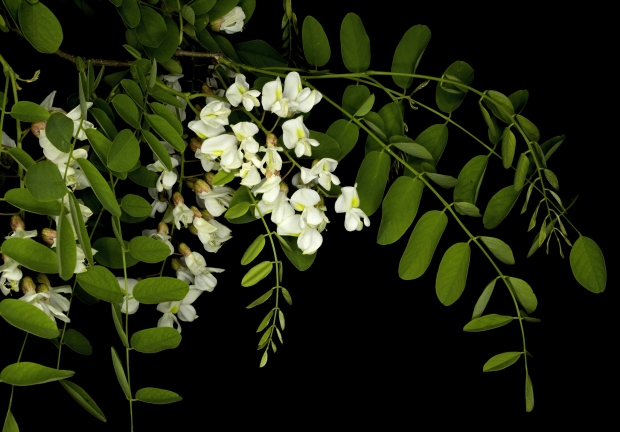
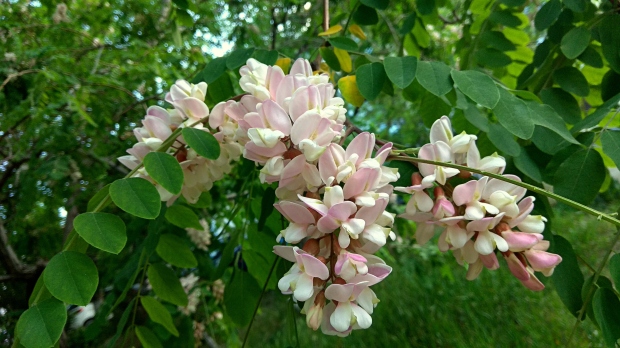
From May to June, the distinctive Robinia pseudoacacia is easily identified by the fragrant, long clusters of creamy white flowers that dangle from its angular branches. A member of the pea family, black locust tree flowers are considered botanically “perfect,” meaning each blossom contains both stamens and carpels — male and female reproductive parts.
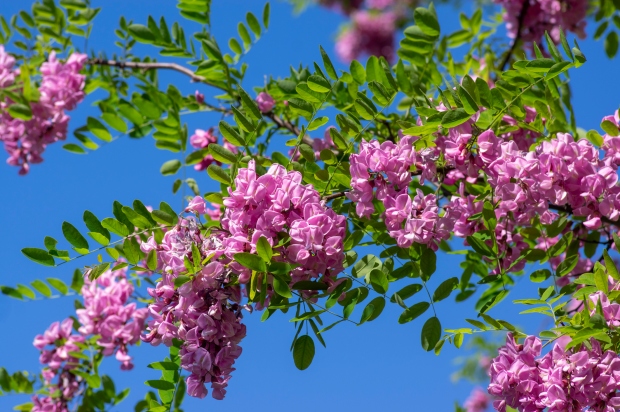
Native to North America, the black locust tree is now found throughout Europe and parts of Asia, having been imported for its high-value, rot-resistant wood. The profuse, creamy-white bloom clusters range from 6 to 10 inches long, with some cultivars featuring lavender or purple blossoms. Some see the tree a symbol of strength, and the flower is associated with elegance.
Black Locust Trees in History
The species name Robinia honors Jean Robin, the royal French gardener who first introduced the black locust to France in 1601. With their sharp thorns and feathery leaves, the trees resemble African acacias, despite being unrelated — hence the name “pseudoacacia” or false acacia. Today, it is one of the most widely cultivated hardwood trees in the world.
Historians speculate that the black locust may have helped America win independence in the War of 1812. British ships were constructed with oak, including the pegs joining timbers together. The American fleet used Robinia pegs, which were better able to withstand assaults from cannonballs. So, the theory goes, the robustness of the American fleet led to victory, and American independence.
Uses for Robinia Pseudoacacia
Black locust timber has a reputation for toughness and durability, and is said to be able to resist rot for up to 100 years. The density, strength, and rot resistance make this wood extremely useful, and can be found in many outdoor uses including playground structures, railroad ties, tool handles, and fence posts.

Despite being known as an invasive species in the landscape, black locust is an ideal species for use in land restoration. Like all legumes, its roots fix nitrogen in depleted soils and can be used to regenerate depleted or damaged soils. Because it is extremely hardy and requires minimal maintenance, the black locust is often seen in roadside planting as well as in reclamation projects.
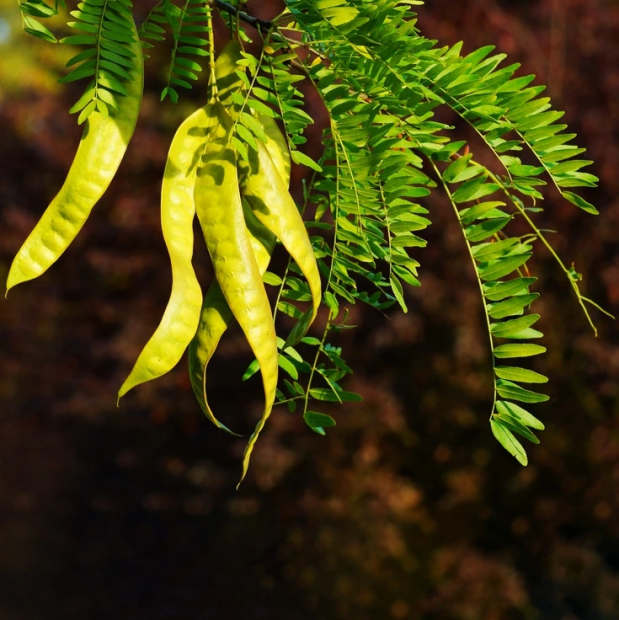
But the black locust tree has value beyond its wood: The flowers are prized for their culinary uses. Traditionally battered and fried as fritters, the blossoms can also be eaten raw as a garnish or used as a lovely addition to salads. Some creative brewers even use them to make mead. However, take note: Every other part of the black locust is toxic, from the bean pods to the leaves.
Beekeepers around the world cultivate Robinia pseudoacacia for the pale, fragrant honey that bees produce during its flowering season. In France, Hungary, and Italy, it is known and labeled as “Acacia honey” or “Robinia honey.” Aside from commercial honey production, the flowers also provide a valuable source of food for wild bee populations.
Popular Robinia Cultivars
While the most common Robinia variety is the thorny, tall version with white blossoms, there are other cultivars that are sometimes used for ornamental purposes.
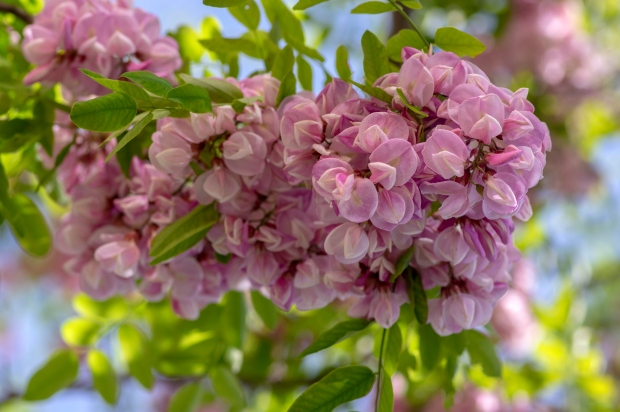
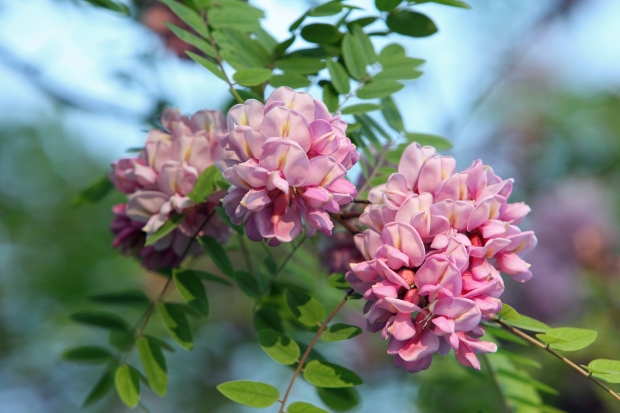
- Decaisneana has light rose-pink flowers and small to no thorns.
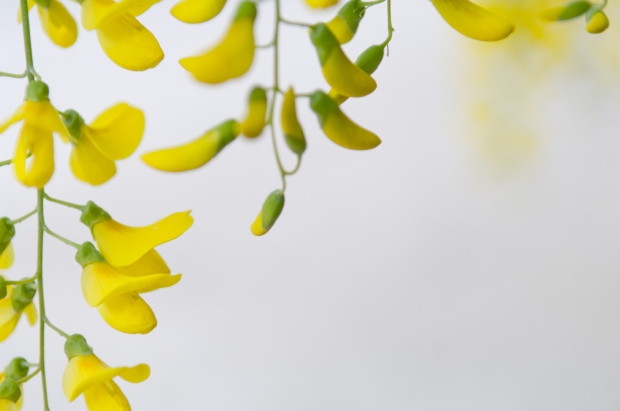
- Frisia features bright yellowish-green leaves and red thorns and is used as an ornamental tree
- Purple robe has long-lasting dark pink flowers and deep, reddish-bronze new growth
- Tortuosa is a smaller variety with curved and twisted branch forms
- Unifoliola is a shorter variety with sparse leaves and fewer thorns
Can I Grow Robinia Pseudoacacia Successfully?
Black locust trees are extremely easy to cultivate. The tree can be propagated through cuttings, suckers, root cuttings, or division. It can also be grown from seed, but the hard seed casing may need to be scarified before planting. The only recommended maintenance Robinia needs is the removal of aggressive suckers growing from around the base. If these are not kept under control, new saplings can develop into a dense, weedy copse of scraggly growth at ground level.
Size: 30’–80’ tall, up to 30’ wide
Hardiness: USDA Hardiness Zones 4-8
Light Duration: Full sun
Soil: Loose, well-drained soil, but is highly adaptable
Blooming Time: Mid May to early June