Can I Keep Plants in My Bedroom?
There’s an urban myth that keeping plants in your bedroom is harmful, but we’re here to debunk that inaccuracy. Plants have many benefits, making them a fantastic addition to your nighttime space.
Just like humans, plants give off carbon dioxide. During respiration, a process that is almost the opposite of photosynthesis, part of the very carbon dioxide they take in for photosynthesis is returned to the atmosphere. It was believed for quite some time that this could cause carbon dioxide poisoning.
Fortunately, this isn’t the case.
While most plants release carbon dioxide at night — because photosynthesis halts when there is no sunlight — the amount given off isn’t enough to be harmful. Some plants perform a particular type of photosynthesis called Crassulacean Acid Metabolism (CAM), where they exchange gases at night and photosynthesize during the day.
So let’s talk about why it’s good to have plants in your bedroom, when you should avoid them, and some of the best types for bedroom decor.

What Are the Benefits of Having Plants in the Bedroom?
Plants Help Improve Your Sleep
It’s known that being close to plants and taking care of them helps reduce stress and anxiety. This is an excellent reason for having them in a space where you want to feel peaceful and tranquil. They do have a couple of specific reasons for how they even help you sleep better.
Higher Oxygen Levels
The cells throughout our body require oxygen to create energy and keep us going. A boost in atmospheric oxygen levels gives extra energy to our mind and body, allowing us to perform at higher levels and feel better overall.
During the day, plants give off a considerable amount of oxygen while simultaneously reducing the carbon dioxide levels in the air. We know this switches at night — hence the urban legend about not keeping plants in the bedroom — but the additional oxygen carries over through the nighttime, helping our bodies. The particular plants that exchange gases at night further increase oxygen levels.
CAM plants:
- Areca palm
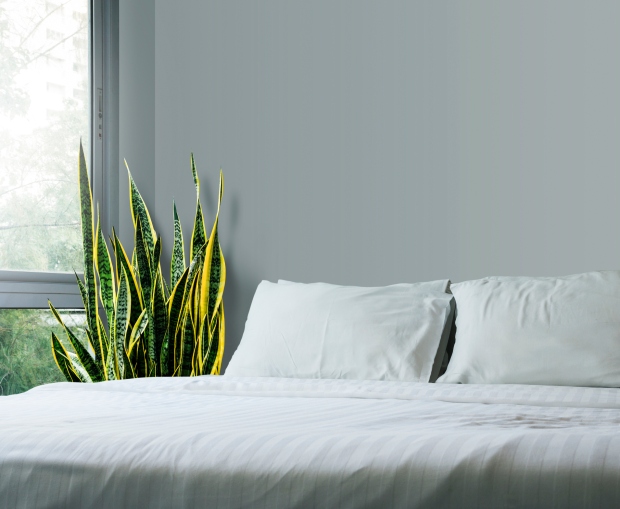
- Snake plant
- Tulsi
- Aloe vera
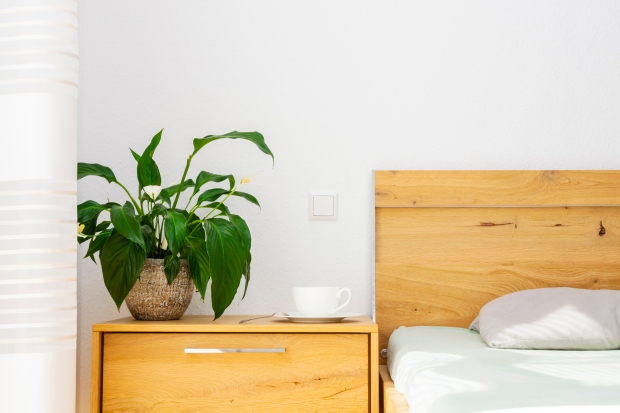
- Peace lily
- Spider plant
Sleep-Inducing Fragrances
Research has proven that scents can influence the mind and help ease stressful thoughts. They stimulate your olfactory senses when you smell certain fragrances, signaling the brain to relax.
Using scents in your bedroom to relax is great if you suffer from poor sleep or insomnia. They can help soothe your nerves and improve your sleep quality.
Plants with calming scents:
- Lavender
- Jasmine
- Gardenia
- Peppermint

Reduction in Distracting Noises
Plant leaves and stems also have the natural ability to absorb sounds and buffer background noises that keep us awake at night. Fleshy leaves and rough bark are particularly good at dampening noise because of their dynamic surface area.
Place plants close to the walls and windows to trap sounds that bounce off the walls or through the glass. Setting them in the center of the room isn’t as effective.
Sound-absorbing plants:
- Ferns
- Baby’s tears
- Peace lily
- Rubber plant
- Weeping fig
- Norfolk Island pine
- Fiddle leaf fig
- Areca palm
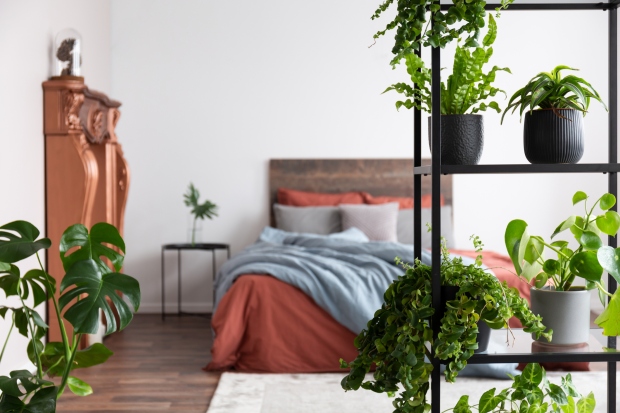
- Monstera
Plants Help Purify the Air
The quality of the air that we breathe has a significant impact on our overall health and how we feel on a day-to-day basis. Indoor air quality is considerably worse than the air outdoors, especially when it isn’t mixed with fresh air. Adding houseplants to your space can improve the air in your home significantly.
Research conducted by NASA has proven that plants play a pivotal role in improving air quality. They help reduce carbon dioxide levels and filter harmful chemicals out of the air. They can remove almost 90% of volatile organic compounds (VOCs), including formaldehyde, trichloroethylene, benzene, carbon monoxide, ammonia, and xylene.
Some of the best air-purifying plants:
- Azalea
- Bamboo palm
- English ivy
- Gerbera daisy
- Golden pothos
- Peace lily
- Red-edge dracaena
- Snake plant
- Spider plant
When Should You Avoid Having Plants in the Bedroom?
There are a couple of instances when you’d want to avoid having plants in the bedroom.
- If you suffer from seasonal allergies, especially pollen, avoid flowering plants, male palm species, and ferns.
- If you are sensitive to mold, potting soil can trigger allergies.
- If you are sensitive to smells, avoid anything with a strong fragrance.
If you were concerned about increased carbon dioxide levels in your bedroom from your plants, there’s no need to worry! The amount they release is small enough that it isn’t harmful, and the benefits of having them in your room far outweigh any concerns!
So go ahead and add your favorite plants to your nighttime space, and you may find yourself sleeping better than ever.