_COMMON_NAME_ is most suitable for growing in the indirect sun. It needs bright light but should avoid exposure to direct sunlight. Otherwise, it may cause burns. Indirect sunlight refers to no direct sun exposure, but it is bright all day. It is generally a position away from a window indoors or a position under a big tree in the yard where sunlight is blocked.

_COMMON_NAME_ is most suitable for growing in the indirect sun. It needs bright light but should avoid exposure to direct sunlight. Otherwise, it may cause burns. Indirect sunlight refers to no direct sun exposure, but it is bright all day. It is generally a position away from a window indoors or a position under a big tree in the yard where sunlight is blocked.

_COMMON_NAME_ is most suitable for growing in full shade. It needs only a short period of sunlight for healthy growth. Too much sun may cause burns. Full shade refers to direct sunlight for less than 3 hours per day, usually by a north-facing window (northern hemisphere), or a position in the yard under a tree where sunlight is not blocked all day.

_COMMON_NAME_ is most suitable for growing in full shade. It needs only a short period of sunlight for healthy growth. Too much sun may cause burns. Full shade refers to direct sunlight for less than 3 hours per day, usually by a north-facing window (northern hemisphere), or a position in the yard under a tree where sunlight is not blocked all day.

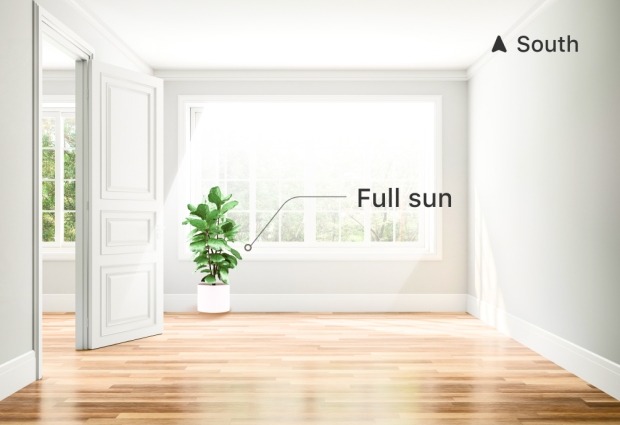
_COMMON_NAME_ is most suitable for growing in partial sun. Provided with enough sunlight, your _COMMON_NAME_ will be healthier and more vivid. However, too much sun exposure may cause burns. Partial sun refers to 3-6 hours of direct sunlight per day, usually by an east or west-facing window, or around a building or fence.

_COMMON_NAME_ is most suitable for growing in partial sun. Provided with enough sunlight, your _COMMON_NAME_ will be healthier and more vivid. However, too much sun exposure may cause burns. Partial sun refers to 3-6 hours of direct sunlight per day, usually by an east or west-facing window, or around a building or fence.


How to Propagate Indoor Climbing Plants
Indoor climbing plants can be propagated by taking a stem cutting and allowing it to develop roots in a container of water. After sufficient roots have emerged, the cutting can be moved to soil.
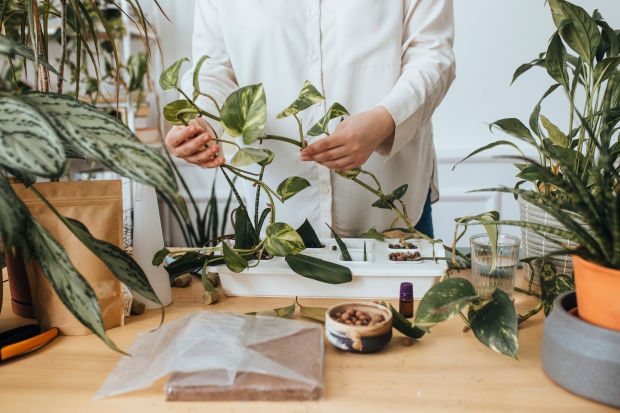
One great way to expand a houseplant collection or share plants with friends (without spending money) is to propagate your plants from cuttings. Propagation from cuttings is a form of asexual reproduction, meaning you only need one plant to do it, and the new plant will be genetically identical to the original plant.
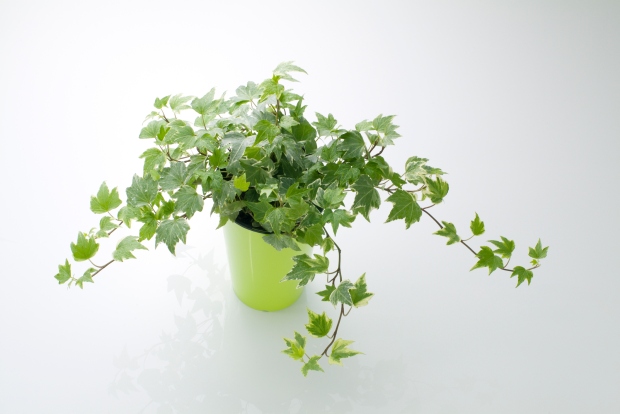
Climbing plant species are particularly easy to propagate, and many of the most popular houseplants fall into this category. Climbing and vining plant species that are commonly sold as houseplants include all Philodendron species, Pothos (Epipremnum aureum), Monstera species, and Swedish Ivy (Plectranthus verticillatus). The propagation method for each of these types of houseplant will be the same.
Climbing plants can be propagated simply and quickly from cuttings. There are a few important things to know before propagating, but the process is almost foolproof if you follow the right steps.
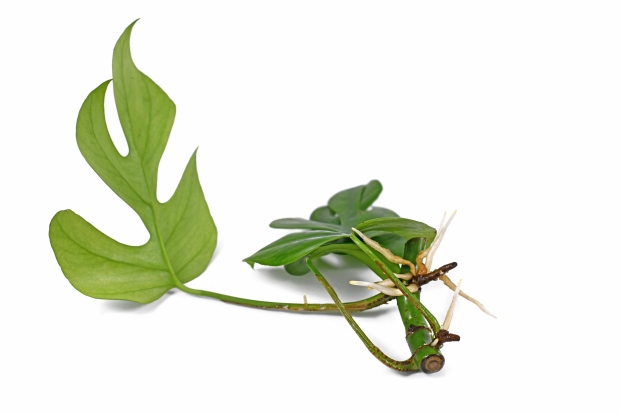
The process starts with taking stem cuttings that include at least one node, and putting them in water, moss, or soil until they establish new roots. After the roots have grown several inches, the cutting can be moved to a more permanent container of soil and grown like a normal houseplant.
Climbing and vining plants generally spread by means of their adventitious roots, which are generated from non-root nodes along the stem of the plant. That means that these types of plants are able to produce roots and establish themselves at almost any point along the stem that can provide the plant with nutrients. This provides them an evolutionary advantage since they can spread in any direction to seek out the next location to establish a root system.
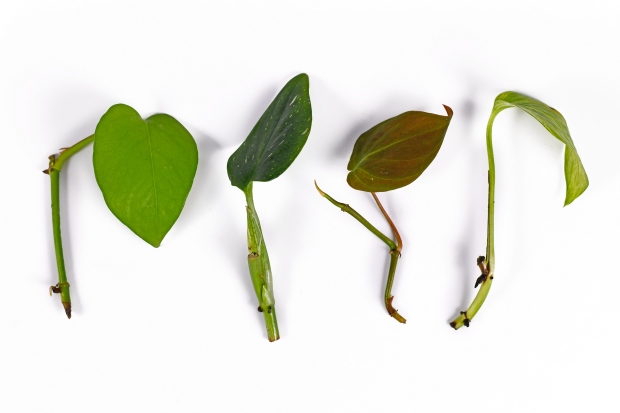
The presence of many nodes on a climbing plant is also what makes it so easy to propagate from a cutting. Nodes are the part of a plant where new growth can emerge. That growth could be new stems, leaves, flowers, or roots. So, in order to take a proper cutting, you first need to know how to identify nodes.
Each stem is made up of nodes and internodes. The internode is the space in between nodes. Once you know what to look for, it should be easy to distinguish them. First, knowing that new growth needs a node to generate, you can be sure that there is a node at the base of each leaf or petiole. In plants such as Monstera deliciosa that often grow aerial roots, each of those will be growing from a node.
You can also identify nodes even without the presence of new growth, though. In general, nodes will be thicker than internodes, and can have a knobby appearance in some species. There may be a ring of a different color than the rest of the stem, or a papery sheath around the node.
Once you have identified the nodes, taking the stem cutting is a simple process. Each cutting should include at least one node and one or more leaves, which will allow the cutting to continue taking in sunlight. Be sure to sterilize your cutting tool before taking your cutting, since dirty equipment can spread disease between plants. You can use 70% rubbing alcohol to disinfect your tools. Depending on how thick the stem is, you may prefer to use a sharp garden knife or a pair of scissors to take the cutting.
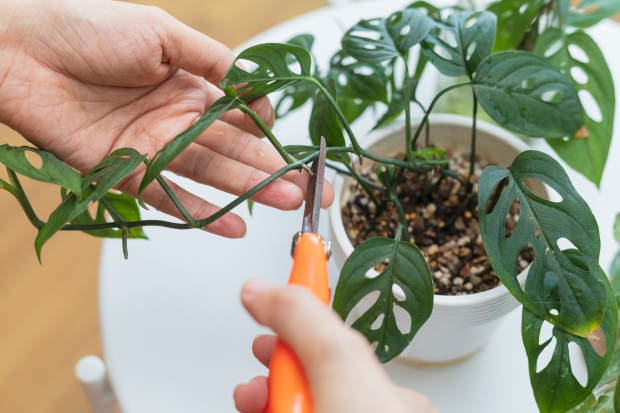
The cut should be made at least one inch below the lowest node that you want to remove. By cutting below the node, you can be sure that you include the whole node and will have the best chance of propagating the plant successfully. If there are leaves attached to the nodes that will produce roots on the cutting, remove those leaves.
After taking the stem cuttings, set them aside for a few minutes to let the cut dry out and callous over, until it is dry to the touch. While not strictly required, this simple step can help prevent the stem from rotting.

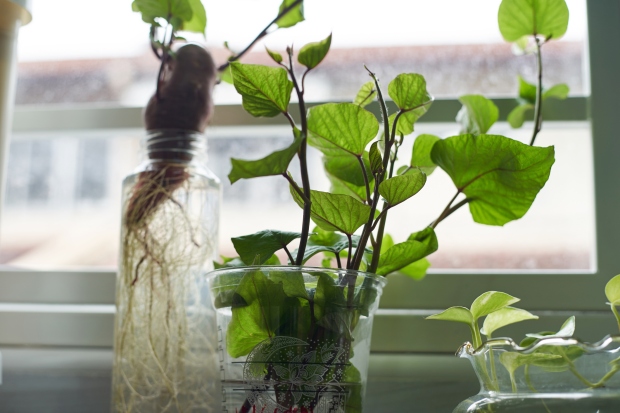
Stem cuttings can be rooted in water, or on a sphagnum moss or soil potting medium. Most people prefer to root climbing plants in water, since it is simple and clean, and allows the grower to monitor root development easily.
Almost any container that holds water can be used to propagate stem cuttings, but it should be tall enough to keep the cuttings upright and sturdy so it won’t be easily knocked over. The container should be cleaned thoroughly if it was used to hold something else previously. Glass jars or vases usually work well and look nice enough to be displayed on a shelf or windowsill. A container with a narrow neck can be used, but remember that it will need to be wide enough to pull the rooted stem out without damaging the roots.
Once the container is ready, place one or more cuttings inside and add room temperature water to a level where all nodes are below the water line. Leaves should not be submerged because they will rot in water. Place the container in a location that gets plenty of bright, indirect light. Change out the water every few days, or any time it looks cloudy. If any part of the stem gets soft and starts to rot, cut it off and change out the water immediately. It is important that the water stays clean and any unhealthy parts of the stem cuttings are removed.
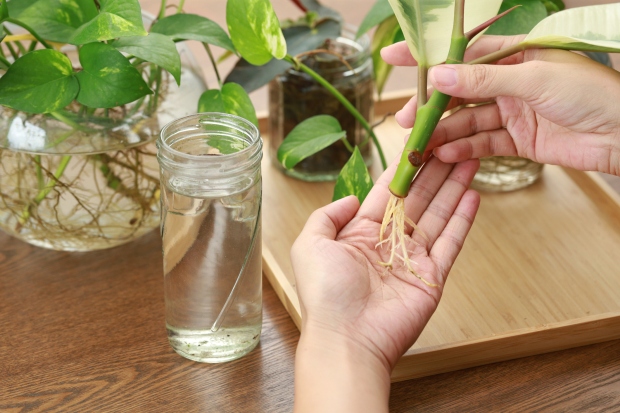
For most plant species, roots will begin to emerge within a few weeks of being placed into water. This may take longer if the cuttings are in less-than-ideal conditions, such as a shady spot or in cool temperatures. On rare occasions, a cutting may fail to produce any roots at all, in which case the cutting can be thrown away and the process started again with a new cutting.
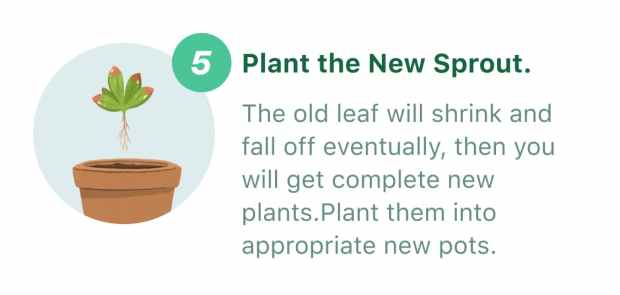
Once the roots are large enough, the cutting can be moved to soil. Prepare a planter with a free-draining potting medium and then create a hole in the soil that is large enough to accommodate all the roots. Then place the rooted cuttings into the hole and cover the roots with soil. Water thoroughly and put the plant in a bright, warm location.
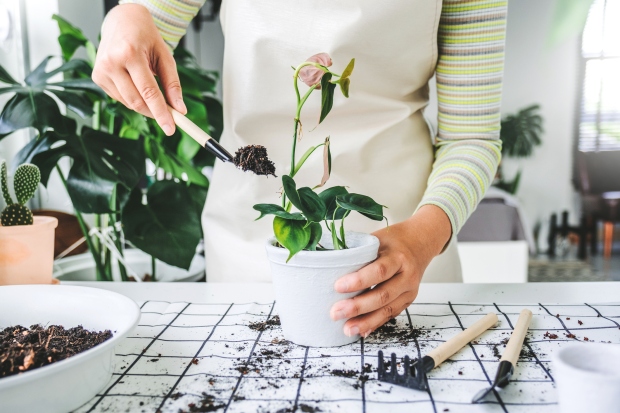
Once the roots have established themselves in the potting soil, the plant will start to produce new growth. For most cuttings, this should occur within three to four weeks.