Knowing When to Mow Your Lawn
Whether you seeded or sodded a new lawn, you’ll need to begin mowing it eventually. However, mowing before your new lawn is ready can be detrimental to its health and future growth. We’ll address how you can know when your new lawn is ready to mow in the chapter below. The timing will change depending on whether you used sod or seed, and we’ll cover both in the following sections.
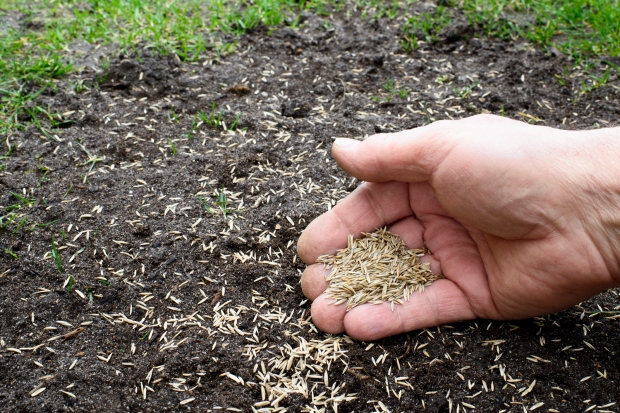
When to Mow a New Seeded Lawn
In general, you should wait at least two months before you mow a newly seeded lawn. Each seed you spread needs time to germinate and begin spreading its roots into the soil, during which time you should do little more than give it water.

However, each individual lawn may vary in its growth rate. As such, not every lawn will be ready for mowing precisely at the two-month mark. With that being the case, it helps to have a visual cue that will indicate whether your lawn is ready for mowing.

You can judge your seeded lawn’s readiness for mowing in part by its length and thickness. Wait until the grass has surpassed a height of three and a half inches and has filled in somewhat before you start your mower.
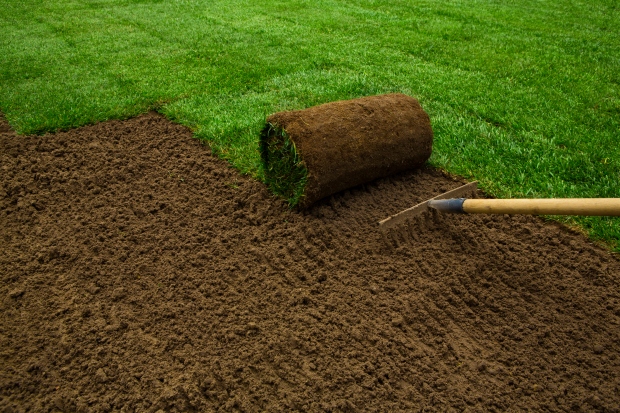
When to Mow a New Sod Lawn
Sodded lawns not only take less time to cover your lawn area, but they also take less time to reach a stage at which they are ready for mowing. It will likely take about two weeks before your new sod is ready to mow.

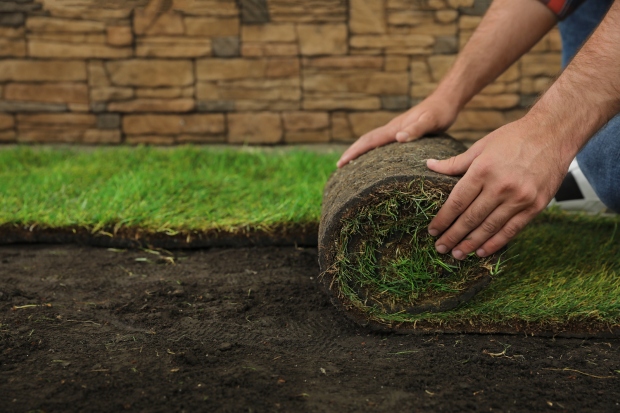
During that two-week period, you’ll be waiting for the sod’s roots to contact and enter the ground where they can take a firm hold. Mowing before the sod roots have connected with the ground will likely cause the sod pieces to shift or tear.

On the other hand, waiting at least two weeks will give you a much better chance of mowing your sod without harming it. Conversely, you can also decide to mow sod based on how much it has grown. Generally, you want to see about an inch or two of healthy growth before you start to mow.