Celebrating Roses: The Icons of Love
Embrace the Essence of Roses for Rose Day and Valentine’s Day
As February ushers in the season of love with Rose Day on February 7th and Valentine’s Day on February 14th, the timeless elegance of roses comes into full bloom. These iconic flowers, symbols of deep affection and admiration, have captivated hearts for centuries.
The Historical Significance of Roses
The rose, with its intricate beauty and aroma, has been a cherished symbol throughout history, representing everything from love and beauty to war and politics. Its rich presence in cultural traditions, art, and literature across the world underlines its significance beyond a mere garden bloom.

Symbolism through the Ages
Ancient Civilizations: In ancient times, roses were revered in Egyptian, Greek, and Roman cultures, often associated with deities of love and beauty, like Aphrodite and Venus.
The Middle Ages: During these times, roses symbolized political factions, as seen in England’s War of the Roses, and were also used in heraldry.
Roses in Mythology and Literature
Mythological Tales: Uncover tales where roses featured prominently, such as the Greek myth of Aphrodite turning the white rose red with her blood, symbolizing love and sacrifice.
Literary Symbolism: Explore how roses have been used to convey complex emotions and themes in literature, from Shakespeare’s “a rose by any other name” to Gertrude Stein’s “a rose is a rose is a rose.”
Roses and Secrecy
Sub Rosa: Understand the term ‘sub rosa’ (under the rose), which dates back to ancient times when a rose hung over a meeting table symbolized sworn secrecy among the participants.
Roses in Art and Decor
Renaissance Art: Discover how roses were depicted in Renaissance art, often symbolizing the Virgin Mary, and their use in paintings to convey messages through the language of flowers.
Gardens and Landscapes: Learn about the inclusion of roses in garden designs, from the formal rose gardens of European royalty to the quaint cottage gardens.
Varieties of Roses
Roses come in an astonishing variety, each type boasting its own unique beauty and charm. From the classic elegance of hybrid tea roses to the abundant blooms of floribundas, the world of roses is rich and diverse.

Colors and Meanings
Red Roses: Universally recognized as the symbol of love and passion, perfect for expressing deep affection.
White Roses: Symbolize purity, innocence, and new beginnings, often used in weddings and memorials.
Yellow Roses: Represent friendship, joy, and caring, making them a warm, cheerful choice for various occasions.
Pink Roses: Convey admiration, gratitude, and elegance. Light pink roses are often associated with grace and sweetness, while darker pink roses symbolize appreciation and recognition.
Popular Varieties
Hybrid Tea Roses: Known for their large, well-formed blooms and long stems, these roses are a favorite for cut flower arrangements.
Floribunda Roses: Characterized by their clusters of blooms, floribundas are ideal for vibrant, colorful garden displays.
Climbing Roses: With long, arching canes, climbing roses are perfect for trellises, arbors, and fences, adding height and drama to garden spaces.
Shrub Roses: Hardy and easy to care for, shrub roses offer a more relaxed form, suitable for creating hedges or filling in garden beds.
Caring for Different Varieties
Understanding Needs: Each rose variety has specific needs in terms of sunlight, watering, and pruning. Familiarize yourself with the requirements of your chosen variety for optimal growth.
Disease Resistance: Some varieties are bred for improved resistance to common rose diseases, such as black spot and powdery mildew. Consider these varieties for a lower-maintenance garden.
Caring for Roses
Roses, with their captivating beauty, require specific care to thrive and bloom to their full potential. Proper cultivation practices, from soil preparation to pruning, are essential in nurturing healthy roses.
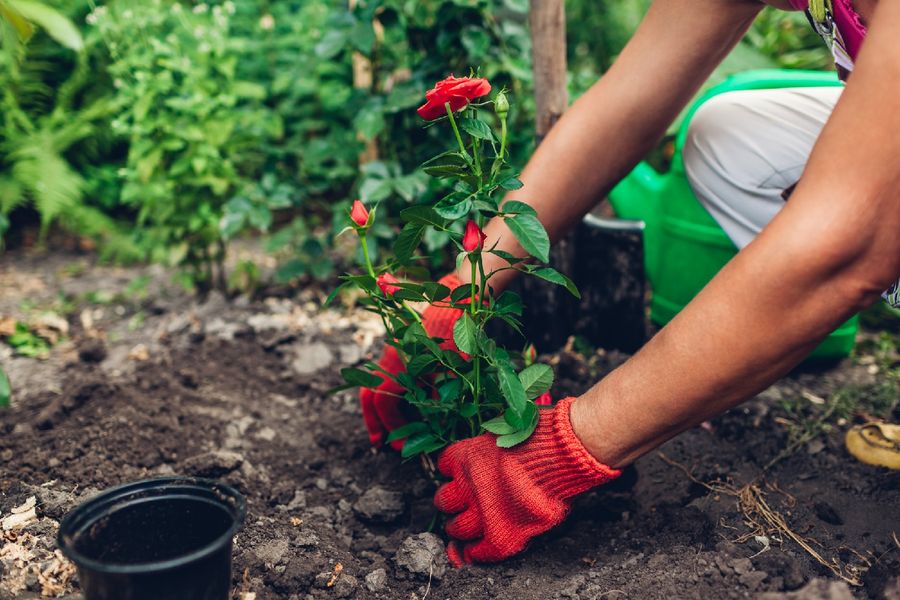
Cultivation Tips
Soil Preparation: Roses thrive in well-drained, rich soil. Amend your soil with organic matter to improve texture and nutrient content.
Sunlight: Ensure your roses receive at least 6 hours of sunlight daily. Adequate sun exposure is vital for robust growth and vibrant blooms.
Watering: Water your roses deeply but infrequently to encourage strong root development. Avoid overhead watering to minimize the risk of leaf diseases.
Pruning and Maintenance
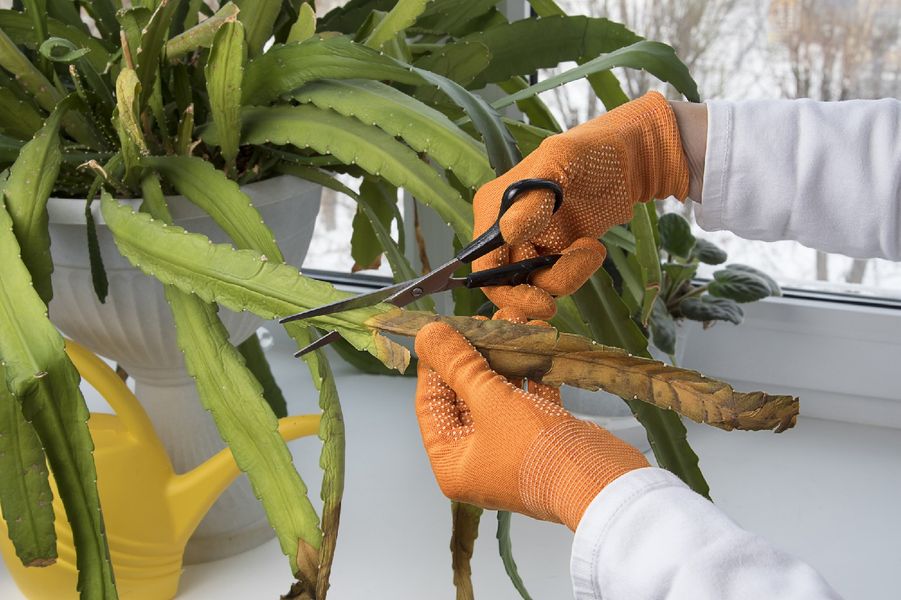
Pruning: Prune roses annually to remove dead or weak growth, improve air circulation, and shape the plant. The timing and method of pruning vary among different rose types.
Deadheading: Regularly remove spent blooms to encourage new growth and maintain the plant’s appearance.
Pest and Disease Management
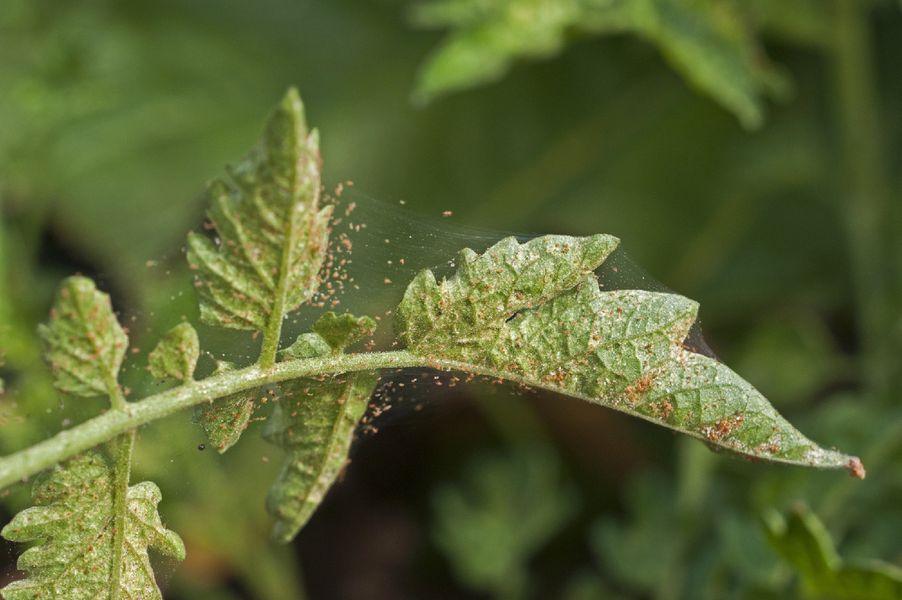
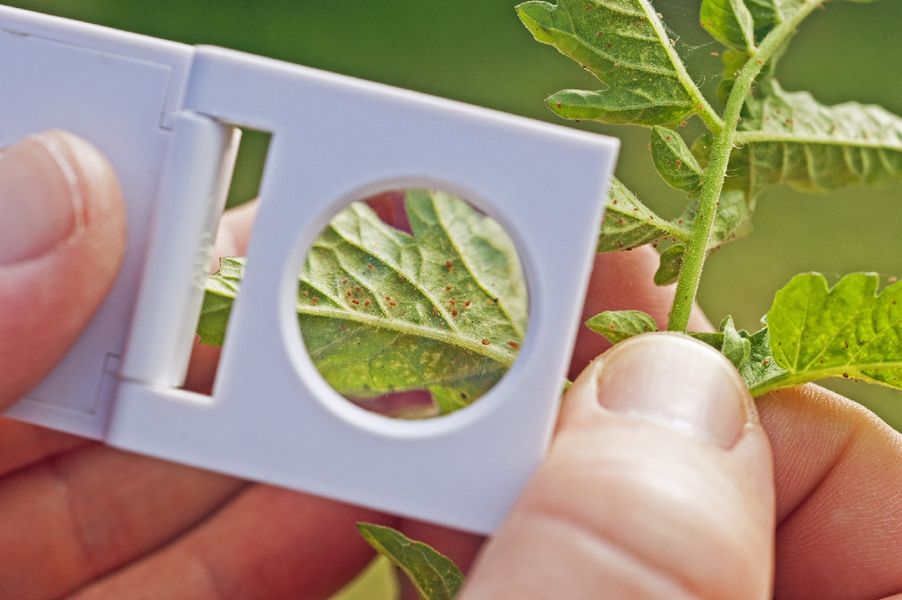
Regular Inspections: Monitor your roses for signs of pests or diseases. Early detection is key to effective management.
Natural Solutions: Use natural remedies like neem oil or insecticidal soap to tackle common rose pests like aphids and spider mites.
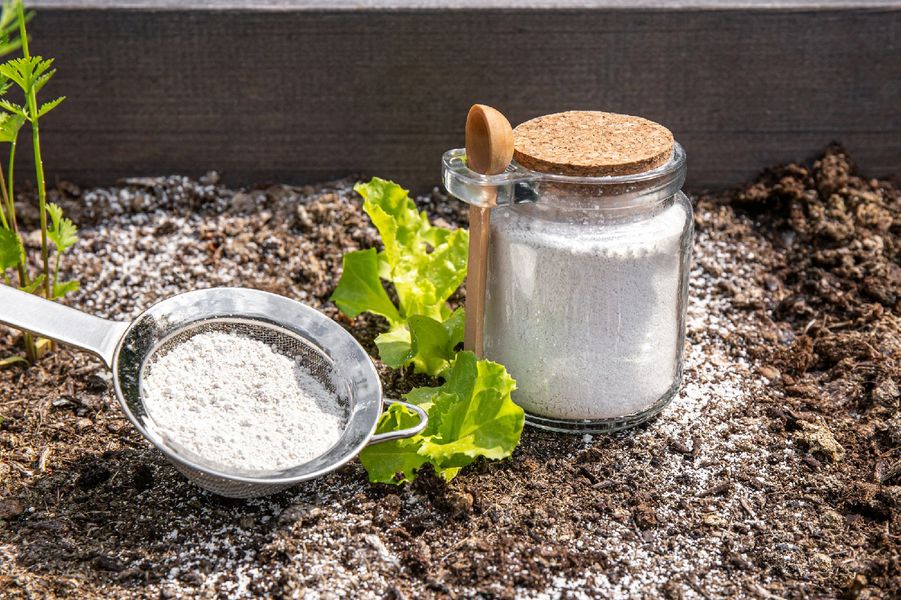
Fungus Prevention: Prevent fungal diseases by ensuring good air circulation around your plants and using fungicide treatments if necessary.
Feeding Your Roses
Fertilization: Feed your roses with a balanced fertilizer to provide the necessary nutrients for growth and flowering. Follow the recommended application rates and timings.
Compost and Mulch: Enrich the soil around your roses with compost and protect it with a layer of mulch to retain moisture and suppress weeds.
Seasonal Care
Winter Protection: In colder climates, protect your roses in winter by covering them with a layer of mulch or using protective structures.
Spring Preparation: As the growing season begins, clear away winter protection, prune as needed, and apply a fresh layer of mulch.
Roses in Celebration
Roses have long been a centerpiece in celebrations, symbolizing love, appreciation, and beauty. Their presence enhances the ambiance of any event, making them perfect for occasions like Rose Day and Valentine’s Day.

Rose Day Traditions
Gifting Roses: Rose Day, celebrated on February 7th, is the perfect occasion to express affection and friendship through the gift of roses. Understand the significance of different rose colors to convey your message accurately.
Customs and Celebrations: Explore how different cultures celebrate Rose Day, incorporating roses into various traditions and ceremonies.
Valentine’s Day Bouquets
Selecting the Perfect Roses: For Valentine’s Day, the classic choice is red roses, symbolizing deep love and passion. However, don’t be afraid to personalize your bouquet to reflect the unique bond you share with your loved one.
Arrangement Styles: Learn about different bouquet styles, from the traditional dozen red roses to mixed arrangements that include other flowers and foliage for added texture and interest.
Preserving Memories
Drying Roses: Learn methods to preserve roses, such as air drying or pressing, so that the memories of your special day last longer.
Photography and Art: Capture the beauty of your roses through photography or use them as inspiration for art projects.
DIY with Roses
Roses aren’t just for admiring in the garden or gifting on special occasions; they also inspire a multitude of DIY projects. From crafts to culinary delights, roses can add beauty, fragrance, and a touch of elegance to your creations.

Rose-infused Beauty and Bath Products
Rose Petal Bath Bombs: Create luxurious bath bombs infused with dried rose petals for a relaxing and aromatic bath experience.
Rose Water: Learn how to make rose water, a versatile ingredient for skincare routines, cooking, or as a refreshing spritz.
Rose-themed Home Décor
Rose Petal Candles: Make candles embedded with rose petals, perfect for adding romance and fragrance to any room.
Framed Dried Roses: Preserve and frame dried roses for a lasting piece of natural art that captures the beauty of your favorite blooms.
Culinary Creations with Roses
Rose Petal Jam: Cook up a batch of rose petal jam, a delightful addition to your breakfast table or a sweet gift for a loved one.
Edible Rose Garnishes: Discover how to use edible roses to elevate the presentation and flavor of desserts and cocktails.
Crafting with Roses
Rose Petal Paper: Create handmade paper infused with rose petals, ideal for special letters or as a unique craft material.
Rose Bead Jewelry: Turn dried rose petals into beads for crafting one-of-a-kind jewelry pieces that hold sentimental value.
The world of roses is as diverse as it is beautiful, offering a multitude of choices for every gardener and occasion. Understanding the meanings behind different rose colors and familiarizing yourself with the various types can enhance your gardening experience and make your choice of roses more meaningful. Whether you’re creating a stunning floral display or selecting the perfect bloom for a special moment, the variety and splendor of roses are sure to leave a lasting impression.