
The Top 3 Useful Bulb Planters to Choose
A bulb planter provides a foolproof method of planting your flower bulbs. You can choose from three different options: handheld, stand-up, or drill-powered depending on your needs. While it might not be necessary if you only plan on planting one or two bulbs, it can be a lifesaver if you want to plant a lot!
Flower bulbs are a favorite among many home gardeners as they are easy to manage and net some beautiful flowers come spring or summer. With that said, bulbs do require certain conditions to grow to their full potential such as well-draining soil, nutrients, and appropriate planting depth. In most conditions, you should bury the bulb around three times the width of the plant for best results. For drier and hotter climates, you should go a bit deeper to ensure the bulbs retain their moisture. In more compact soil, you can bury them about two times as deep.
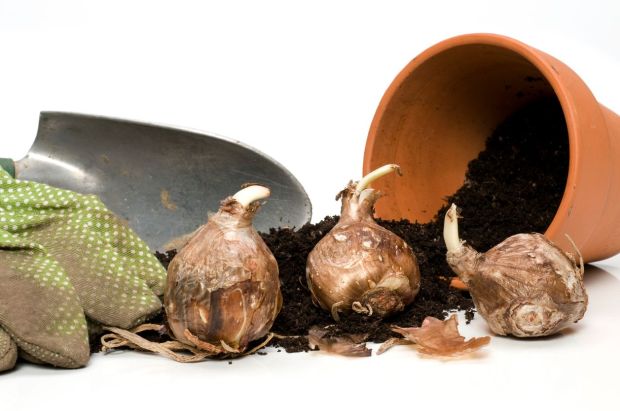
While you can certainly use a shovel or spade to bury your bulbs, a more foolproof method is using a bulb planter. These handy garden tools can make the process faster and take out a lot of the guesswork.That means you can have a beautiful garden in just half the time.
Types of Bulb Planters
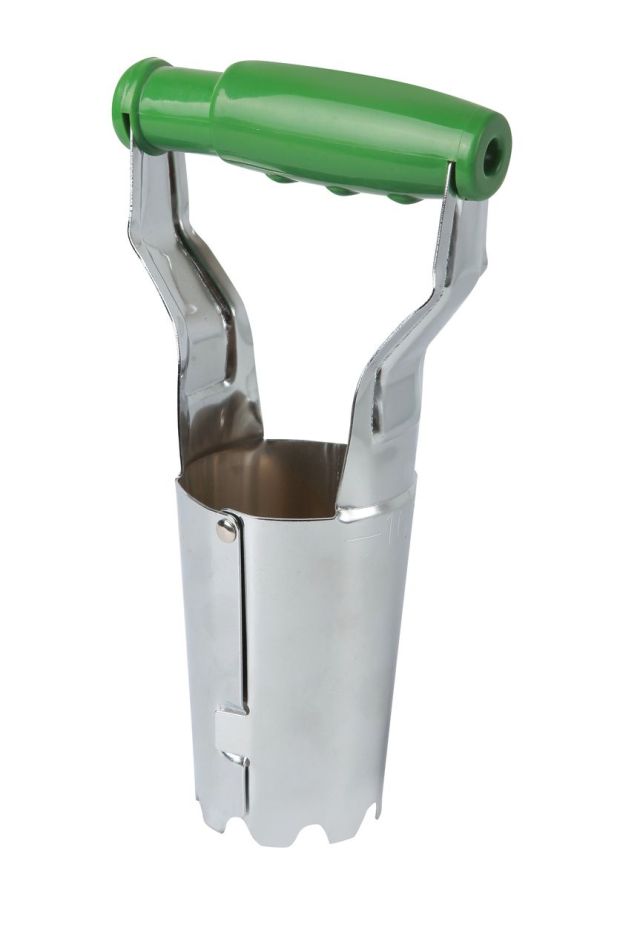
There are several types of bulb planters you can get depending on your needs. The cheapest and most common one is the handheld manual device. These have a depth measurement and will remove a certain amount of soil to the level where you should plant the bulb.
Other planters are a variation on the basic tool. Some will have a plunger that allows you to release the soils you cut into the hole on top of the bulb. Others will have longer handles allowing you to stand up instead of kneeling or stooping over your garden. If you have a lot of bulbs to plan, you can invest in a drill powered option. It looks similar to a hand-planter, but it comes with a drill attachment for your power drill. This works great for light and medium weight soils.
How to Use a Bulb Planter
Not everyone needs to use a bulb planter for their garden. In fact, if you’re just burying a handful, you can probably get away with the typical trowel and/or shovel option that you use for the rest of your garden. However, if you are planting dozens or hundreds of bulbs, a bulb planter is a great option as it can save you a lot of time and legwork. Just remember that most of these planters work best in light and/or medium soil and do not do well in clay. If you are dealing with clay soil, you should hand-till it and add some compost to increase drainage and add much needed nutrients to the ground.
Once you have your bulb planter, you can start using it. For the most part, they are fairly intuitive to use, but usage will change based on the type of bulb planter you use:
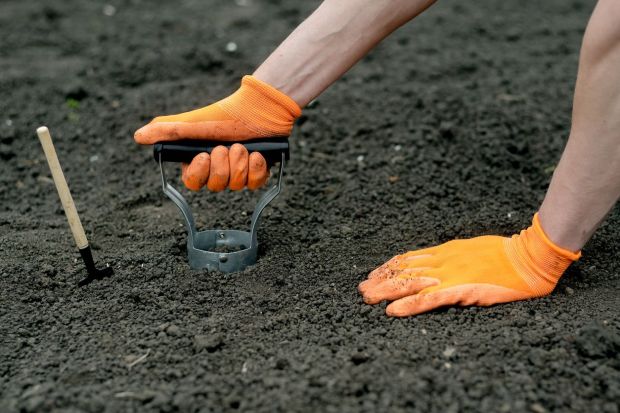
- Handheld bulb planters - these are fairly self-explanatory. Basically, press the bulb planter straight down into the soil at the depth needed. Twist the planter in either direction and then lift it up from the soil. You should see a plug inside the planter. Place your bulb into the hole root side down and release the dirt trapped in the planter over the bulb.
- Long-handled bulb planters - unlike the handheld planter, the long-handled bulb planters will also deposit the bulb into the soil. Of course, first you have to put the bulb into the center, bottom reservoir of the bulb planter. After that, set the drive the planter into the ground and step on the hinges to push it further down. Once you’ve gone deep enough, place one hand on each handle and pull it apart. Pull the planter up and out of the hole. This will also deposit the bulb into the soil.
- Drill-operated bulb planter - Before you start drilling the soil, check your power drill to see if it’s powerful enough. You want a 3 amp or larger drill that has a ¾ inch chuck. Also, make sure your battery is fully charged! Once you’ve done all that, attach the bulb planter to the chuck and make sure that it’s fitted properly. Press the end of the bulb planter lightly into the soil and then start the drill slowly at first. As the bulb planter enters the soil, you can increase the drill speed. Once you’ve reached the desired depth, release the drill and pull up the drill and planter out of the hold. Plant the bulb and then cover.
When using the power drill, make sure to wear safety glasses to prevent small rocks and dirt from going into your eyes. As well, if you do not have a cordless power drill, do not operate it in rainy conditions or near standing water as you can electrocute yourself this way.
Conclusion
While the tools might look slightly different, they essentially all remove a small plug of soil so that you can then place the bulb at the appropriate depth. After that, you’ll release the soil in the tool either from a plunger or covering the hole manually. Whichever tool you use, you’ll definitely save yourself a lot of time and back pain especially if you plan on planting a lot of bulbs.
