Buying new seeds and bulbs each year gets expensive. Why not save and store your own instead? It’s easier than you think — here’s what you need to know.
How to Store Seeds and Bulbs
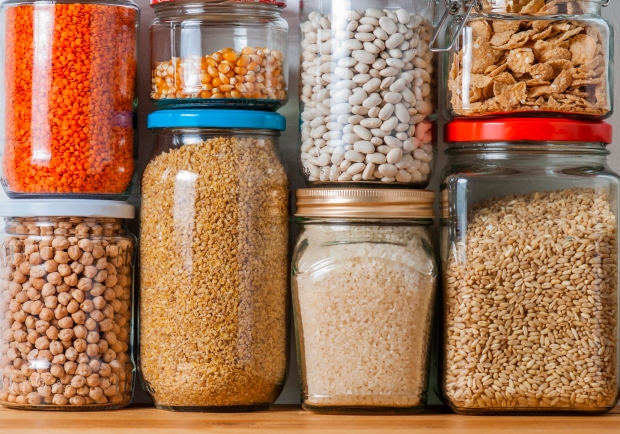
A good way to save money as a gardener is to keep your seeds and bulbs each year. It may feel intimidating at first, but it couldn’t be easier once you know what to do. Here’s a guide for saving seeds and bulbs so you can enjoy them for many seasons.
Seed Storage Advice
Storing your own saved seeds lets you save money each season and slowly develop varieties that are well-suited to your growing conditions. Follow these steps to ensure your seeds will sprout in the spring.
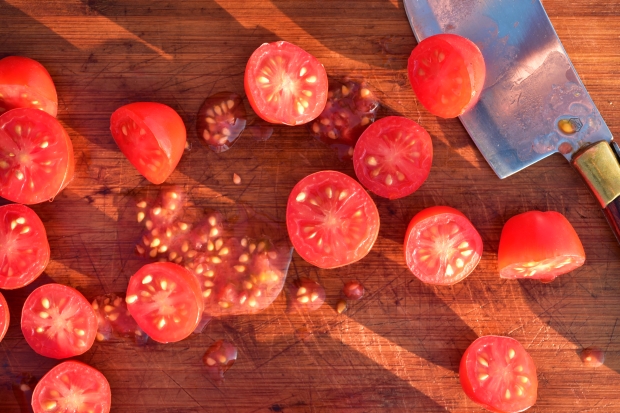
Collect Seeds
The first step is collecting seeds from garden plants. This process will vary based on variety of plant. Sometimes it’s as simple as harvesting a ripe tomato and rinsing the gel coating off each seed, and other times it involves wrapping a flowerhead with a bag to capture the seeds once they mature.
Note: Pay attention to the pollination needs of each plant before saving its seeds. Seeds from hybrid varieties won’t grow true to their parent, and most heirloom varieties need to be isolated to avoid cross-pollination that could introduce unwanted genetics.
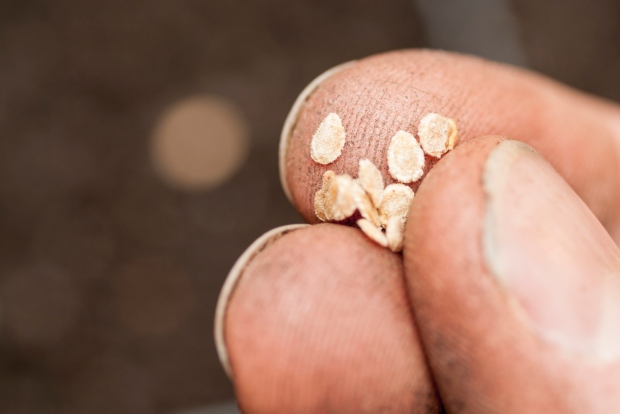
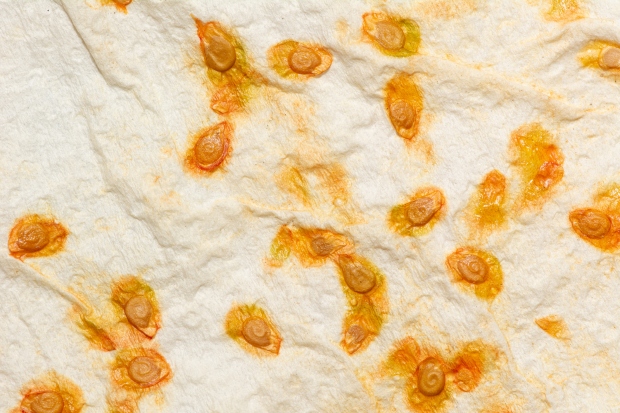
Dry the Seeds
Next, you need to dry each seed. Spread them on a single layer on a thin piece of parchment paper and place them in a well-ventilated space. Stir the seeds every few days to promote even drying. Depending on size, they should dry within one to 10 days.
It’s possible to use a dehydrator for this step, so long as it’s at its lowest setting and only on for 30 minutes at a time.
Store the Seeds
Once dried, the seeds should be labeled and stored somewhere cool and dry until spring. Regular envelopes work well, or you can purchase empty seed packets. Some gardeners find success with plastic craft containers with small compartments they can use for different seed varieties.
Make sure the seeds are completely dry before adding them to your chosen storage vessel, and place them somewhere dark that stays consistently around 40°F (4°C). A beverage cooler works well. They will be ready to plant in the spring and should last for many seasons if you continue to store them correctly.
Consider performing a germination test by sprouting some seeds in a wet paper towel before planting so you know what percentage are likely to sprout in soil.
Note: Store any purchased seed packets by following these same methods to ensure that the seeds stay viable for next season.
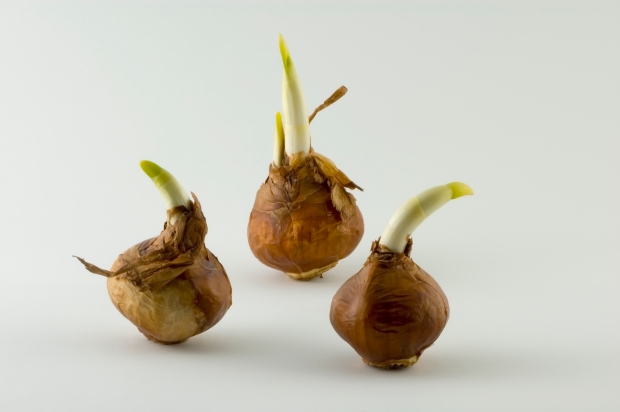
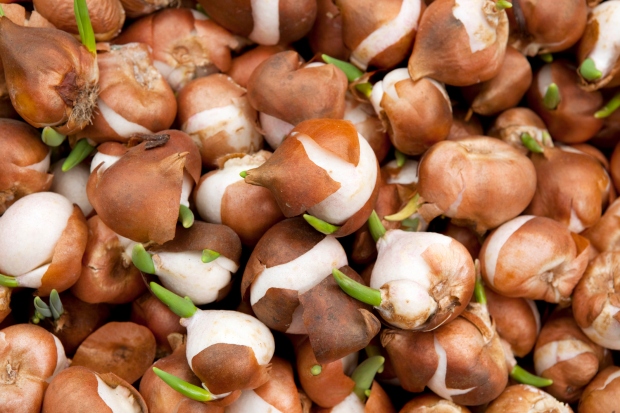
Bulb Storage Advice
Bulb plants produce gorgeous flowers every growing season, but many varieties won’t survive a chilly winter in the ground. You’ll need to dig them up and store them over the winter for replanting in the spring. Here’s how.
Let the Flowers Wilt First
The best time to dig up bulbs is about two months after the plant has flowered and wilted. This gives the plant time to restore some of the energy it used for flower production.
Cut Back the Foliage at the Soil Line
Once the bulb plant is thoroughly wilted, you can use scissors to snip back the stalk and leaves. Most varieties can handle getting cut directly to the soil line, while others, like dahlias and tulips, need a portion of the stem left intact.
Research each flower variety before cutting!
Dig a Hole Near the Flower
Use a small trowel to dig up the ground a few inches from the base of the bulb. Avoid digging right next to it, so you don’t cause any damage. Carefully scrape dirt away in the direction of the bulb until you reveal the bulb.
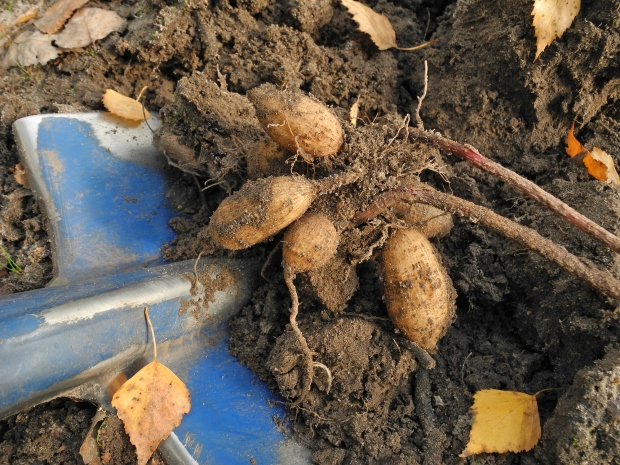
Pull the Bulb Out of the Ground
Reach into the hole to feel for the bulb. If the ground is soft, you may be able to pull out the bulb with your fingers. If not, continue scraping away at the soil or use a spading fork to dislodge it from the dirt.
Make sure you are as careful as possible during this step. Bulbs bruise easily, and any breaks in the skin make them vulnerable to insect damage and plant diseases.
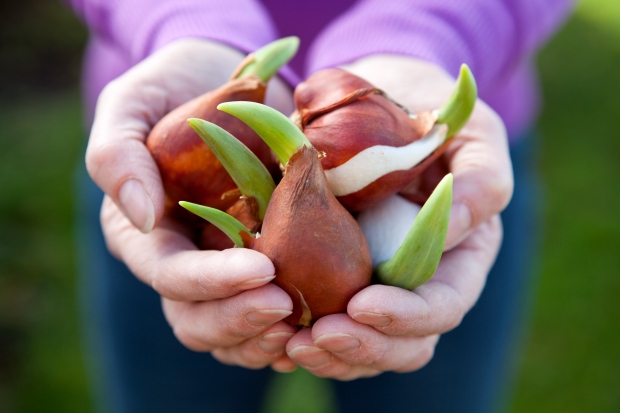
Clean and Inspect Each Bulb
Use your fingers to gently remove dirt and debris from the outer layer of the bulb.
Note: Some varieties, such as dahlias, cannas, begonias, and others, need to be stored in soil and shouldn’t be cleaned after digging.
Once you’ve dug up the whole flowerbed, carefully inspect each bulb for signs of damage or rot. Throw out any that have suspicious cuts or seem overly soft. One bad bulb can spread disease to your entire collection, so it pays to be picky about the ones you keep.
Let the Bulbs Dry Out
After they are lightly cleaned, you need to let the bulbs “cure” by drying them out. Set each bulb in a single layer on a tray and put it somewhere with good airflow where they will get indirect light.
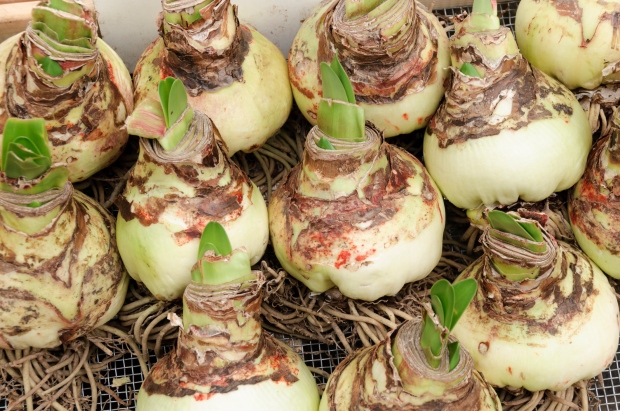
Once the bulbs have been drying for a few days, you can move them off the tray and into a paper bag set somewhere with good airflow for another week or two.
Move the Bulbs to a Container for Longer Storage
After the bulbs dry out, it’s time to store them for the winter. Move them to a cardboard box or similar container that you can keep a lid on enough for moisture to escape. Fill it with a layer of sawdust or peat moss, and place each bulb inside, ensuring they don’t touch each other.
Keep this container in a dark, dry room like a closet or basement and store them around 50 to 60°F (10 to 16°C). Any hotter, and they might break dormancy and sprout.
Check the bulbs weekly for signs of damage, and immediately remove any with problems, so they don’t spoil the rest.
Start Storing Your Own Seeds and Bulbs Today!
Storing your own bulbs and seeds is a stellar way to save money and become more self-sufficient as a gardener. It also helps ensure you always have access to rare and specialty varieties that can be hard to purchase otherwise.
Take the time to put a storage plan in place; saving seeds and bulbs is an easy late-season garden task that will reward you in the spring.
Just make sure to take your time and only keep the best-quality seeds and bulbs so you don’t compromise your supply with a few that could be rotten or diseased.