How to Mulch Your Garden
Mulch is an important addition to any garden that not only provides beauty but also many benefits. This article provides you with everything you need to know about mulch–the benefits, the best types, and how to add it to your garden.
Six Benefits of Mulch
Mulch not only looks beautiful but also provides numerous benefits for your garden. Below are six ways your garden benefits from a bit of mulch.
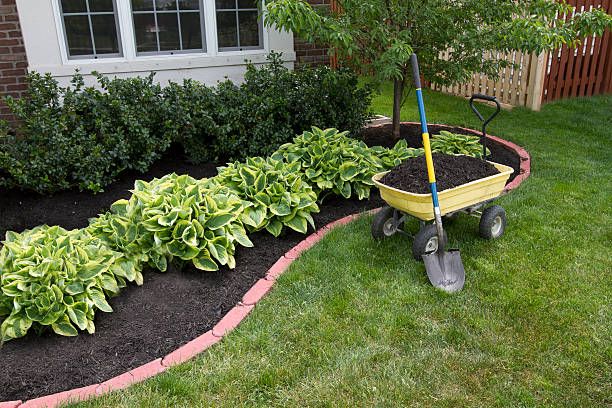
1. Defines Garden Beds
A layer of mulch is one of the easiest ways to add order to your garden space. You can choose from various colors and styles to get mulch that complements the rest of your outdoor landscaping.
2. Keeps Weeds Down
A thick layer of mulch keeps weeds down by suppressing seeds in the soil, making them less likely to germinate. Those that do sprout will be easier to pull up.
3. Improves Soil Quality
As mulch breaks down, it adds organic material into your garden soil, which increases its nutrient content. The material also creates habitat space for beneficial soil microbes that support plant health.
4. Natural Insulation
Mulch protects soil from temperature extremes by keeping it warm in the winter, warming it faster in the spring, and protecting it from scorching summer temperatures.
5. Improves Water Retention
A layer of mulch reduces soil evaporation to keep plant roots moist on hot days. This minimizes the amount of watering you need to keep your plants happy.
6. Naturally Biodegradable
Mulch is made from organic material that usually breaks down after a few seasons in the garden. Not only is this a win for the environment, but it means you don’t need to worry about removing it from your garden beds once you want something new.
Best Materials to Use as Mulch
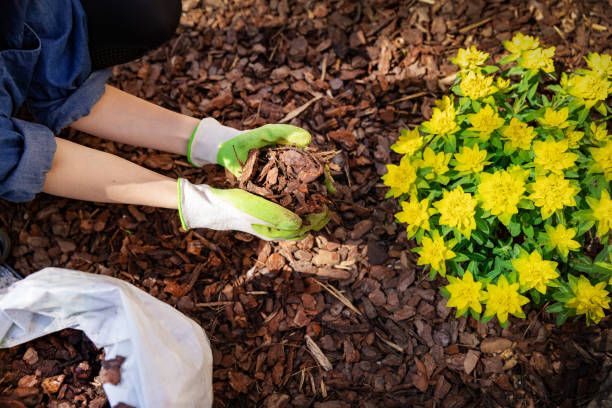
There are a variety of materials used as mulch on garden beds today. The best types of mulch are organic and porous, which helps it break down quickly. However, this means that you will need to reapply the mulch every few years. Great organic mulch options include sawdust, wood chips, and shredded leaves.
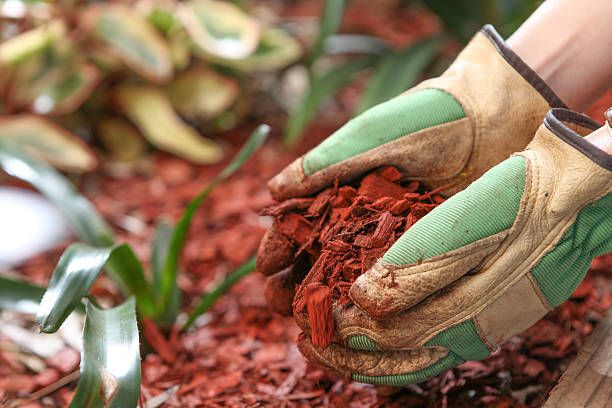
If you enjoy a pop of color, consider a dyed wood mulch. Most come in red, black, or brown. However, use caution about where you spread them, as dyed mulches might stain concrete and walkways if it gets too wet.
When to Add Mulch
While it’s possible to apply mulch at any time of the growing season, most people prefer to spread it in the spring before new growth comes up in their garden beds. This minimizes the amount of weeding necessary and ensures it can help insulate the soil to warm it faster. It’s also smart to apply mulch in the fall to protect plants from freezing winter temperatures.
How To Calculate Mulch Requirements
Before buying mulch, you need to calculate how much you need. The goal is to put down two to four inches of mulch (or 5 to 10 centimeters) through all planting areas. Coarser mulches, like bark chips, can be applied more thickly.
You can estimate how much you need by measuring the square footage of your growing space and calculating how many cubic yards or meters you need to cover it.
It’s possible to buy mulch by the bag, but it’s usually more cost-effective to order it in bulk if you have a big project.
Four Steps for Applying Mulch
Once you’ve found the perfect mulch, it’s time to apply it to your garden. Below are some tips to help you add mulch effectively.
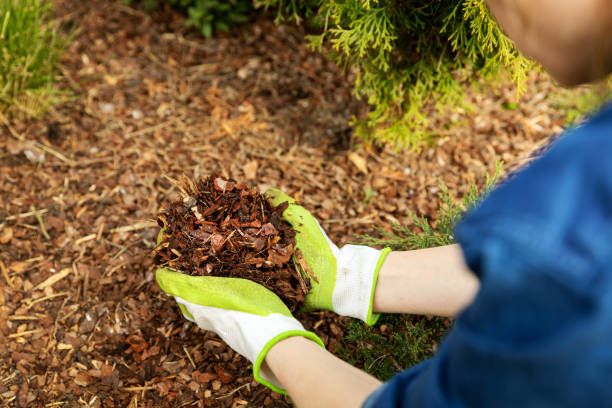
1. Collect your Tools
While it’s possible to spread mulch with nothing but bare fingers, the process is easier with the right equipment. Gardening gloves, shovels, garden forks, a landscaping rake, and a wheel barrel will all make the job much easier.
2. Prepare the Garden Bed
Before applying mulch, make sure you thoroughly remove all the weeds and debris from the soil. You might want to scoop up and remove any old mulch if it doesn’t blend in with the new.
If you’re starting a new garden bed, it’s a good idea to create a barrier between the dirt and the mulch. This will prevent any weed seeds in the soil from germinating, and it might prevent the mulch from breaking down as quickly.
Once the bed is clear, smooth and level it with a landscaping rake.
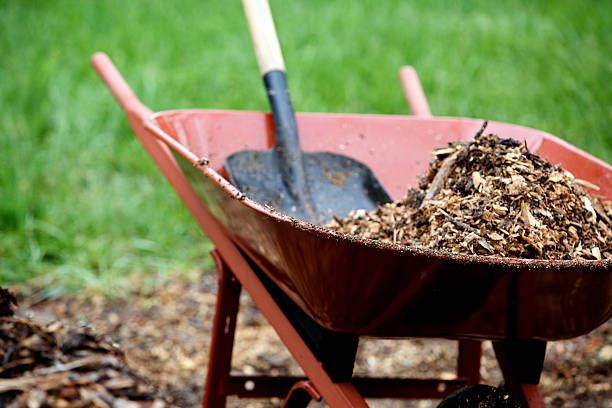
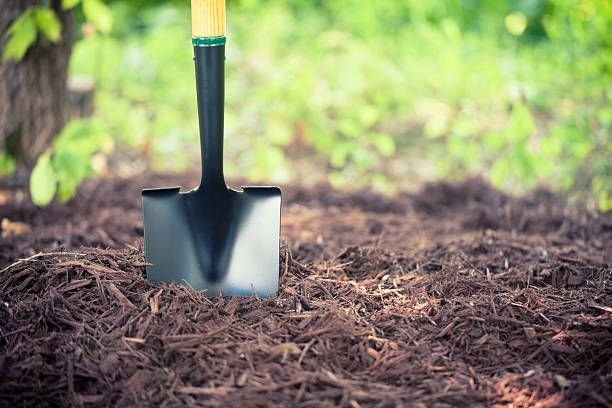
3. Load and Spread the Mulch
Next, load the mulch into the wheelbarrow. Using a shovel or your hands, start to place small mounds throughout the bed. You want to avoid dumping large piles in one space because they are more challenging to spread.
Use your rake to spread the mulch over the bed evenly. Leave at least one inch of space between mulch and tree trunks or plants to prevent suffocating them.
4. Let it Settle in Place
After the mulch is spread, avoid watering it or water it lightly for the first 48 hours so it can settle in place without excessive moisture.
Once applied, mulch is easy to maintain. Inspect it regularly for weeds and pull them out as soon as you see them.
Weather elements like sunshine, rain, and even wind will fade your mulch over time, but you can turn it gently every few weeks to refresh the color. Consider keeping a few extra bags of mulch stored at home so you can reapply it when your space needs a boost.
Spreading mulch is an easy project if you take the time to make a plan and collect the right supplies. Get started on your garden mulching today, and you’ll enjoy a gorgeously landscaped space all season long.