How to Install a Pond in Your Garden Area
While a garden pond is an enticing idea to many, building such a feature calls for you to follow a distinct set of steps. Each step is vital to the health and success of your pond. This article will give you clear insight into each part of the process.
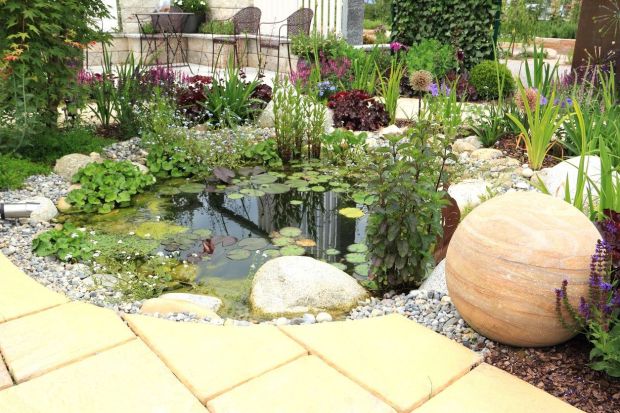
Many people dream of having an impressive water feature in their garden. One of the best ways to achieve that vision is to install a pond in your yard. Ponds can be both highly attractive, and they can do their part to support the local ecosystem. Reaping those two rewards will only come about if you are able to successfully plan and install your garden pond. This article will serve as a guide to help you do just that. Read on to learn about the steps you will need to take to add a pond to your garden area.
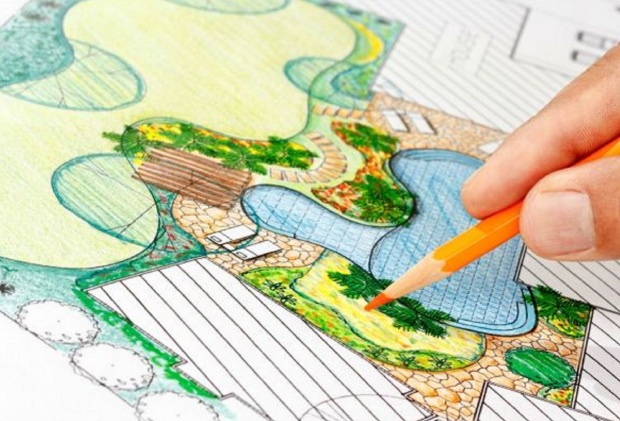
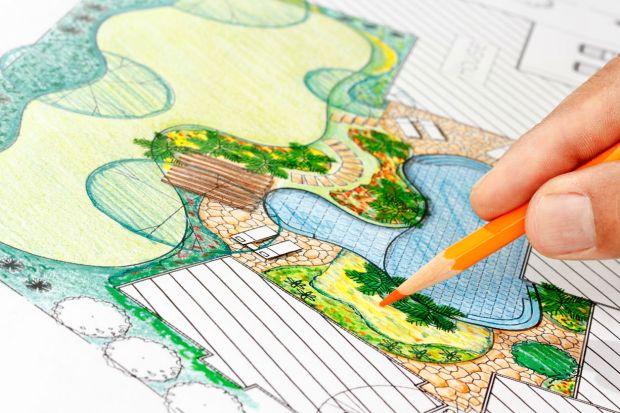
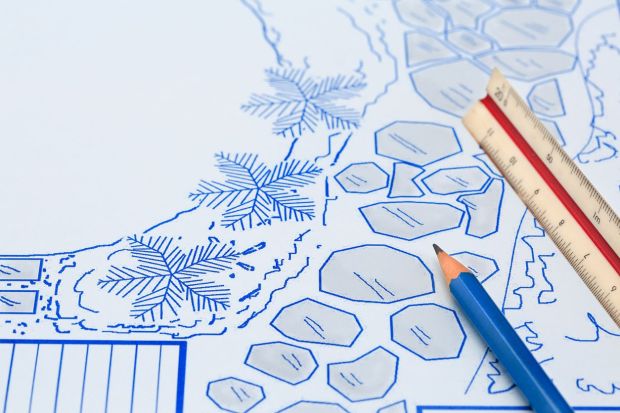
Installing a pond in your yard requires some significant forethought. The first issues you’ll need to address are the size, shape, and location of your new pond. One of the best ways to determine those characteristics is to use a combination of field measurements and plan view sketch drawings.
Regarding size, you will need to evaluate the overall space you have available in your yard. As you would expect, a smaller yard will only allow a relatively small pond. Those with more acreage will have more leeway when deciding their pond’s size. Regardless of how large your yard is, your goal at this stage is to integrate your pond into your landscape without creating a conflict with any existing features.
After gaining a rough idea of how large you would like your pond to be, you can proceed to determining the exact shape and location of the pond. Ideally, you should locate your pond on a relatively flat portion of land. This will make excavation a much simpler task. You should also locate your pond near a power supply so that you can run your pump and filtration system with ease. When it comes to shape, the form you choose for your pond is partly a matter of what will work well with the unique existing features of your pond and partly a matter of personal taste.
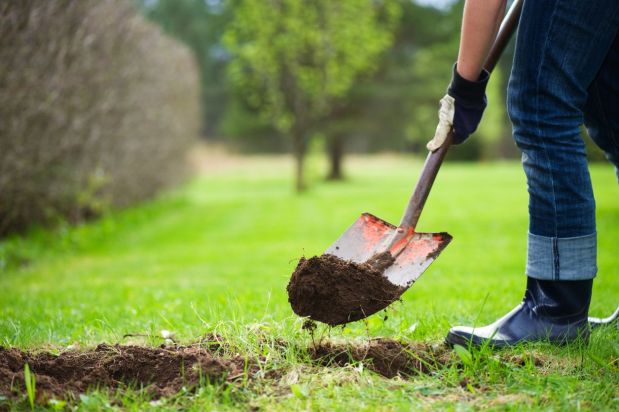
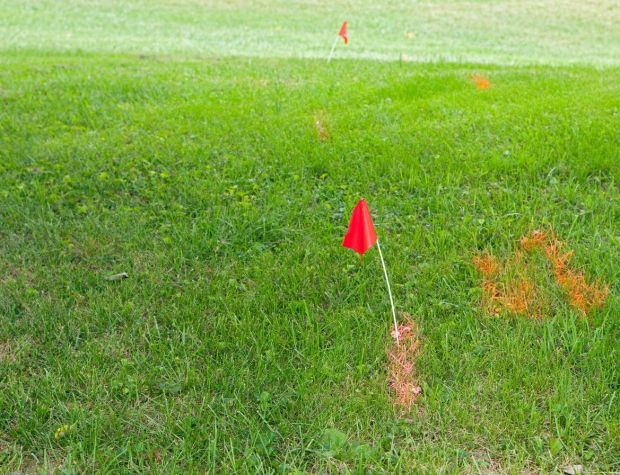
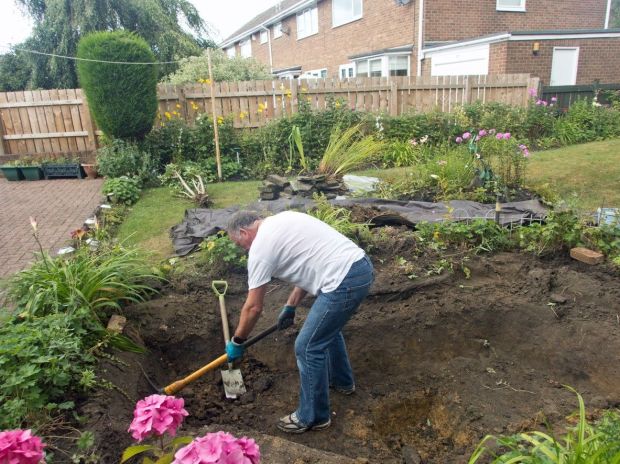
Now that you have figured the basics of where your pond will be and what it will generally look like, you are ready to begin excavation. But, before you do, you need to make sure it is safe to dig in the area where you intend to install your pond.
Be mindful of any utility lines that may run underground where you plan to excavate. Making contact with a powerline while digging can be extremely dangerous. So, before you dig, double-check to make sure you know what is underground.
When you are confident that you can dig safely, begin excavating in accordance with the drawing you created in the last step. Create the general shape of your pond first. Then you can fine-tune any curves later on as you see fit.
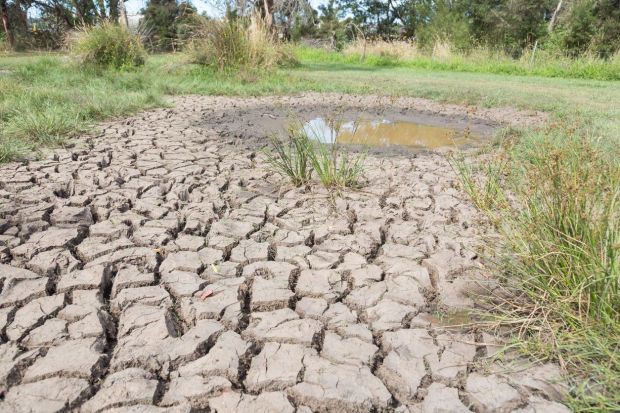
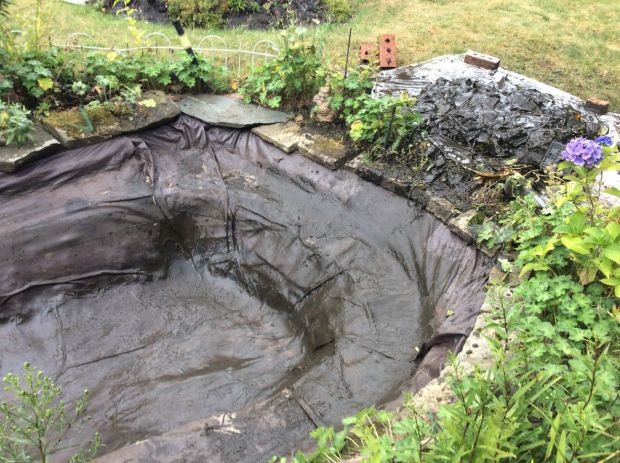
A pond liner is an essential component of any man-made pond. These liners play a pivotal role in maintaining the water level in your pond. Without one of these liners, your pond water would likely seep through the soil below, leading to an empty pond.
With the shape of your pond excavated, all you need to do is lay the liner on the bottom and sides of the pond. Leave some excess on either side of the pond. Then place stones on top of the liner where it overlaps with the edge of the pond. This will help keep your liner in place over the years.
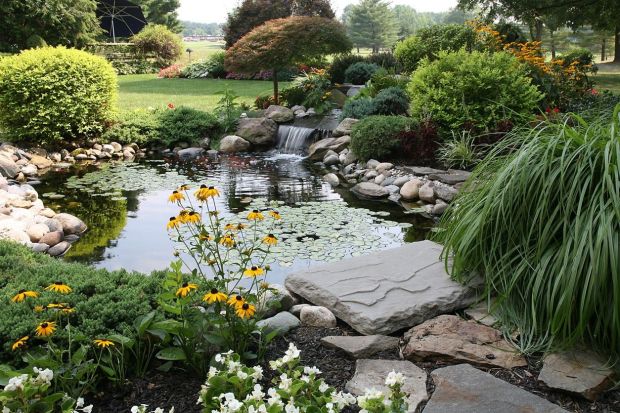
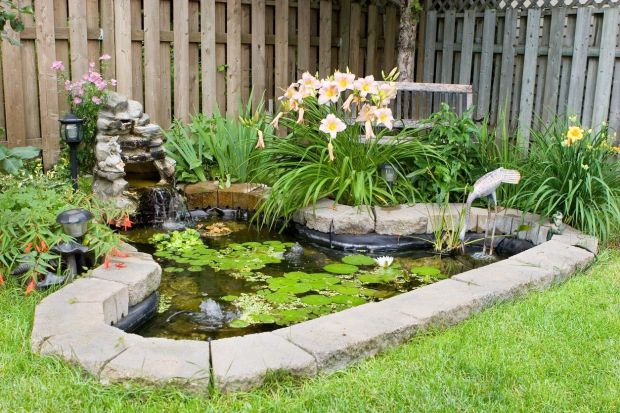
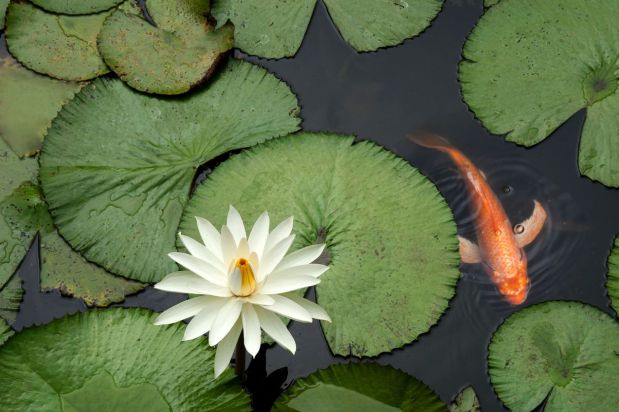
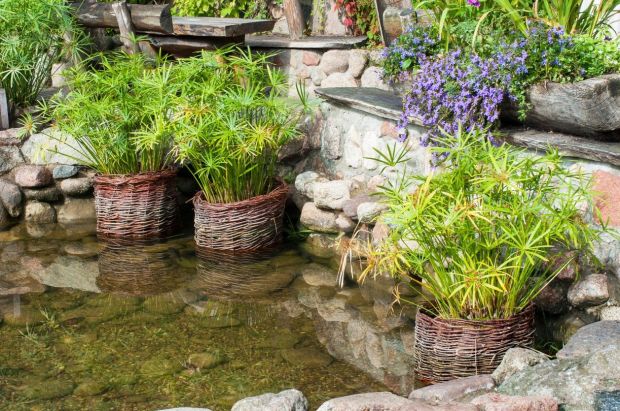
Aquatic plants are a vital component of any garden pond. These plants not only add to the appearance of your pond but also help to keep the water clean and provide support for local wildlife. There are two ways that you can add plants to your new pond.
The first way to grow pond plants is with containers. You can find containers that are ideal for pond settings. Once you do, simply put your plant in that container and rest the container on top of your liner. This approach will help container the plant roots so that they do not disrupt the liner as they grow.
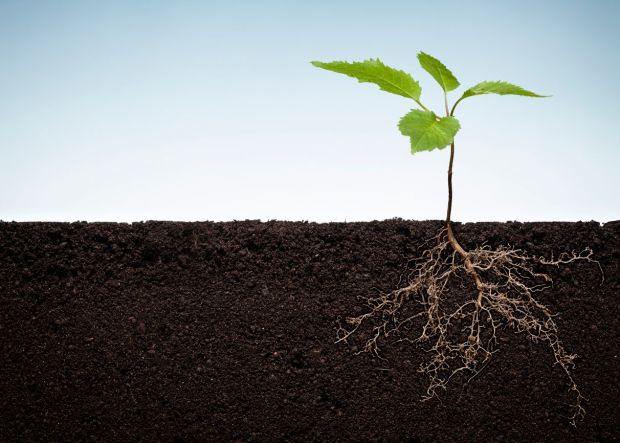
The other way to grow plants in your pond is to plant them in soil. If you choose this method, you should add a layer of clay soil on top of the liner. Then plant your aquatic plants in that soil. Choosing this route could lead to some root damage to the liner in the future. But on the plus side, it creates a more naturalistic look.
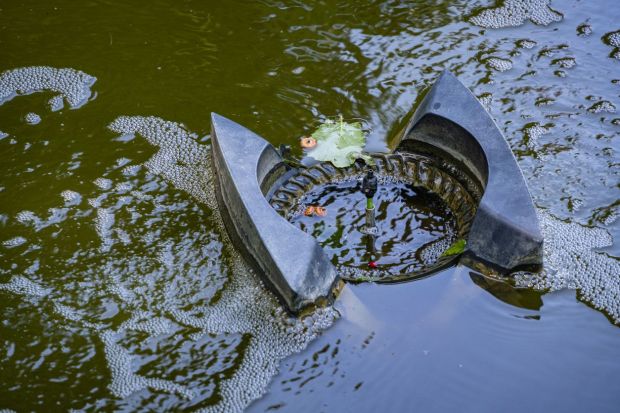
Plants help a lot to filter the water in your pond. But it is still a smart idea to incorporate a pond pump and filtration system. These systems can come in several different varieties, all of which serve the same fundamental purpose. Your pump and filter will keep your pond water moving so that it is harder for algae blooms to form. It can also remove a great deal of filth and particles from the water. As long as you located your pond close to a power supply, you should have no issue running your pump and filter.
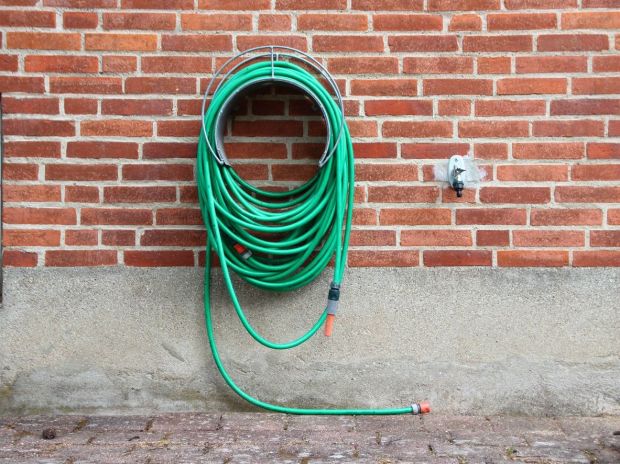
This final installation step is the easiest one. All you need to do is turn on your garden hose and fill your pond with water. As you fill the pond, check to make sure that your liner remains in place. If it does, your pond will be complete as soon as it is full of water.
Our final pond tip is to stay up-to-date with all forms of pond maintenance. Ponds require a lot of care and attention, so if you are not willing to keep up with your maintenance tasks, a pond is not right for you.
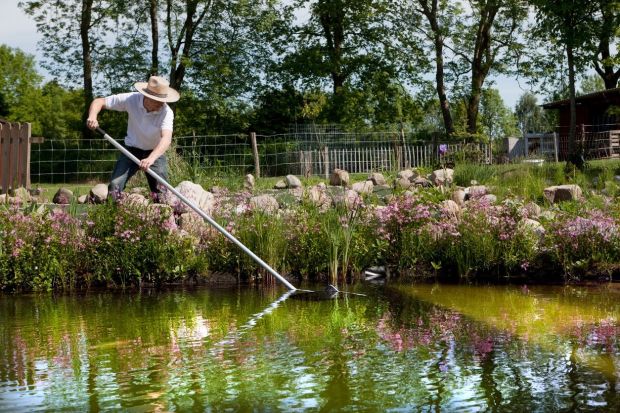
Most importantly, you should clean your pond often. Removing items like dead leaves or other plant debris will discourage the formation of algae. You should also check your pump, filter, and water level regularly. Doing so will allow you to notice any issues as soon as they arise. If you follow these care tips and the steps we described for installation, you’ll get to enjoy your pond for years to come.