How To Make Your Own Compost At Home
For gardeners, high-quality compost is worth its weight in gold. Learn how to make this valuable garden amendment from kitchen scraps and other waste material for healthier soil and a bigger, better harvest.
If you’re looking to turn trash into treasure, few methods are more effective than learning how to compost at home. Composting lets you transform yard waste and kitchen scraps into a “black gold” for the garden that makes it possible to improve your soil and grow healthier plants.
Learning how to make compost might feel intimidating, but the process is surprisingly straightforward. Here’s how to get started.
What is Compost?
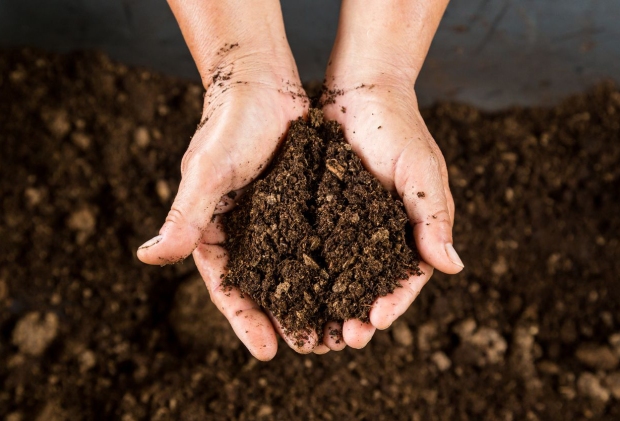
Compost is nothing more than decomposed organic material. It’s what’s left behind after soil-based bacteria break down garbage and other natural materials, transforming it into a material that enriches the ground around it. Add this amendment to your garden beds, and plant roots can access its rich nutrient stores to promote better growth.
Nature makes compost whether you’re involved or not. The process happens naturally on every forest floor as leaf litter breaks down into a rich humus. However, it’s possible to speed decomposition along for your garden’s benefit by making compost in your own backyard. Once you get the process started, you’ll always have a space for your organic waste and a healthier garden to show for it.
Benefits of Homemade Compost
There’s a lot to like about making compost at home. Here are the top benefits.
- Improves Garden Soil: Compost adds nutrients to the soil and improves its structure and aeration to promote plant growth.
- Safe to Use: Some fertilizers burn plant roots and need to be used sparingly in the off season. Compost, in contrast, can go into the garden at any time of year.
- Free Soil Nutrition: Homemade compost makes it possible to get a second use out of yard waste and kitchen scraps for the benefit of your garden—materials you might otherwise have to pay to throw away.
- romotes Soil Microbial Content: Compost creates food and habitat space for soil microorganisms that are essential for a thriving garden.
- Improves Soil Texture: Compost makes clay soil easier to work while improving the water retention rates for sandy soils.
How to Make Compost at Home
There are dozens of ways to make compost at home, but the basic process is straightforward. Essentially, you’ll make a pile with the right ratio of organic material to promote microbial life to break it down into dirt. Here’s an overview of the process.
- Choose a Compost Spot
The best places to make compost must have good airflow, easy water access, partial shade in the summer (to keep it from overheating) and full sun in the winter.
- Choose a Bin Style
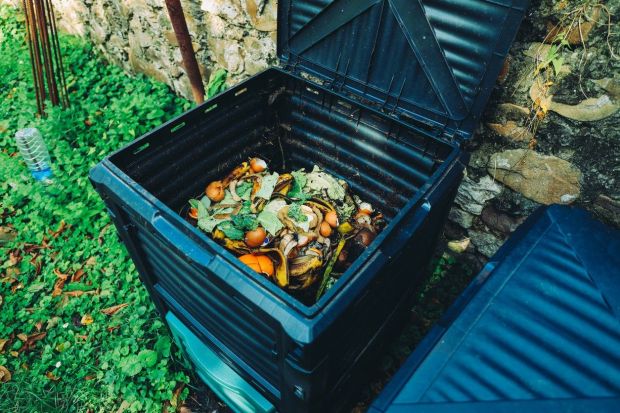
It’s possible to make compost in the open air, but you can speed the process significantly by making it in a closed in. This helps retain heat and keeps hungry animals from feasting on your food scraps. Plus, many compost bins rotate to make stirring the materials easier. If you prefer an outdoor pile, make it big enough to generate heat but small enough to turn by hand.
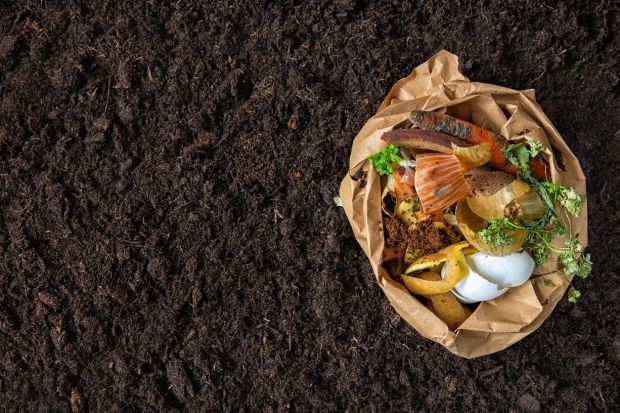
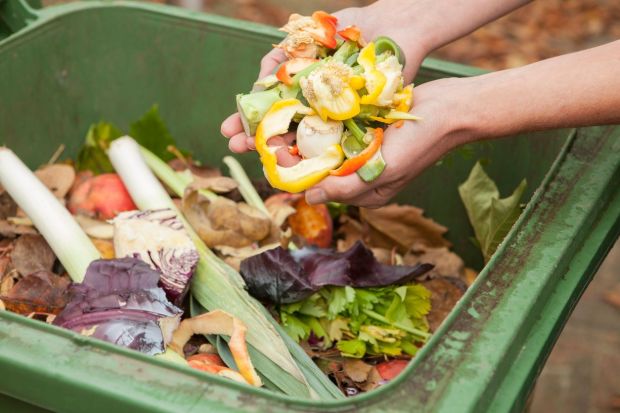
- Add Compostable Materials
The right ratio and order of materials is the secret to good compost. All compost requires two types of material:
- Brown “dry” material provides carbon and include dead leaves, twigs, newspaper, straw.
- Green “wet” material offers nitrogen and comes from grass clippings, food scraps, coffee grounds.
Every pile also needs enough water to keep things moist and intermixed. Ideally, you want an equal mix of browns and greens in alternating layers. You can add more material to your pile as you collect it, though it’s smart to save it up to add in large amounts to better promote microbial activity. Put the brown materials on bottom as a base with the wet green materials on top to trap heat.
The more surface area on a material, the faster it breaks down. Consider chopping or dicing your scraps first to speed up the composting.
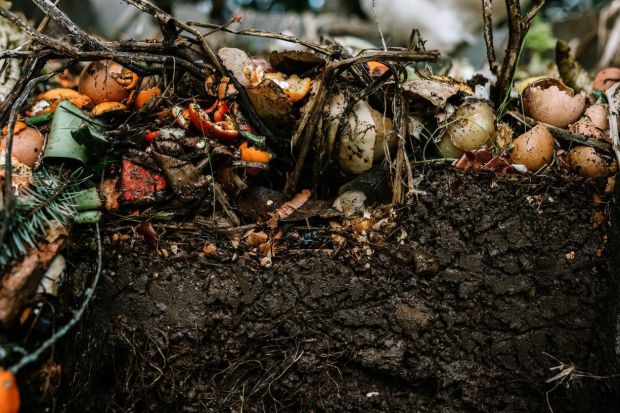
Some materials that seem perfect for home composting shouldn’t be used.
- Meat or animal products like bones, eggs, fat scraps, etc. break down slowly and could attract rodents
- Weeds and weed seeds won’t break down in compost and could contaminate your garden beds
- Clippings from lawns treated with synthetic chemicals may kill beneficial microbes in the soil
- Dog droppings harbor bacteria that’s potentially dangerous for humans and won’t break down into quality soil
- Diseased or insect ridden plants may reintroduce the problem to your garden bed.
- Citrus peels, onions, and garlic may repel earthworms, which are vital for healthy soil.
- “Compostable” plastics and other materials will only break down in the high-heat conditions of industrial compost facilities—not your backyard pile.
- Monitor Compost Conditions
Now it’s time to let your pile sit and work its microbial magic. You’ll want to check it regularly to ensure it has all the requirements for good compost—heat, moisture, good airflow, and the right ratio of ingredients. Compost piles start to shrink as the materials within the break down. Use a compost aerator, pitchfork, or lever on the compost tumbler to remix the pile and add oxygen to the layers.
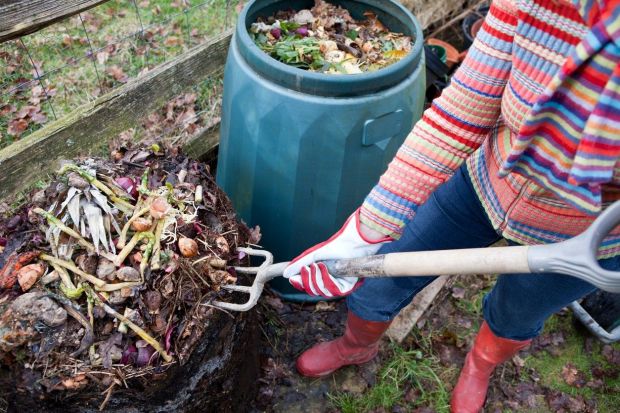
You can test the temperature by sticking your hand in the middle of the pile. If it feels warmer than the outside air, the microbes are hard at work. If not, consider remixing it and adding more materials.
Note: highly active compost piles may get hot enough to burn you!
A well-mixed compost smile won’t smell. You’ll know something is wrong if yours picks up the odor of rot or ammonia. This is typically the result of too little oxygen, as anaerobic bacteria have taken over and are creating that distinctive sulfurous smell. Turn the pile to restore its oxygen levels, and add more brown materials if the problem persists.
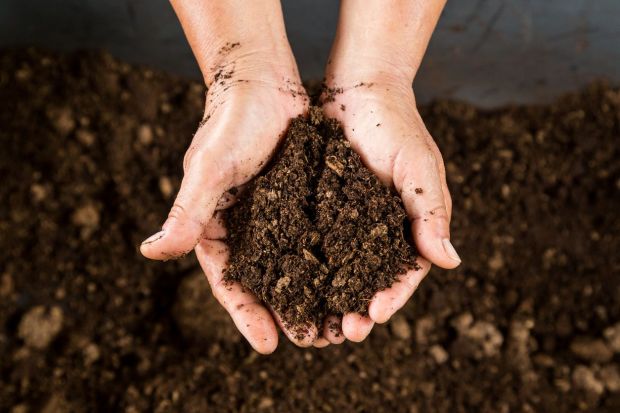
All compost moves at its own rate. In optimal conditions, you could have a quality soil amendment within four weeks, but the process can take twelve months or longer if the microbes are sluggish. Compost is ready to use once it’s odorless, crumbles within your fingers, and no longer has discernable components. In short, it should look like dark, rich dirt.
To use, sprinkle over your garden beds for a boost of nutrition, ideally two to four weeks before planting. Your plants will thank you for the effort.