How to Build an Automatic Irrigation System
Installing an automatic irrigation system will save you plenty of time and keep your plants well hydrated. With our easy step-by-step instructions, you can set up your watering system in no time.
Are you looking to install a DIY automatic sprinkler system in your yard? Grass, plants, trees, shrubs, and flower beds all need rain, sunlight, and minerals from the soil they are grown in. However, natural rainfall is not always consistent, and this is where a DIY underground automatic sprinkler system can save you time and money, and conserve water. This type of watering system allows you to direct water in the areas most needed and allows you to automate the watering schedule according to your needs.
Planning
- The first thing you need to do is call 811 and have them check for underground utilities.
- After you have done the initial examination, you can start laying out your automatic sprinkler system. Take into consideration the following items when laying out your automatic irrigation system:
- Fences
- Flower beds
- Shrubs
- Trees
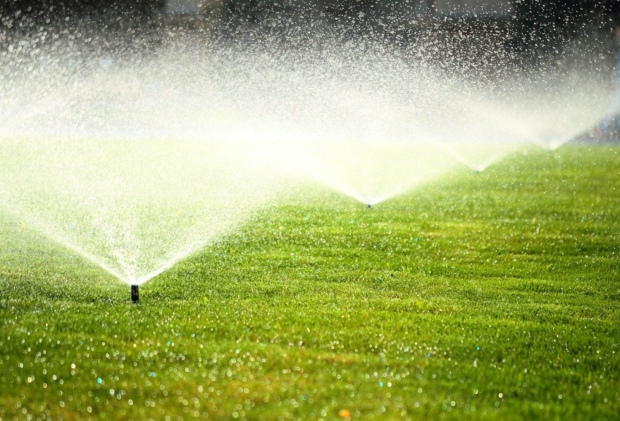
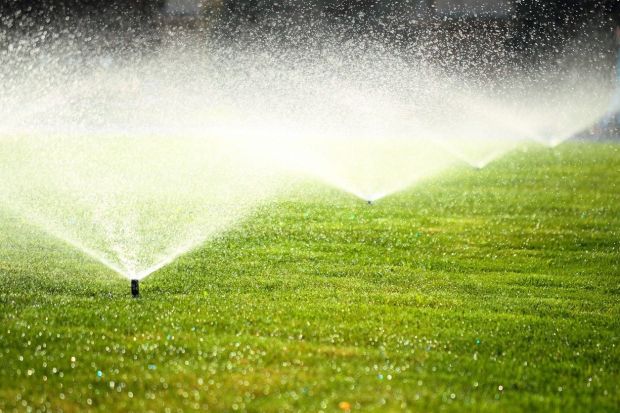
- When you are installing an automatic sprinkler system, you want to make sure you have 100% coverage, so there are no dry places in your yard. You can accomplish this by overlapping the spray pattern.
- You can connect to an existing outdoor spigot or you can tap into the main water-service line. You may want to hire a professional to tap into the main water-service line.
- Next, calculate the size of your yard and/or gardens with a tape measure or a surveyor's wheel. Create a diagram, plot the locations of the sprinkler heads, and mark them with survey flags.
Parts Required
- Polyvinyl chloride (PVC) or polyethylene pipe
- A manual control system
- A backflow preventer
- Valve manifold
- Timers
- Valves
- Valve boxes
- Head styles
- Sprinkler heads
- Risers
- Fittings or couplings
Installation Steps
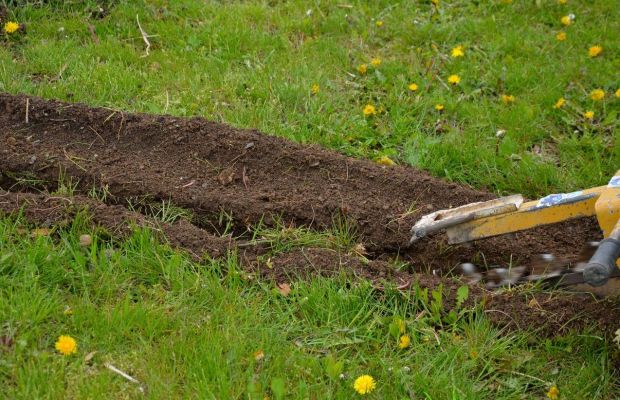
- To place your irrigation pipes you will need to dig a 6" to 8" deep ditch with the sides sloping at 45 degrees.
- Make sure your ditches are level. If some of the sprinkler heads are lower than others, gravity will reduce the efficiency of the irrigation system.
- To install the valve manifold, you will need to dig a little bigger hole and place the box in the ground. You will also need to attach the valve manifold to the main water-service line.
- To run the PVC pipe, connect a 3/4" PVC pipe to the valve manifold and continue placing the pipe along the main ditch. You will want to use "tee" connectors for all pipes running off the main water-service line. Attach risers using 90-degree connectors at the location of each survey flag.
- A Tip: When you are putting the pipes together, apply heat to the ends of the pipes. This will make it easier to connect the pipes.
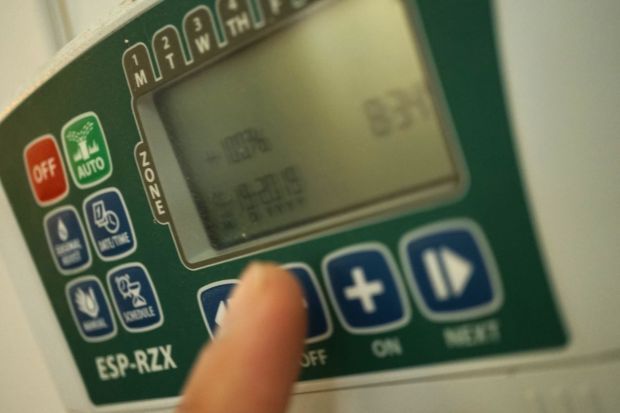
- To install the controller, you will need to connect the wires according to the manufacturer’s specifications.
- You will need a pressure gauge to determine your working water pressure number. Attach the pressure gauge to an outdoor spigot and take a pressure reading in PSI (Pounds per square inch).
Maintenance
- Get ready for the cold season: with an air compressor, blow out the residual water from the sprinkler system before the ground freezes.
- Backflow preventers may also need to be covered when it freezes.
- The most important part of your automatic sprinkler system maintenance is to keep a careful eye on what your system is doing so that you can catch things that need to be fixed or replaced.