Composting for Beginners
What Can You Compost?
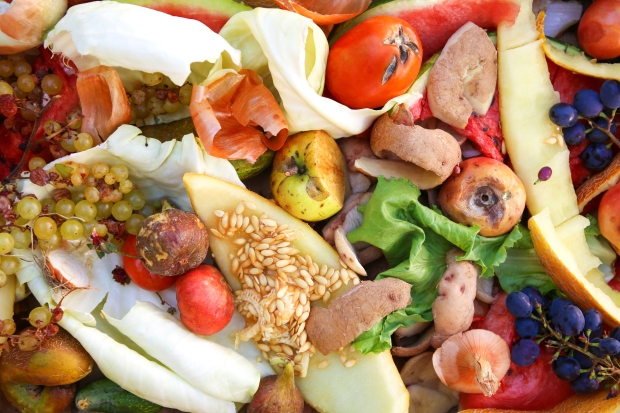
It’s important to know that not everything is compostable. Even products that are listed as compostable, such as some brands of wipes, paper towels, or grocery bags, aren’t going to work as well in your home compost pile. With that in mind, some great options for composting are fruit and vegetable scraps. This includes banana peels, potato peels, and apple cores. You can also add egg shells, coffee grounds, and leftover rice or pasta. Don’t add meat or dairy scraps or foods that have been cooked in oils or butters as these can attract rodents.
Grass clippings, weeds, and flower trimmings are also compostable, depending on the space you have available. Twigs, straw, and pine needles can be added in as well.
Composting ingredients can be divided into brown vs green materials. This is important to know as you will want to layer these items for the best results. In general, green ingredients are nitrogen sources. Food scraps and grass and yard clippings fall into this category. Brown ingredients are rich in carbon. This includes twigs, straw, newspaper, or egg cartons.
Choose Your Space
If you have an outdoor space for composting, the options are limitless. You may choose an open-air style, where you just clear a space on the ground, or you may want to look into a composting bin. An old trash can or wooden box works too.
If you don’t have an outdoor space, you may want to look into a community garden or friend or neighbor where you can access the space. There are also many indoor techniques that you can try using worms or microorganisms.
Create Your Compost Mix
The key to composting is in the layering. Remember those green vs brown ingredients? Here’s where they come to play. You’ll want to build a solid foundation out of brown materials. These will allow for proper drainage and aid in aeration.
You’ll then want to add a layer of green ingredients on top. Keep layers to about 1-2” thick. If you have a lot of leftover food scraps or yard clippings, you may consider storing them in a plastic container until you can properly layer them with brown ingredients. Thicker layers or improper ratios aren’t going to decompose as you want them to.
Layer alternating brown and green items until you’ve used all of your ingredients. You may also want to add a bit of nitrogen rich fertilizer to further speed up the process. You may also want to chop or shred your ingredients into smaller pieces for quicker decomposition.
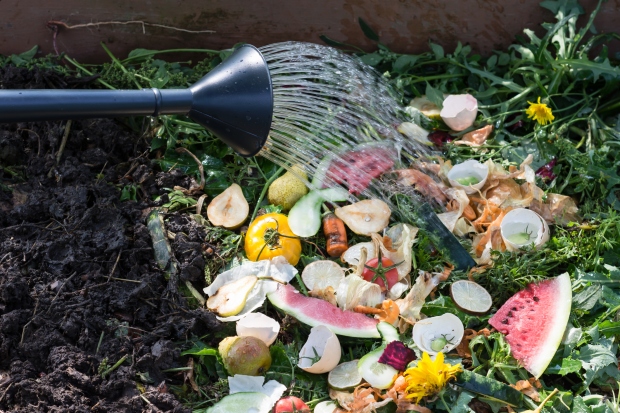
Wet, Turn, and Repeat
Once your compost pile is built, keep it wet. You don’t want water running out of it, but it should be damp to the touch. You’ll also want to turn or stir the pile every 10-14 days to ensure that air gets to all of the inner spaces. You can continue to add layers on top of your pile or to your bin as you need to but this may increase your decomposition time. Instead, you may choose to start a new pile. Just make sure to keep a good ratio of green and brown materials.
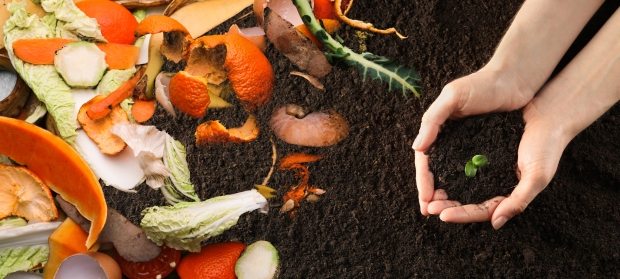
Most food scraps and clippings will take 2-4 months to decompose. Other products may take 6 months to a year. You’ll know your compost is ready when the temperature of it drops. While the materials are decomposing, the pile or bin will be warmer, the drop in temperature will indicate that fermentation is no longer happening. The finished product will look, feel, and smell like regular soil.
Mix the new compost in with new plantings, potting soil or spread it among your established plants for a nutrient boost.