Creating Penjing in 7 Simple Steps
While making penjing is a detailed process that takes a lot of time, attention, and effort, this task can be simplified too. In this chapter, we’ll break down the penjing creation process into seven easy-to-follow steps.
Acquire the Supplies You Need
Before you start your design, you should make sure that you have all of the supplies you need to be successful. Those supplies will not only include the many tools that will facilitate your design but also the plants, stones, and other items you’ll include in your display.
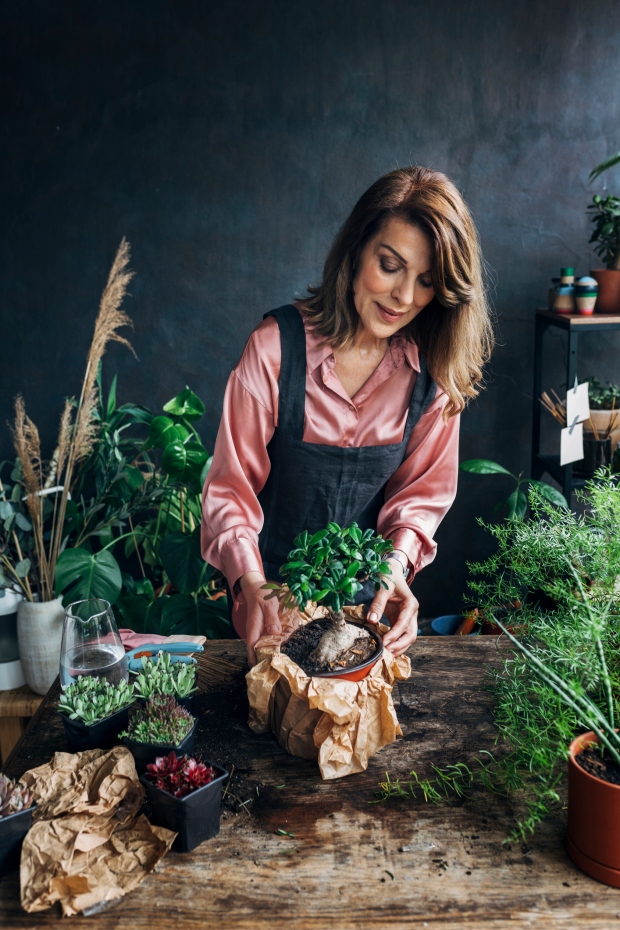
Begin Shaping Your Tree
The intricate and sometimes wild shapes of miniature plants are one of the most important aspects of penjing. As such, you’ll need to begin shaping and training your trees right away. At times, this means pruning and trimming your plant before you have even planted it. Prior to planting, you’ll have a chance to start training the branches and roots of your tree to ensure you have complete control over how it develops from then on.
Carve Your Penjing Stones
Shaping your plants is crucial to your penjing design, and so is carving your stones. Again, stone carving is something that is best done before you place your stones into the display. Carving your stones in advance gives you greater control over their appearances and will give you a better idea of how to best use them in your display.
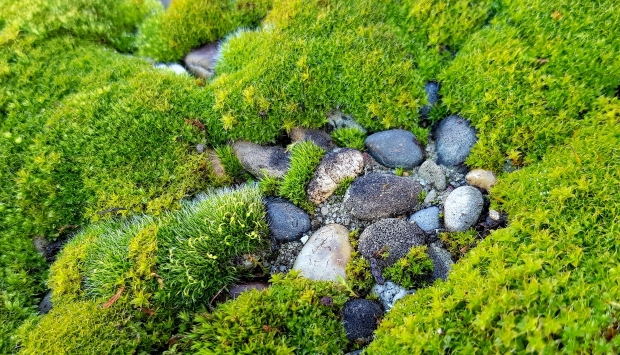
Cement Your Rocks in Place
Once your stones are carved, it’s best to cement them into place in your penjing design. Stones often account for the main structure of a penjing display, which is why they should not have the chance to shift over time. A quick application of cement will keep your stones steady and still while you create the rest of your design.