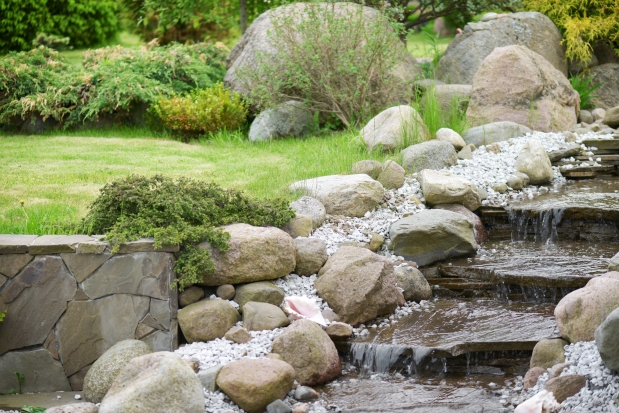
Build a DIY Stream to Meander Through Your Garden
Learn how to build a cascading stream in your garden, complete with a waterfall feature. Customize the design to fit your space and budget, including how to add more than one waterfall!
Have you ever thought about adding a water feature to your yard or garden but hesitated because you assumed you’d need to hire a professional? That’s not the case! If you’re willing to put in a couple of days (or maybe two or three weekends) of hard work, you can build a garden stream with a waterfall yourself.
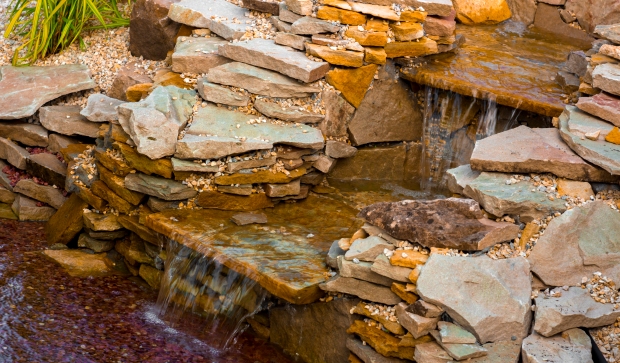
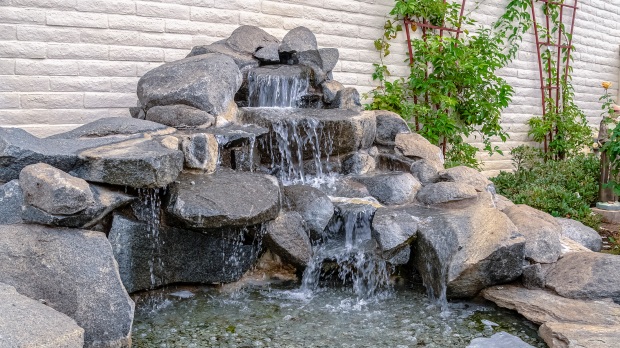
With these instructions, you can create a rock-lined rippling stream through your garden with one or multiple waterfalls customized to your space.
Before digging, call a local service (811 in most areas) to have the utilities located and marked to avoid hitting underground lines.
Lay out a rough outline of the design using a garden hose. Mark out the size and shape of the lower basin and upper pool, the waterfall location(s), and the outside edges of the streambed.
Once the design is established, use spray paint to mark the outline and remove the garden hose. At this time, you can also mark out where you’d like large, decorative boulders to go.
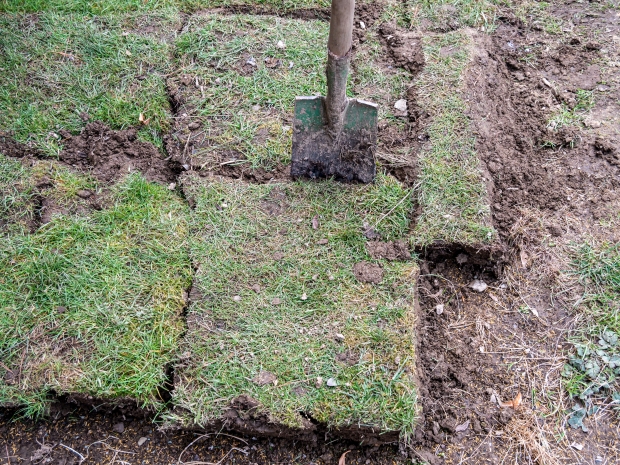
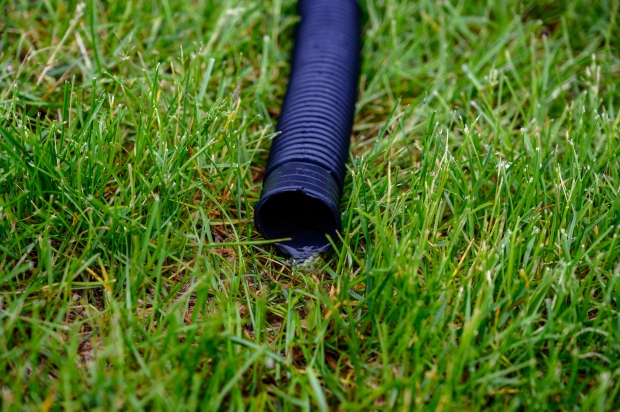
Remove any turfgrass inside the outline you painted on the grass. Pull out any large rocks or other debris.
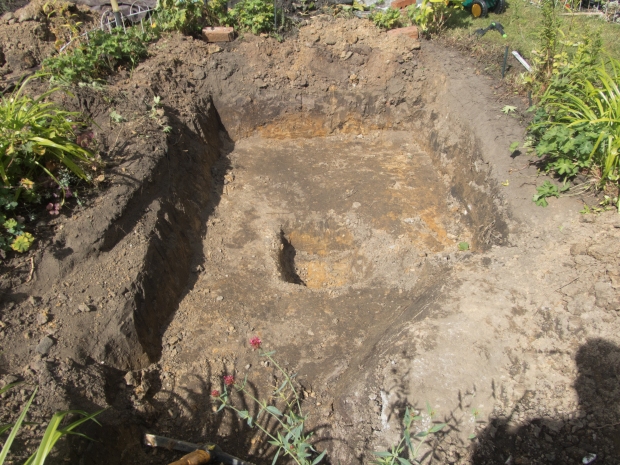
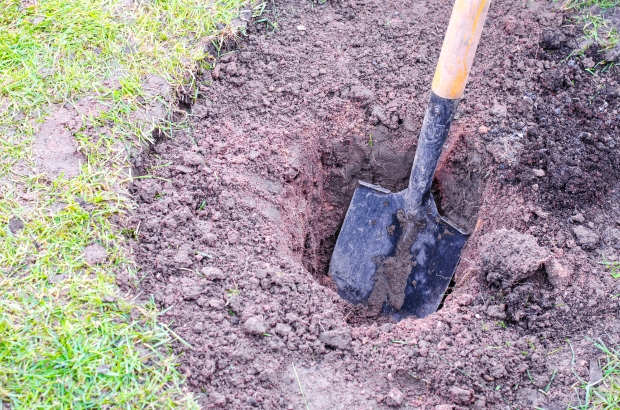
Dig out the spots intended for the lower basin and upper pool. The lower basin doesn’t need to be more than a few inches deep, but it should be at least a foot wider than the streambed.
In the lower basin, dig a hole at least six inches deeper than the height and two feet wider than the sump basin diameter. The sump basin will be set in this hole, surrounded by rocks.
Once the upper pool and bottom gravel are dug, begin creating the sloped streambed, working in small sections. You can vary the streambed slope in spots but remember to leave a flat area where you’ll be building the waterfall(s). Dig pools under the waterfall(s) to slow water flow.
Make sure the edges of the streambed are raised enough to create adequate depth in the stream, and the sides are level.
Working your way through the entire feature, pack the dirt at the bottom of the upper pool, streambed, and bottom basin using the soil tamp. Compressing the ground keeps it from shifting under the water’s weight.
Use pressure-treated lumber to create a simple framework for the edges of the streambed, anchoring it with spikes. Framing it solidifies the form so the streambed stays level.
Lay underlayment across all of the exposed dirt and then cover everything with pond liner, making sure to get both layers tucked well into the corners.
The pond liner should extend about two feet past the perimeter on every side. You can tape the edges where pieces overlap, but it isn’t necessary if you overlap pieces by at least 18”.
Use the hole saw bits and the drill bit to create holes in the sump basin to allow water to reach the pump.
Attach the hose adapter to the pump and place the pump in the bottom of the basin. Feed the hose through one of the holes, attaching it to the hose adapter.
Place the sump basin and pump in the deeper hole you dug and run the water hose out of the lower basin.
Put the lid on the sump basin and fill the space in the hole, around the sump basin, with medium-sized rocks up to the basin lid.
The waterfall rocks need to fit well together to force the water to go over the waterfall and create drops, so this step requires careful rock selection and planning. Dry-fit flat stones or large square rocks into place to form the waterfalls. Fill in the gaps with smaller stones.
Once the rocks are firmly in place, use foam sealant to adhere the stones to the pond liner and fill any cracks between rocks. After the foam is dried, run water over the waterfall to look for leaks underneath the spill stones. Fill leaks with foam, and repeat the process until all of the water goes over the waterfall.
Build an outer wall around the perimeter using the different rocks you purchased to create a berm. Mix and match large decorative boulders with smaller field rocks to create a natural look.
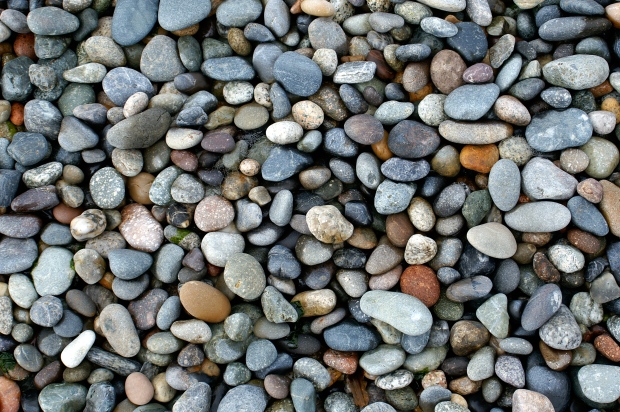
Intersperse larger rocks, river rocks, and gravel to cover the stream bed and fill the upper pool. Place bigger rocks where they would naturally fall if they cascaded down the stream.
Lastly, fill the entire lower basin with a few inches of smaller gravel, covering the sump basin lid.
Starting at the top, spray all of the rocks with water and allow it to cascade down through the stream. When water starts collecting in the gravel basin, remove the pump hose from the upper pool and let the dirty water drain elsewhere. Continue running water through the stream until it runs clear.
Once the rocks are clean, securely tuck the water hose back into the upper pool and fill the stream.
With all of the construction completed, use your utility knife to trim the edges of the pond liner covering any liner that shows with gravel or smaller rocks.