
How to Force a Bulb To Bloom Inside Your Home
If you want to enjoy flowers indoors this winter, it’s possible to force bulbs to bloom. Follow these steps to get suitable bulbs and learn how to take care of them until they are ready to blossom in your home.
If you’re sick of winter and want a sense of spring indoors, forcing bulbs to bloom inside is an easy way to enjoy fresh flowers. Though it sounds challenging, tricking bulbs into blooming is easier than most people think and involves minimal materials and maintenance.
Here’s how to get started.
Forcing a bulb to bloom is a proven strategy to enjoy flowers indoors, no matter the weather. By placing the bulbs in water or another growth medium, you can trick them into thinking that winter is over and it’s time to start sprouting.
This lets you enjoy flowers on your own timeline, no matter what the outside weather is doing. If you want to fill your home with floral scents or have fresh flowers available for a wintry event, forcing bulbs to bloom is an ideal solution.
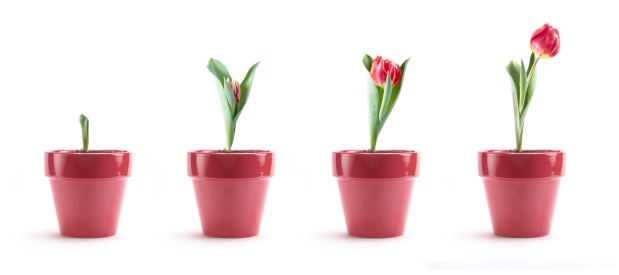
Many different types of bulbs work well for forcing blooms. Common choices include crocuses, amaryllis, hyacinths, daffodils, paperwhites, irises, snowdrops, and tulips. Just keep in mind that some flowers, such as paperwhites, have a strong scent that may be overpowering indoors.
When purchasing bulbs for forcing into bloom, it’s best to seek out local plant nurseries that can verify that the bulbs are fresh. Most will also have a wide variety of pre-chilled bulbs to choose from, which will save you time before flowering.
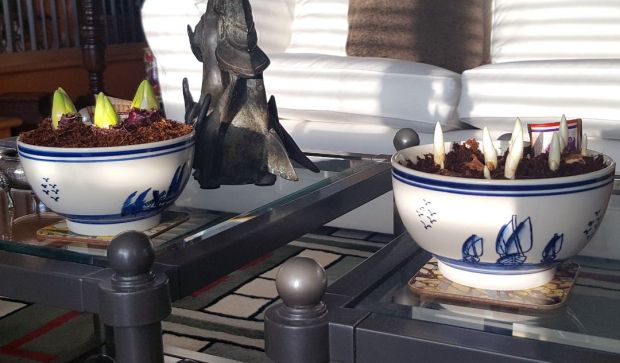
The first step is prepping your bulbs for blooming. It’s possible to use gravel, water, or potting soil for this process.
Place gravel along the bottom of a container and arrange the bulbs within it. Fill it with water until the bottom of the bulbs are just barely covered.
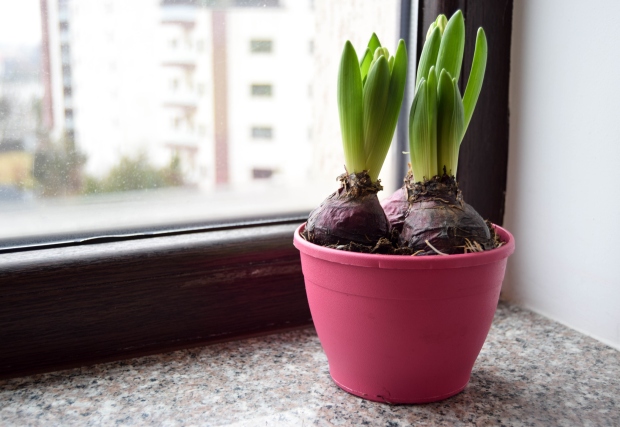
Select a pot with a drainage hole and with room for at least 3-4” of space below the bulbs for root growth. Ceramic or terra cotta tend to work best because they don’t hold onto moisture that could rot the bulb.
Pour a soilless potting mix into the pot, and slowly add water until the mix is moist but not soggy. You want the pot to be about three-quarters full. Place the bulbs in the mix and add more potting mix until they are covered by about a half an inch. Water thoroughly, and monitor regularly to ensure the mix stays moist.
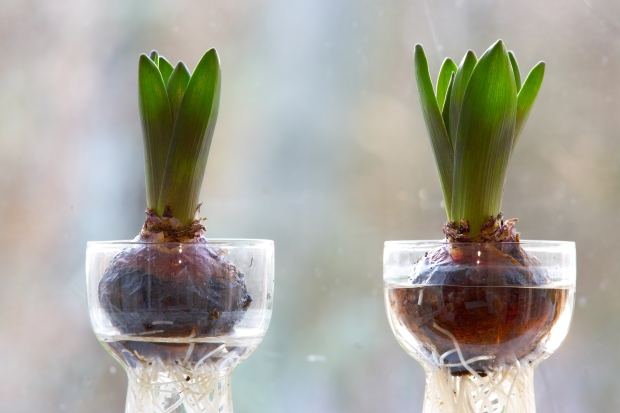
It’s possible to use special bulb-forcing vases to provide a 360-degree view of the blooming bulb. You’ll place the bulb within the top of the glass and add enough water that it just touches the bottom of it.
Note that this method works best for pre-chilled bulbs.
Before most bulbs will sprout, they need to undergo several weeks of a cooling period that mimics winter.
Note: Some tropical varieties, like amaryllis or paperwhite, don’t require chilling. You can also purchase pre-chilled bulbs to skip this step entirely.
It’s possible to chill bulbs in an empty vegetable drawer of your fridge or an unheated garage or basement. Outdoor cold frames also work well.
Keep the bulbs cool for the first few weeks (ideally between 40-60°F or 4-15°C) before putting them in a slighter cooler location. This mimics the transition from fall to winter. Moisture levels are very important during this time, so check your pots every few weeks and add water when the soil is dry. You want it lightly moist, but not soaked.
Chill times vary based on the bulb variety, but most range from 8 to 16 weeks.
For example,
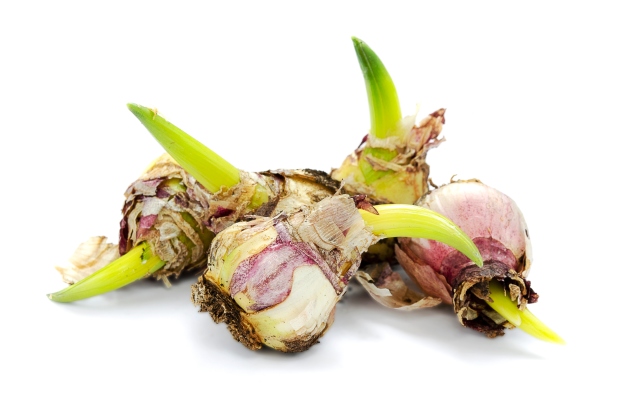
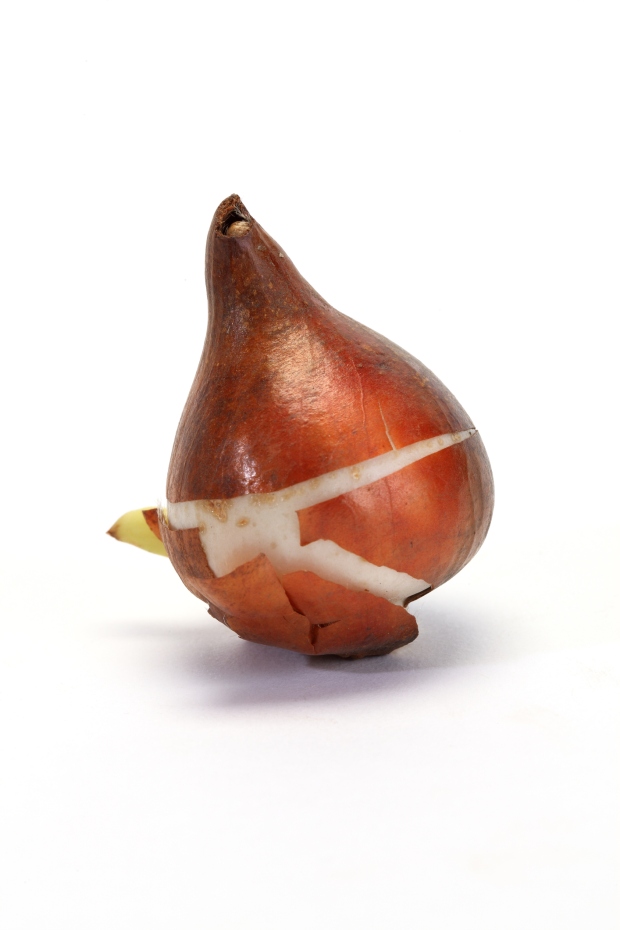
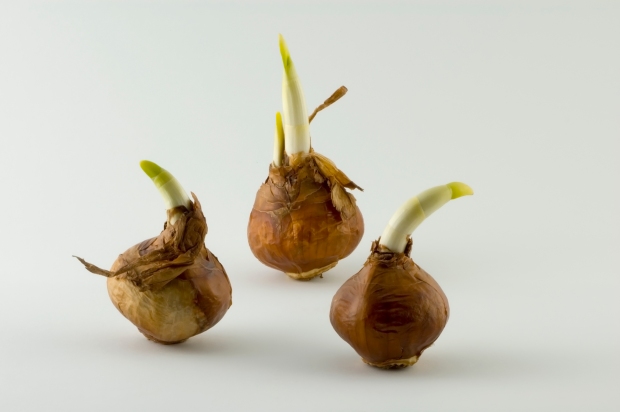
At the end of the variety’s chill time, you should start to notice signs of fleshy white root growth. Don’t make decisions based on any shoots growing from the top of the bulb, as root formation better indicates how well the bulb is developing. If roots aren’t appearing, keep the bulbs chilling longer.
Once roots are established, and the bulbs have sprouted the first few inches, you can move them to a warmer, sunnier place to encourage more growth. A bright indoor windowsill works well. More light exposure will encourage the bulb to develop sturdy, compact stems and leaves instead of thin, spindly ones that are prone to flopping over.
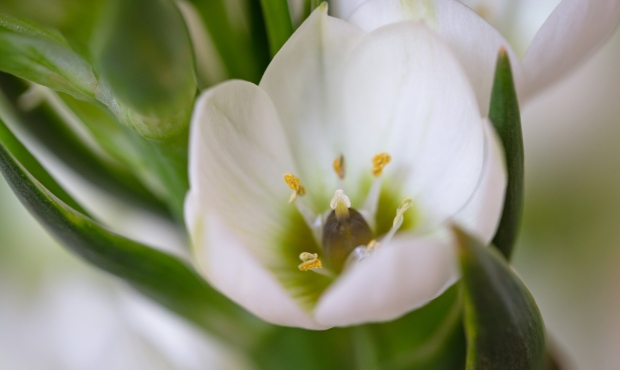
Most bulbs should start blooming within two to five weeks after moving from a cold spot to a warm one. As the bulb starts to produce a bud, you may want to increase the watering from weekly to daily.
Once you have flowers, it’s wise to move the pots out of direct sunlight and into a cooler room to prolong the life of the bloom. Even so, expect forced bulb flowers to last for less time than the same bulb would bloom outdoors.
You can keep the flowers as they are for a beautiful display or consider cutting them and making floral arrangements. So long as you keep them in water, the flowers will stay vibrant for several days.
Once the blooms wither, it’s time to toss the bulbs. Alternatively, you can save the bulbs to plant outdoors once the threat of frost is gone. Just know that it might take two years before this bulb will grow again. Some varieties take better to replanting than others—you’re most likely to have luck with daffodils and crocuses, while tulips will rarely bloom again in these conditions.
Forcing bulbs to bloom indoors takes some planning, but you will be well rewarded for your efforts with gorgeous flowers at times when nature wouldn’t provide them. Prep some bulbs for indoor blooming today, and you’ll be enjoying indoor flowers in just a few weeks.