How to Build a Cold Frame for Your Garden Plants
Cold frames offer an easy way to extend your growing season and protect vulnerable plants from temperature extremes. They are simple to make at home from materials you might already have on hand. Here’s everything you need to know about cold frames.
What is a Cold Frame?
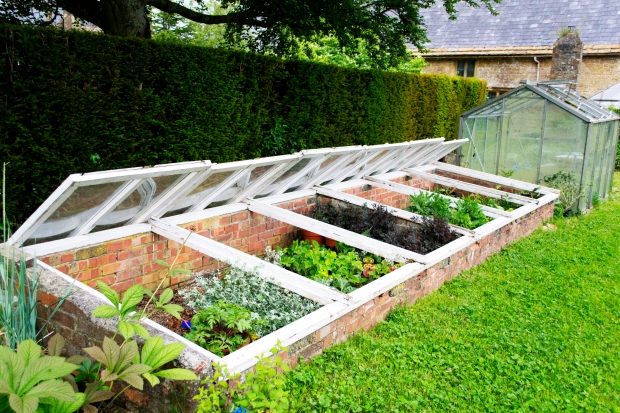
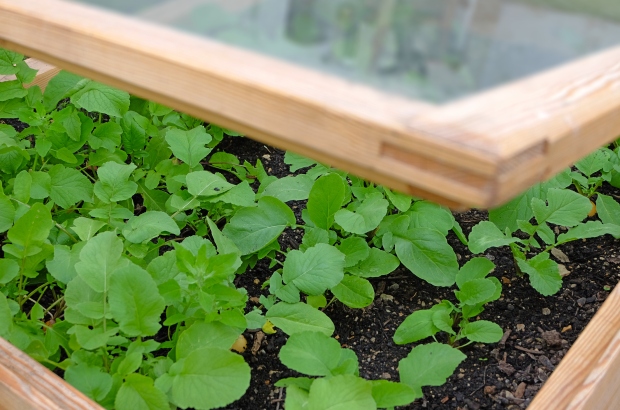
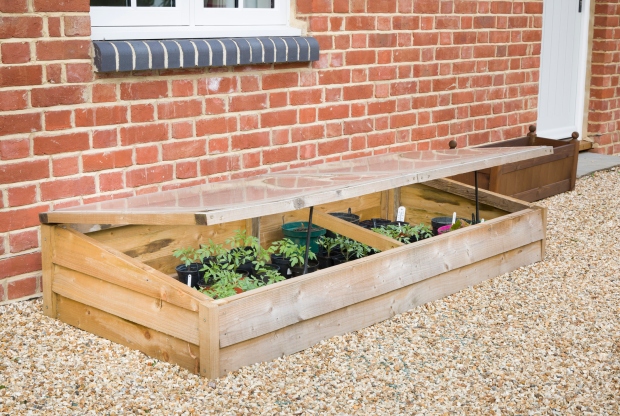
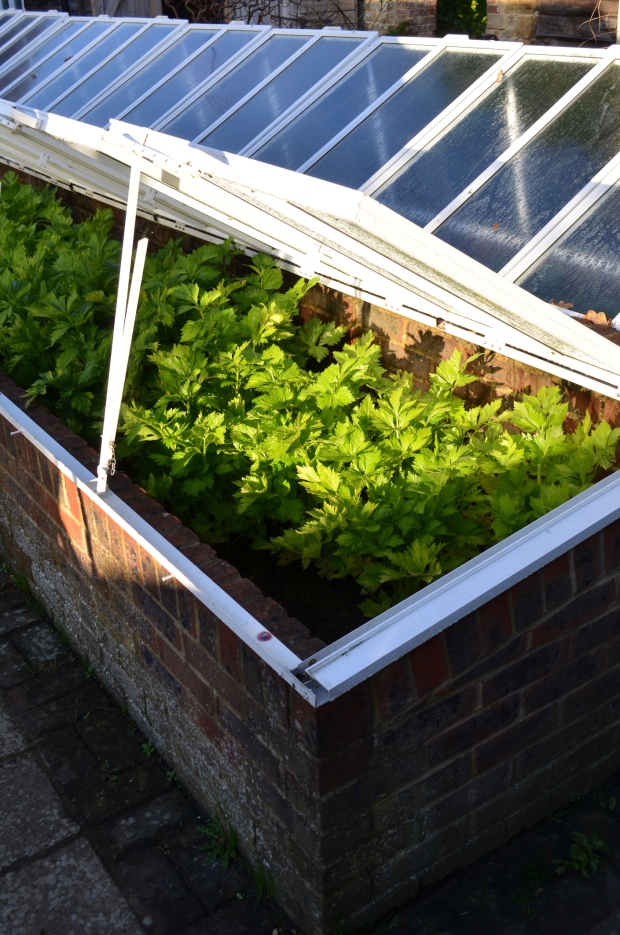
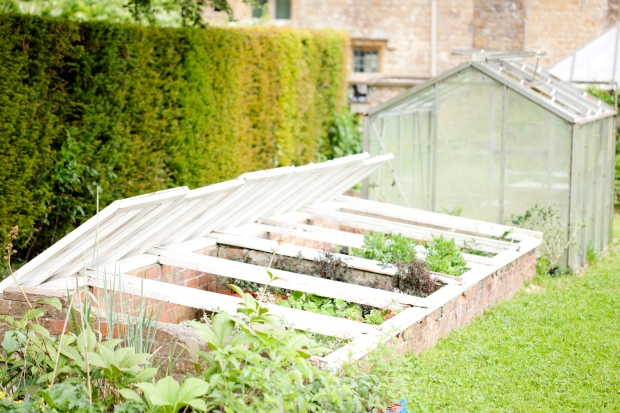
At their most basic, cold frames are shallow boxes with a transparent cover (usually made from glass or plastic) attached by a hinge. Most cold frames don’t have bottoms but instead are placed directly on the soil.
Unlike greenhouses, cold frames aren’t heated. Instead, they act as passive solar energy collectors. This means that they trap the sun’s heat during the day to insulate plants inside. As the temperature drops in the evening, the frame’s stored heat keeps the plants up to ten degrees Celsius warmer than they would be outdoors.
Their hinged lid makes it possible to adjust how much heat stays in the frame. Once the weather warms, you can prop the top open to increase airflow and lower the interior temperature to prevent plants from becoming fried.
Benefits of a Cold Frame
Despite how simple they are, cold frames offer a lot of value for gardeners. Here are some of the advantages of having one at home.
- Reduces the risk of frost damage
- Stores heat to help plants grow faster
- Extends the growing season
- Provides a safe space for plants to overwinter
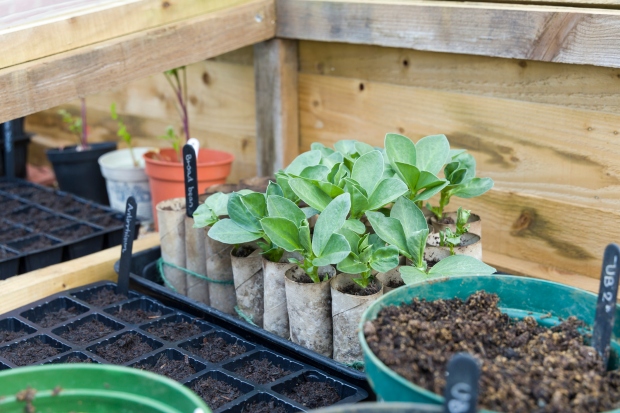
- Helps harden off seedlings before outdoor planting
- Improves seed germination rates for starting seeds outdoors
- Lets you grow cold-hardy plants like lettuce, radishes, and brassicas through the winter
- Protects against strong winds and hail or ice storms
- Keeps plants better protected from pests and hungry rodents in the summer
However, cold frames won’t work for all kinds of crops. They are best suited for low-growing, cool-season varieties like lettuce or root vegetables, rather than tall tomato vines space-hogging squash.
Four Steps to Set Up a Cold Frame
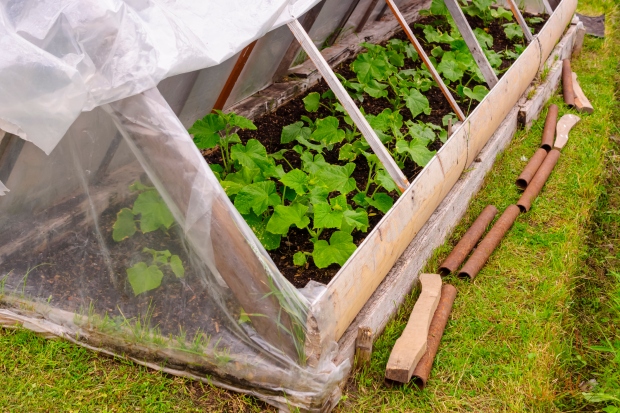
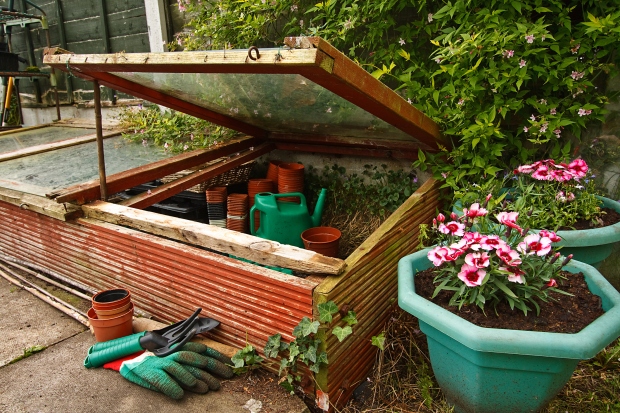
When it comes to building a cold frame at home, you are limited only by your creativity. You can construct a cold frame from scrap wood, plastic, cinderblocks, bricks, and even straw bales. The key is to choose a material that offers insulation, so captured heat won’t escape.
If you decide to build your own, it’s best to follow these general tips for success.
1. Choose or Build the Lid First
Your cold frame’s dimensions depend on the size of the lid, so choose that detail first. Many gardeners repurpose old windows for this purpose.
You can also use greenhouse plastic or make a cover from fiberglass sheets reinforced along the edges with narrow strips of wood for the hinge. In general, the thicker the lid material, the better the insulation.
Make sure that the lid is light enough to lift easily and not so large that you’ll struggle to reach the plants in the middle of the cold frame.
2. Build the Frame
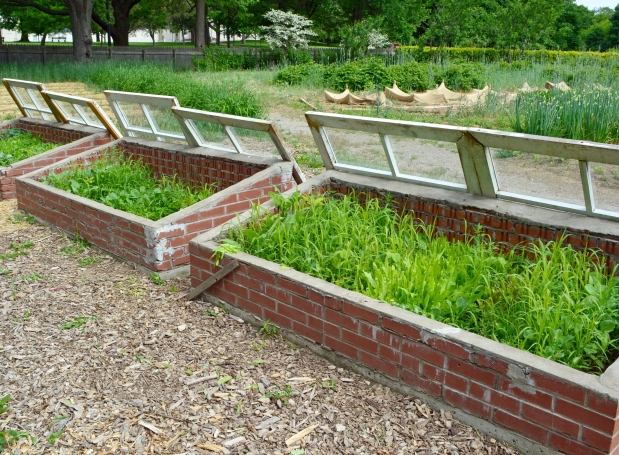
Once you have a lid, you can build the frame based on its dimensions. The best cold frames are higher on one side than the other. This helps them capture more sunlight while preventing rainwater from collecting on the lid.
Aim for dimensions around 18 inches high (45 cm) at the back to 12 inches (30.5 cm) at the front. Many gardeners sink the frame up to ten inches (25 cm) in the ground to further improve heat retention, so factor that into your construction plans.
It’s wise to add weather stripping to the sides of the frame to prevent heat from escaping and maximize the interior temperature. If the structure is built from wood, consider staining it or applying a treatment to make it rot-resistant.
3. Attach the Lid
Securely attach the cold frame lid to the box. You want something that creates a tight seal when closed, but that is easy to prop up when planting and weeding within the box.
Many gardeners find sticks to prop up the lid on the frame at different angles in order to allow for ventilation on hot days.
4. Place the Cold Frame in a Good Growing Spot
Once your cold frame is assembled, it’s time to place it in a suitable spot. Angle it so the lowest part is facing south to maximize early morning sunlight exposure. Keep the frame out of shaded areas, especially on north-facing sides of buildings.
Make sure that the soil underneath the frame is fertilized and prepped for planting. Alternatively, you can use the frame for potted plants and skip preparing the soil.
Note: Looking for a more temporary cold frame? Make a square with four hay bales and put a window on top. You can break the bales apart and spread them through the garden after the growing season to improve soil fertility.
Use a Cold Frame for a Better Garden this Year
Once you’ve built a cold frame, it’s time to put it to work. You can plant in frames several weeks earlier than your growing zone would otherwise allow and keep plants in there for several weeks after.
Open the lid for ventilation whenever the temperature climbs, as it’s easy to accidentally overheat the plants inside. If you’re unsure when it’s time to take the lid off, consider using a minimum-maximum thermometer to track temperature fluctuations before they get out of control.
With care and attention, a cold frame offers a great way to get the most out of your gardening season. Take the time to build one right, and you’ll reap the rewards of controlled growing conditions for years to come.