How to Move Herbs Indoors for Overwintering
Protect your herbs from freezing temperatures by moving them inside to overwinter. This will keep them alive for another growing season and give you access to fresh herbs all winter as well. Follow these steps for success.
Which Herbs Should Be Moved Indoors?
Not all herbs need to come indoors for the winter. Hardy plants like lavender, sage, and thyme do fine outdoors in chilly weather. Likewise, annuals like dill and cilantro end their productive lifespan in late summer, so there’s no reason to protect them through the winter.
In some cases, bringing herbs inside can be harmful to the plants. For example, semi-tropical perennials like lemongrass, ginger, and lemon verbena must be protected from the elements in place and shouldn’t be relocated.
Furthermore, herbs with woody stems like sage are challenging to dig up and might do best when planted in containers that you can move indoors when necessary.
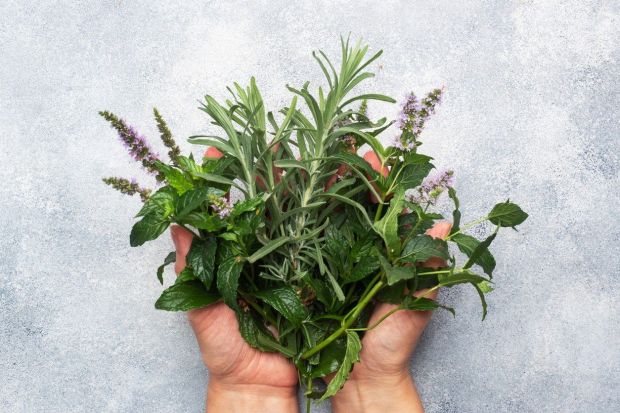
Focus on herbs that need to come indoors and are unlikely to be harmed during the transition. Some of the best herbs to move indoors for the winter include chives, basil, rosemary, parsley, oregano, and mint.
Six Steps for Moving Herbs Indoors
Moving your herbs indoors for the winter is straightforward, so long as you follow these steps for success.
1. Inspect Your Plants for Insects
Once you’ve determined which plants you plan to bring indoors to overwinter, it’s important to look them over for any signs of insects and other pests. Look on the undersides of every leaf and brush off any bugs so they don’t hitchhike into your house. Consider rinsing off the foliage with water from your garden hose to scare off any you might have missed.
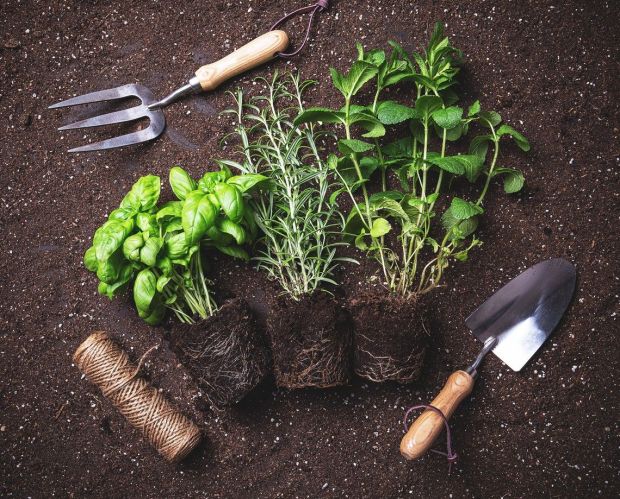
2. Dig Up the Roots
Once you’re sure the plants are insect-free, you can start to dig them up. Choose a day when the weather is still warm enough for the plants to stay outdoors in pots, and carefully dig up the entire plant, shaking the dirt from the roots in the process.
You can plan to pot the plant as is or slice off sections of roots and foliage large enough to fill about half of the pots you’ve chosen. This ensures there’s plenty of space for growth over the winter. Many perennials, such as oregano, marjoram, and thyme, grow in clumps that can be divided into smaller plants.
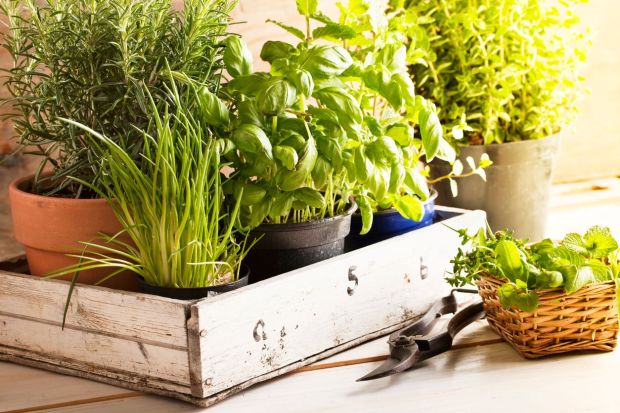
3. Pot Them Up
Start the potting process by adding a layer of high-quality potting mix to the bottom of each pot. Set the plant on top and fill in the spaces around the roots with additional potting soil until an inch from the rim of the pot. Make sure to press the soil down firmly to remove air pockets.
The transplanting process is trickier for plants that have long taproots, such as parsley. Dig a deeper hole around the herb to get as much of the taproot as possible, and re-pot in a large container where the roots aren’t close to touching the sides.
Once planted, water each pot until water drains from the bottom holes. Leave the plants in pots outdoors for at least another week to ensure they don’t go into shock from the transition to indoor temperatures.
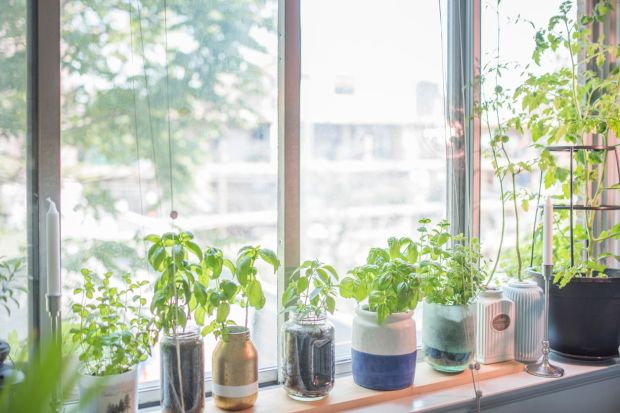
4. Help Herbs Adjust to Your Home
Now it’s time to bring the herbs indoors. Ease them into life in your home by putting them in indirect light at first. After a few weeks, you can move the pots to sunny spots with at least four hours of direct sunlight per day.
Note: If you don’t have south-facing windows, consider putting the herbs under a grow light setup.
5. Give Your Plants Some Pampering
Monitor your plants over the upcoming months to ensure they are getting the nutrients and sunlight they need.
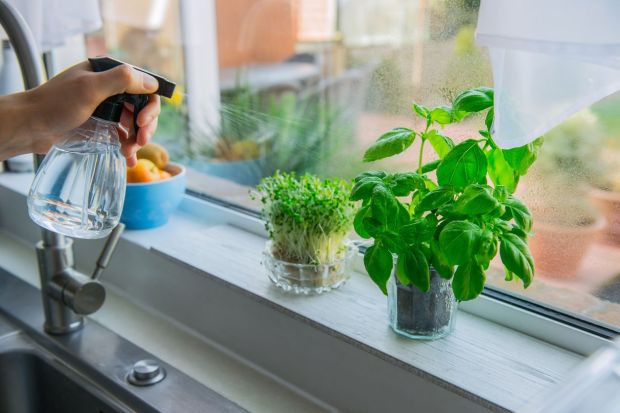
Water the soil whenever it feels dry to a depth of one inch, and turn the pots once weekly to ensure all sides get adequate sun exposure. It’s also smart to mist the leaves daily to maintain proper humidity and rinse the foliage with water when it seems dusty to deter any pests.
You can further boost the humidity by placing the pots in a tray filled with pebbles. Any excess water will overflow into the tray and keep moisture around the plant.
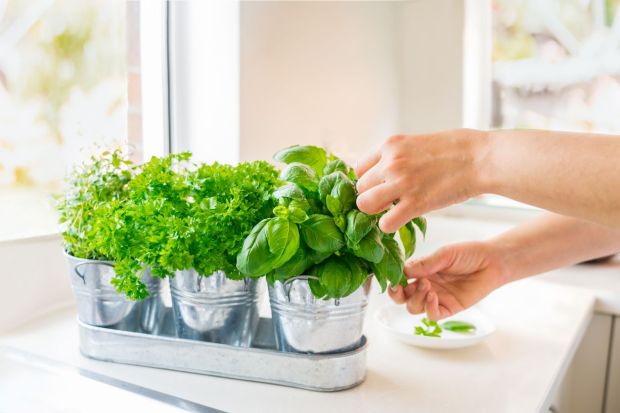
6. Take Cuttings for Cooking
The best part of bringing herbs indoors to overwinter is the easy access you have for cooking with them. Soft-stemmed herbs like basil and mint respond well to regular cuttings. In fact, they encourage the plants to grow bigger and bushier.
Simply use kitchen shears to snip off as much as you need for your recipe, ensuring you never take more than a quarter of the plant at a time. Let it recover for a few days before harvesting again.
Bring Herbs Indoors for a Longer Growing Season!
With some time and preparation, you can bring your vulnerable herbs indoors for the winter and continue harvesting from them months past the first fall frost date.
Follow this guide to ensure your plants have an easy transition into indoor life, and you’ll benefit from fresh bounty for weeks to come.