
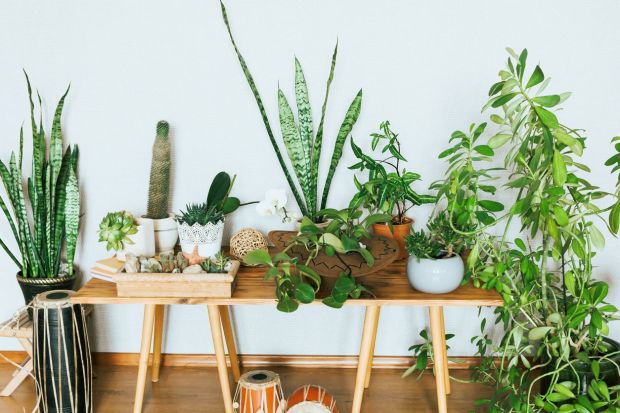
A Guide to Potting and Re-Potting Your Plants
When your plants get too big for their container, it’s time to move them somewhere more spacious. Learn how to safely pot or repot your plants to ensure that they have the space they need to thrive.
Why Re-Pot Plants?
Re-potting plants serves two purposes. First, it provides the opportunity to give expanding plant roots more space to grow. Second, it allows you to change out the potting soil when it becomes nutritionally depleted.
In general, plants need to be re-potted every 12 to 18 months, but this can vary based on how vigorously it’s growing. Slow-growing plants might stay content within the same pot for years, though you may need to refresh the soil on occasion.
It’s usually best to re-pot plants in early spring before they hit their growth surge for the year. However, you may need to do so sooner if you sense your plant is struggling.
10 Signs You Need to Re-Pot Your Plants
How can you tell it’s time to re-pot your plant? Here are ten tell-tale signs it’s time for an upgrade.
- The plant takes up more than three times as much space as the pot.
- The plant is making the pot top-heavy and tips over easily.
- You see the roots growing through the drainage hole at the bottom.
- Or the roots are coming out of the soil and pushing the plant up above the planter.
- You notice a sudden slow-down in overall growth that’s not seasonally appropriate.
- The plant is drying out quickly and requires frequent waterings.
- You see signs of salt and mineral buildup on the dried soil surface.
- Water sits on the top of the soil and doesn’t absorb into it.
- It’s been years (if ever) since you last replanted it.
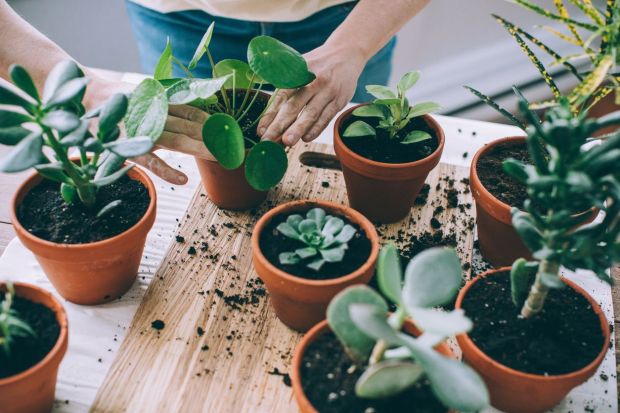
- You want to take cuttings from one large plant to split it into several smaller ones.
Do You Really Need a Bigger Pot?
The first step for re-potting a plant is determining whether the planter itself needs to be replaced. Often, refreshing the soil is all that’s necessary to perk up one that’s wilting.
If you do replace the pot, don’t fall for the common mistake of believing you need to go as big as possible. Scale up too large, and you may unknowingly attempt to compensate for it by overwatering. Too much water combined with the stress of transplanting can quickly weaken a healthy plant.
As a general rule, try to keep the pot’s size within three inches (7.5 cm) diameter of the previous pot for tabletop planters and within six inches (15 cm) for floor planters. It’s better to scale your planter up to a large final size in multiple small steps rather than going too big at once.

6 Steps for Potting or Re-Potting Plants
Here are the basic steps for potting or re-potting your plants for the best chance of success.
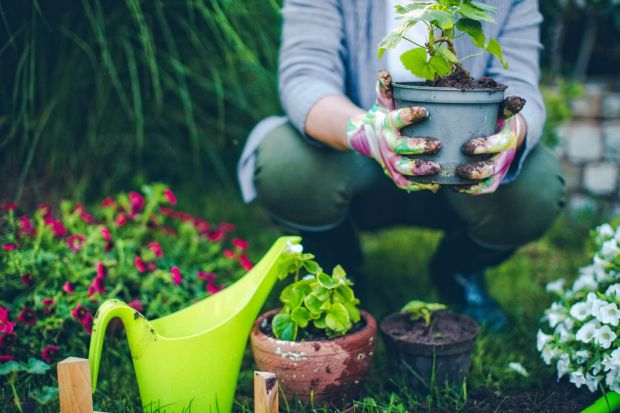
1. Gather Supplies
First, collect what you need for potting. This includes the plant itself, the planter you are moving it into (if required), fresh potting mix, and a trowel. You may want a handful of lava rocks or similar material for drainage, but they aren’t necessary if the planter already has a drainage hole.
2. Remove Plant From Current Pot
You want to move your plant from its current location as seamlessly as possible to reduce the risk of transplant shock. If possible, turn it sideways so you can gently grip the main stem and tap along the bottom of the pot until you feel the soil loosen. It should start sliding out, and if not, give it a few tugs until it does.
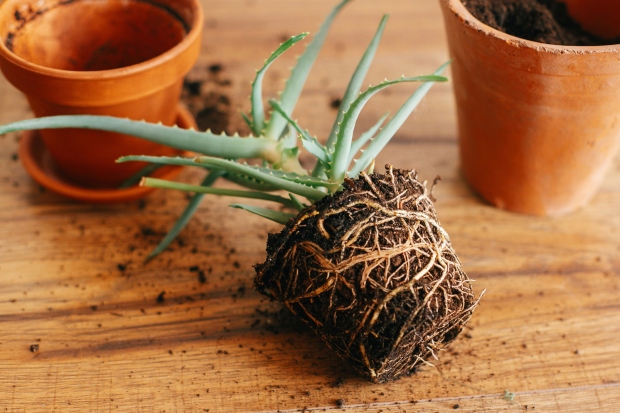
3. Spread Apart the Roots
Next, use your fingers to gently loosen the plant’s roots and prune off any threadlike or extra-long pieces. You’ll know the roots are rootbound if they formed themselves into a tight circle at the base of the pot. If so, carefully unwind them to provide extra room to stretch out.
4. Prepare the Pot
The steps here vary slightly based on whether you are reusing the same pot or starting fresh.
If reusing, pour out the old soil and wash it with water. It’s a good idea to disinfect it with a solution of one part household bleach to nine parts water for at least ten minutes—especially if you saw signs of disease on the plant in it previously. This reduces the chance that pathogens will linger and recontaminate it.
After this point, the steps are the same. Add lava rocks or other bulky material to the bottom if there aren’t drainage holes, and pour in a layer of new potting soil into the planter, packing it down with your fingers to remove air pockets. Aim to fill it about ¾ of the way full.
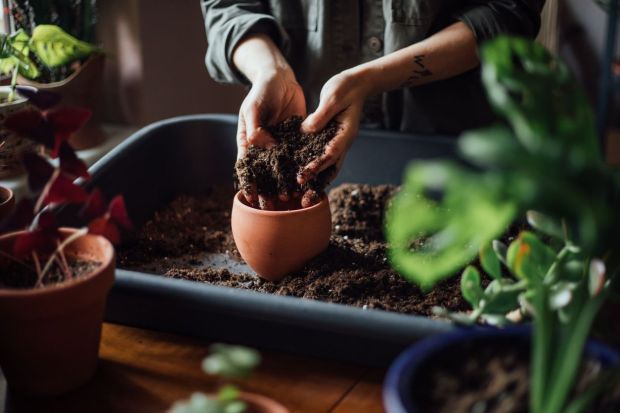
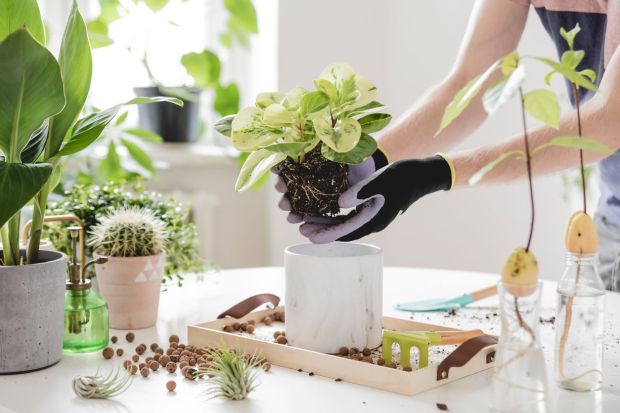
5. Add the Plant
Grab the plant and place it where desired in the planter. Centered is better from a root growth standpoint, but you may prefer it off-centered if you plan to plant more than one within the same pot.
Holding the plant upright with one hand, gently add more potting mix around its base to cover the roots. Keep adding soil until it seems stable, but refrain from packing it in too tightly around the stem, as you want the roots to breathe.
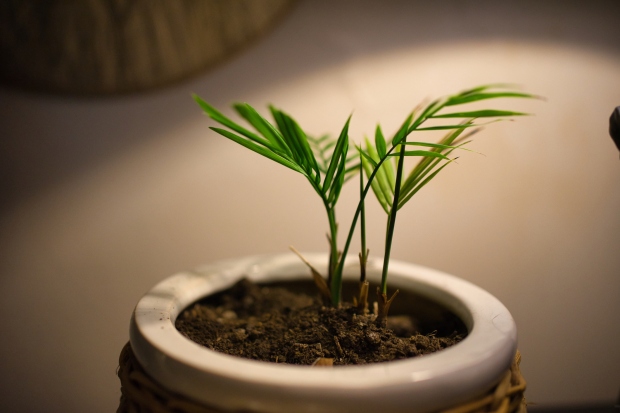
6. Water Thoroughly
Help your plant feel at home again by giving it a generous drink. Water slowly and thoroughly, noting if the plant shifts in the planter, as that’s a sign of released air bubbles.
You may need to add more potting soil as it starts to settle. Ensure the planter is on a runoff tray to collect excess water and water it until you see it seeping through the bottom.

Potting and re-potting your plants is a straightforward process, but it takes careful attention to perform correctly.
Take the time to observe your plants so you can determine if and when they need a new planter and give them the best chance of a healthy life in your home.