
5 Steps for Making a Vegetable Planting Bed
When you’re ready to expand your vegetable garden, it may be a good time to install a new planting bed. The process doesn’t have to be overwhelming; here are the steps to success.
Warmer weather means just one thing to plant lovers — it’s time to start gardening! That’s also the perfect time to create a new garden bed.
However, creating a new planting space isn’t as simple as pulling up weeds and planting seeds. You need to correctly set up the planting bed to give plants the best chance of success and to ensure that it’s a space you can maintain for years to come.
Not sure where to begin? Here’s a guide for getting started.
Most gardeners start the spring season full of enthusiasm and ready to get dirty. It can be tempting to immediately toss seeds in the ground to get started on the action. However, without prepping for the right kind of soil, you’ll be left without much to show for your effort.
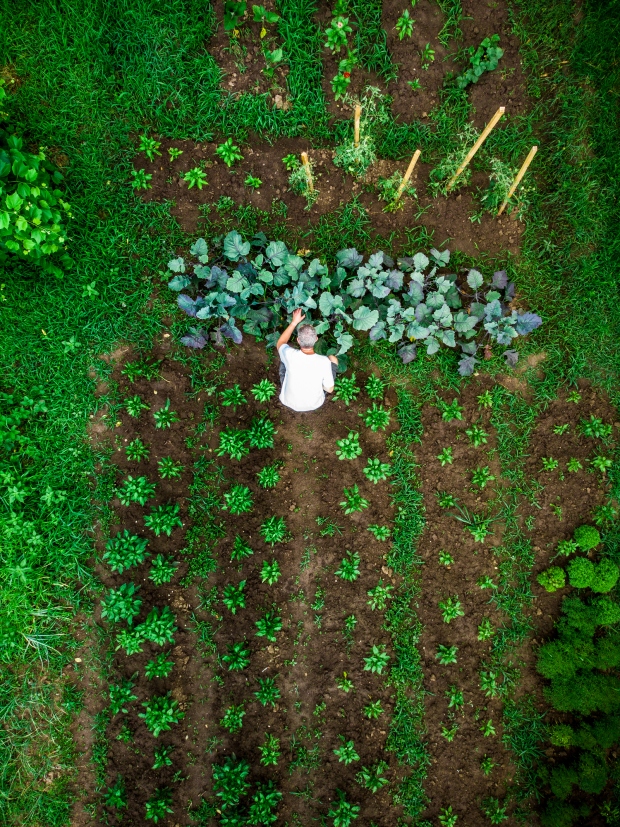
The first step is deciding what kind of planting space you want. The two main options for a permanent vegetable garden are raised beds and in-ground beds.
These growing spaces are contained in boxes and elevated off the ground. They can be made from wood, metal, cinder blocks, and almost any material that won’t leach toxins into the planting space.
The advantage of growing in raised beds is that it gives you complete control of the soil quality. If your ground is naturally rocky, sandy, waterlogged or lacking in nutrients, growing in a raised bed lets you avoid these complications by bringing in optimal soil instead.
These traditional garden beds are created directly in the ground. They cost less to set up because you aren’t buying building materials or yards of soil. However, they can be harder to maintain and keep weed-free, and you may need to add more soil amendments in the long run because they will leach out of the planting space into the surrounding soil.
Note: The rest of this article will focus on establishing in-ground garden beds.
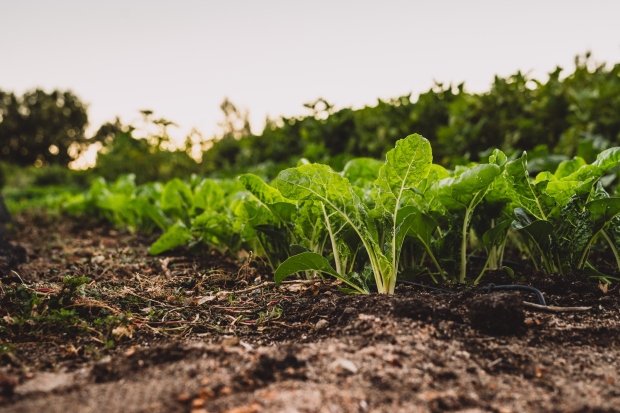
The first step to establishing a vegetable planting bed is to choose a location. Ideally, you want a space with full sun exposure and soil that’s naturally nutrient-rich with good drainage.
Other factors worth considering:
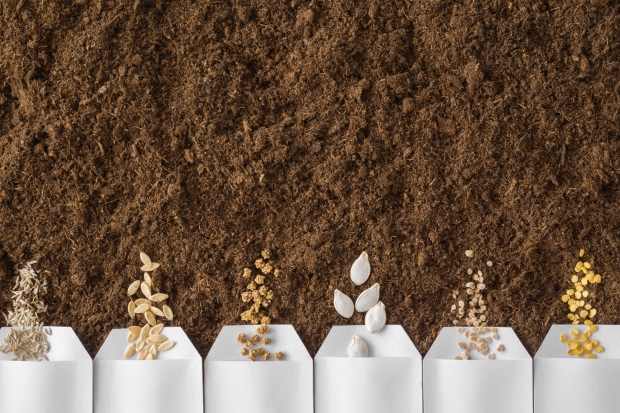
Once you’ve chosen the best location for your garden bed, it’s time to prep the soil. Vegetables need to grow in nutrient-rich ground that contains lots of organic material. It’s a good idea to pay for a soil test to determine what your land is deficient in so you can amend it right away.
Follow these steps to prep space for planting vegetables:
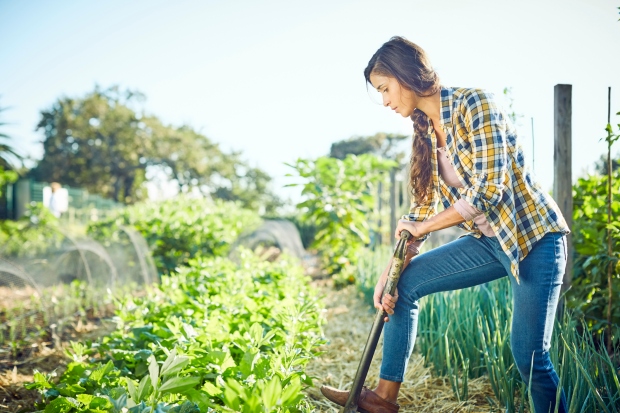
When you start a garden bed from scratch, the odds are good it’s covered in grass or a thick layer of yields. The first step is removing them to leave you with a blank slate of soil.
Use a long-handled, flat-bladed shovel to cut the bed into strips to make pulling weeds and sod easier. Start around the outside of the bed and work your way into the middle until only bare dirt is left behind.
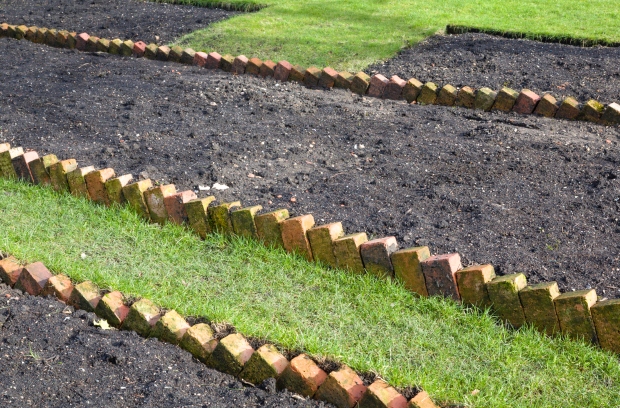
The best garden beds are well-defined in the space. This prevents weeds and grasses from creeping in and helps you know precisely where to apply amendments so you don’t waste them.
Use edging to create a natural border around your bed. This can be anything from black plastic landscaping material to bricks, rocks, or even a wooden fence. Just make sure the material goes far enough in the ground to prevent weeds from growing through.
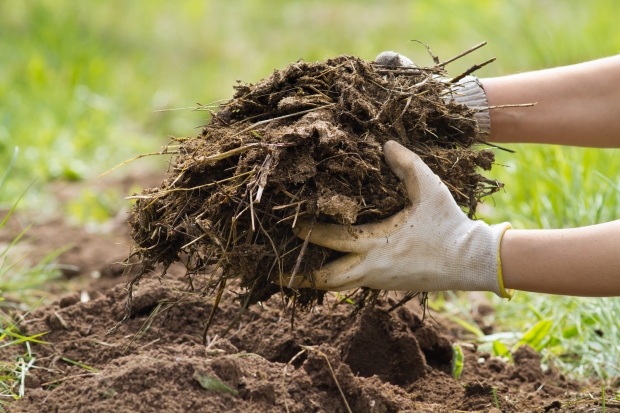
Once the soil is bare, it’s time to amend it for growing vegetables. Ideally, you’ll want to add lots of aged manure or organic compost to infuse it with nutrients. Make sure you research how thick to distribute the compost so you don’t accidentally overload the soil.
Once added, mix it into the top few inches of soil to ensure that plant roots can easily access it.
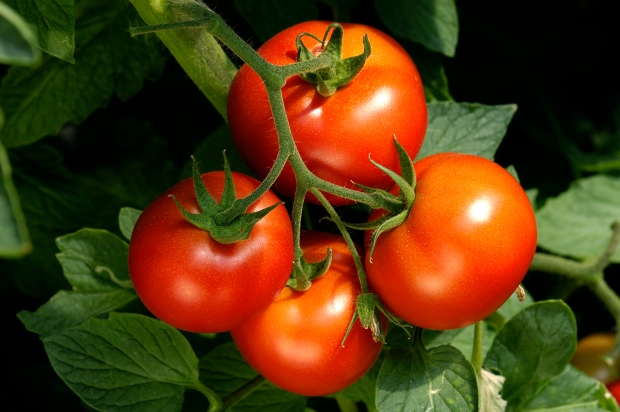
Note: You may need to adjust your amendments based on what you plan to grow in the bed. Too much of certain nutrients, such as nitrogen, can cause plants to put all their energy into leaf production at the expense of flowers and fruit. That’s fine if you want to harvest kale, but bad news if you prefer tomatoes.
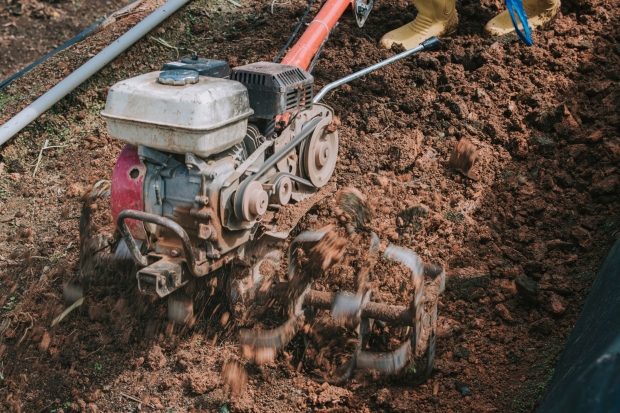
There are many philosophies around tilling soil. Some people prefer to leave the ground as-is so not to disturb the microbial life within it. Others till regularly to remove weeds and make it easier to work.
No matter your perspective, it’s usually smart to till at least once when establishing a new garden bed to create a clean slate with less weed competition for your new plants. Consider turning up the soil by hand with a shovel or pitchfork, or use a small rototiller to make the process easier.
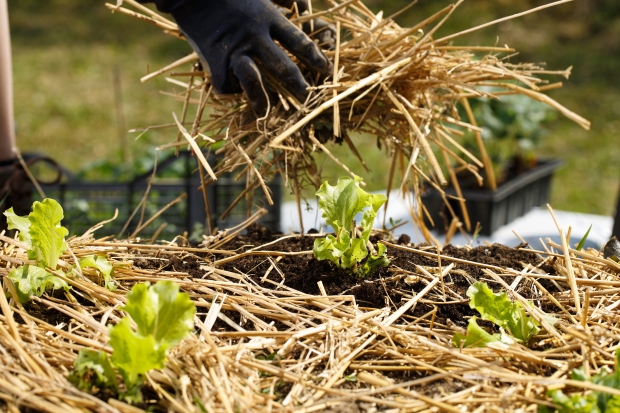
It’s unnatural for soil to be left uncovered for long. Not only will leaving it bare make it dry out quickly, but it also leads to erosion and leaves you without the nutrients you’ve put into it.
For this reason, it’s wise to cover vegetable beds soon after prepping them. Look for biodegradable materials like straw or leaf litter that will break down within a season and add more nutrients to the soil.
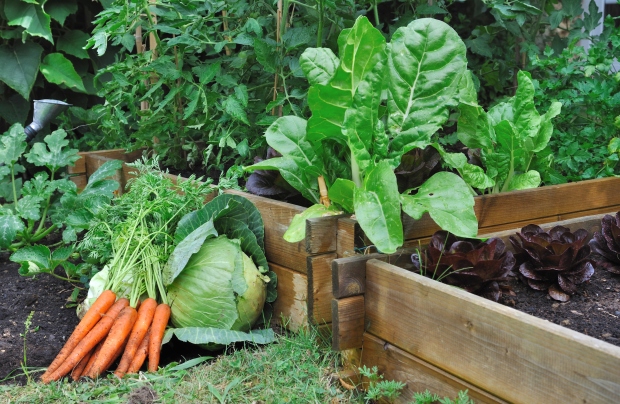
Prepping a new vegetable bed can be a challenge, but the fun part comes soon after! Enjoy planting seeds and seedlings in your new garden space, and you’ll enjoy the fruits of your effort all season long.